

English
Create/Modify a Webhook
A Webhook is a way for your application to be notified in real time of an event.
For example, if you send a contract and want to be notified as soon as it is signed, you could automate a status check of the document every 5 minutes over several days until you receive a response indicating that the document has been signed. This approach consumes a lot of resources with each unnecessary API call.
A better approach would be to set up a Webhook to monitor a specific event. In this example, the event to monitor is ’DocumentCompleted’ from the ’Ezsign’ module. Thus, as soon as the document is signed, a request will be sent to YOUR server to inform you of the event that has just occurred.
You can always refer to the eZmax API documentation for more details: eZmax API Documentation
Create a Webhook
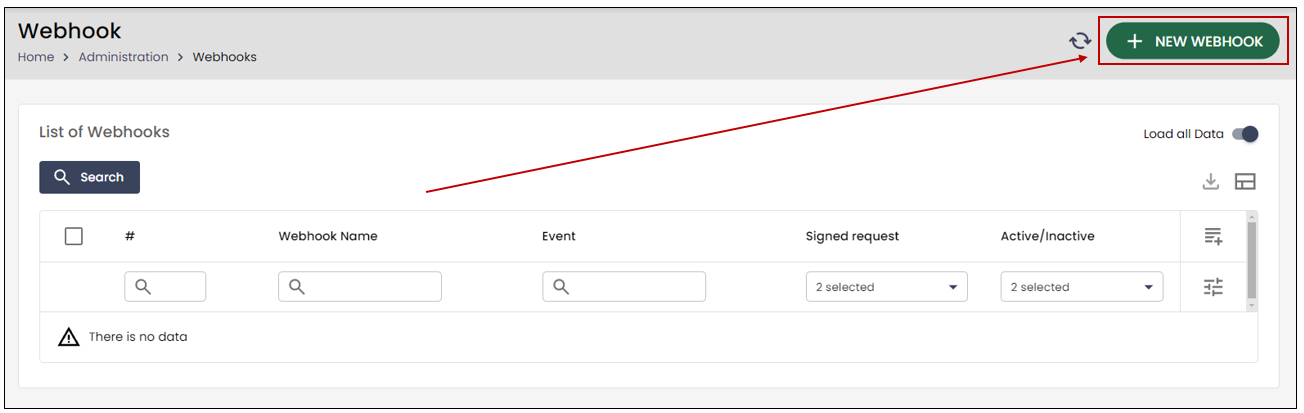
From the Administration menu >> Select Webhooks.
- Click on the New Webhook button.
Informations
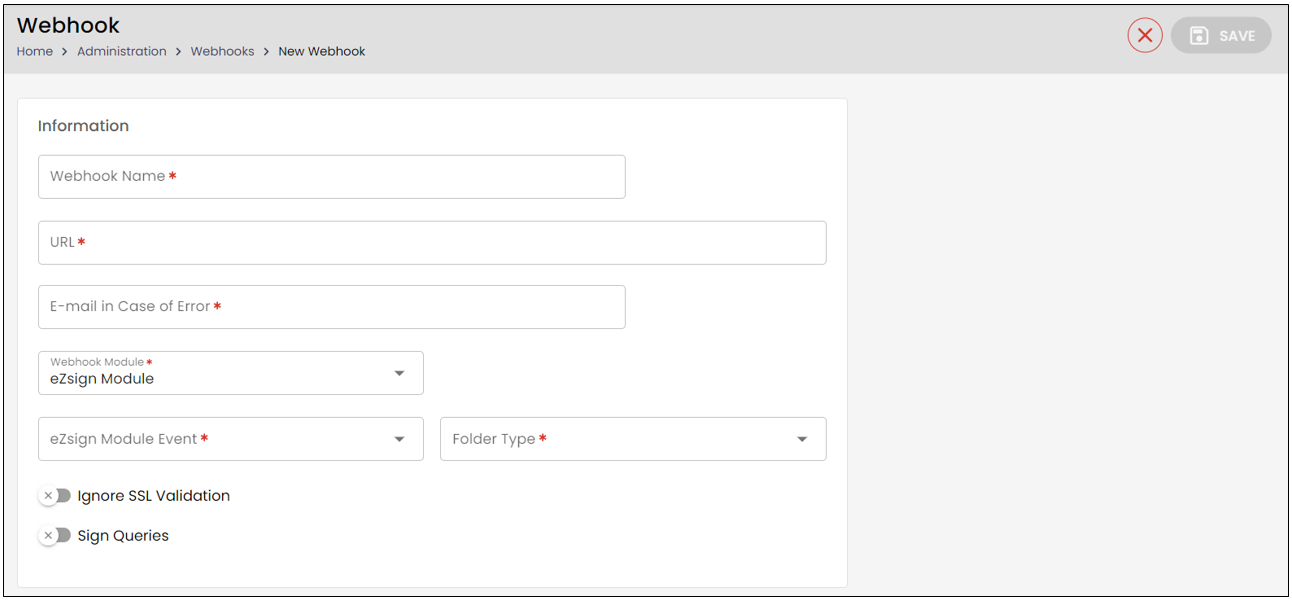
Enter the Webhook Name.
Enter the Webhook URL. The provided URL must use HTTPS for security reasons.
You must enter an email address where notifications will be sent in case of an error in the Email in Case of Error field.
Error Management:
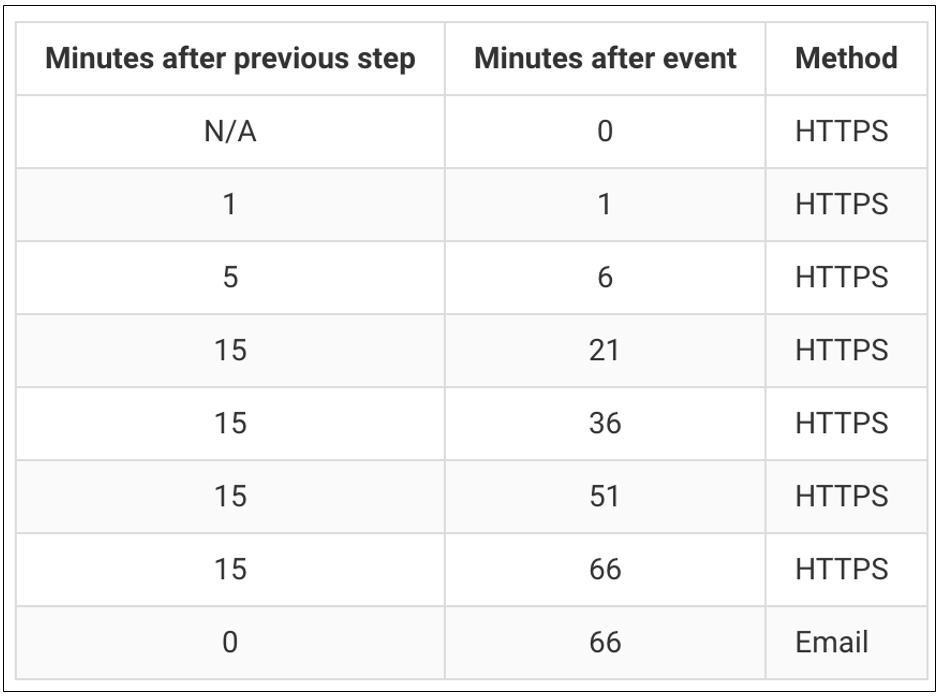
eZsign will attempt to deliver the event to your server instantly, but it will retry several times if your server does not respond correctly for any reason (see the schedule below). After exhausting all attempts, the event will be forwarded to the email. The body of the email will contain the JSON request in the same format as the Webhook. This way, you can send the request to your server using Postman, Curl, or a similar tool.
Delivery Retry Schedule
Here is the approximate retry schedule. Since there is a 30-second timeout for each attempt, there could be a cumulative overhead of up to 3 and a half minutes.
Report of Failed Attempts
If you do not receive the event on the first attempt, there will be debugging information for each previous attempt in the body of the event. You will be able to see the timestamp of each previous attempt and the return code sent back by your server, or an indication of a timeout if your server did not respond.
- When creating a Webhook for eZsign, you must select Webhook Module >> eZsign Module.
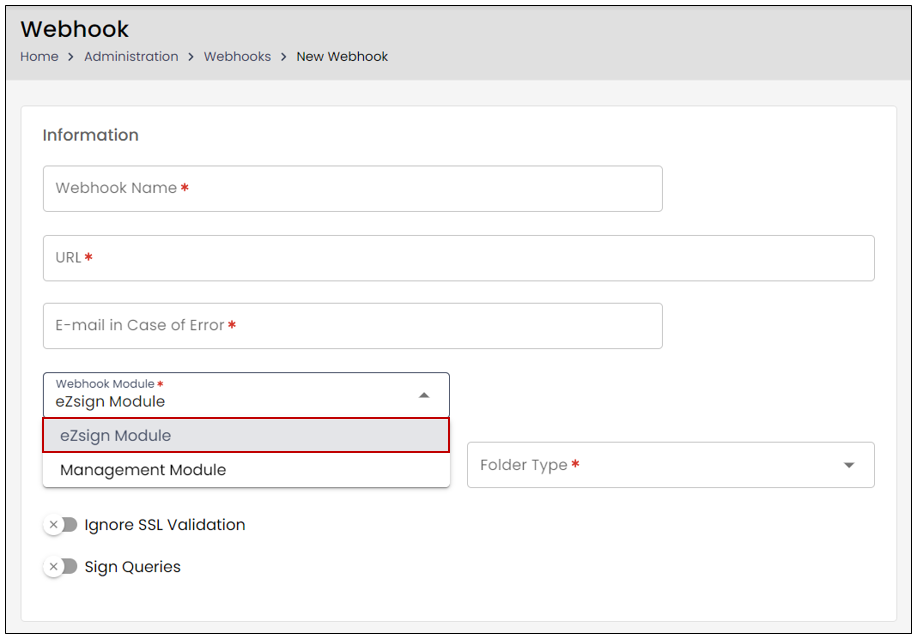
- You need to select the appropriate eZsign Module Event for this Webhook from the drop-down list in order to receive relevant notifications. For example, for the Completed Document event, you will be notified every time a document is completed.
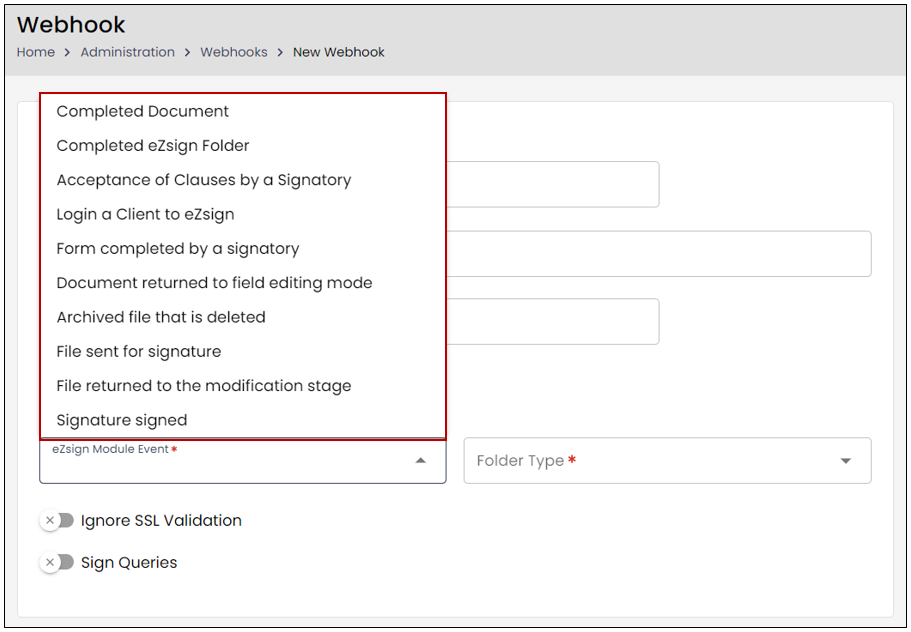
- From the drop-down list, you will then need to select the Folder Type with which the Webhook should be associated.
Note: You have the option to select All Folder Types.
To Ignore SSL Validation , you will need to toggle this option (SSL validation is applied by default). SSL validation on the Webhook ensures that the data transmitted between eZsign servers and you (or an endpoint) is secured using the SSL/TLS protocol. We do not recommend ignoring this validation, and it should only be ignored in specific cases.
To Sign Queries , you will need to toggle this option. Signing Webhook queries ensures that the received requests come from the expected sender and that they have not been altered in the meantime.
Additional options
If your server requires OAuth 2.0 authentication, you will need to enable the Use External Authentication option by toggling it.
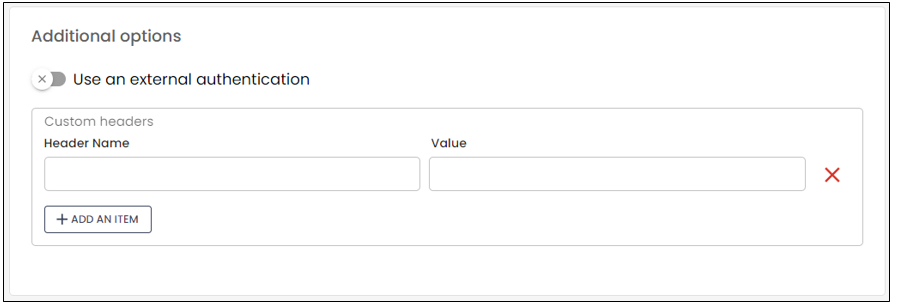
An external authentication must be created beforehand to add it to the Webhook. For more information, please refer to the article Create/Edit/Delete External Authentication - Administration (eZsign Web).
Once the external authentication is created, you will be able to select it from the drop-down menu.
- If you wish, you can add Custom Headers by entering the Header Name and the Value. Custom headers in the Webhook will allow you to add additional information to it.
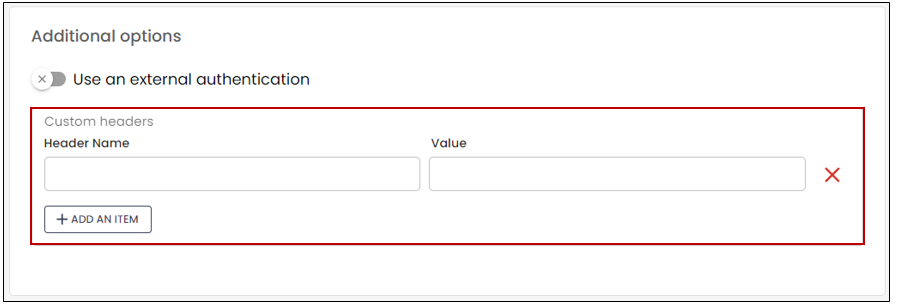
When you are finished, click on Save at the top right of your screen.
Send tests
Once the Webhook is created, you will have the option to send tests by clicking on the Send a Test button. This option will allow you to easily send a test during development without having to reproduce the event you want to test.
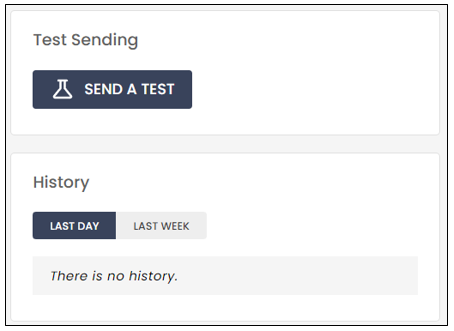
NOTE: You will also have access to the history for the last day and the last week. Please note that there may be a delay of up to 5 minutes before the Webhook message appears in the history.
Modify a Webhook
To modify an existing Webhook, select it from the List of Webhooks and click on Edit Webhook.
Make the desired changes and click on Save to record them.
NOTE: You will not be able to delete a Webhook, but you can deactivate it.