

English
Creating an eZsign Folder: Start Here (eZsign Web Version)
Creating an eZsign Folder
Here’s how to do it in eZsign:
- To create a new eZsign folder, click on Send documents for signing from your Home Page.
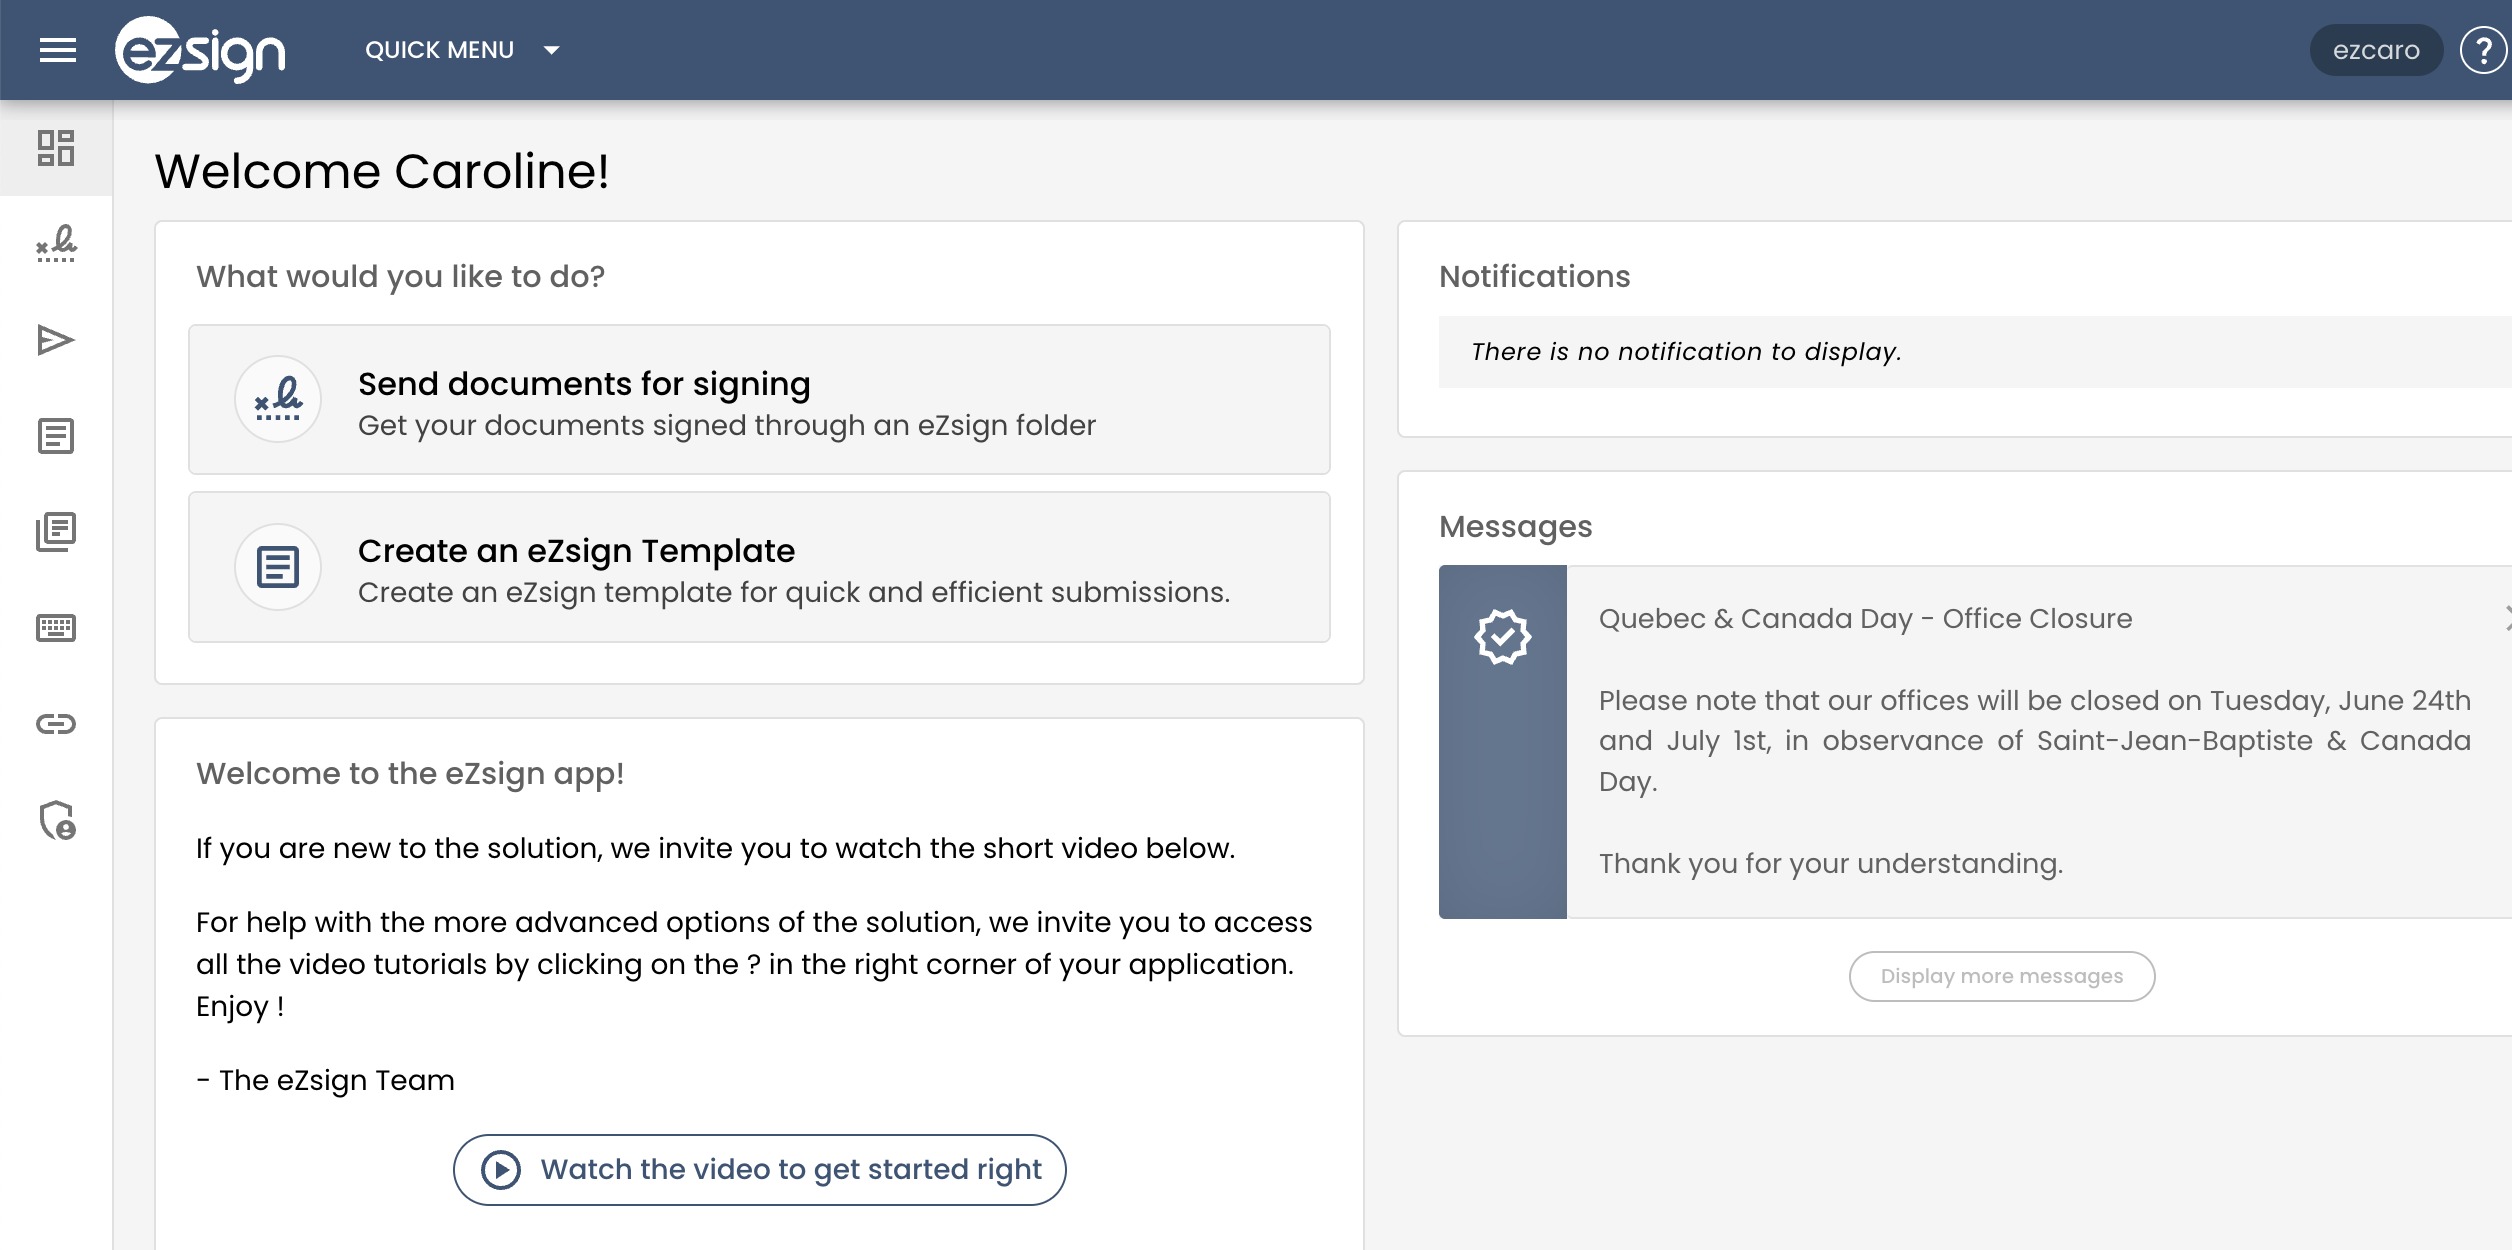
From now on, when creating an eZsign folder, each step follows a guided procedure.
Folder Information
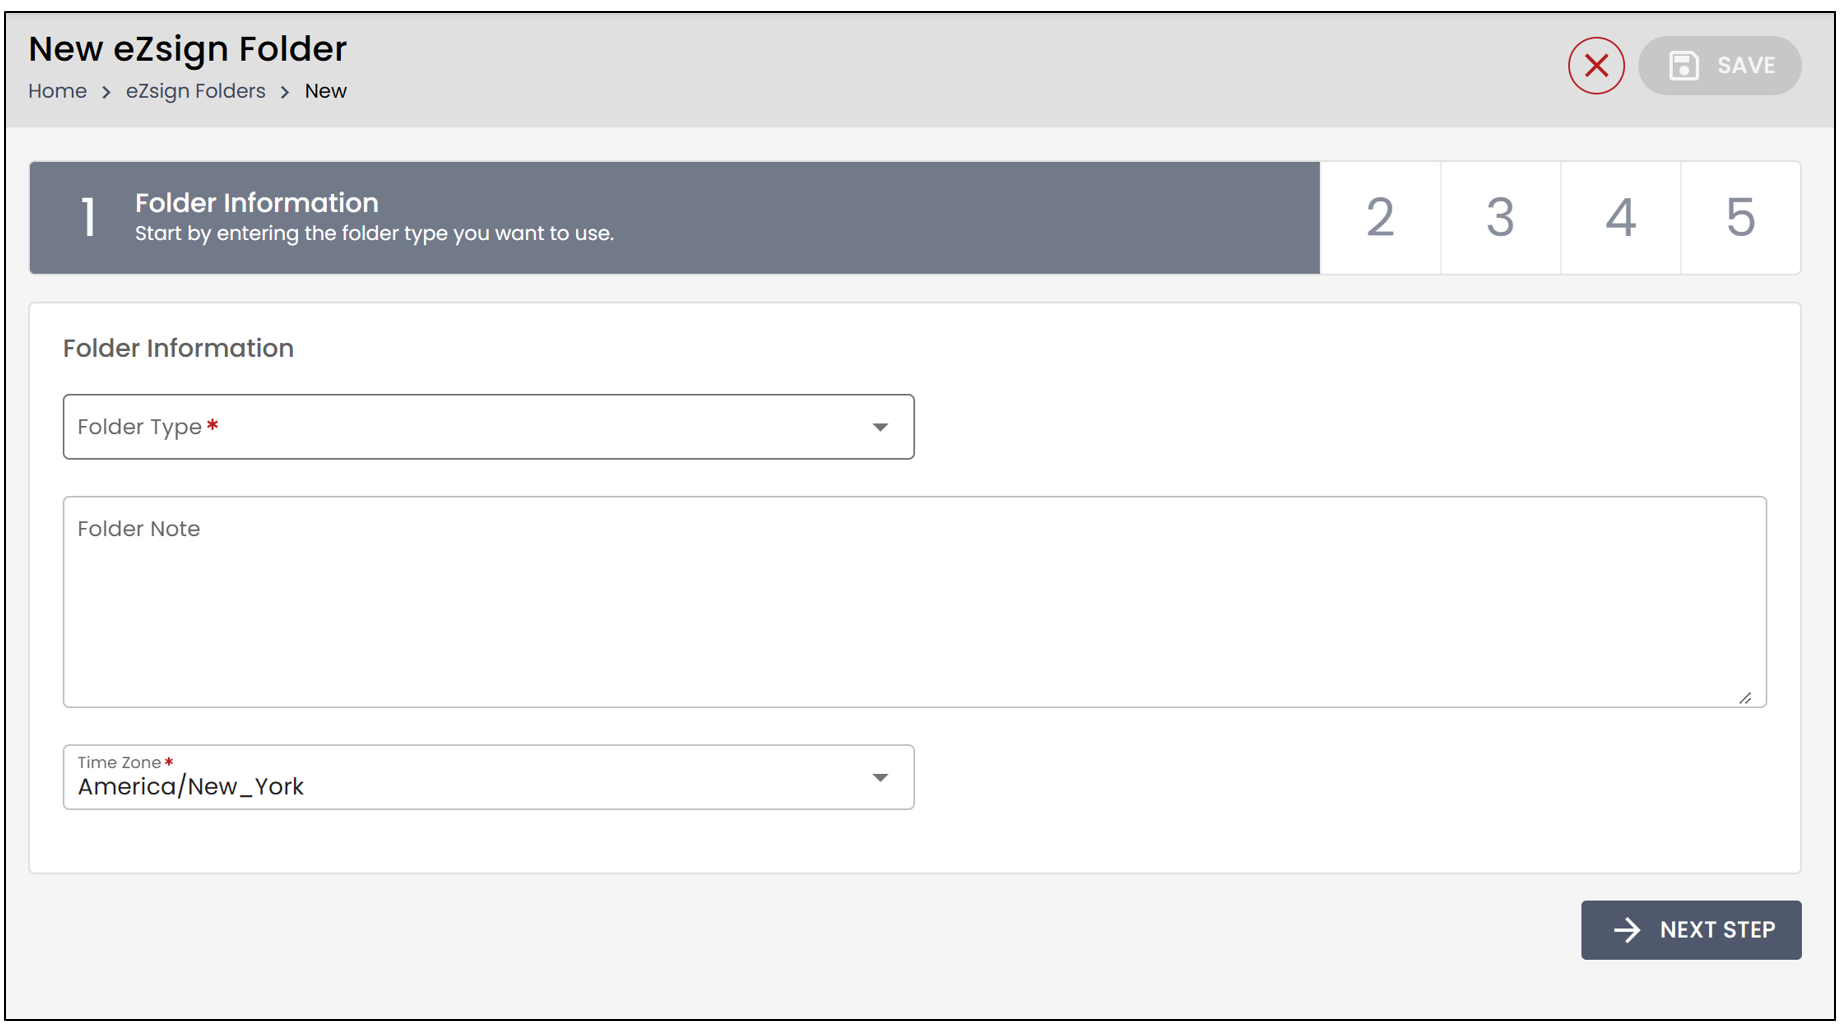
- For this first step, you can select the Folder Type from the drop-down list and add a Folder Note.
NOTE: The Folder Note is not visible to the recipients; only the folder creator will have access to it.
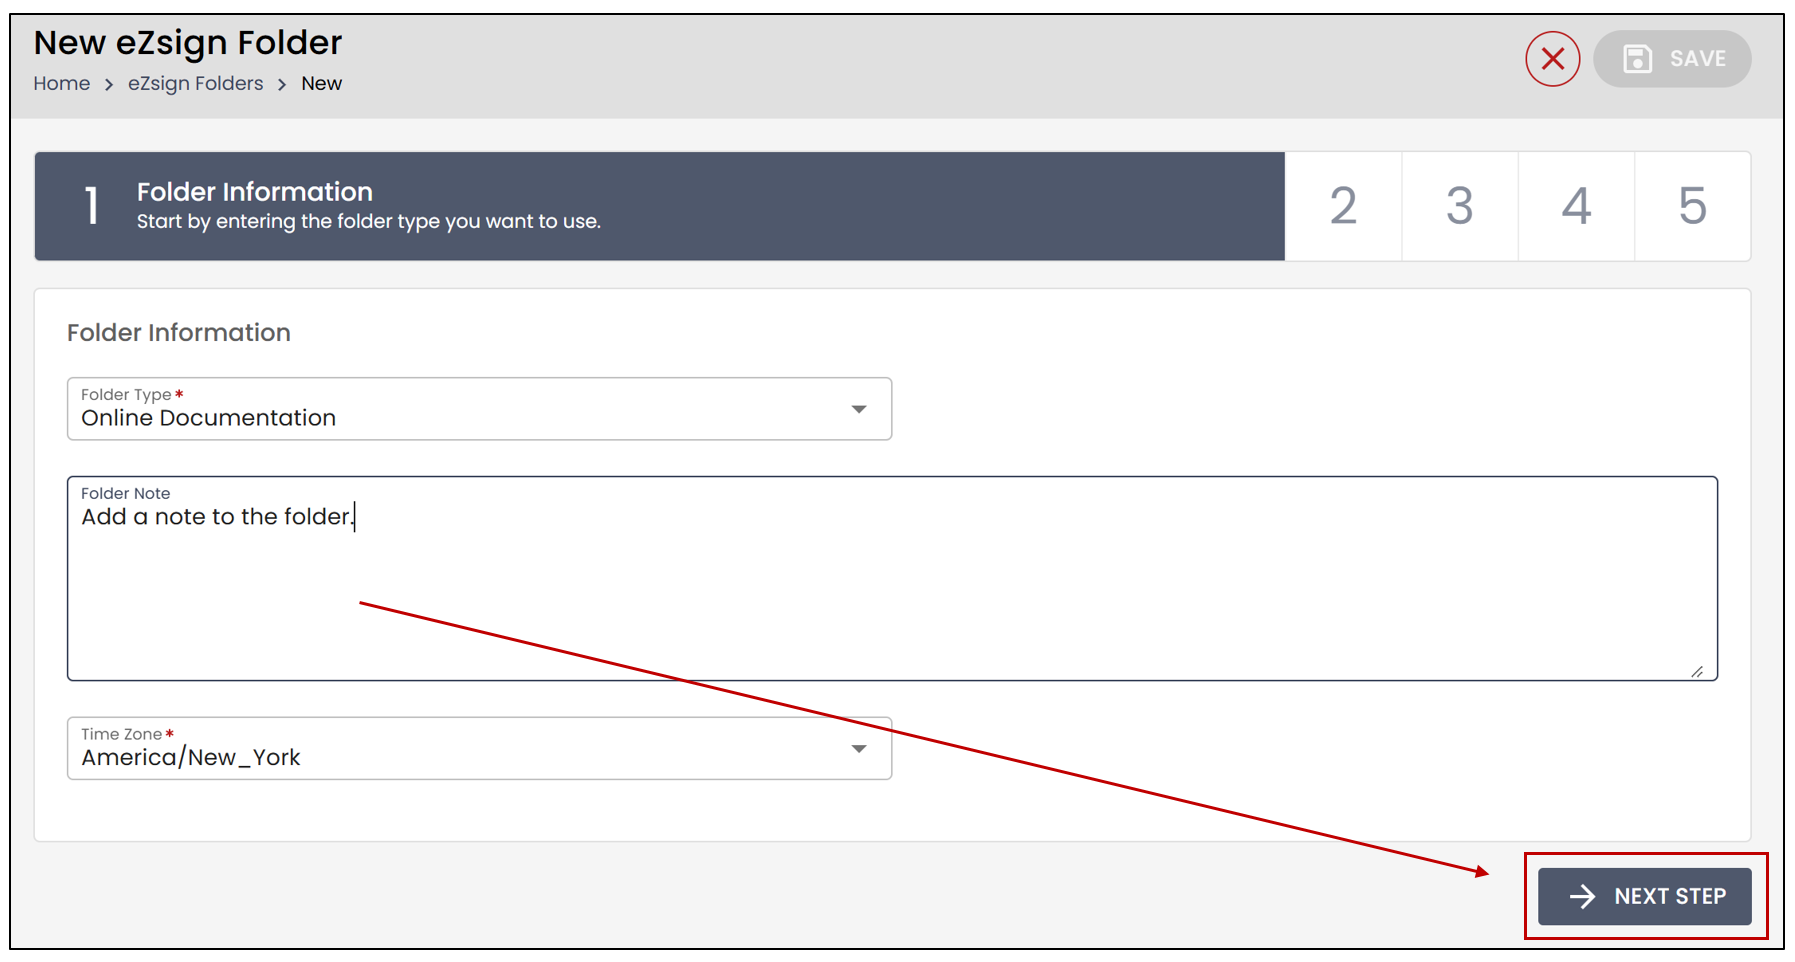
- Next, select the Time Zone from the drop-down list, then click on Next Step.
Document Creation
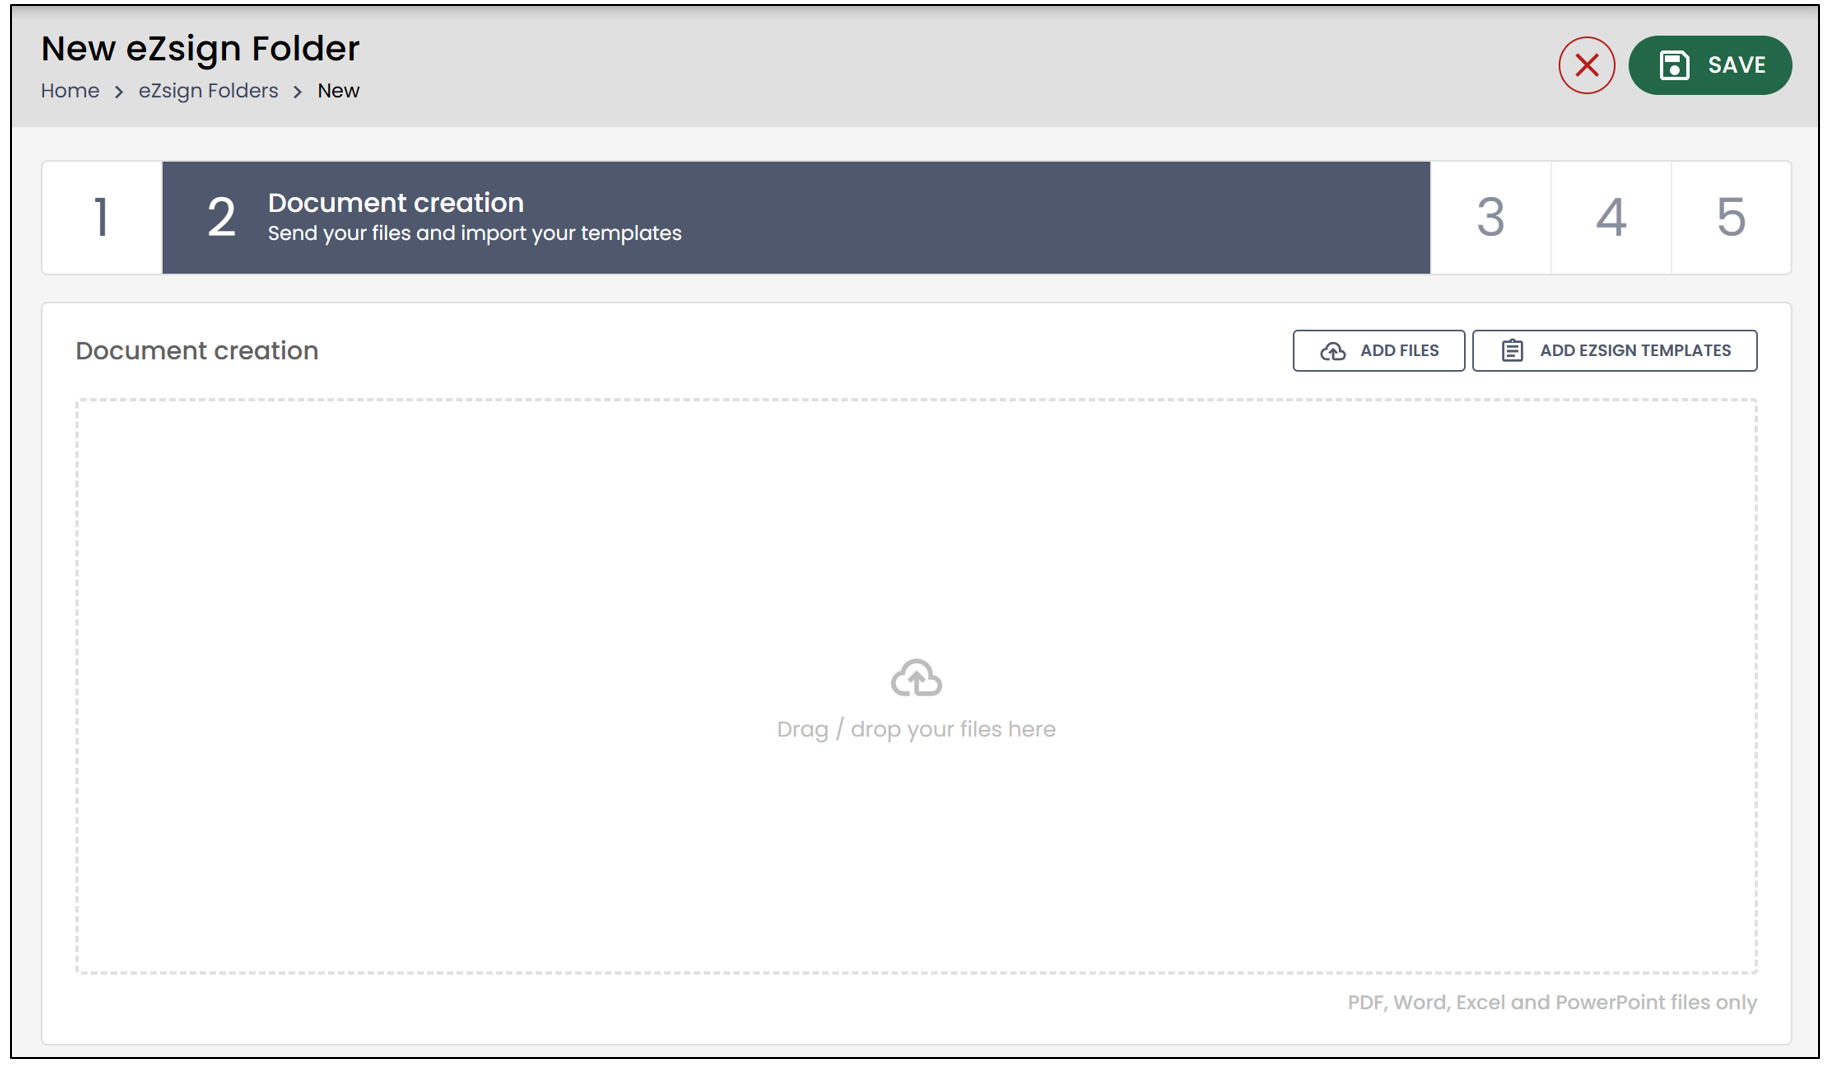
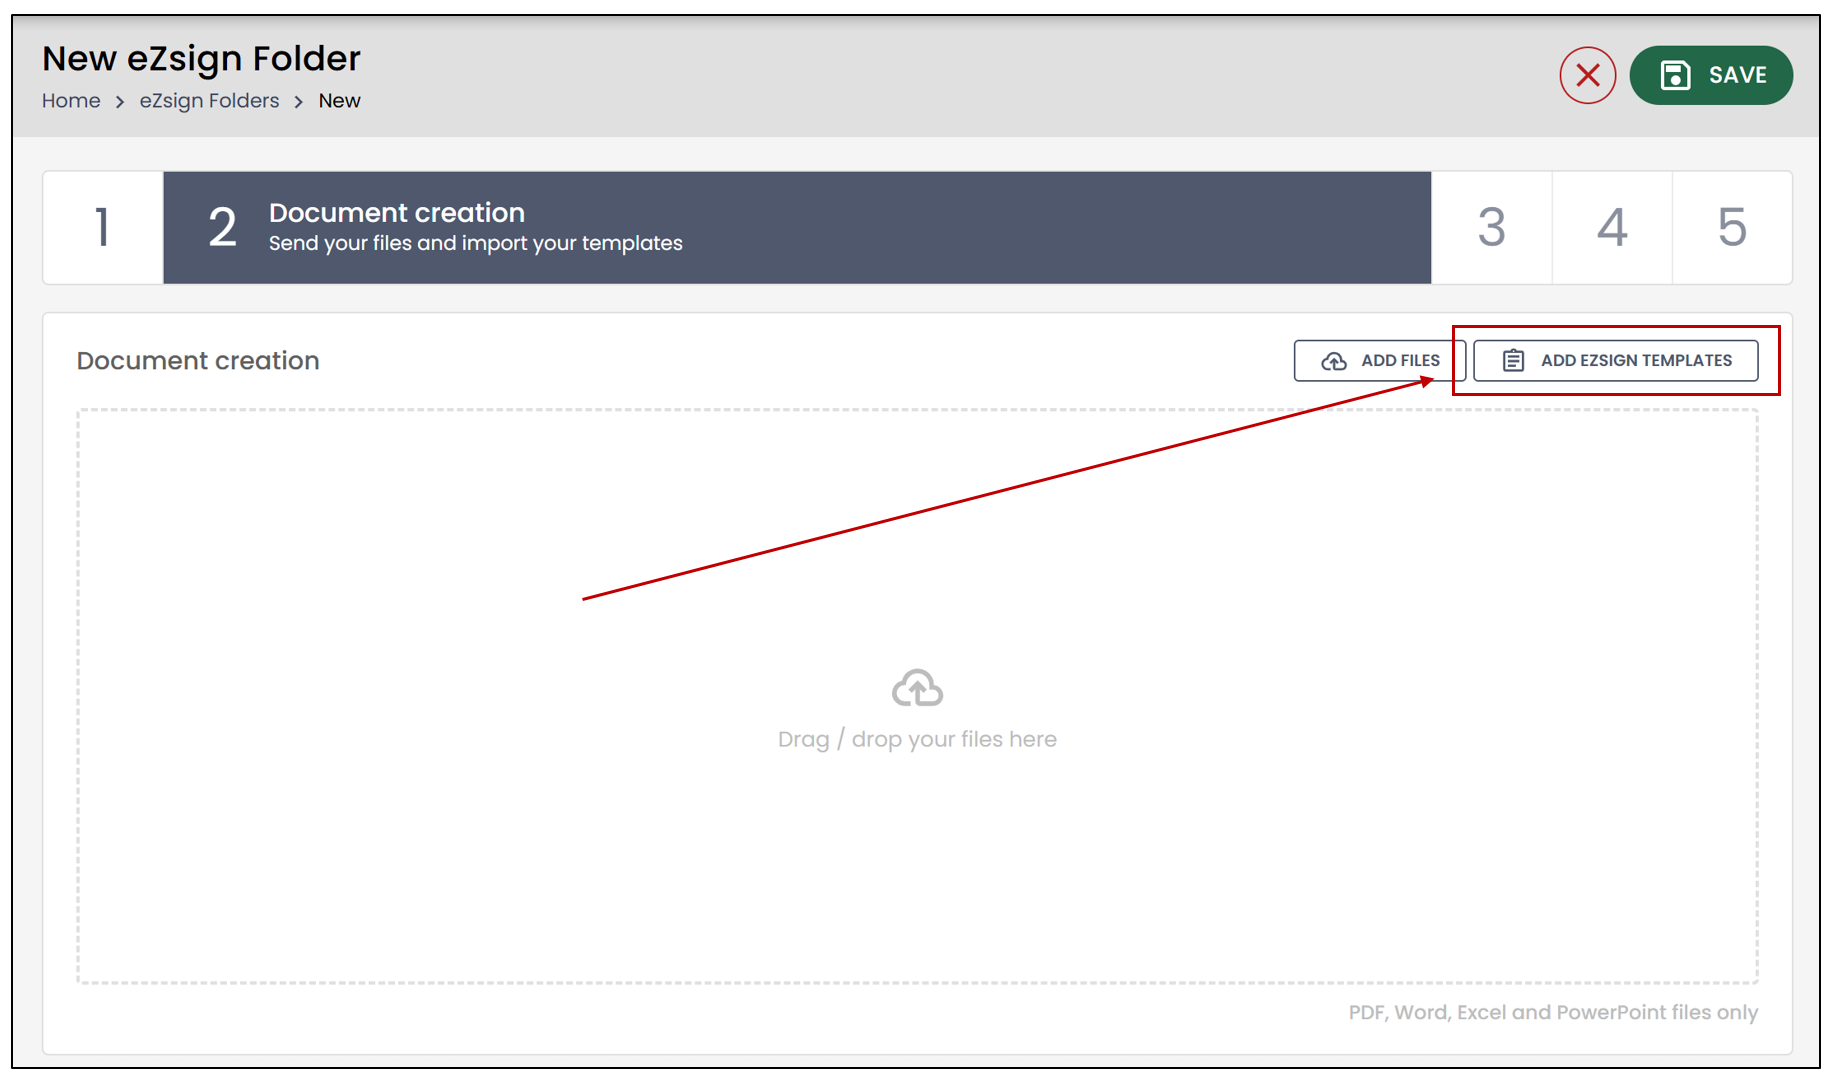
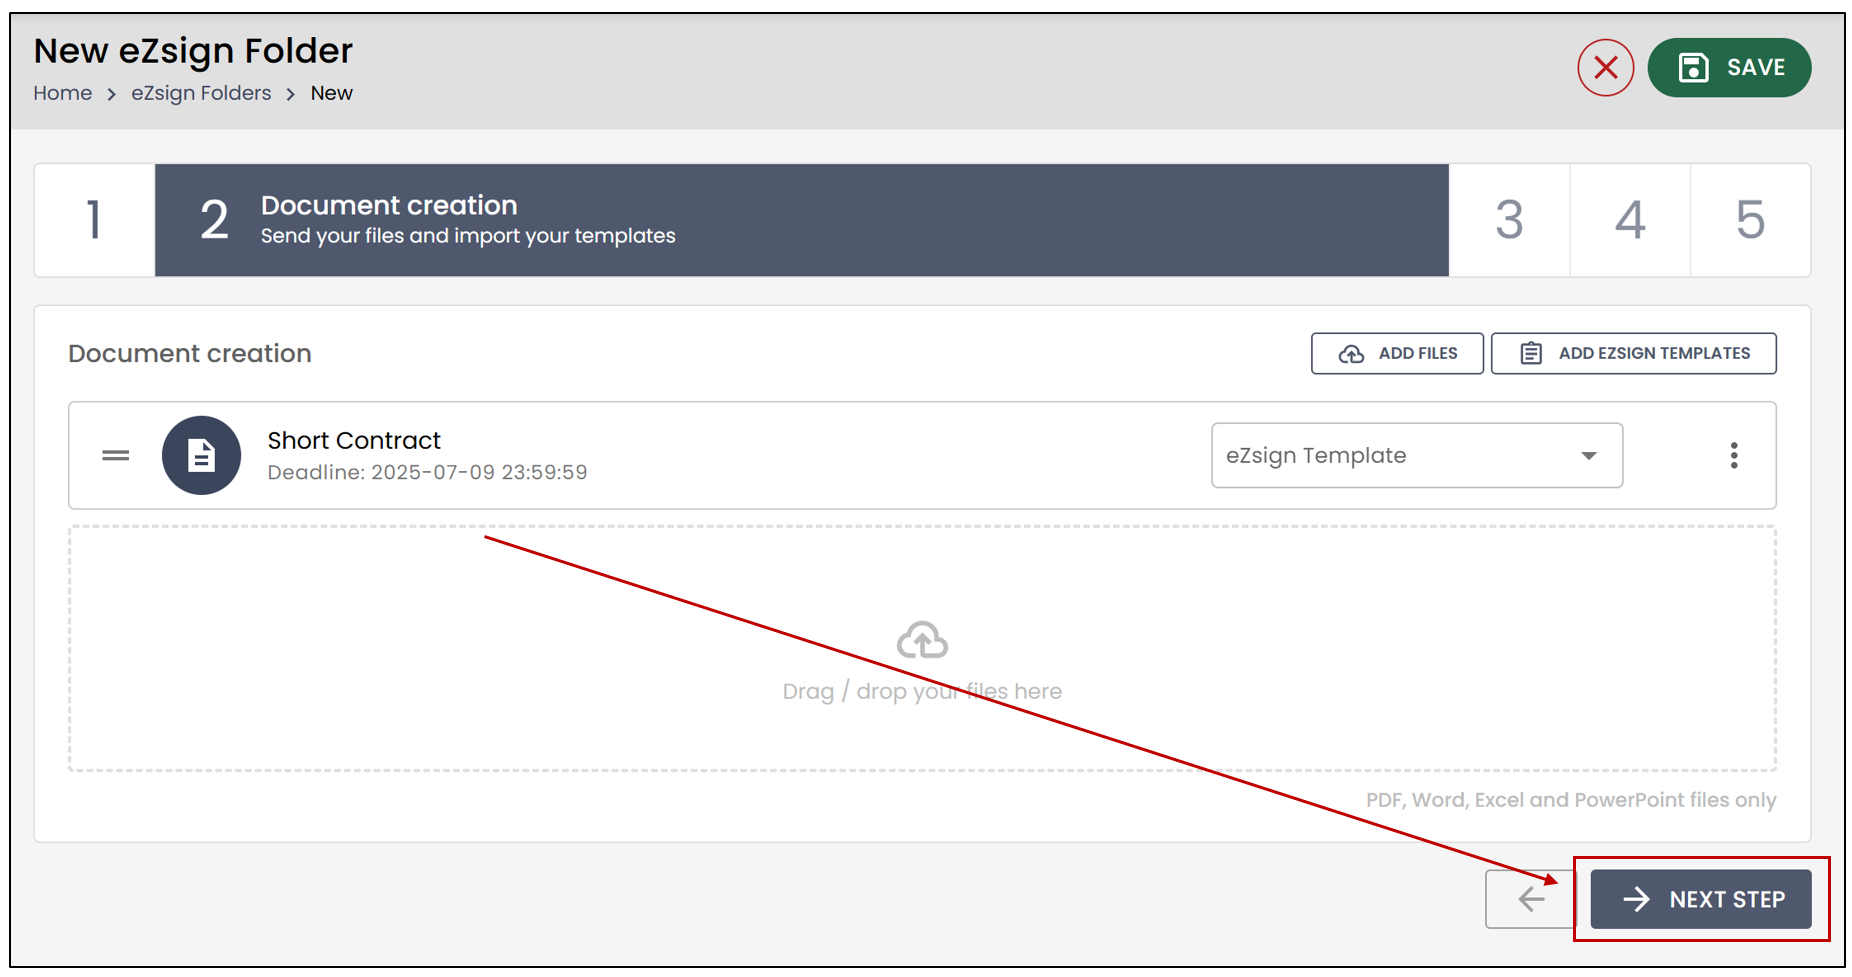
During the document creation step, you need to add the files intended for signature. There are two ways to add files to the folder: upload files directly from your computer or add eZsign templates.
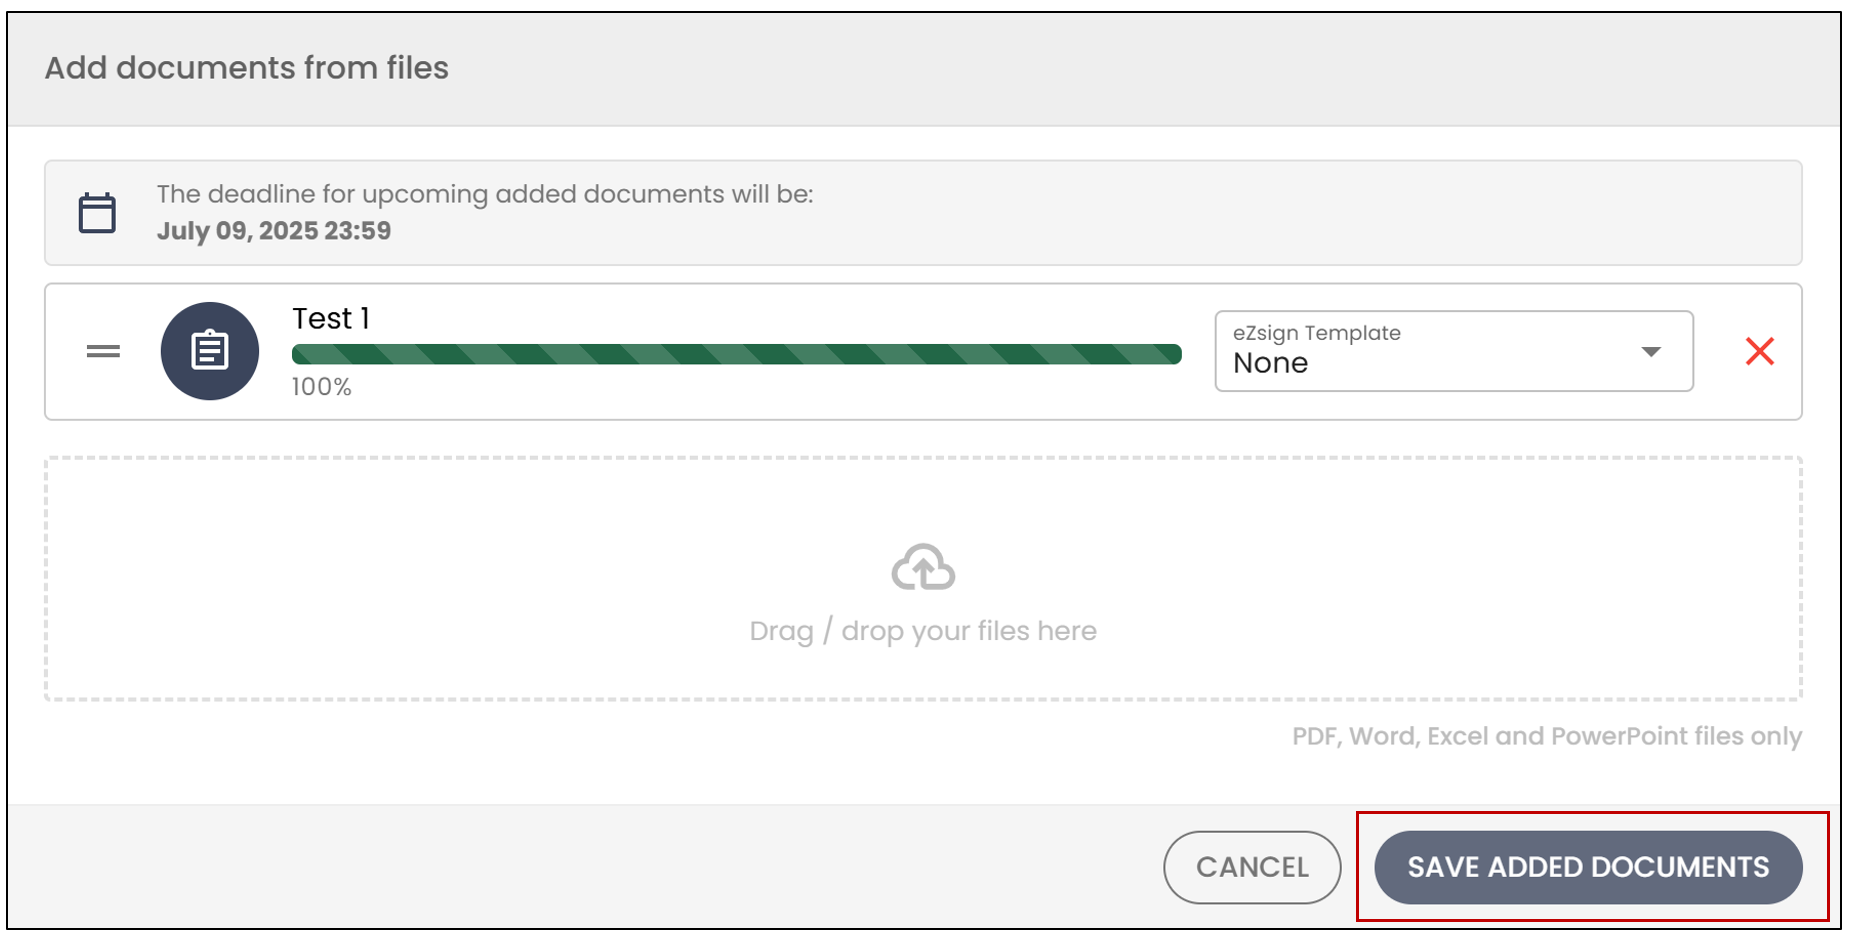
- To upload files from your computer, you can drag and drop the documents or click the Add Files button.
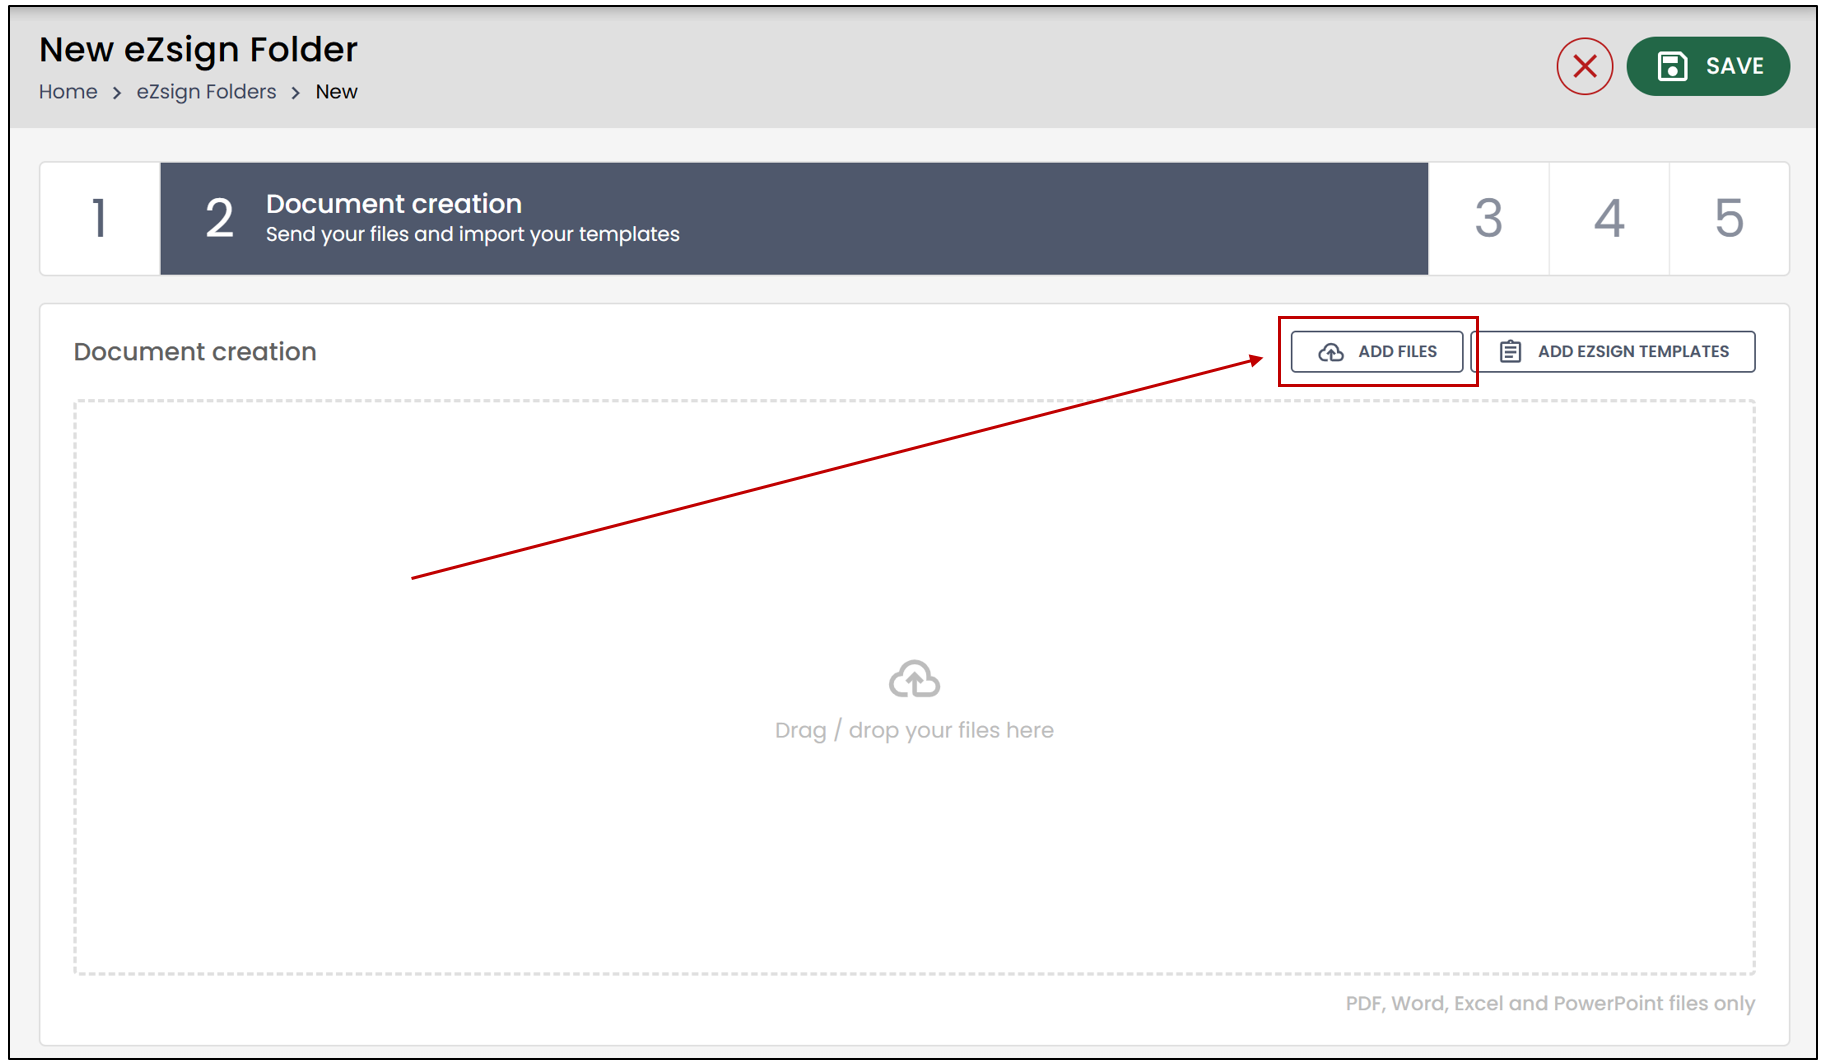
- Select the desired document from your computer, then click Open.
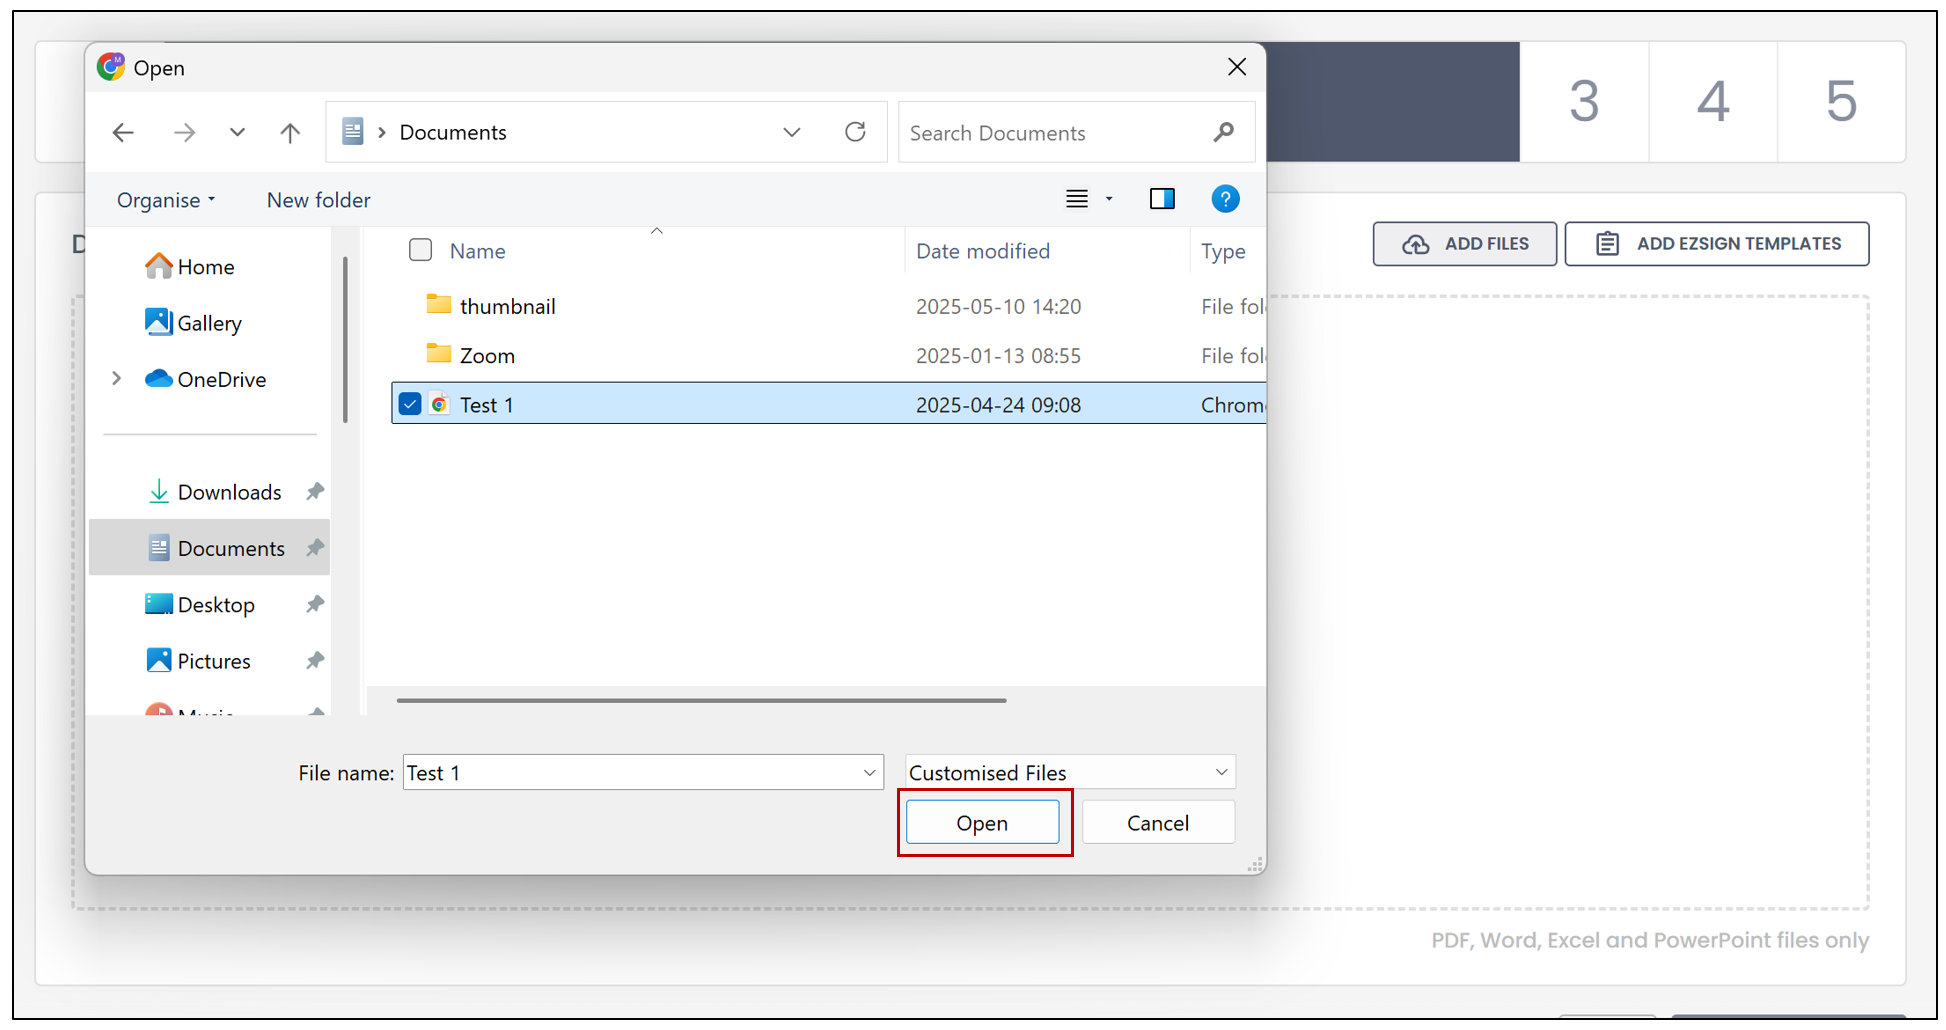
- You will be able to modify the deadline for upcoming added documents.
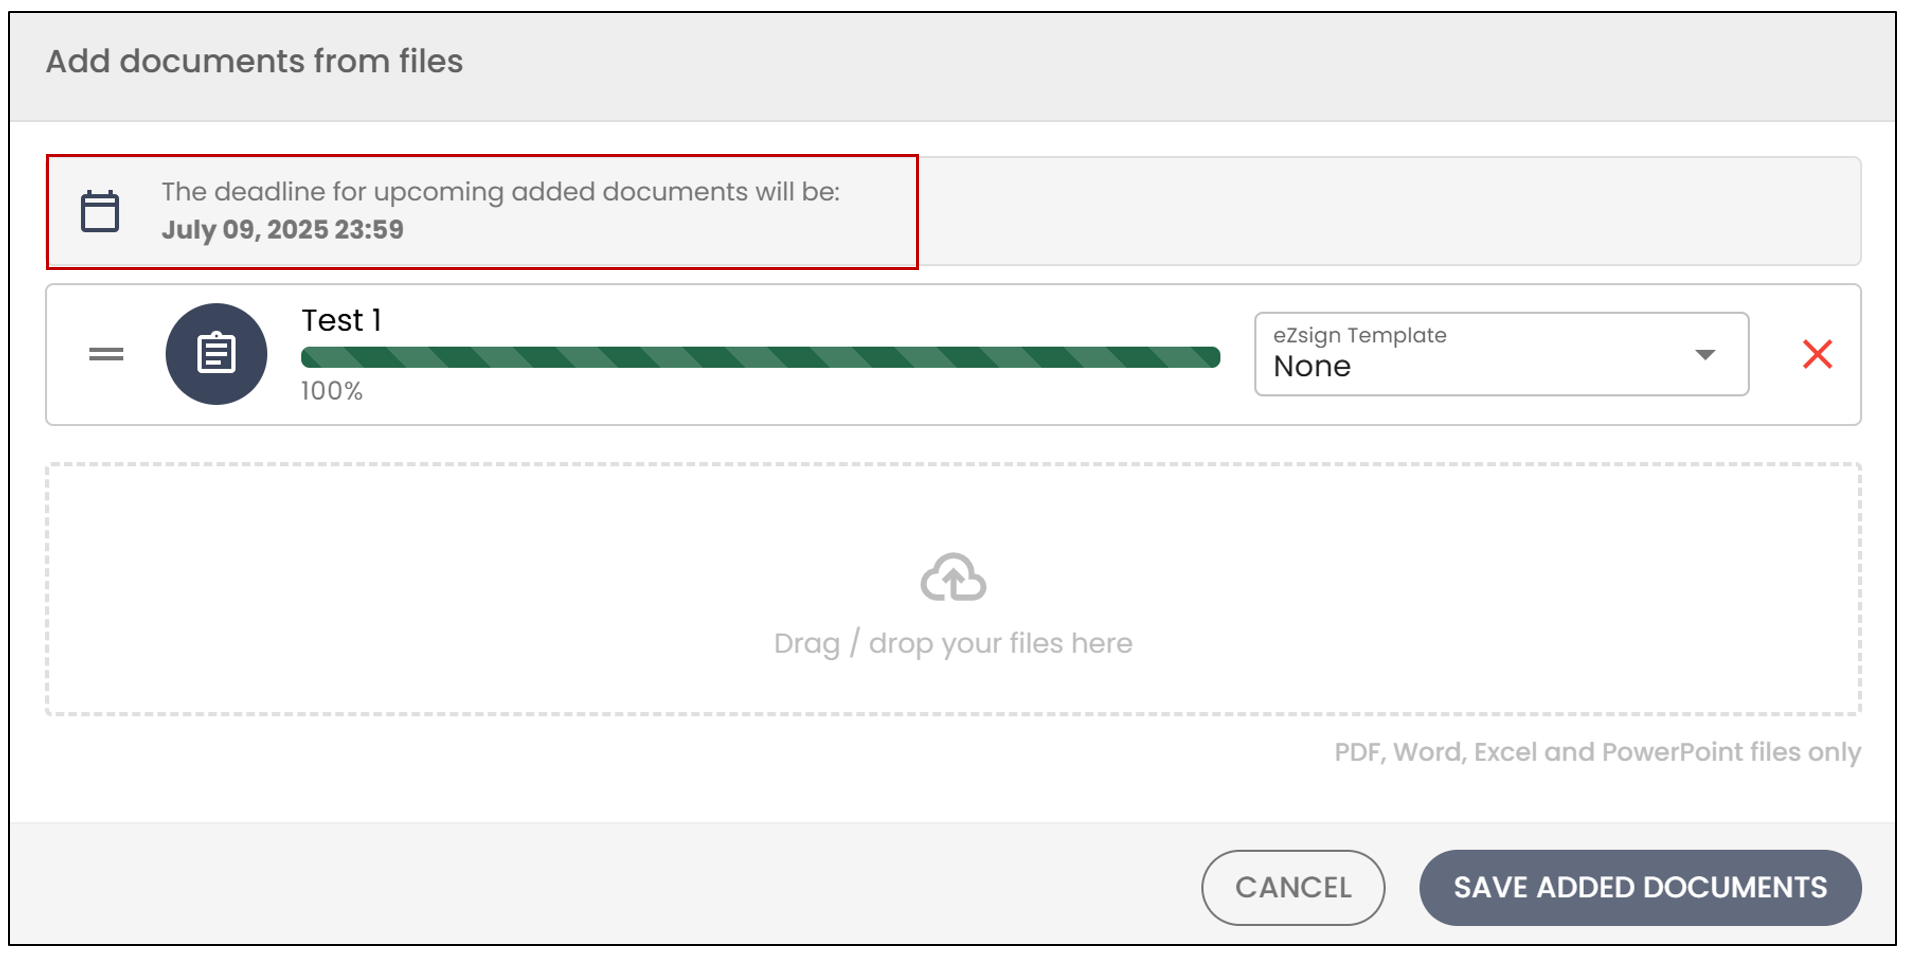
- You will also have the option to apply an eZsign Template to the document by selecting it from the drop-down list.
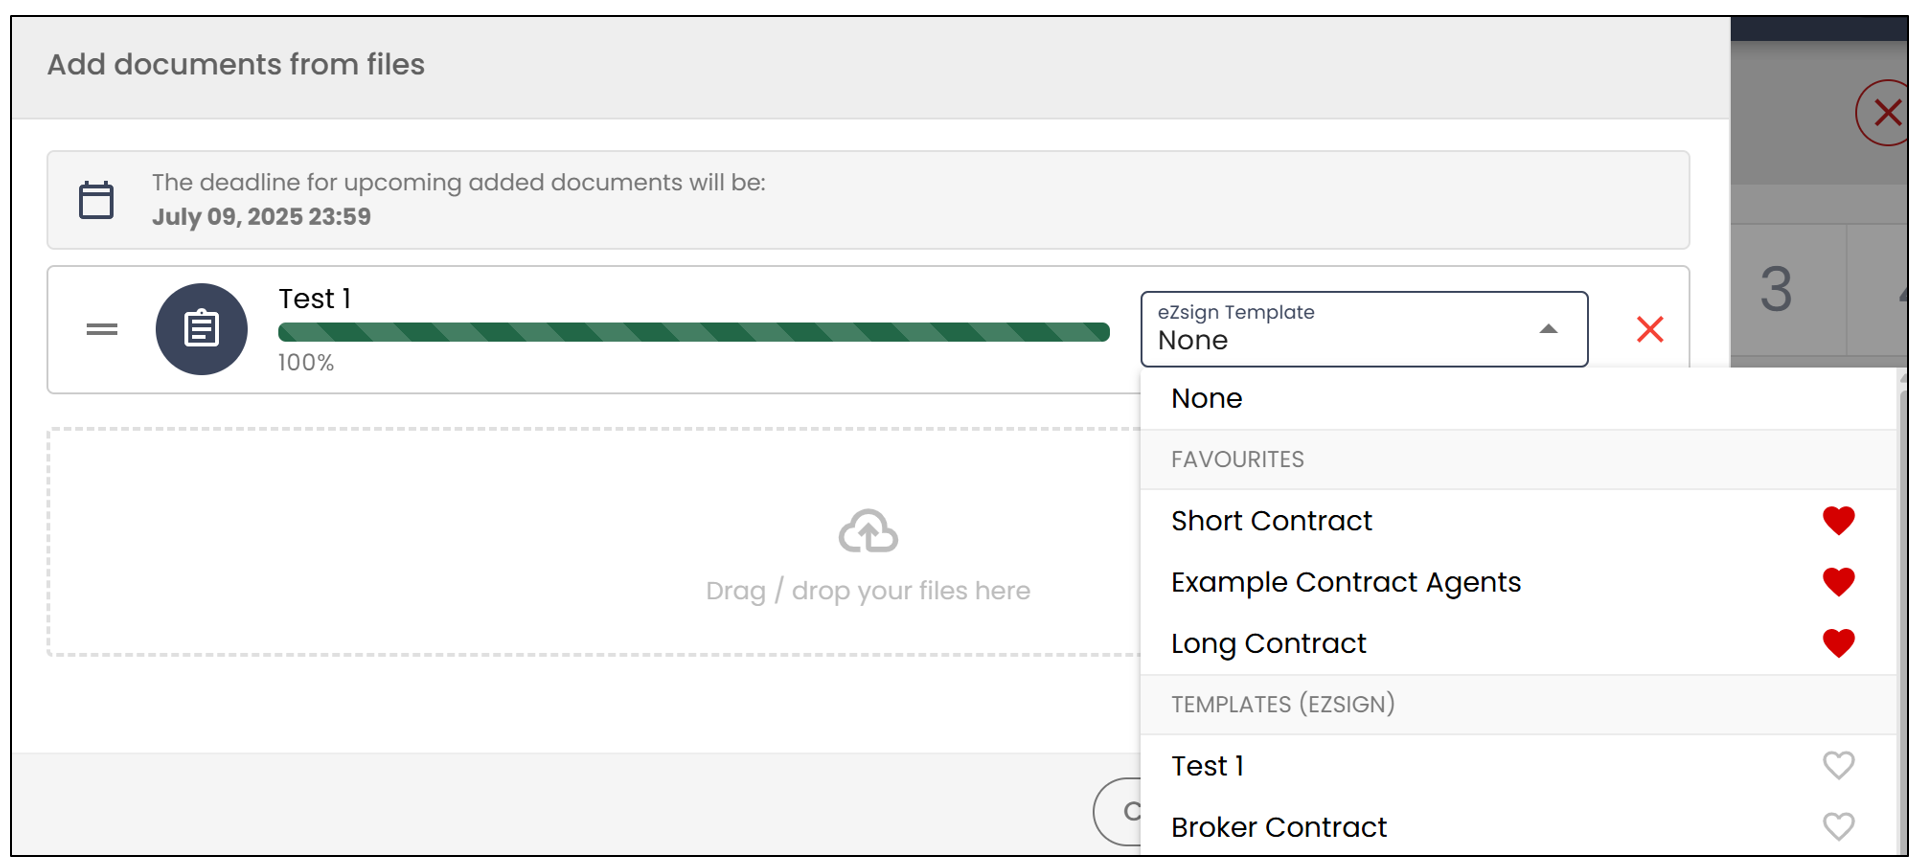
NOTE: To add a template to your Favourites , click on the heart icon to the right of the desired template.
- To add the document to the folder, click Save Added Documents.
- If you wish to add a template, click on Add eZsign Templates.
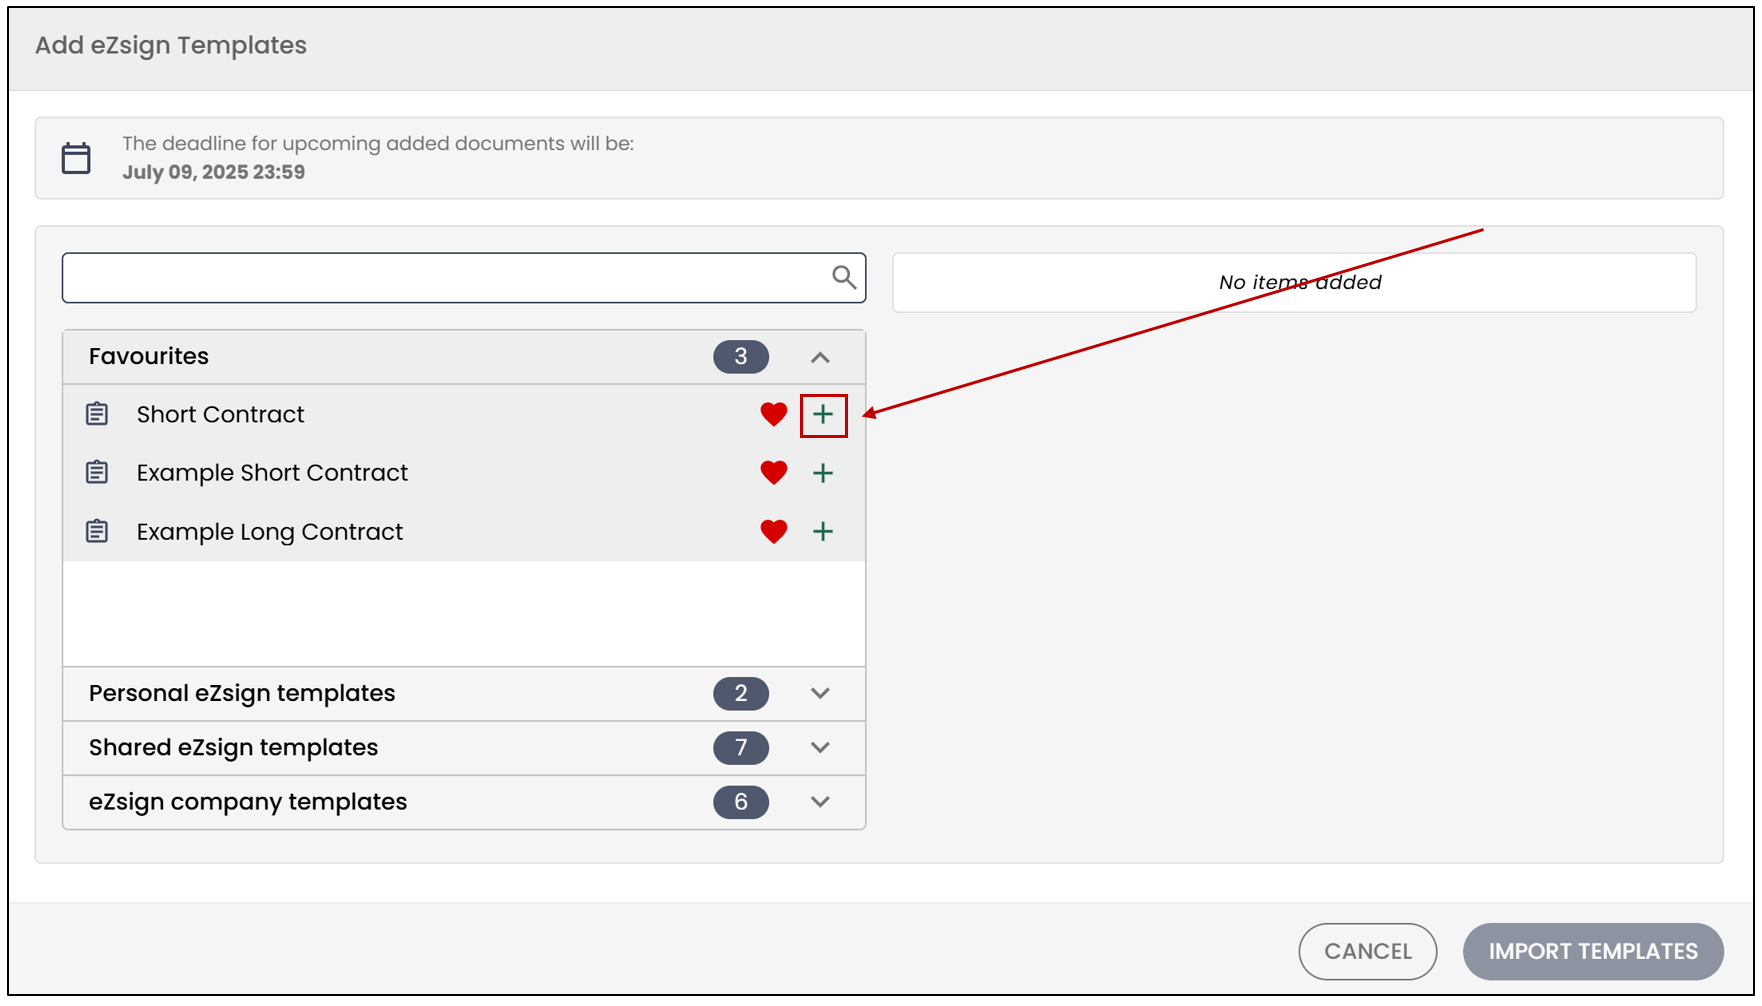
- Click on the "+" to the right of the desired eZsign template.
- To add the template to the folder, click on Import Templates.
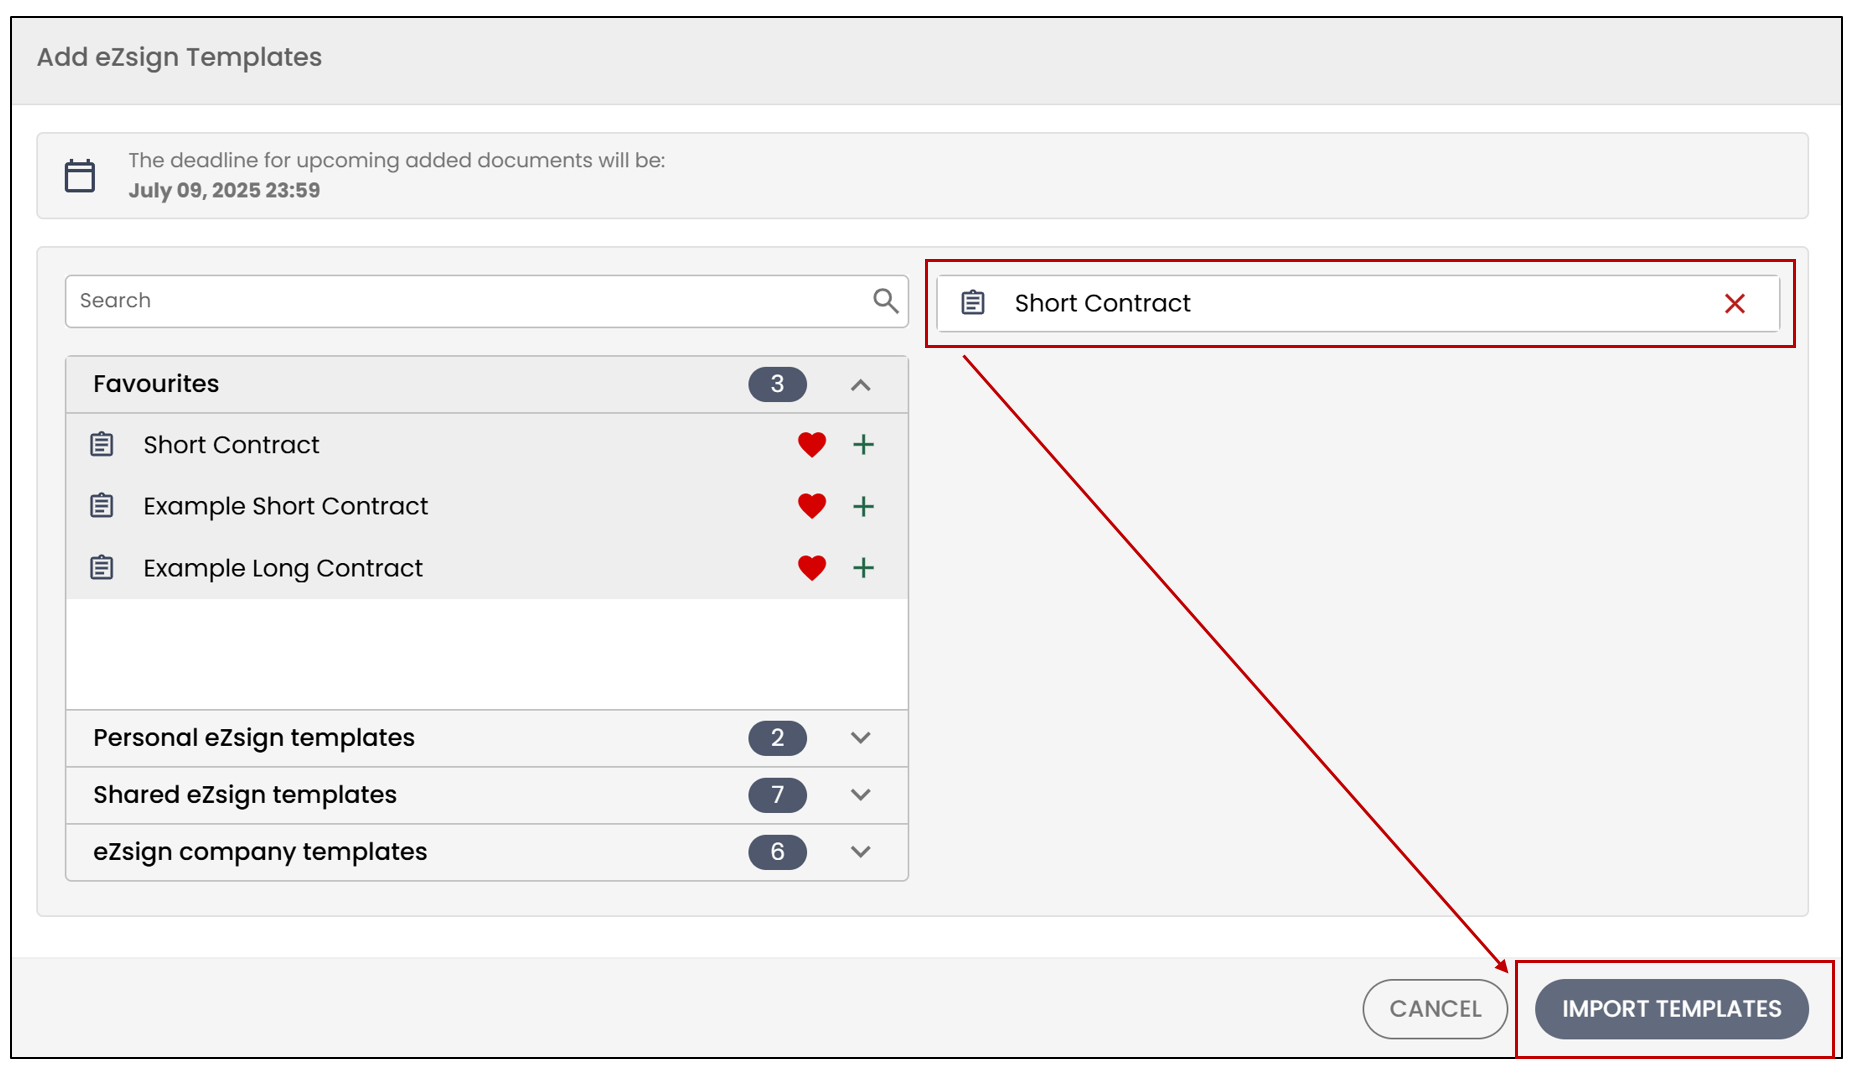
NOTE: In this example, only one document is added to the folder, but it is possible to include multiple documents.
- When all the desired documents are added to the folder, click on Next Step.
Signatories
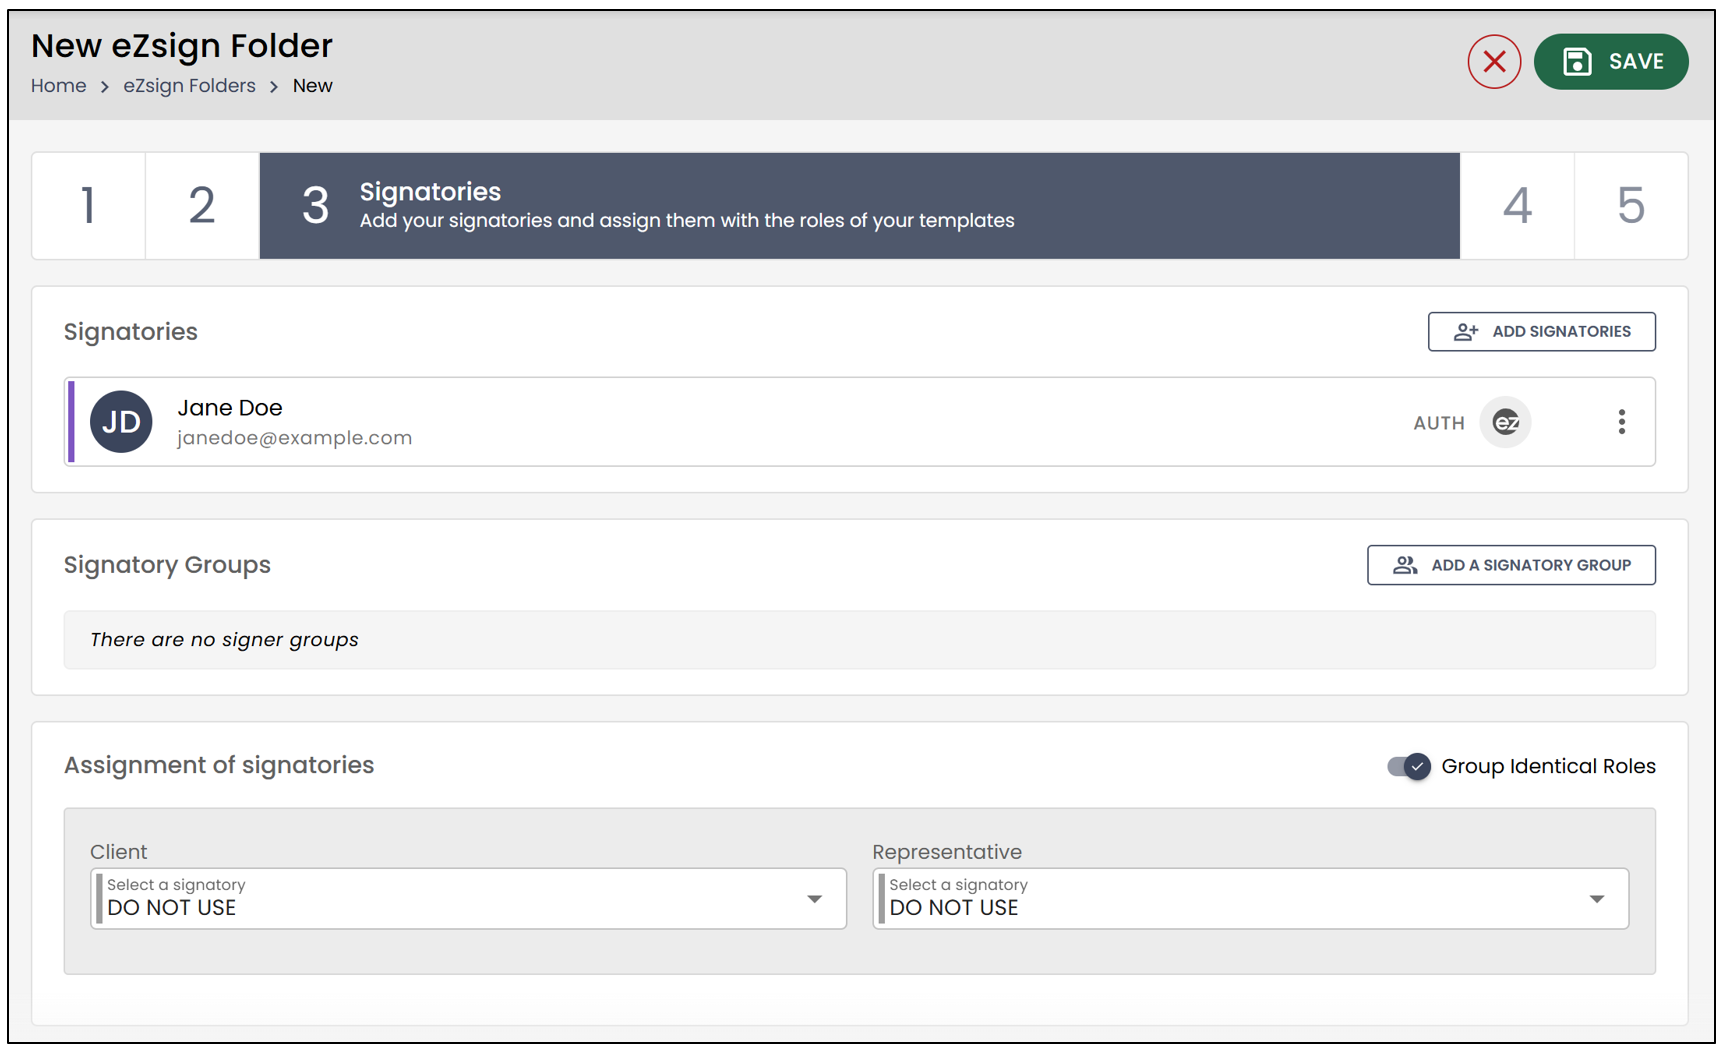
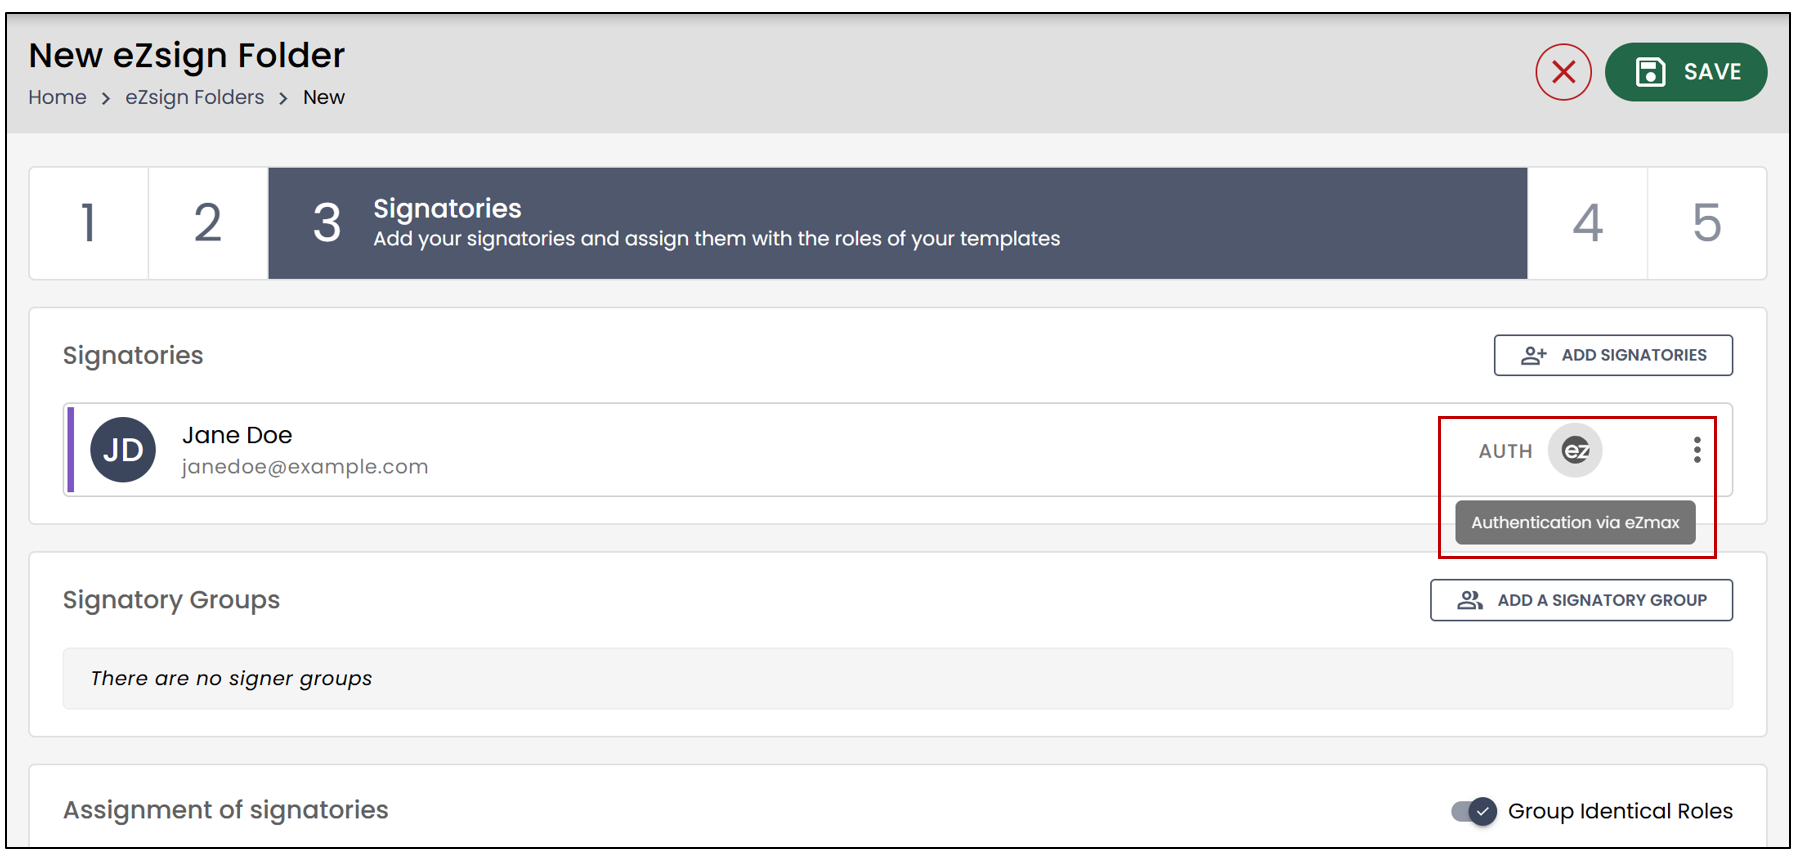
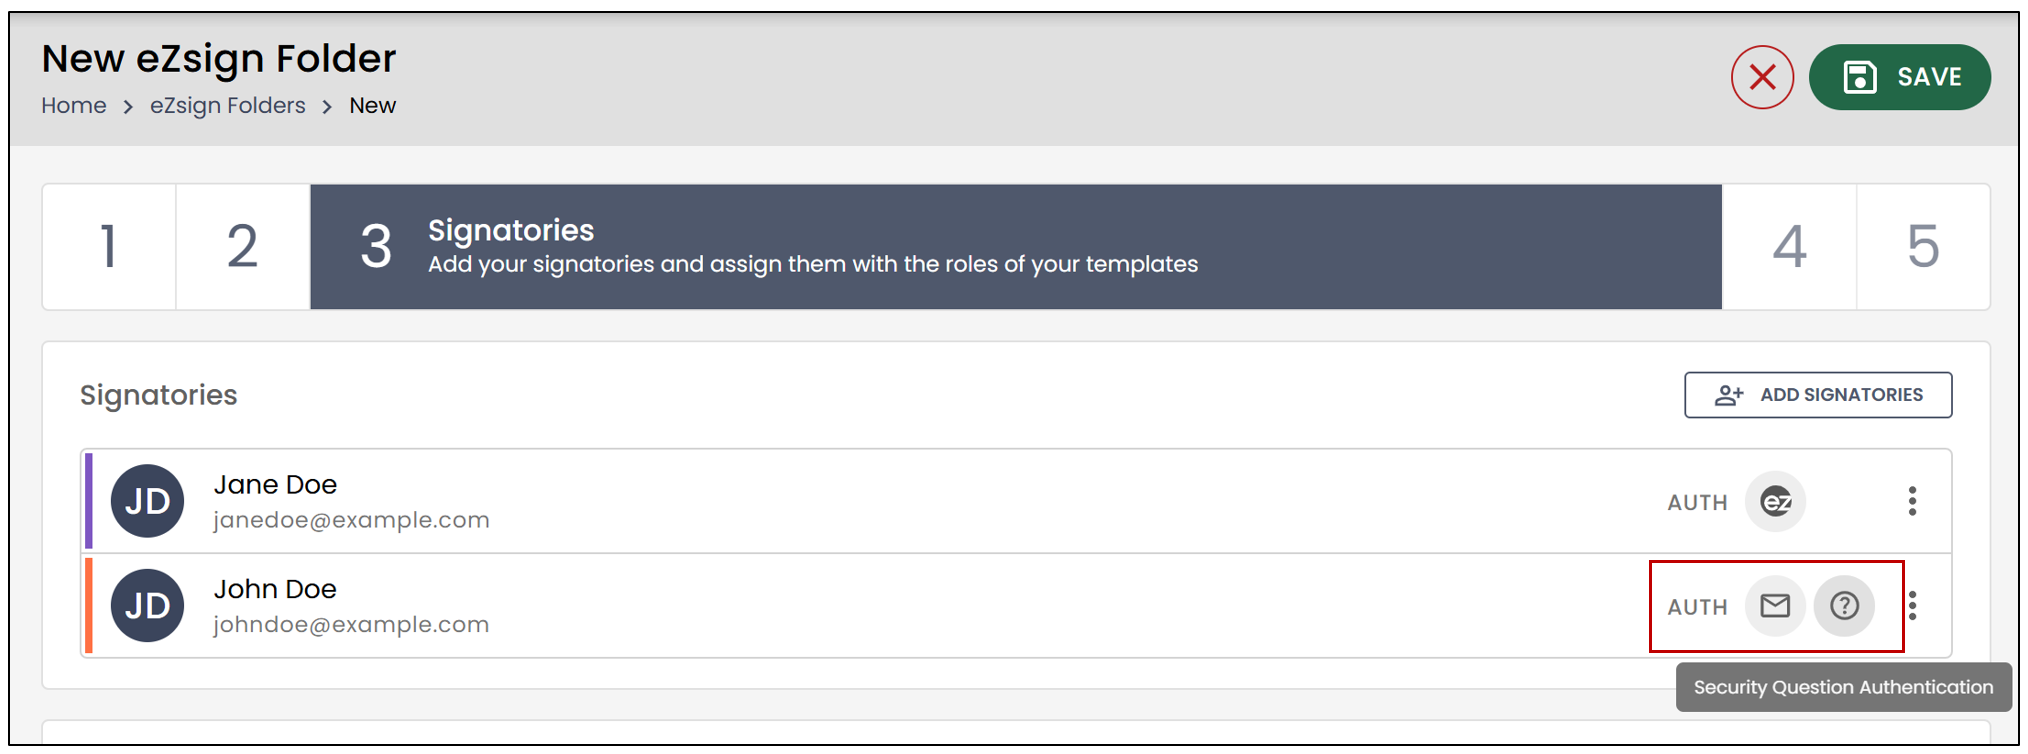
- The Authentication Type is located to the right of each signer added. In this example, the authentication type is via eZmax.
NOTE: If, as an agent, you do not wish to sign via the application, you must be manually added as a signer. Email signing cannot be automated for a user. All users must sign via eZmax or the eZsign website.
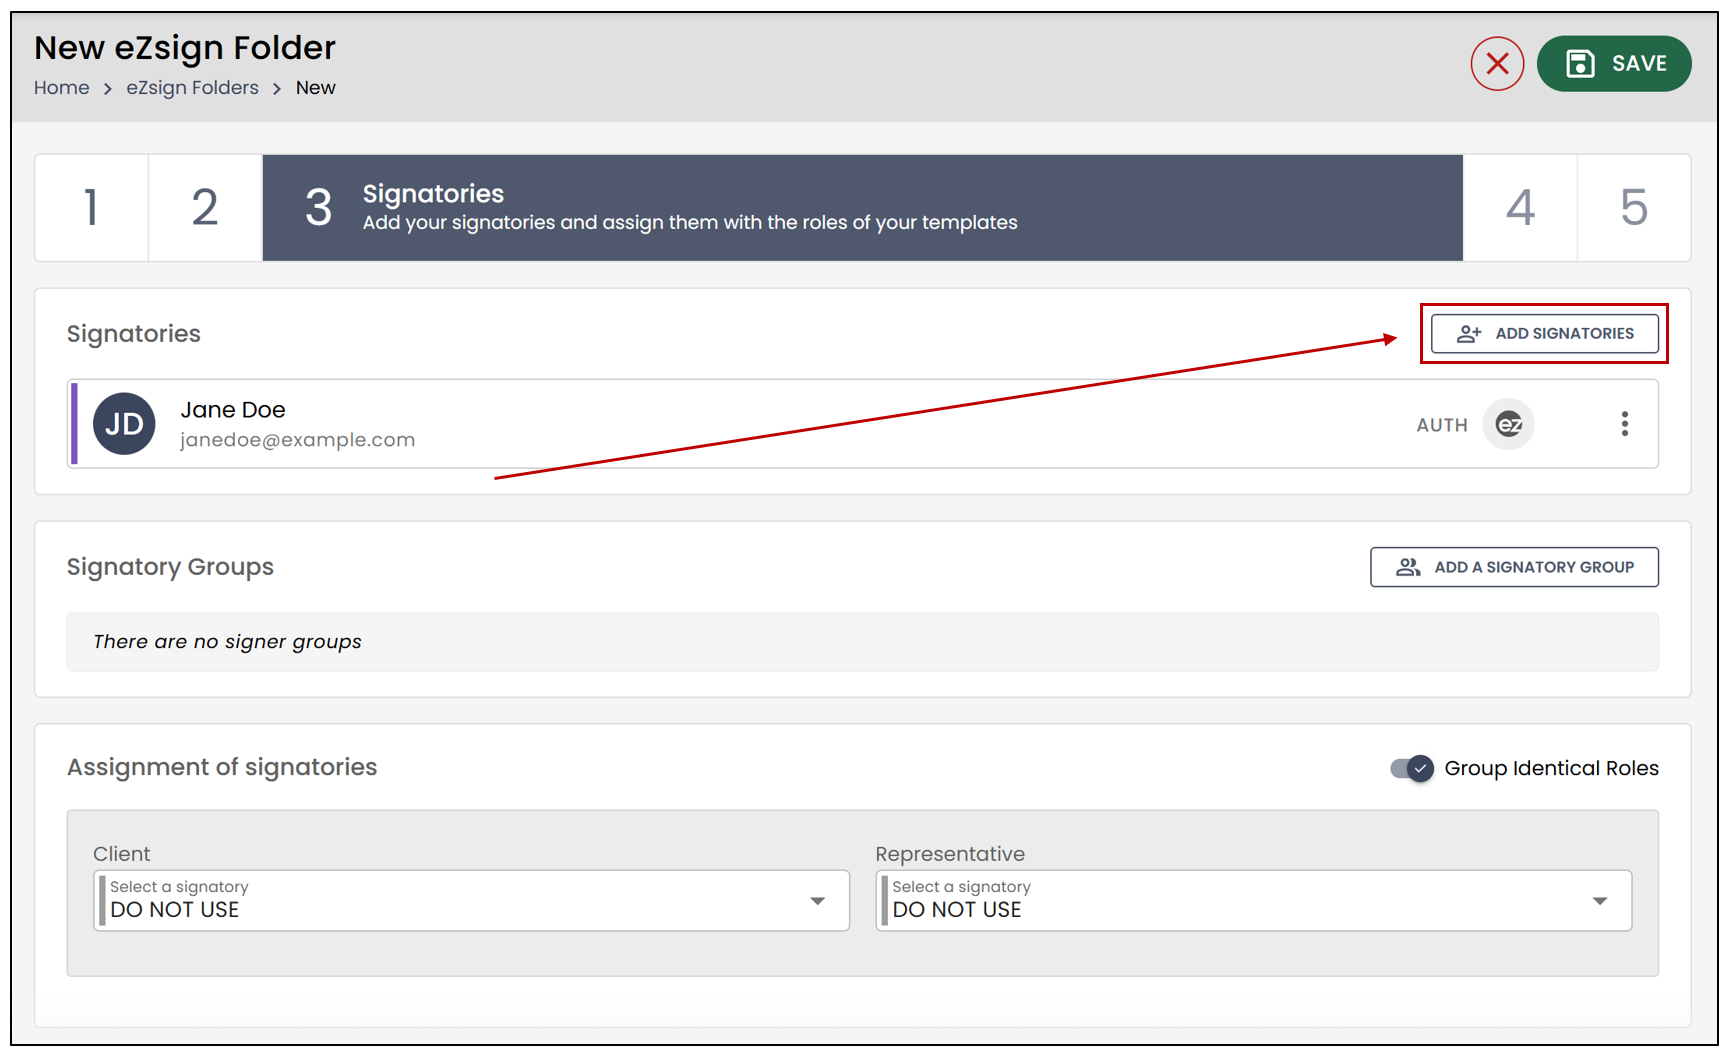
- To add signatories to the folder, click the button at the top right.
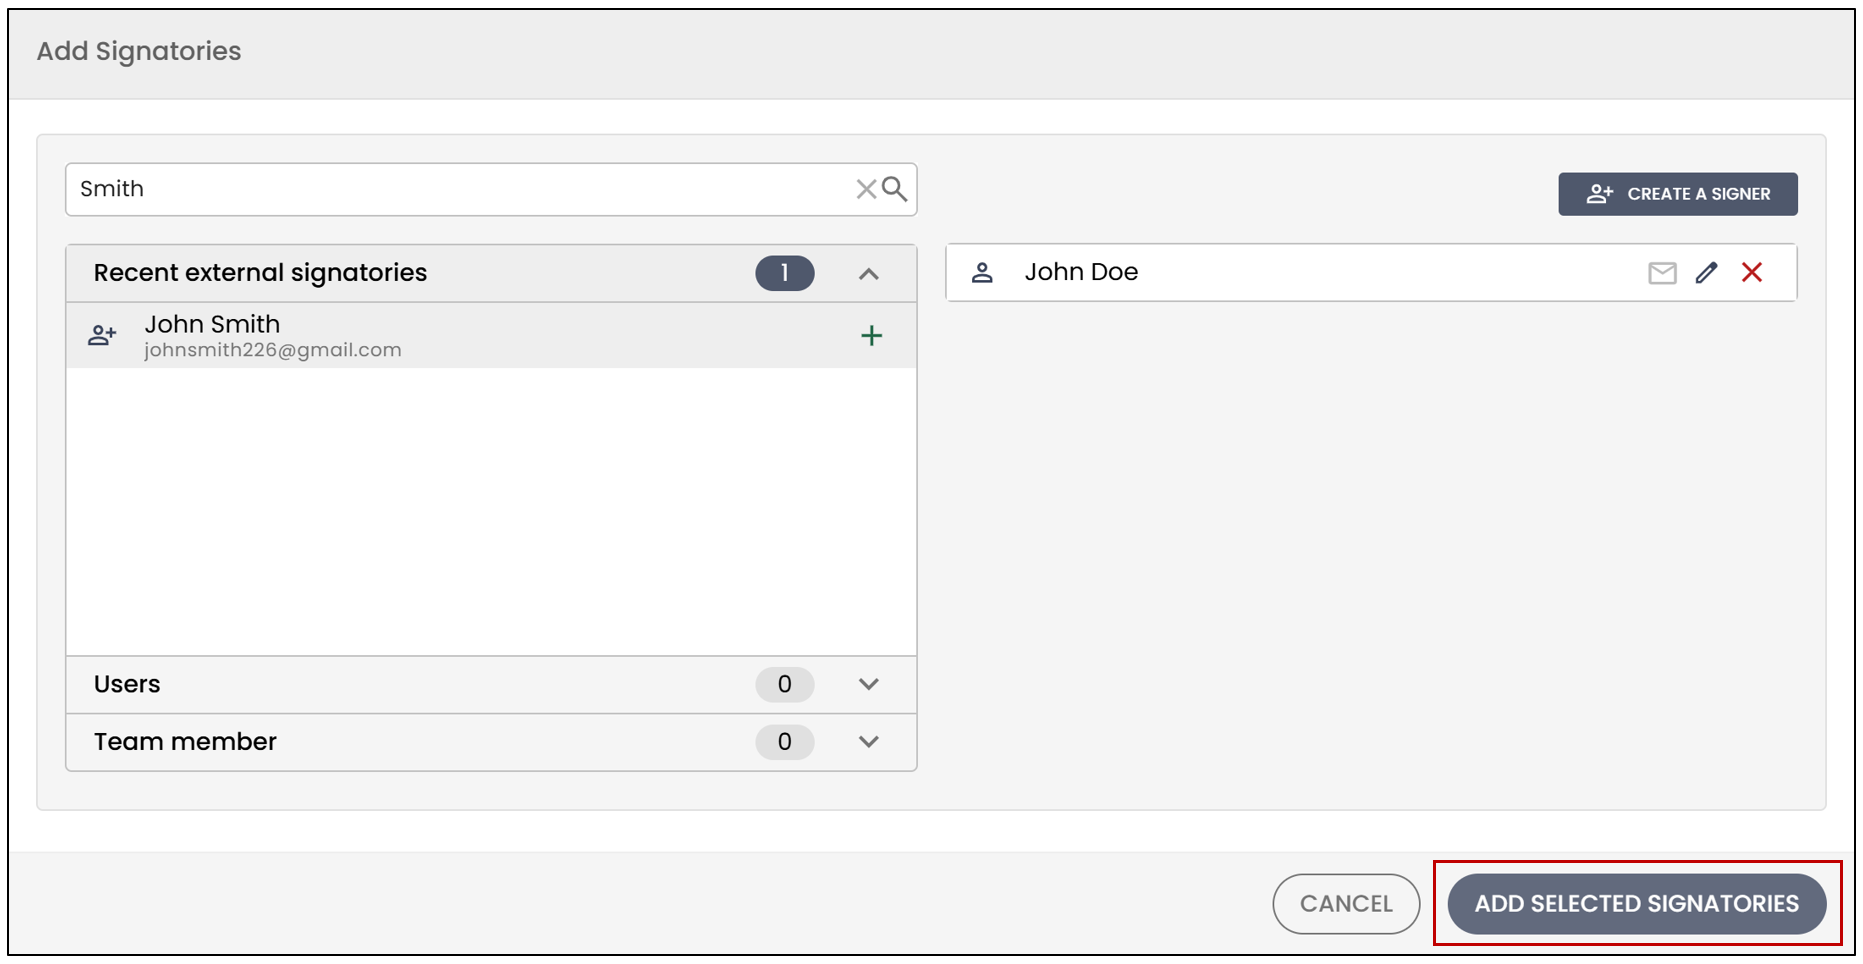
You will have the option to select a recent signer. If they are already in your database, they will automatically appear in the list. You can also enter, for example, the last name of your client to easily find the corresponding signers.
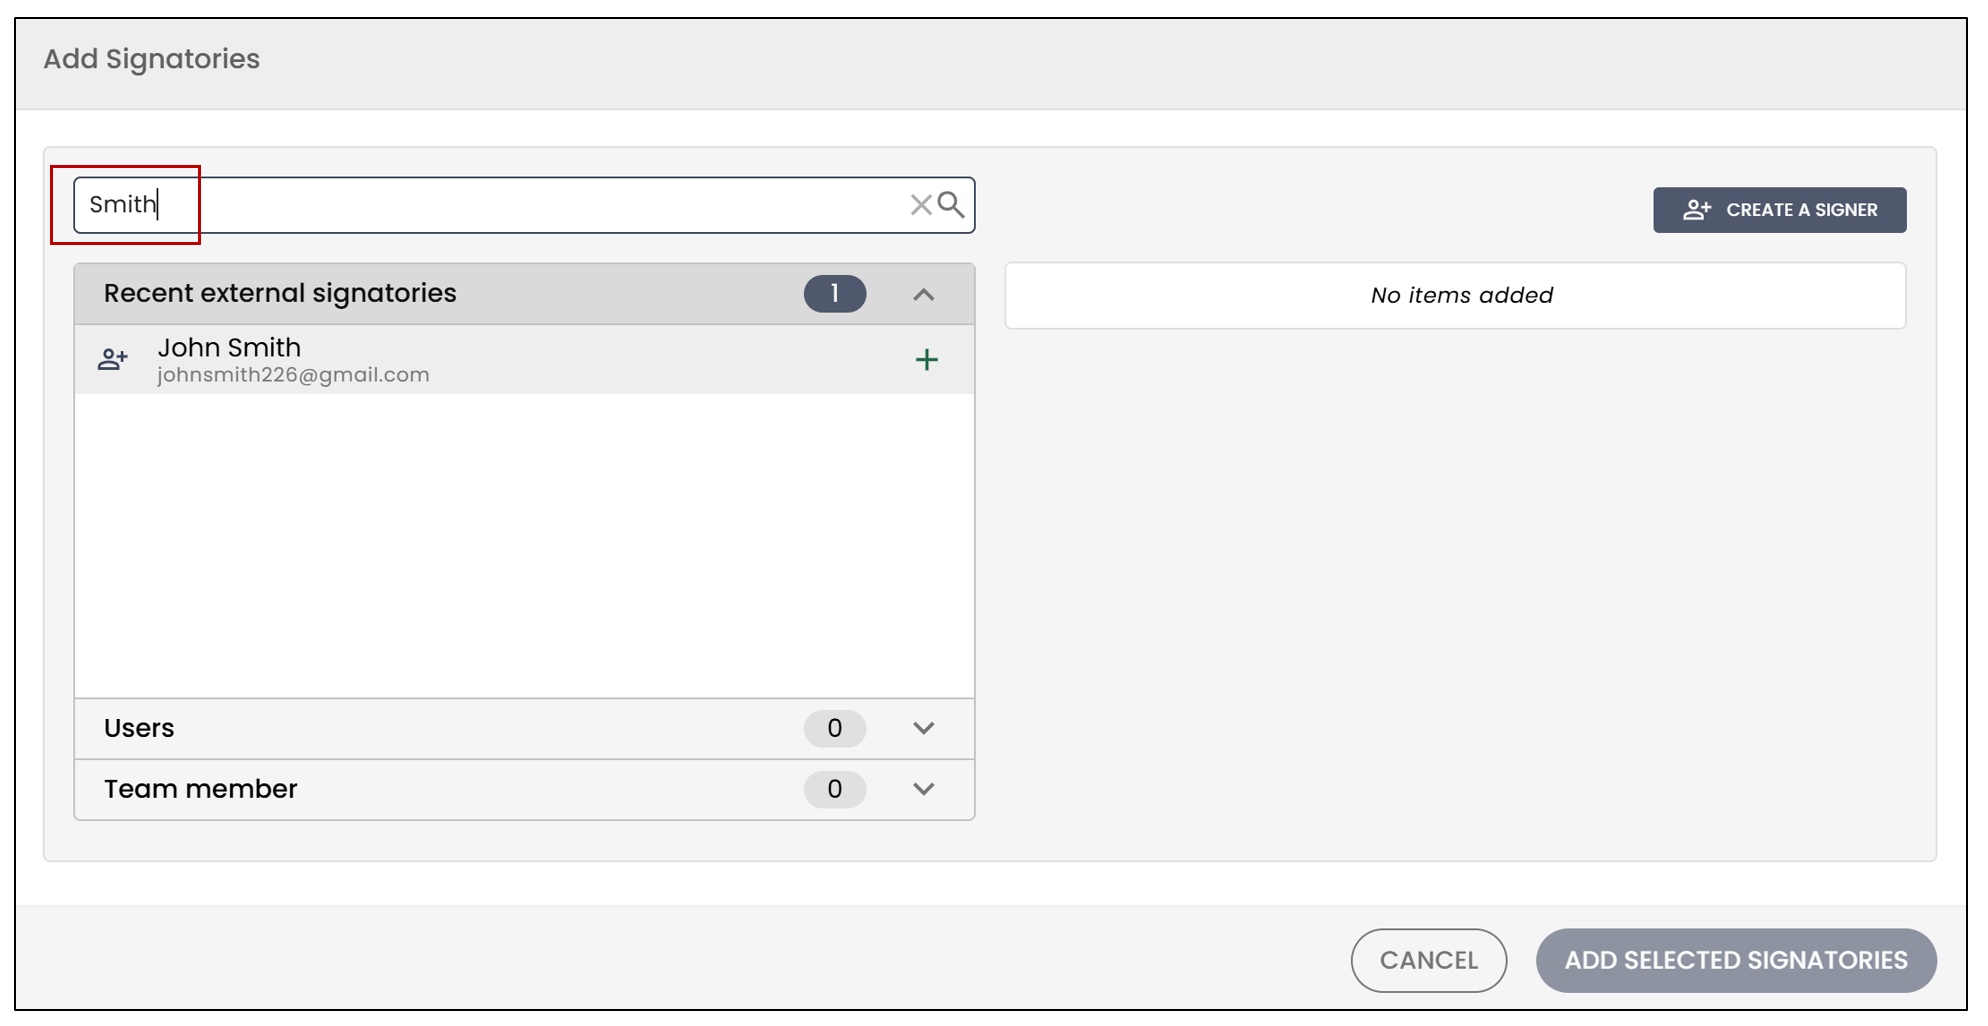
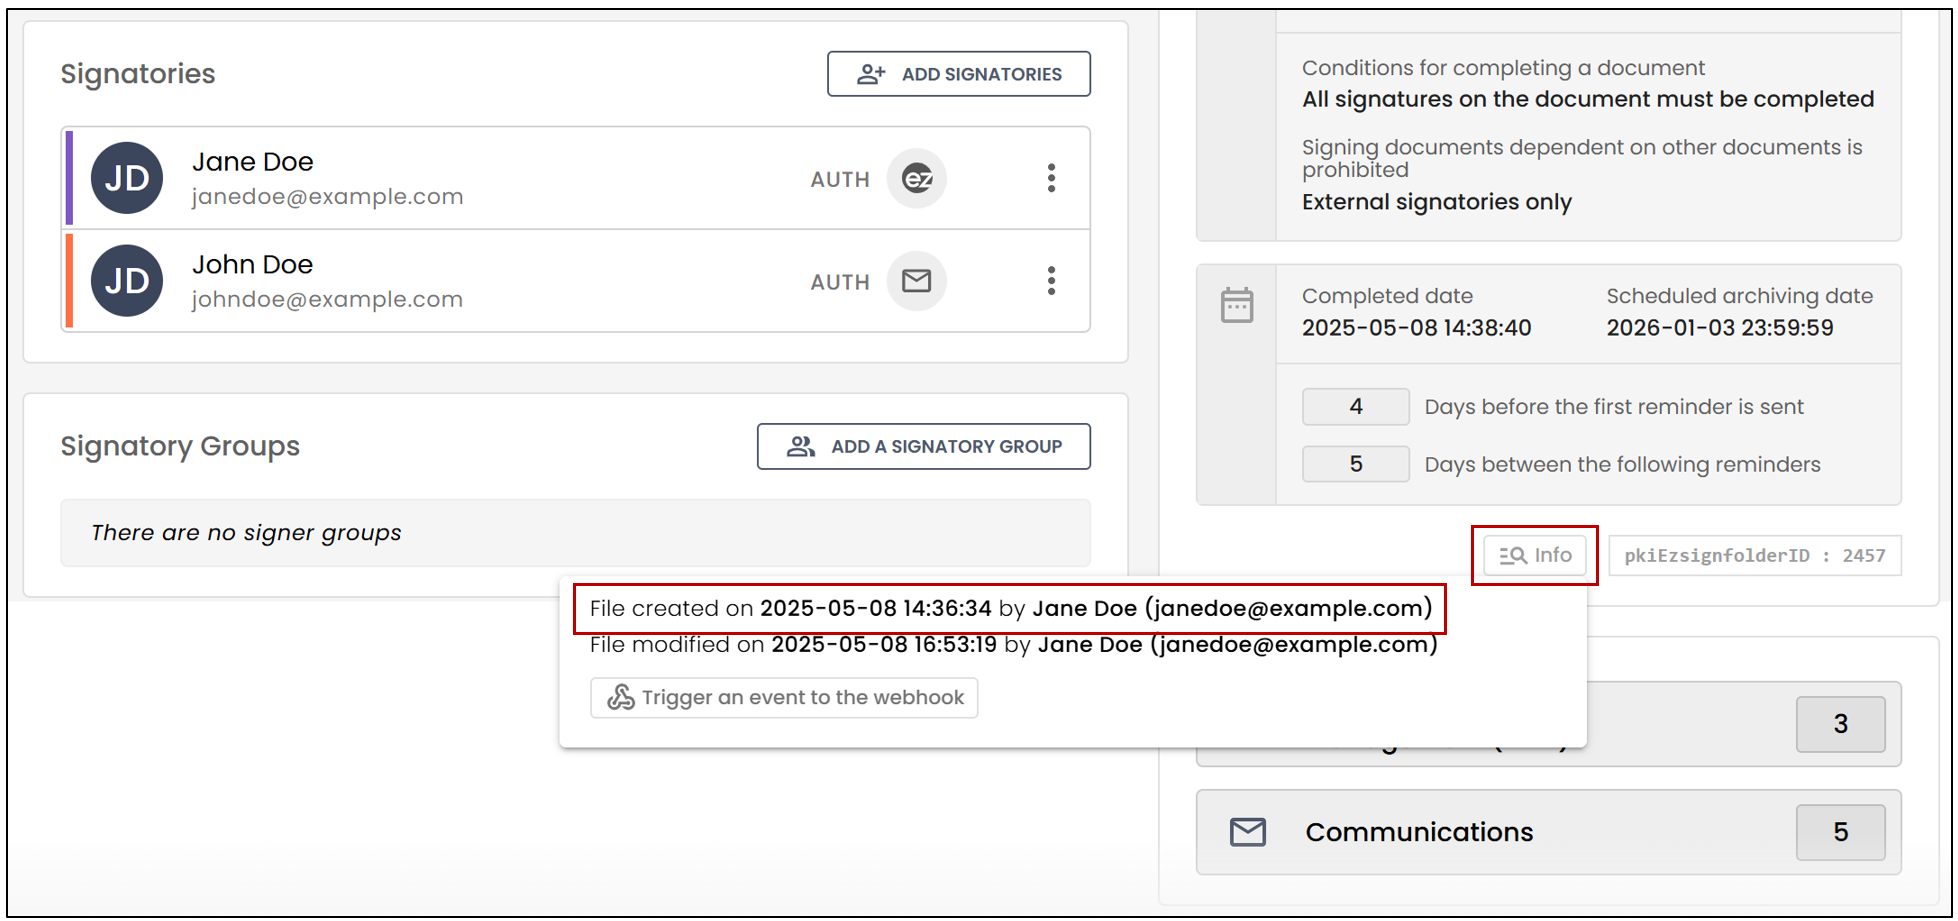
NOTE: Recent signers are displayed for a period of up to 13 months. The reference date used for this display is the creation date of the folder associated with the signer. It should also be noted that, for a signer to appear in this list, they must have the required permissions to manage the folder and must have an authorized login type for the new folder. To view the creation date, click on Info.
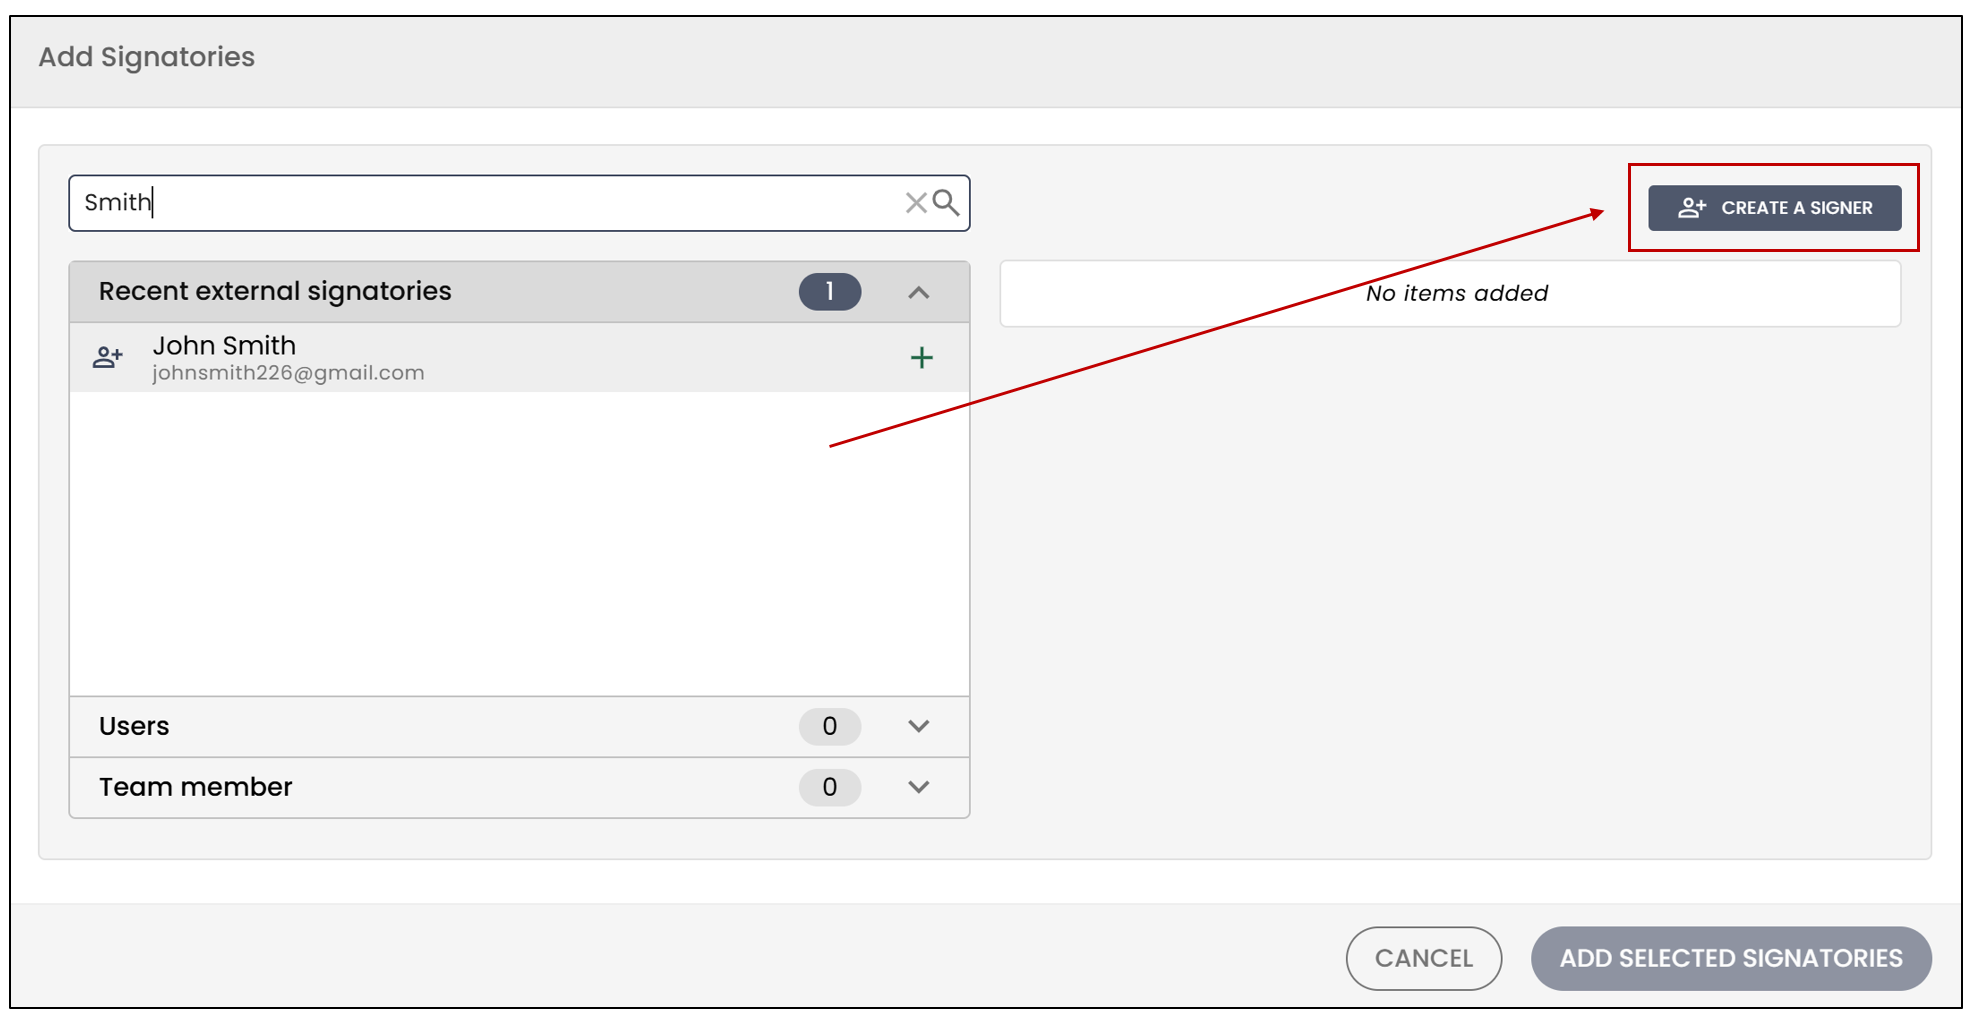
- To create a new signer, click on Create a Signer.
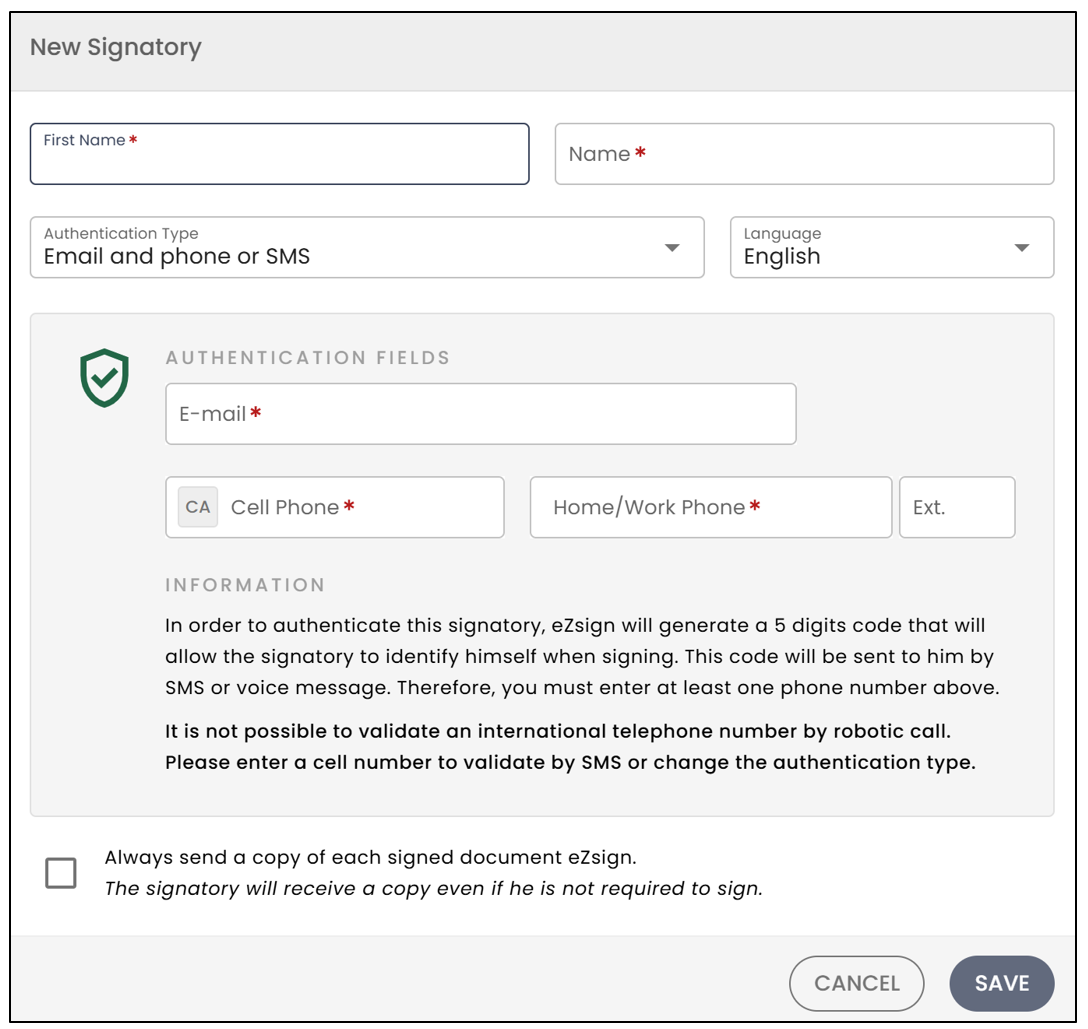
- You will be able to enter the signer’s First Name and Last Name. Then, select the Language.
NOTE: The fields have character limits. The first name is limited to a maximum of 20 characters , and the last name to a maximum of 25 characters.
- From the drop-down list, select the Authentication Type. For more information, please refer to the article Types of Signatory Authentication.
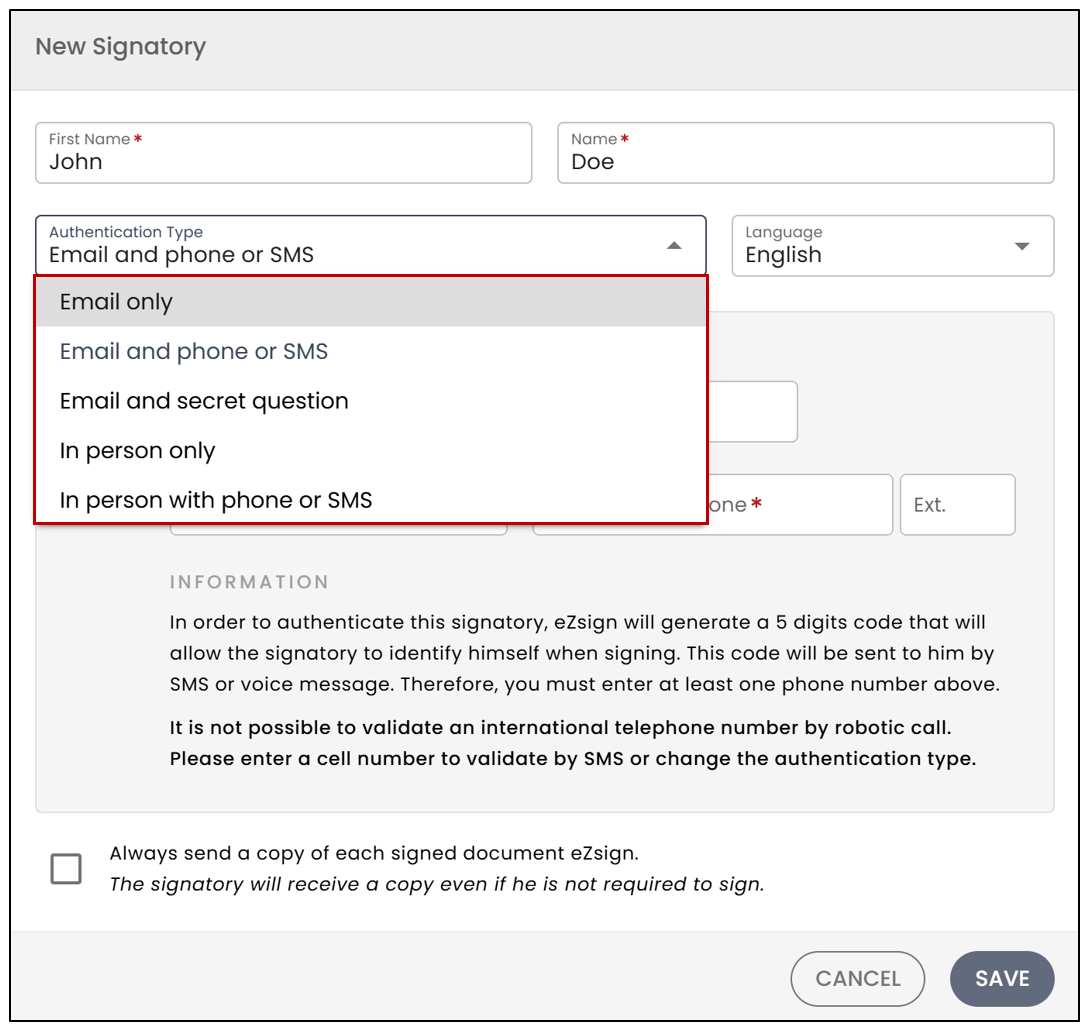
- Click on Save to create the new signer. When you are done, click on Add Selected Signatories.
- The signer will appear in the list, and you will be able to view the authentication type to the right of their name.
For more information on how to add a group of signers, please refer to the article Add/Edit/Delete a signatory group in an eZsign folder.
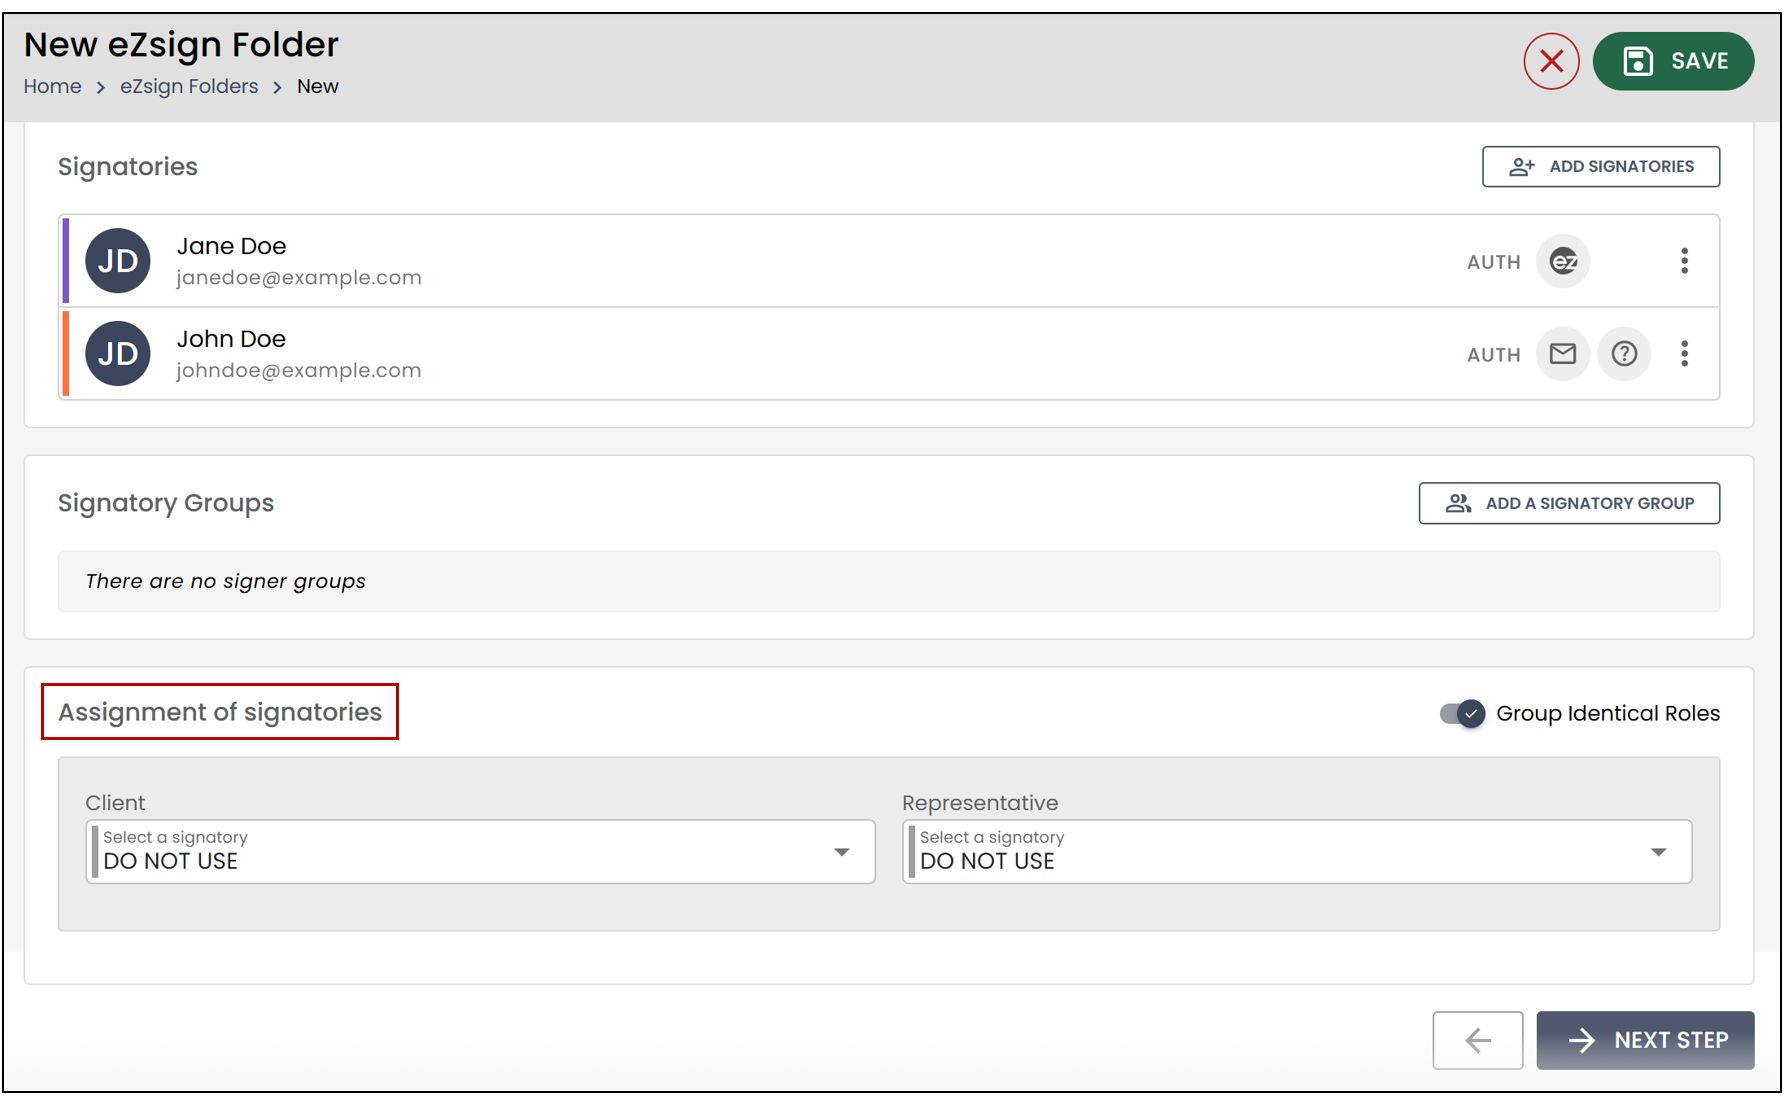
- If you have added a template to the eZsign document, you will find the Assignment of Signatories section. You can then assign the folder’s signers to the roles.
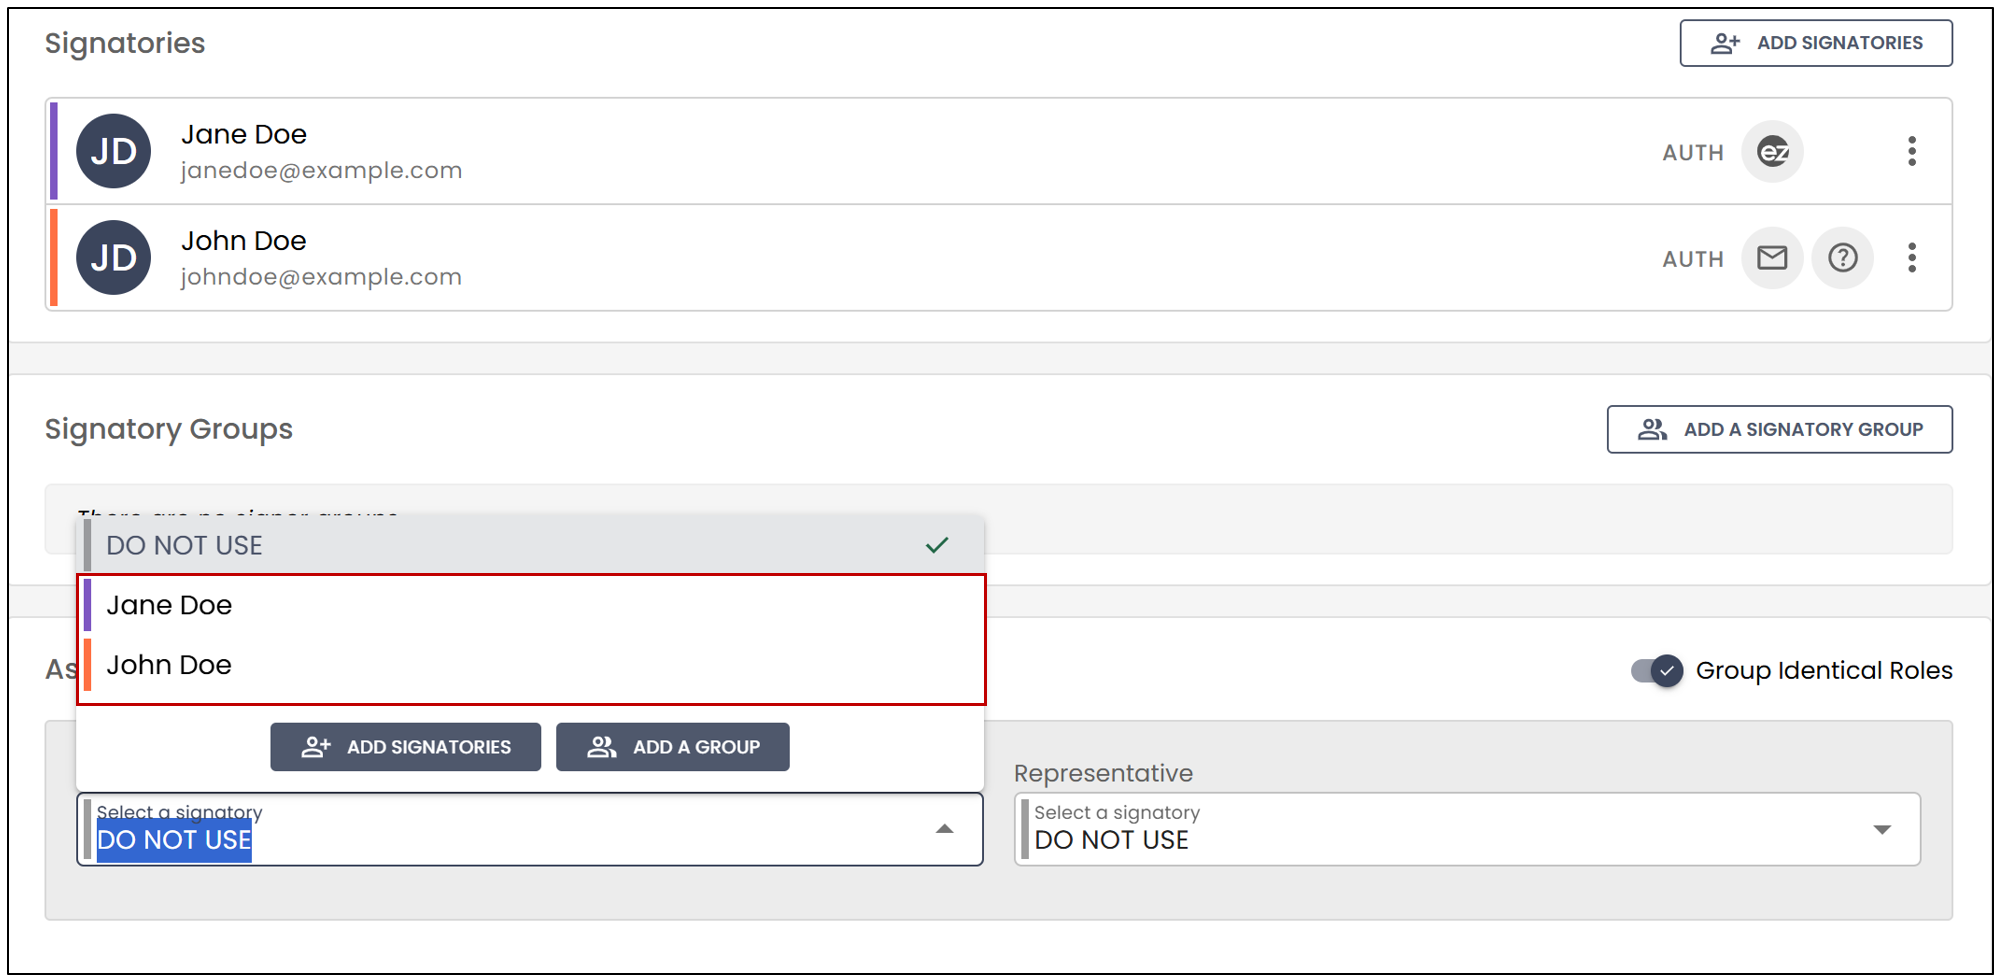
- To add signers directly from a role, click on Add Signatories.
NOTE: If you do not wish to use certain roles, simply click on Next Step.
Document Verification
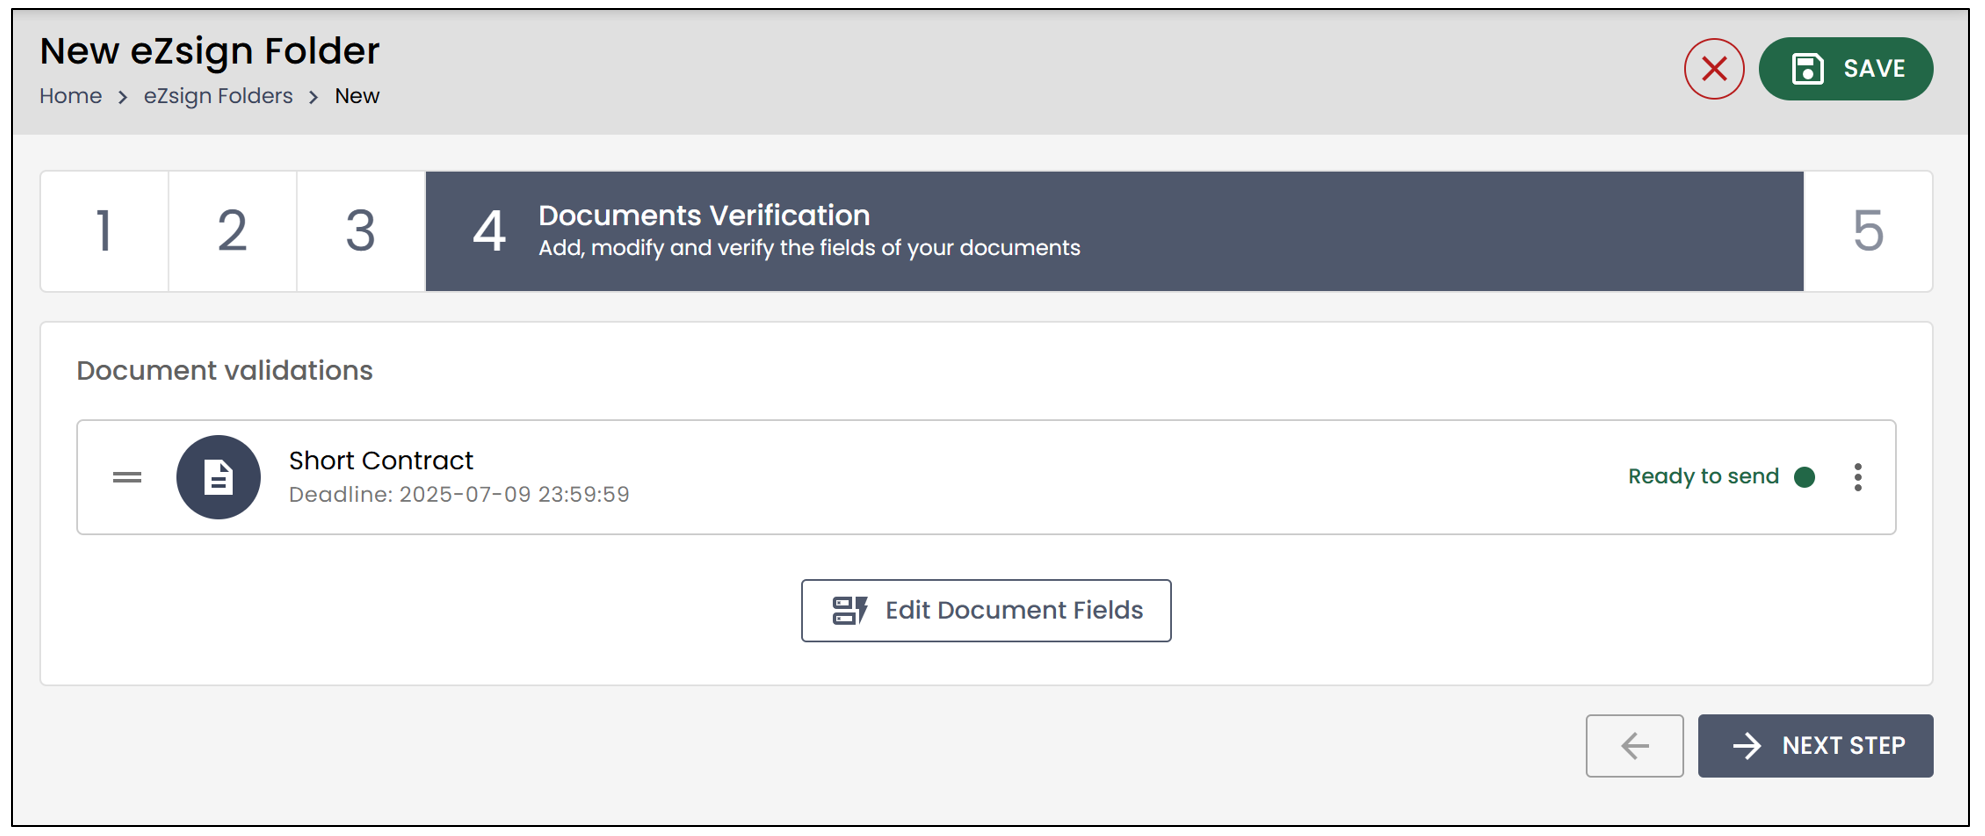
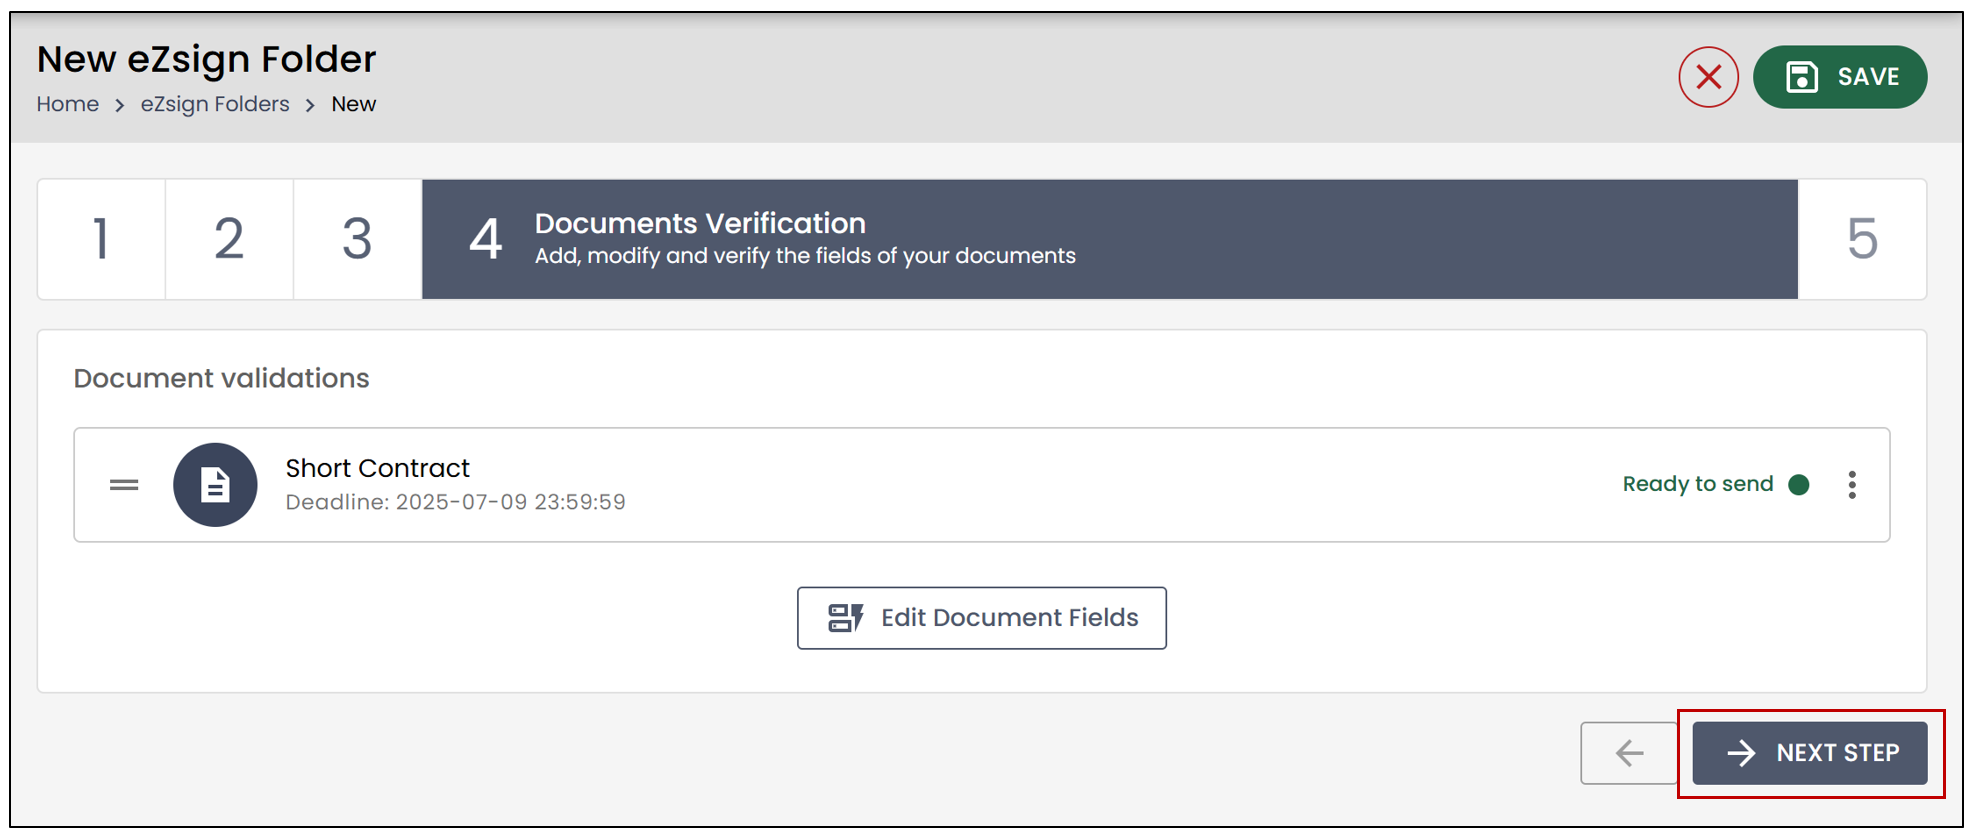
- If, during the document creation, you had selected a template or assigned a template to a document, the document will be Ready to send directly, as the document fields will already be added.
NOTE: In the case of a Purchase Agreement (PA) or a Counteroffer, it is your responsibility as a broker to add a note to indicate the response to the PA. You will need to modify the required fields. However, if the document does not relate to a PA, no action is necessary on your part according to the template, and you can simply click on Next Step.
NOTE: On the other hand, for documents requiring a response, you will need to modify the fields of the document accordingly. Therefore, you will need to intervene directly in the document to make the necessary adjustments.
- To make changes, click on Edit Document Fields.
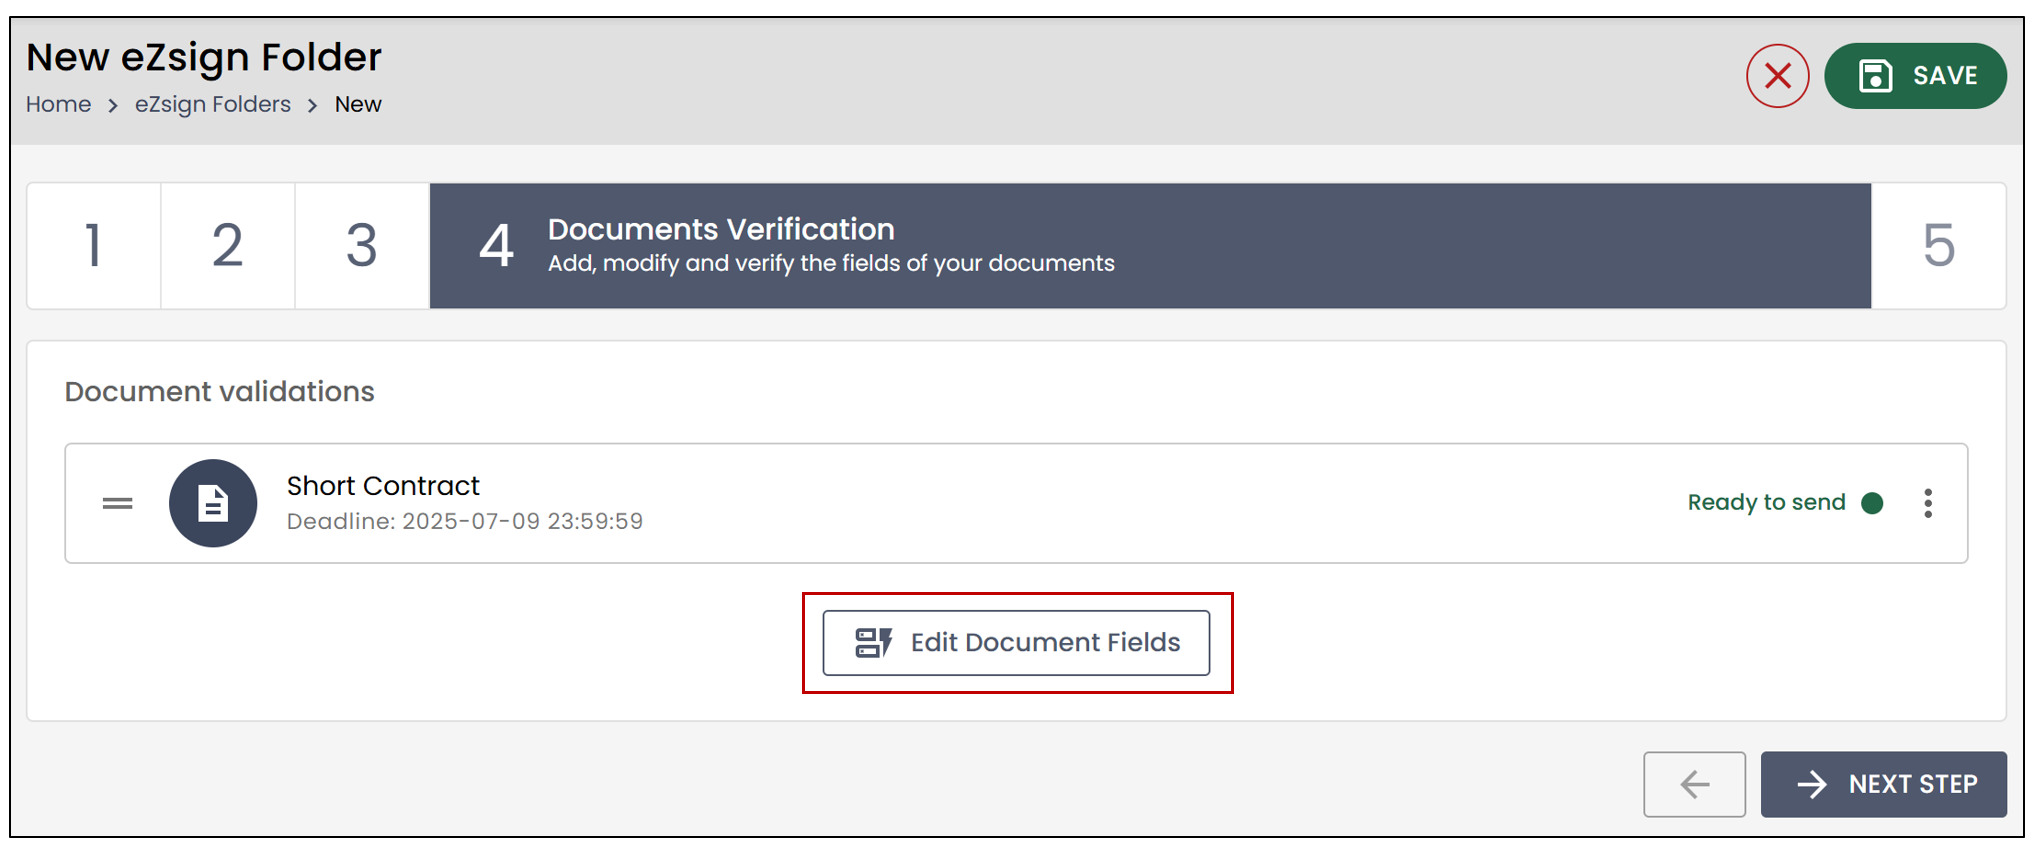
- If your document has more than one page, you will be able to see all the pages in the section on the right.
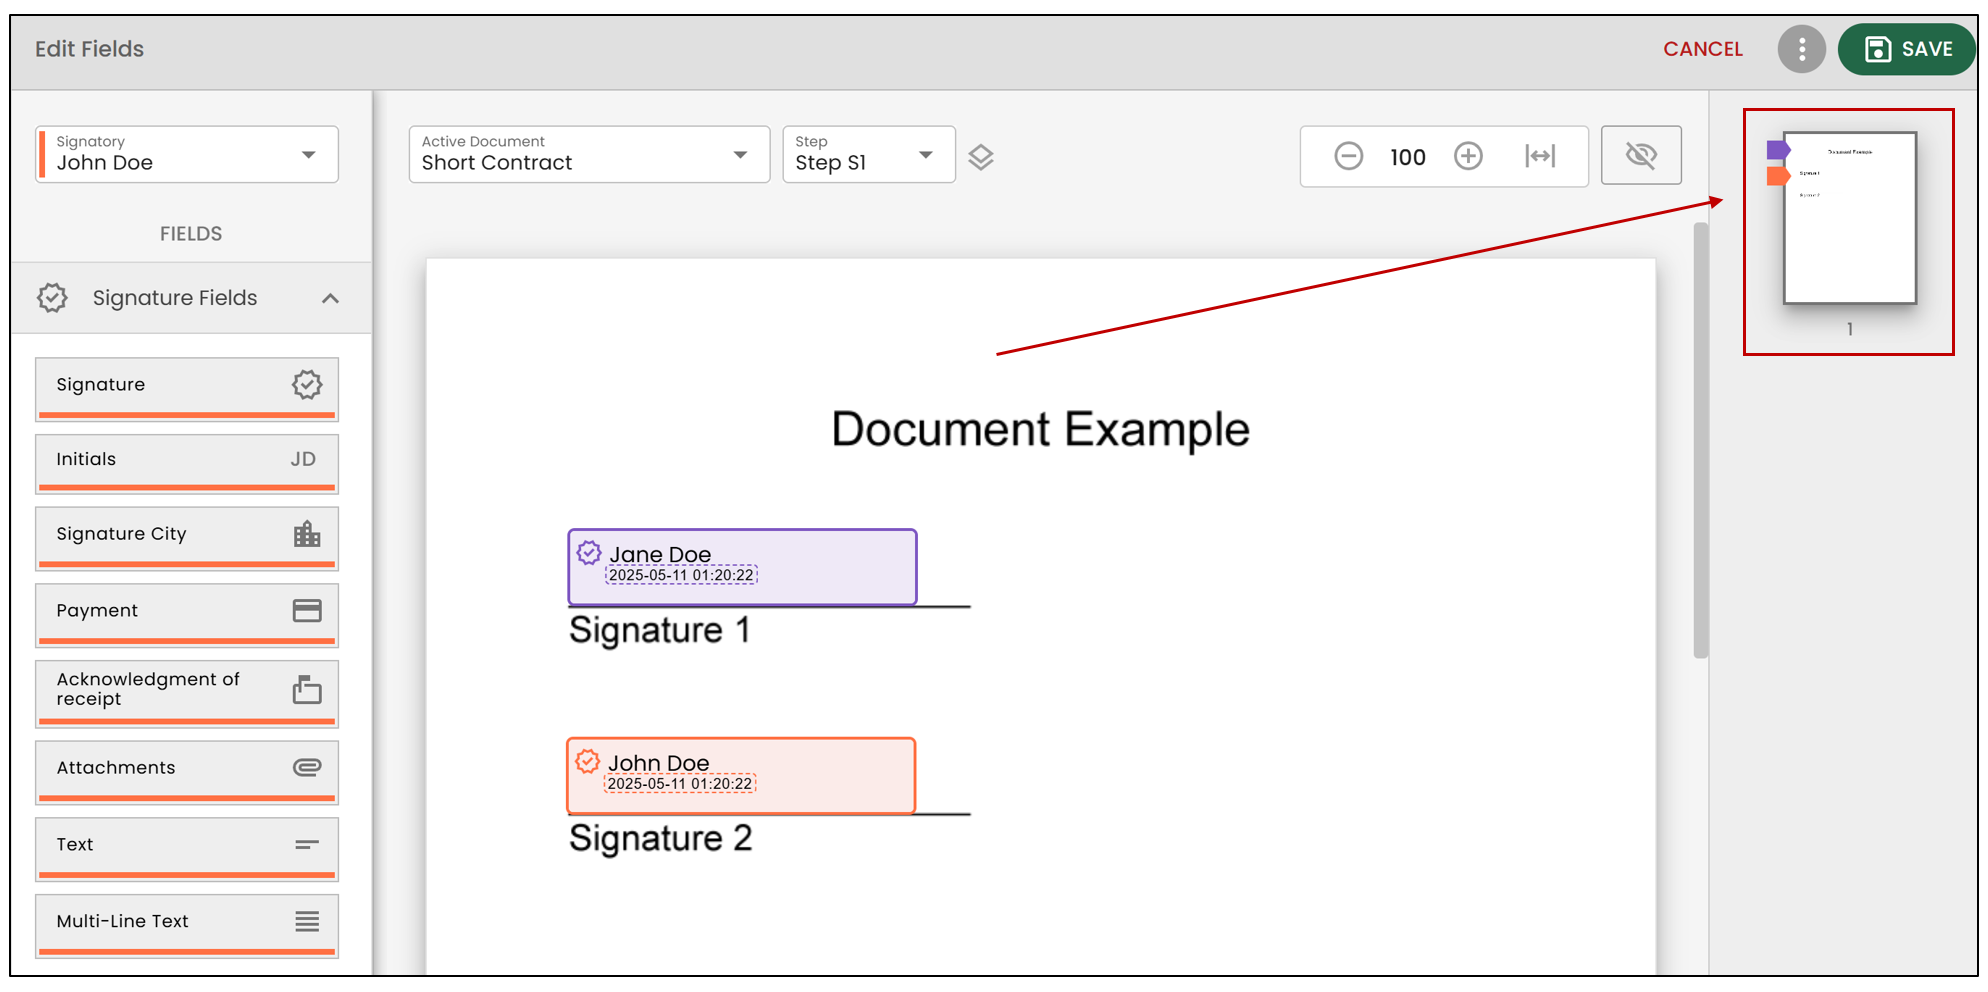
- If you used a template, you will notice that the fields are already added to the document.
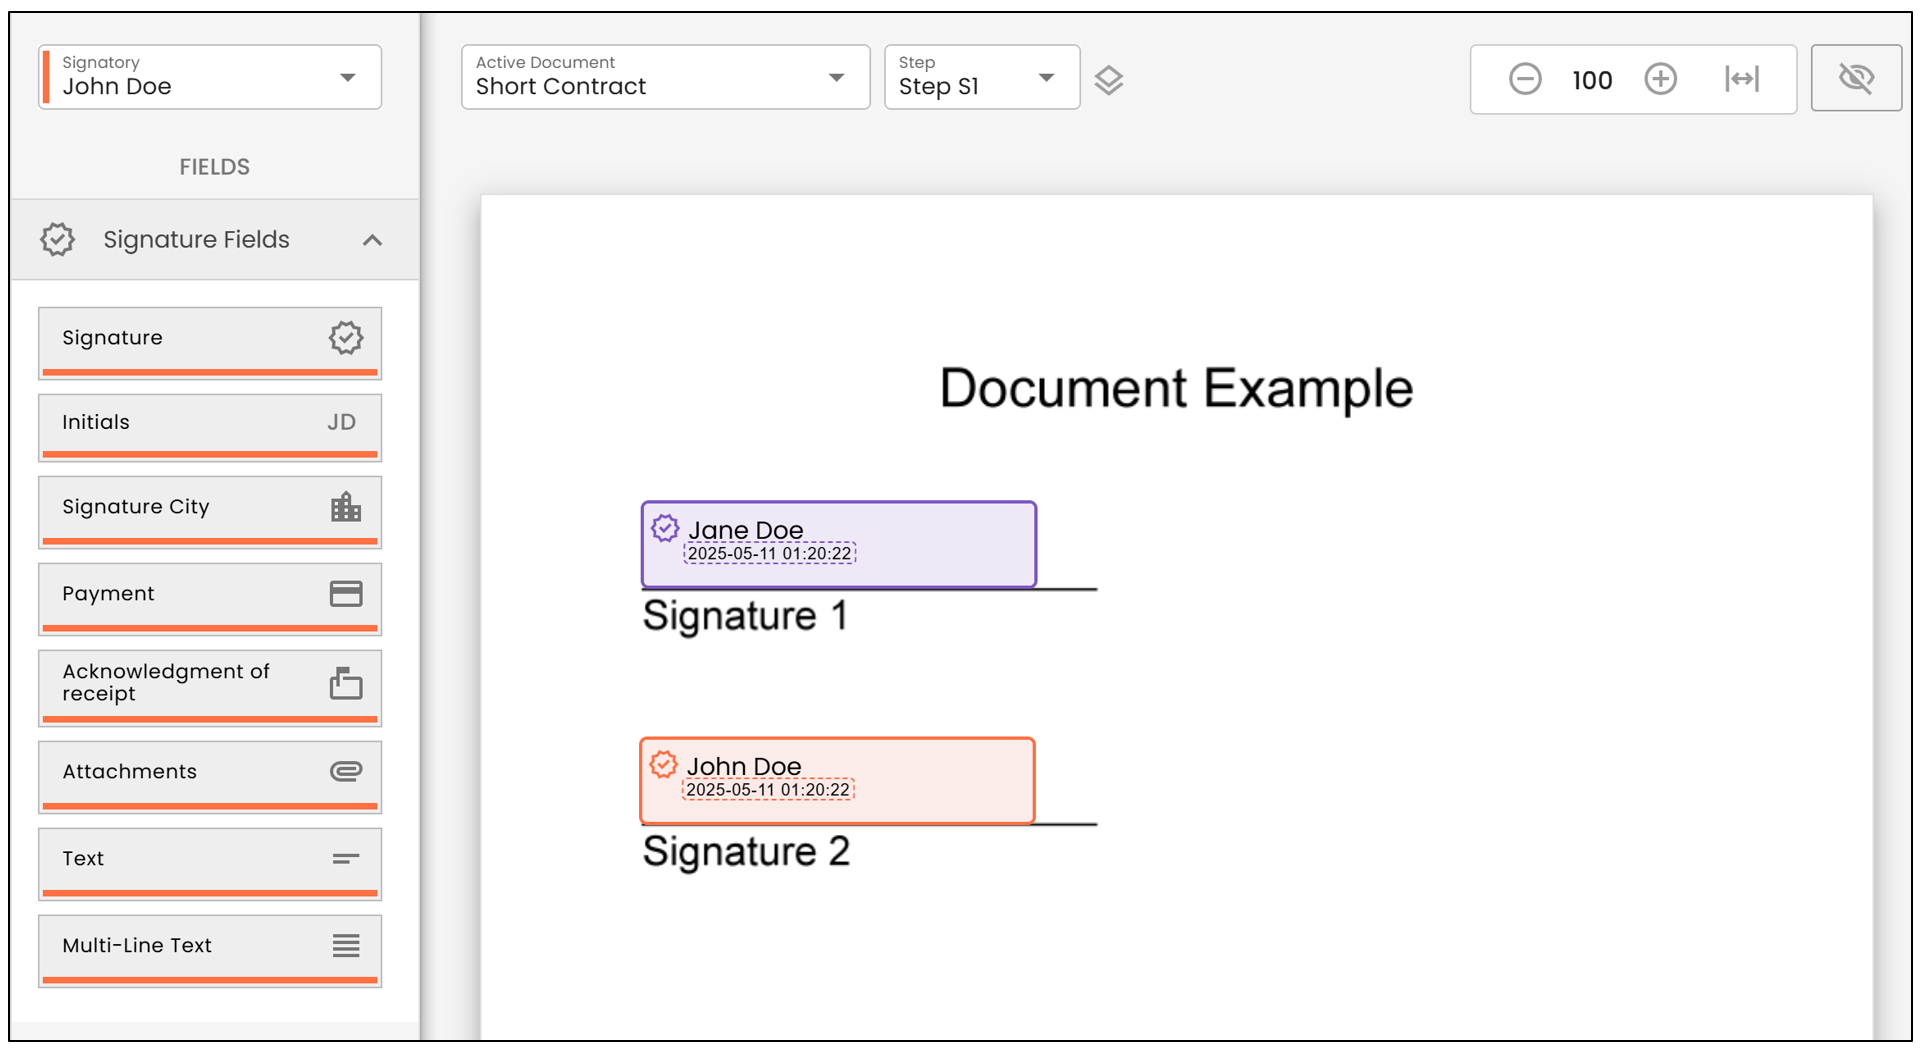
- To add an Annotation to the document, select one of the fields, then drag it onto the document at the desired location.
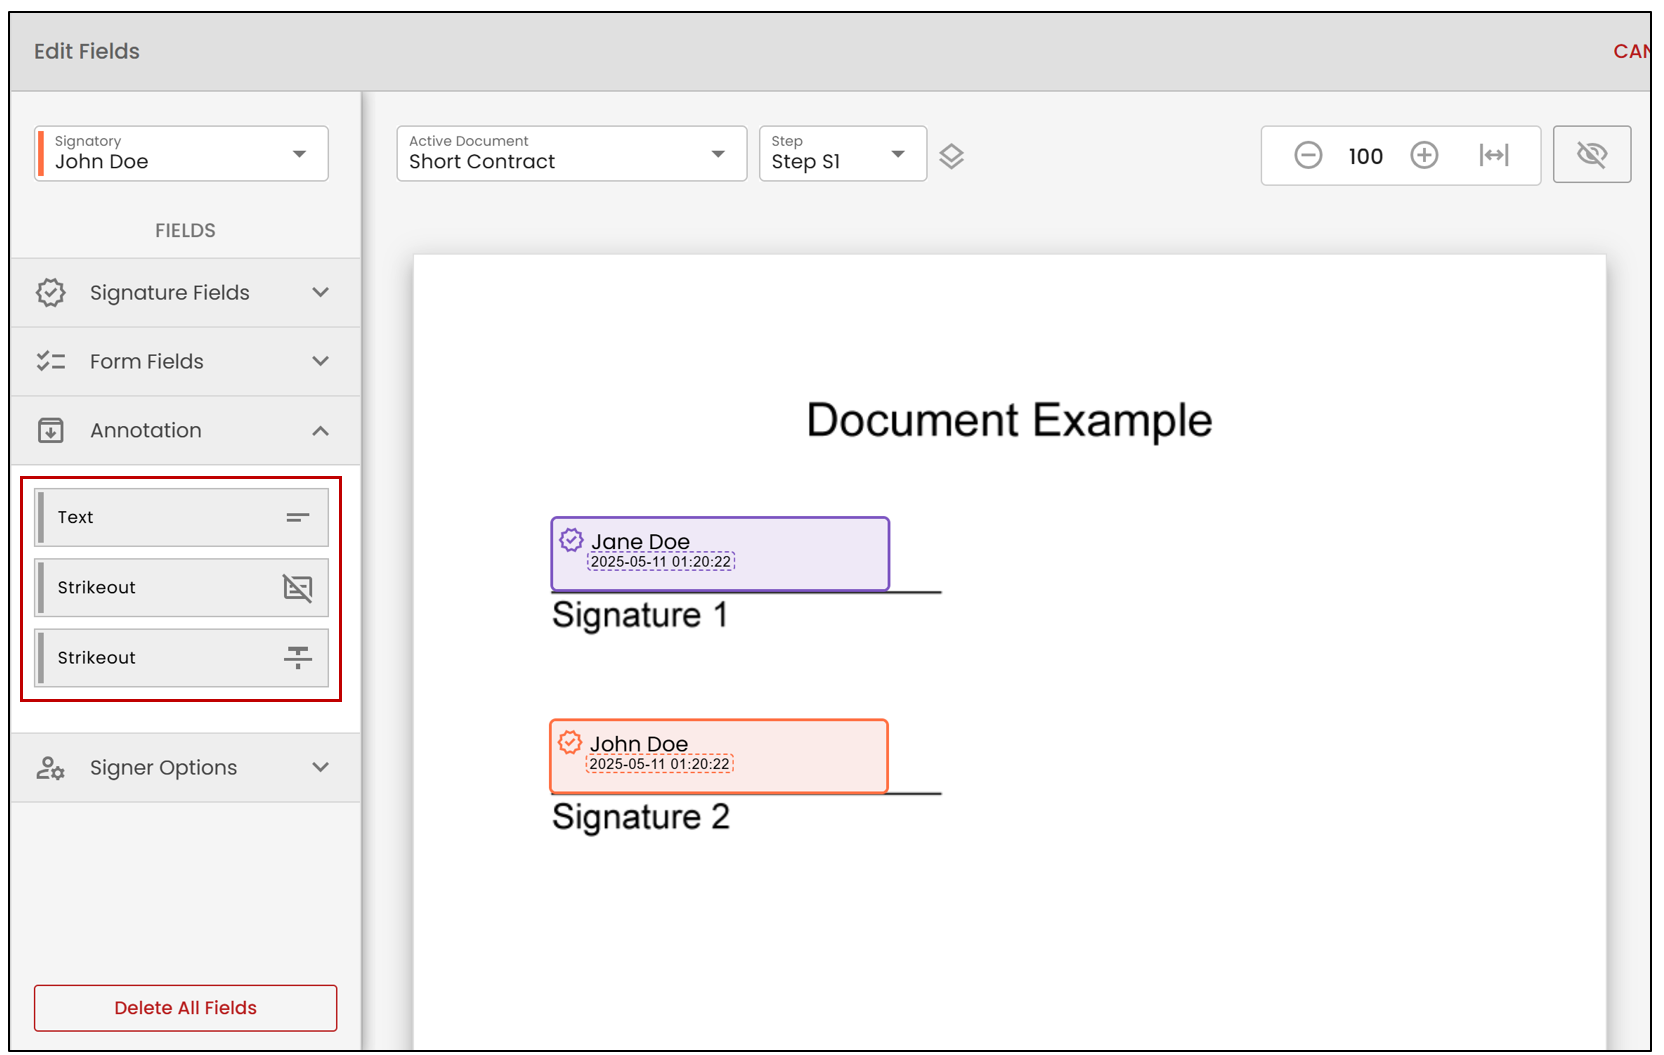
- You can then enter the annotation text and modify it using the settings on the right.
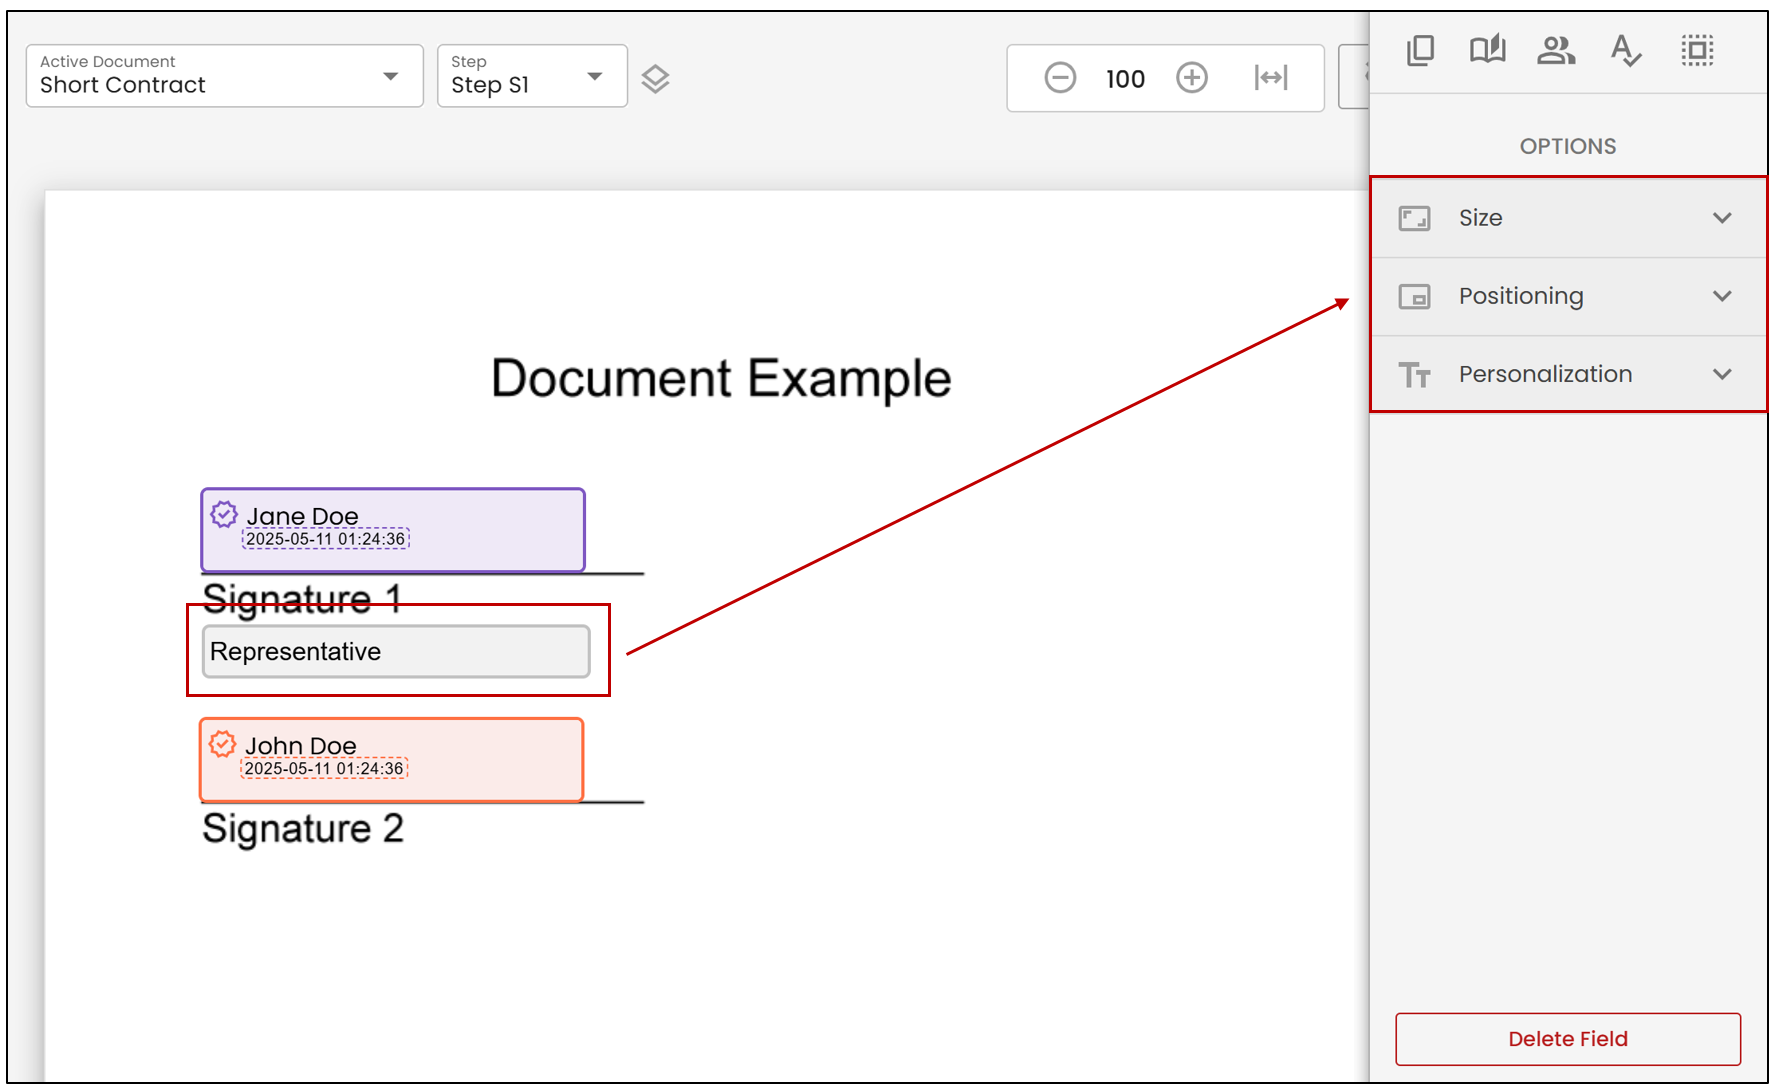
NOTE: In the context of a Purchase Agreement (PA), adding an annotation is an essential step. It is no longer required to provide the response as a signer; instead, it must be entered directly into the document.
Indeed, it is not the client who should provide the response, but you, as the broker, by adding the appropriate annotation. Once this step is completed, your client will be able to sign below the added response.
For more information on the types of signature or form fields, please refer to the articles Types of Signature Fields and Types of Form Fields (eZsign Web).
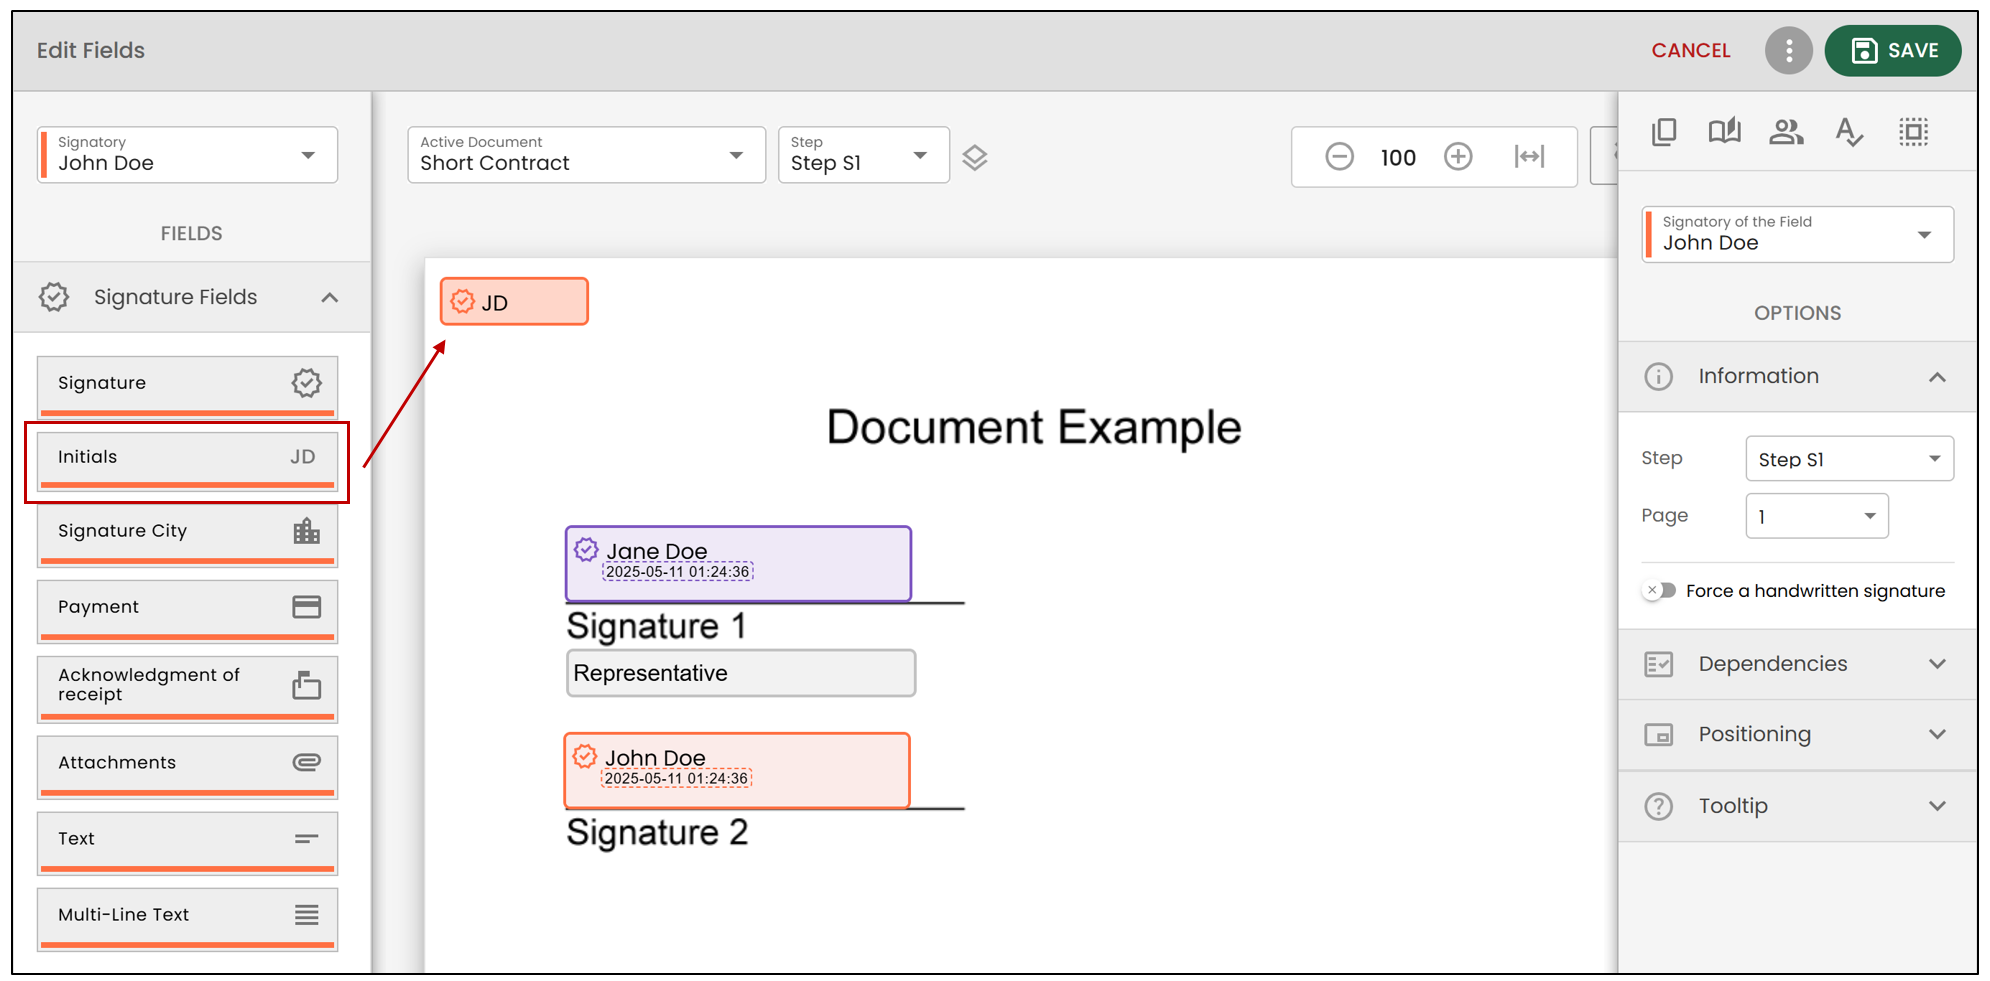
- To add an Initials field, simply select the desired signer, then drag the initials field onto your document.
- By clicking on the

icon, you will be able to preview the completed/signed document. You will still have the option to modify the document fields.
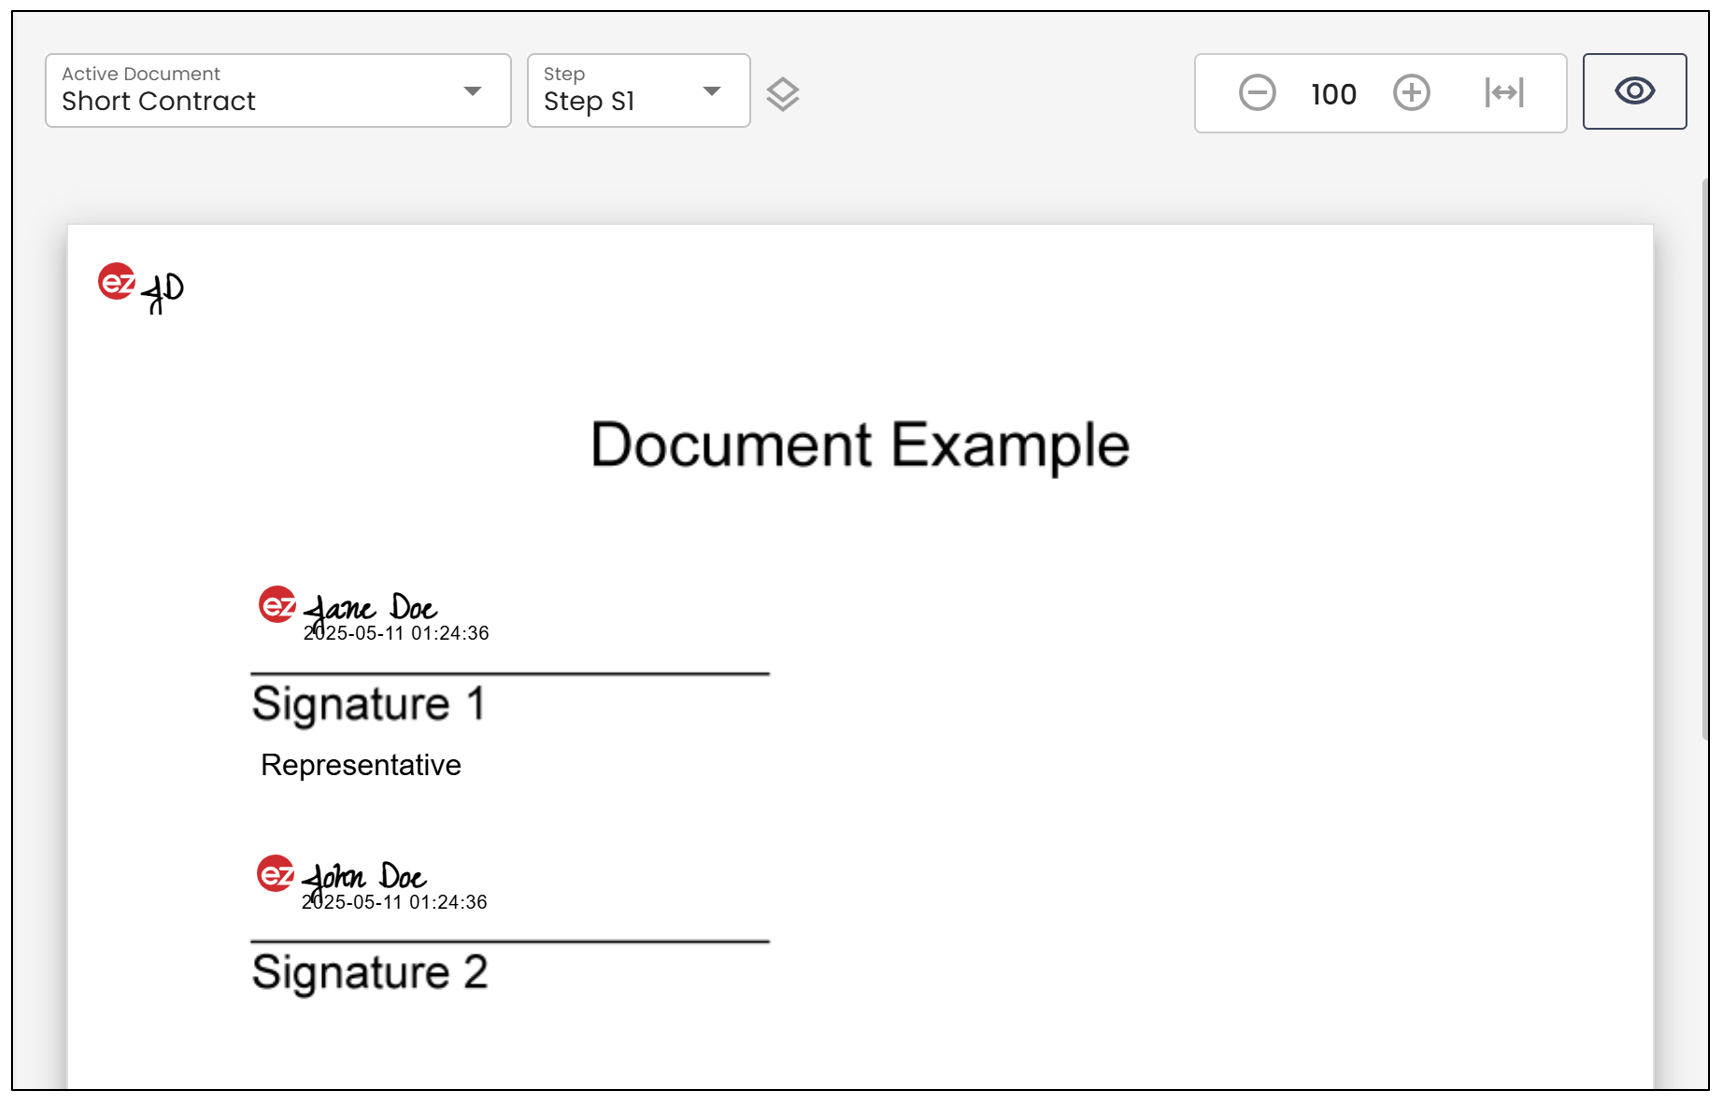
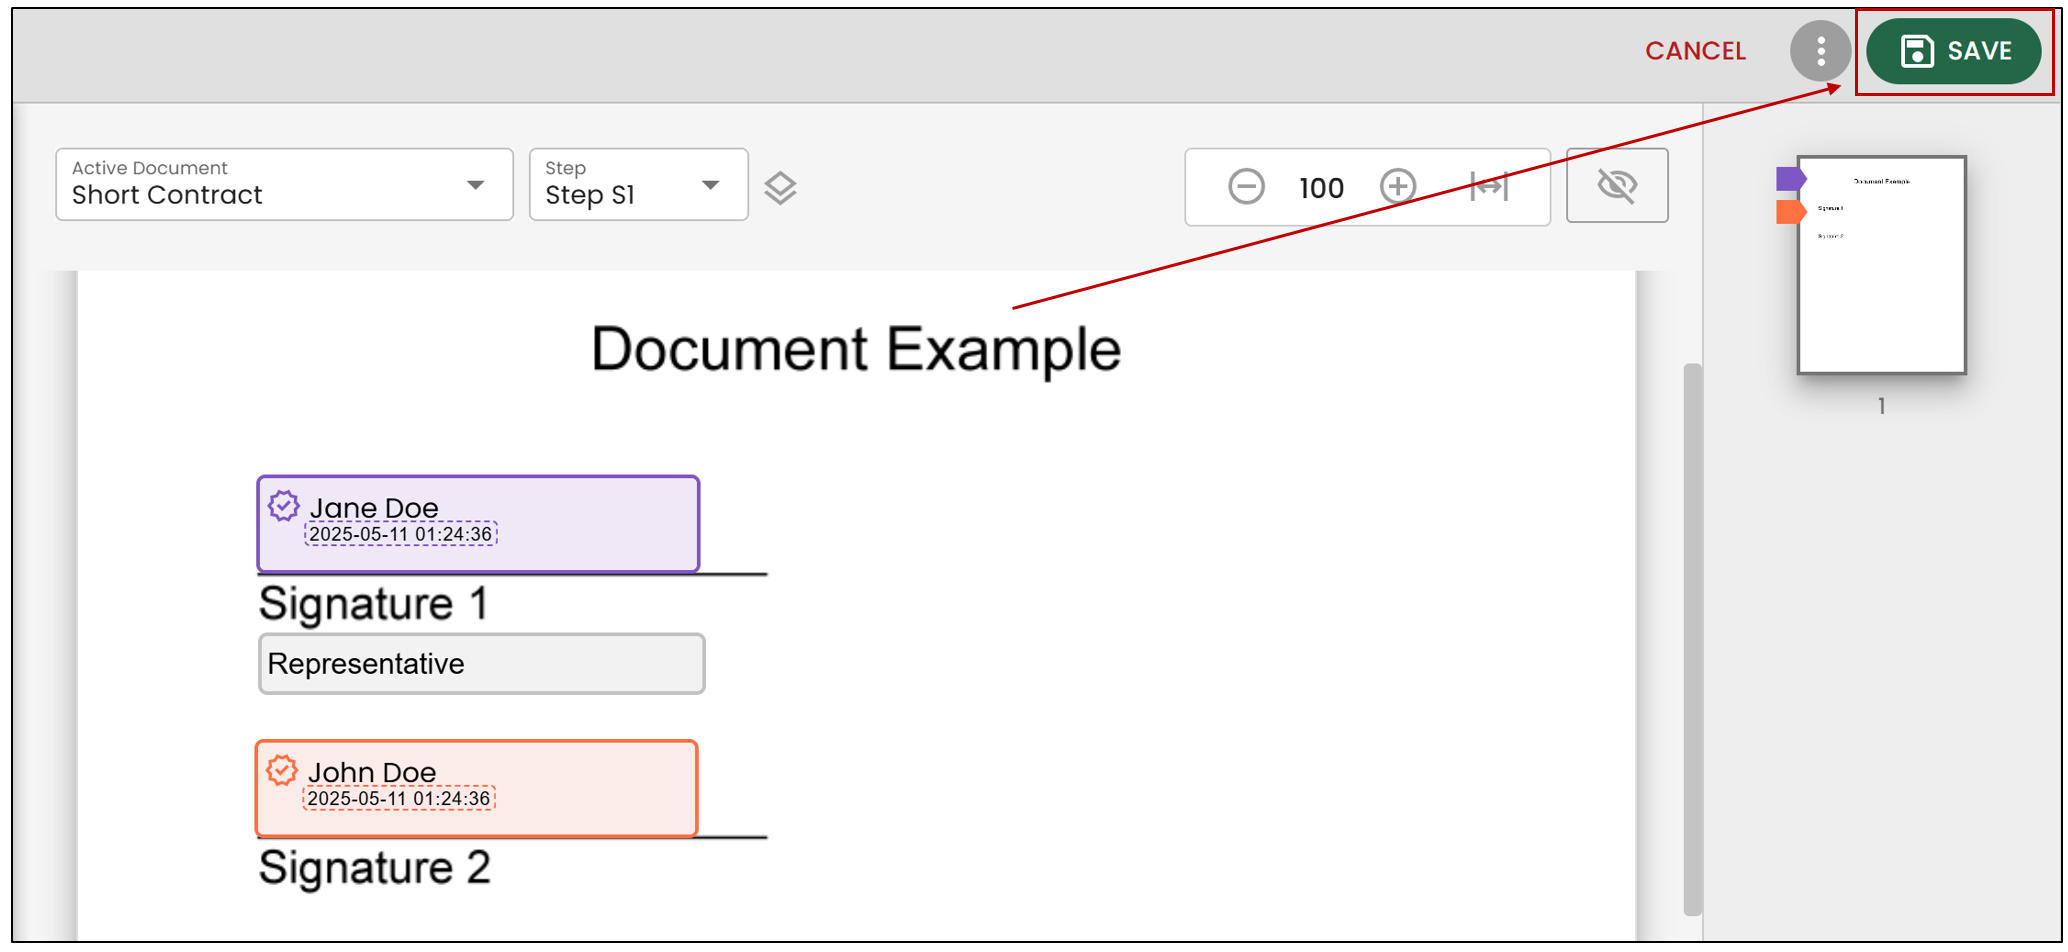
- When all your fields are added, click on Save at the top right of the document.
- Then click on Next Step.
Send Folder
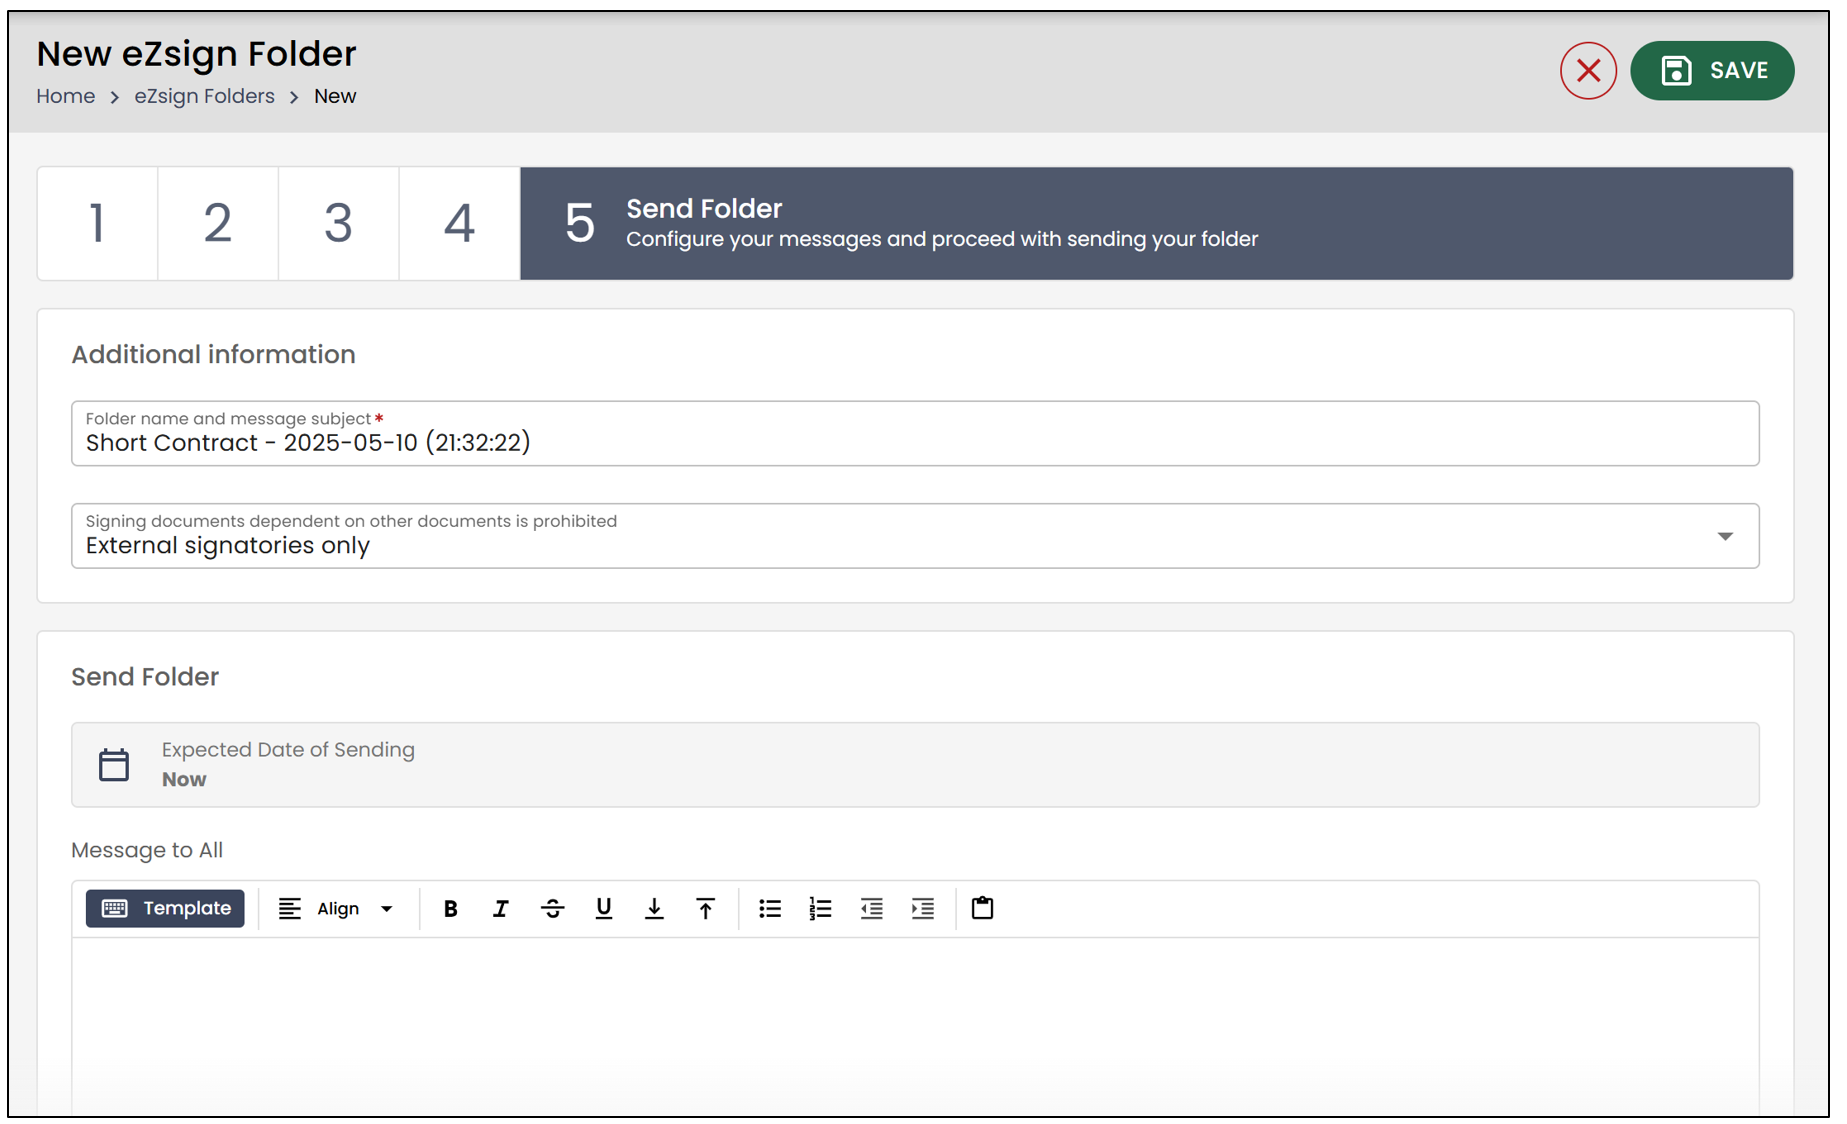
The final step is to send the folder.
It is important to edit the folder name, as it also serves as the subject line of the message sent to your client. By default, the system uses the document name and the folder creation date.
In the Message to All section, you can enter a message that will appear in the email sent.
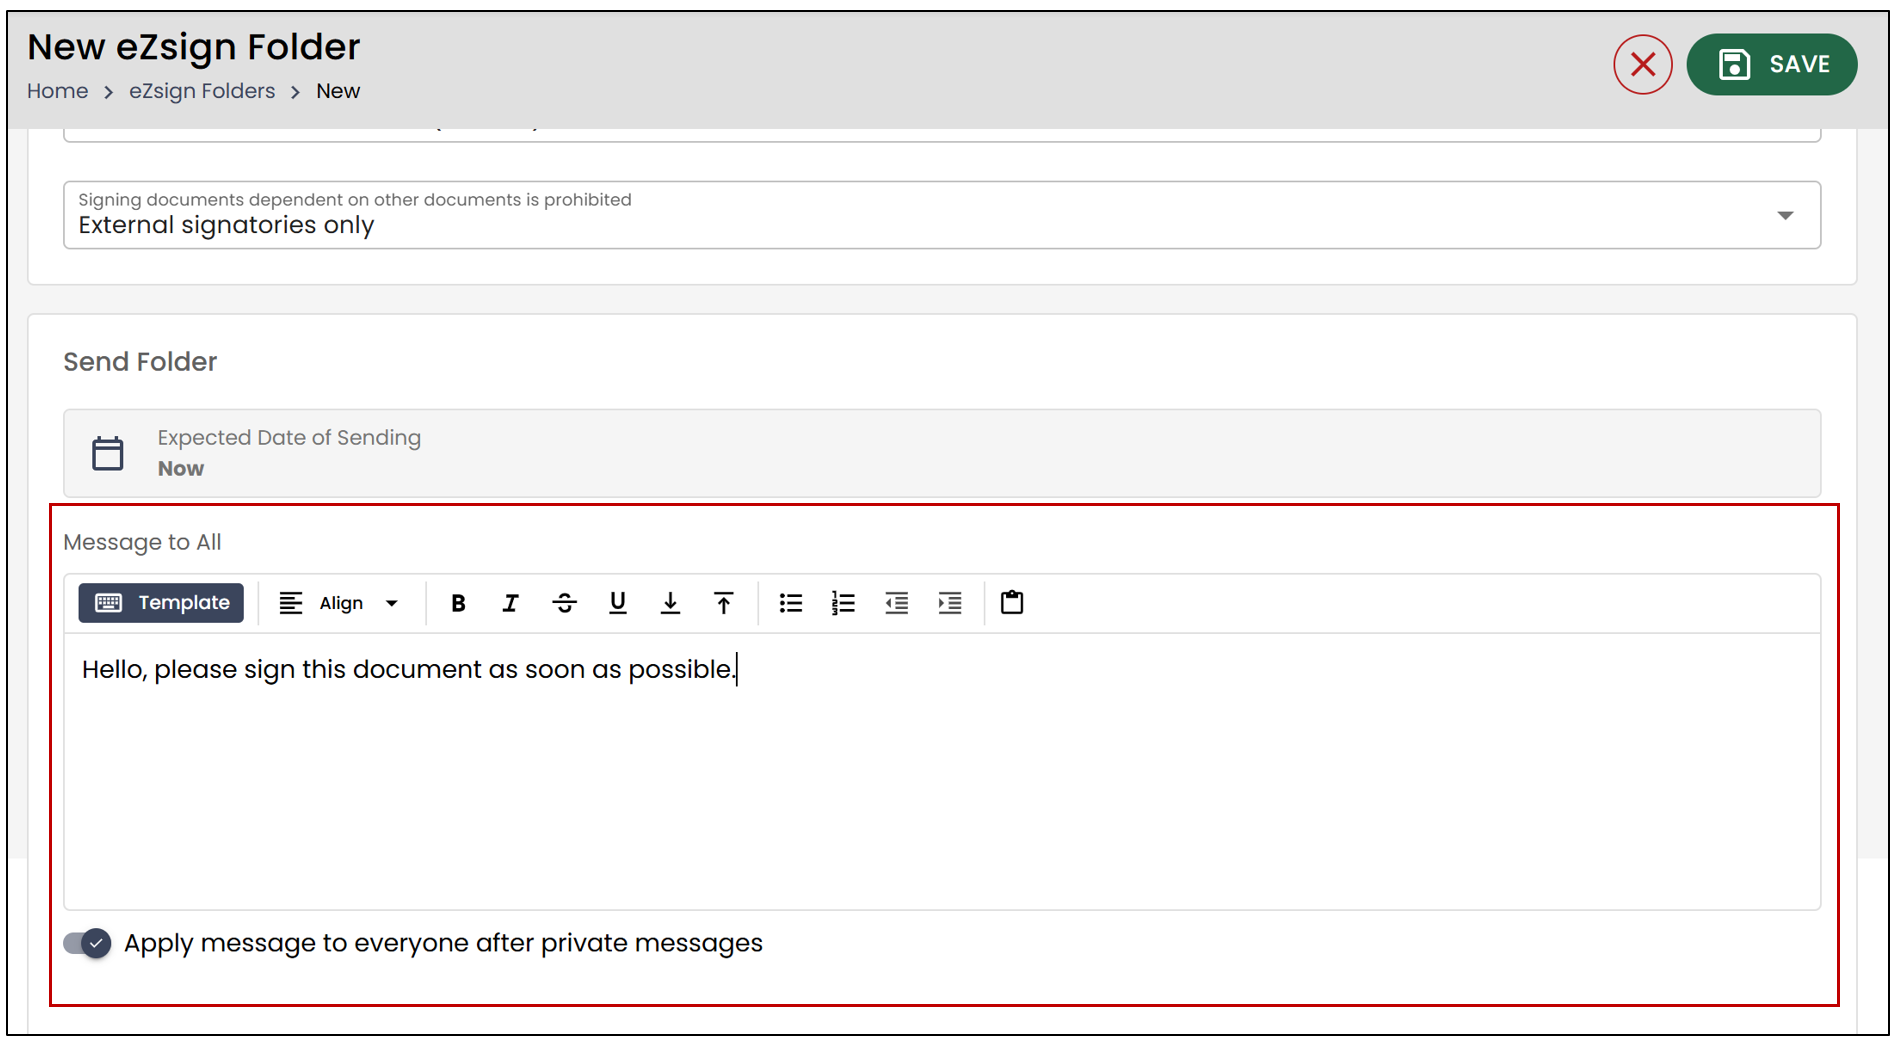
- To send a private message to a signer, enable this option to the right of the desired signer and enter the message.
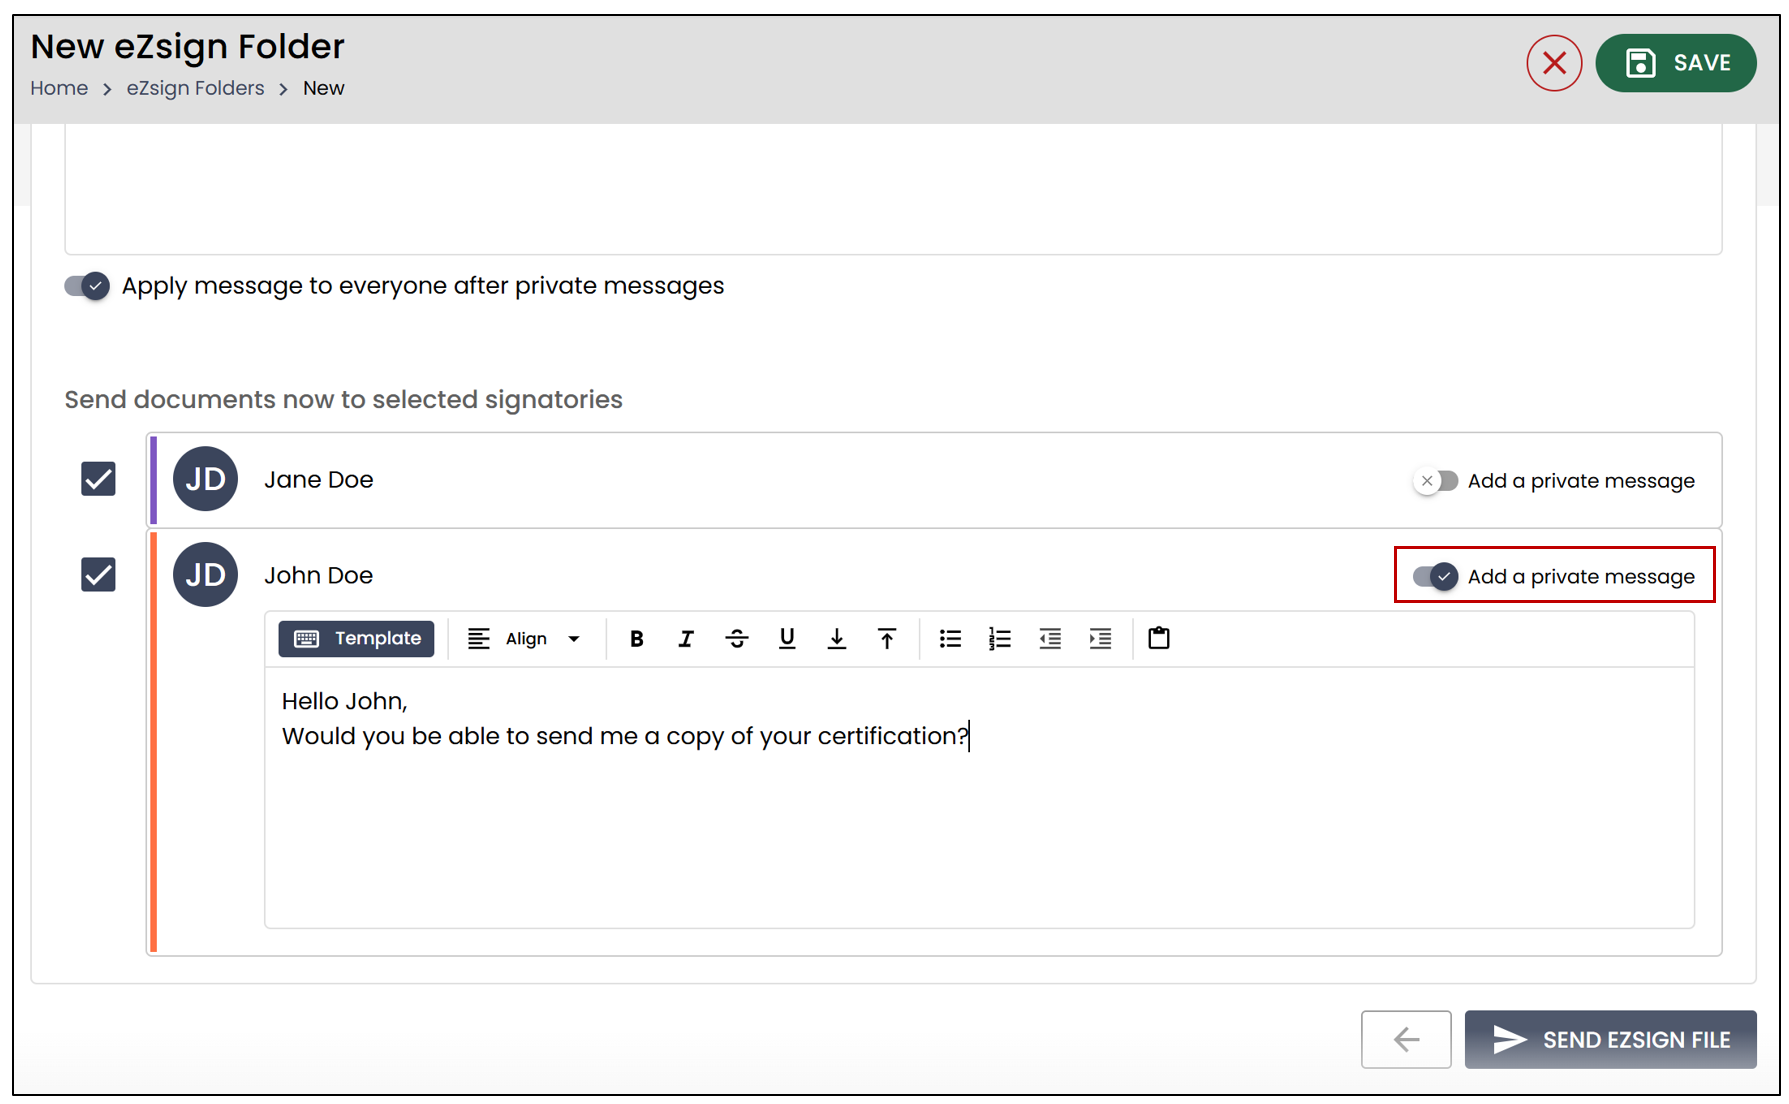
NOTE: If you select the Apply message to all after private messages option, the private messages will be displayed before the message to all.
Content Templates
NOTE: This option is only available to Pro account holders.
It is possible to pre-record content templates to use when sending a Message to All or a Private Message.
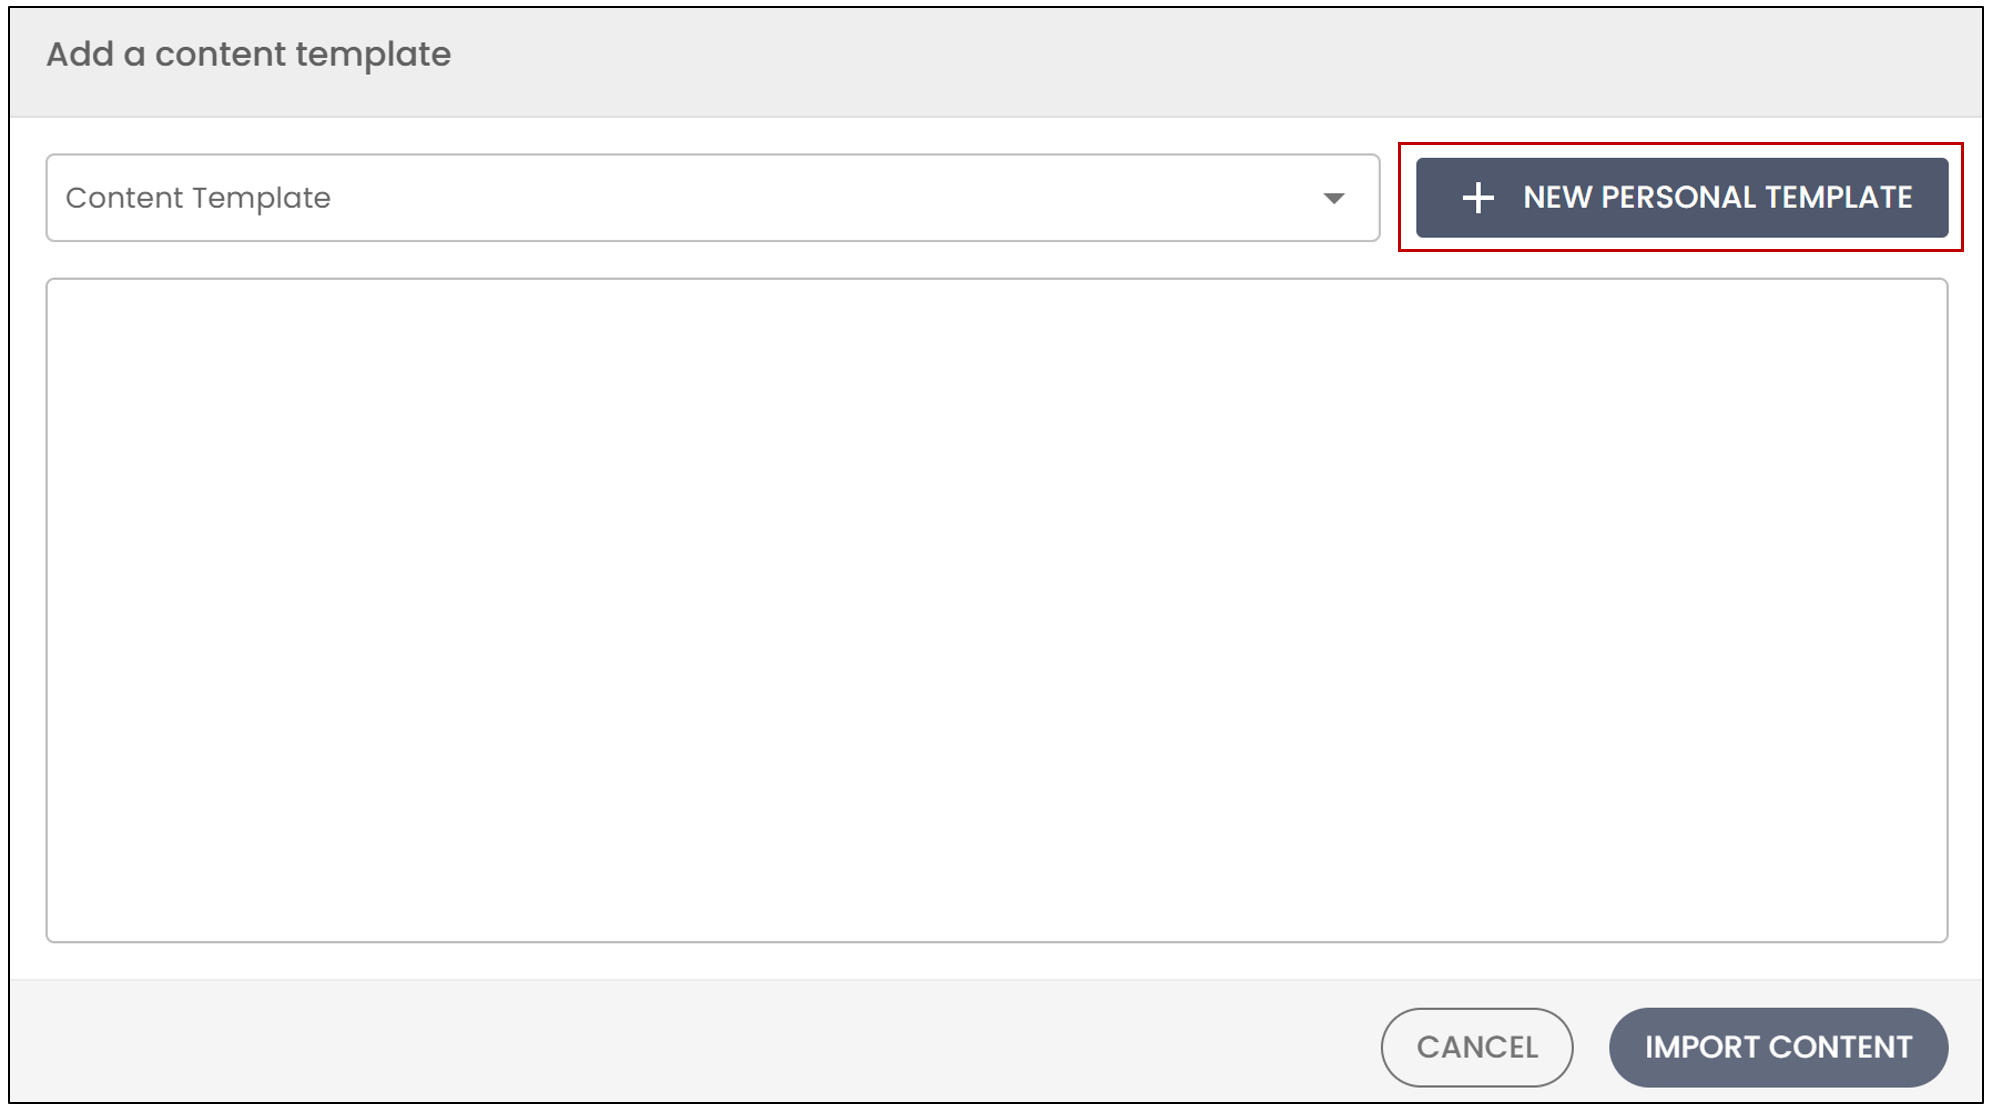
- Click on Template to add a content template.
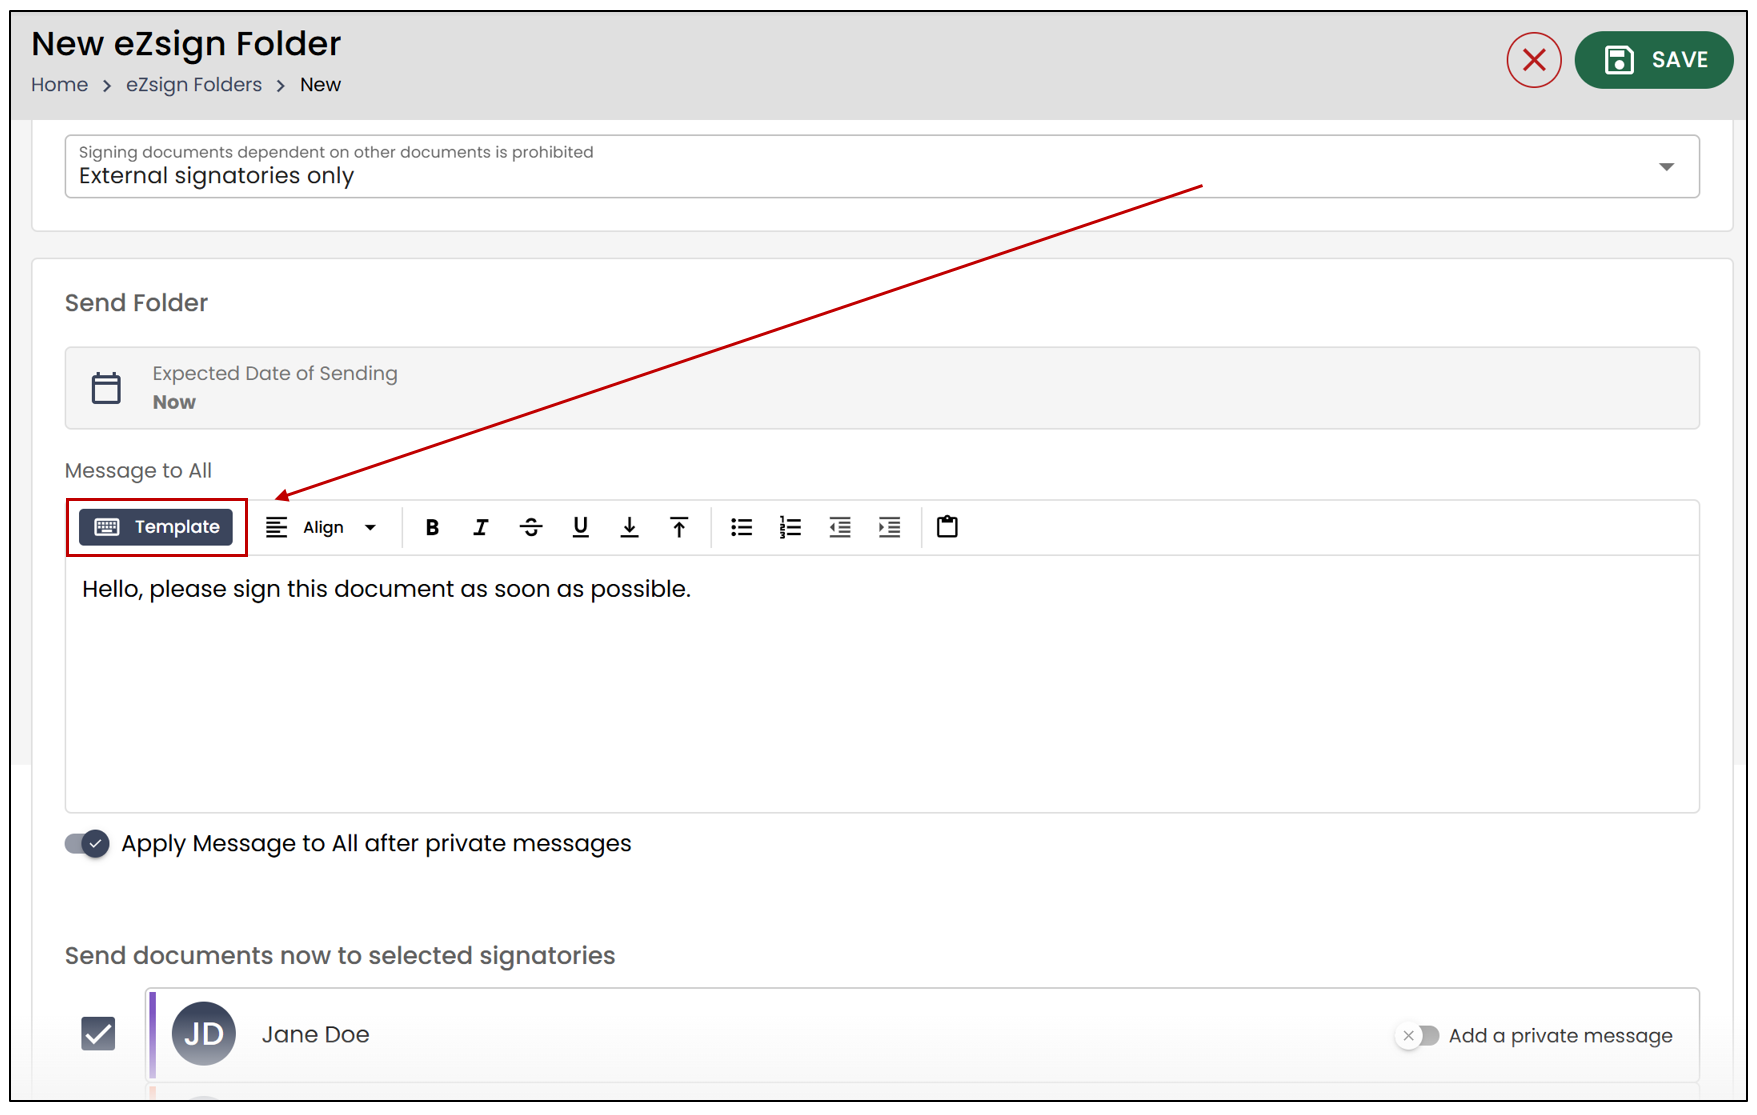
- You can select a Content Template from the drop-down list.
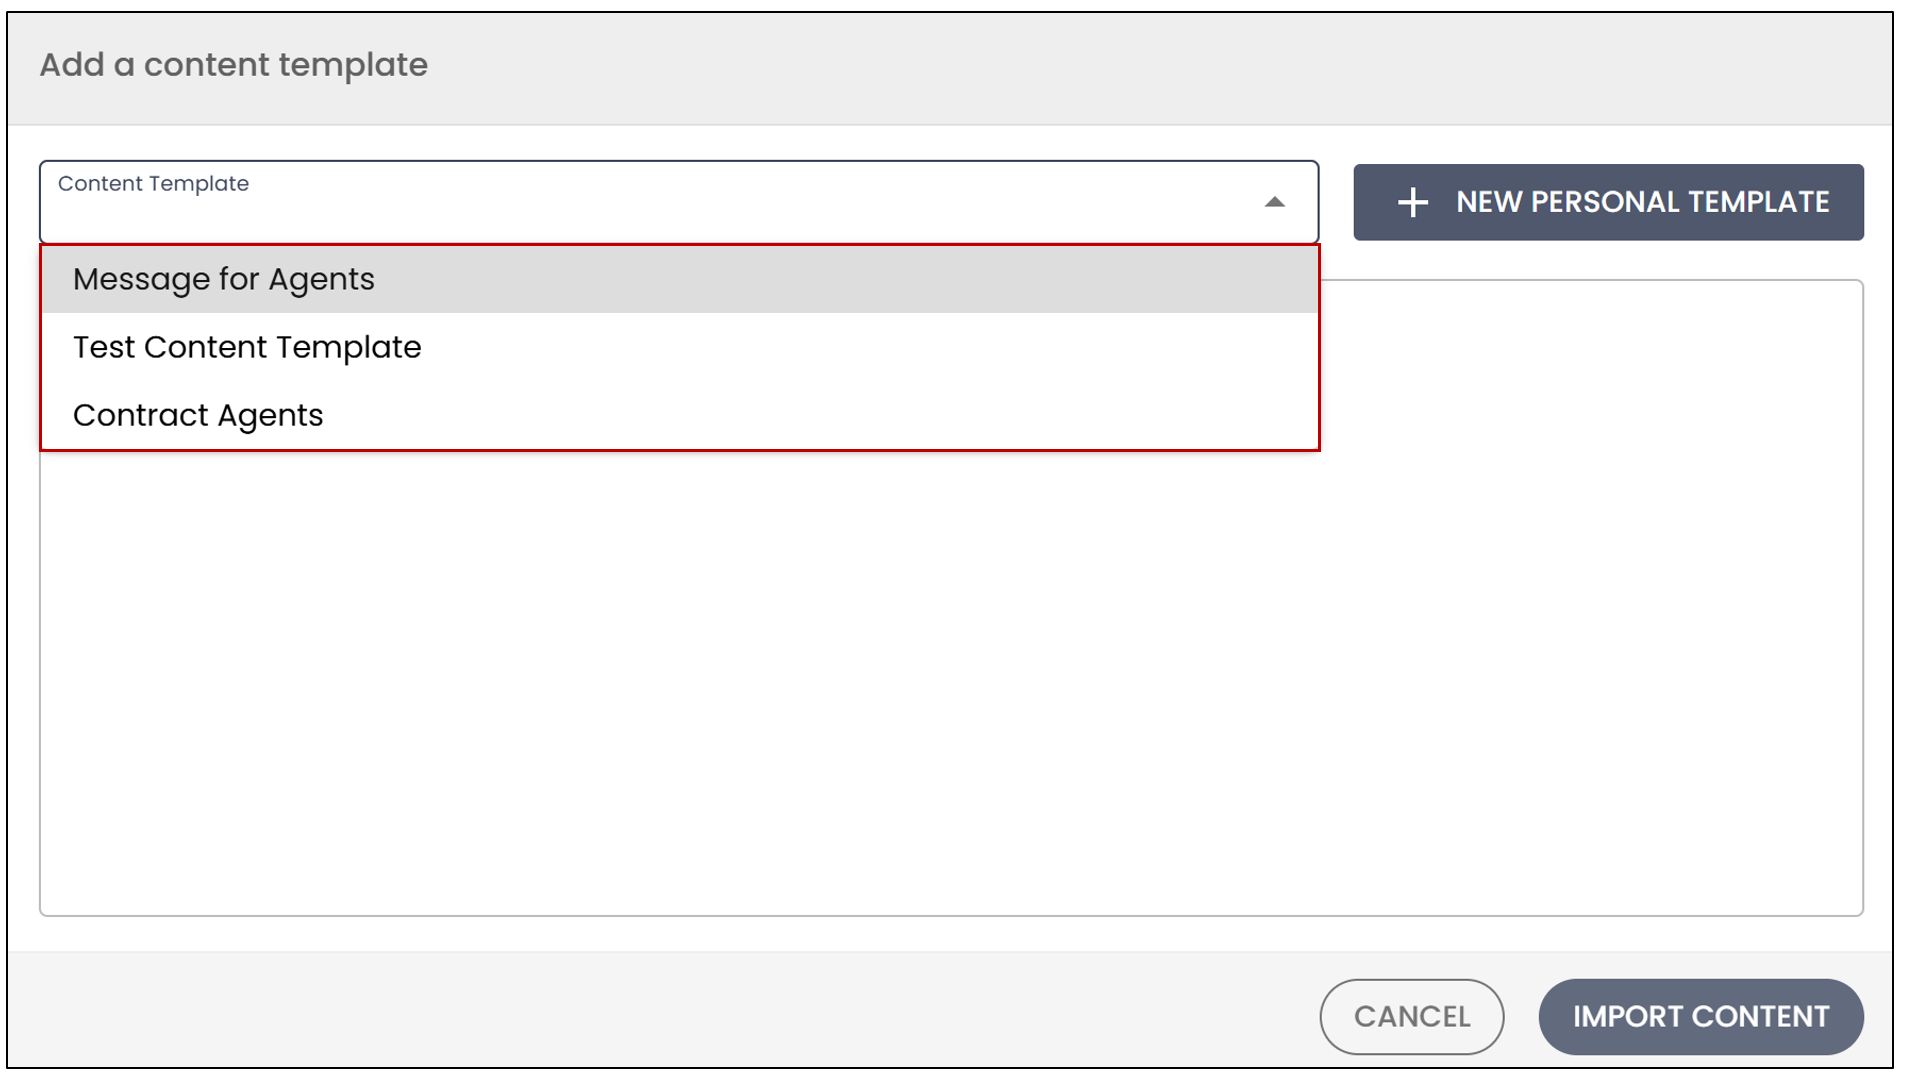
- To create a new one, click on New Personal Template.
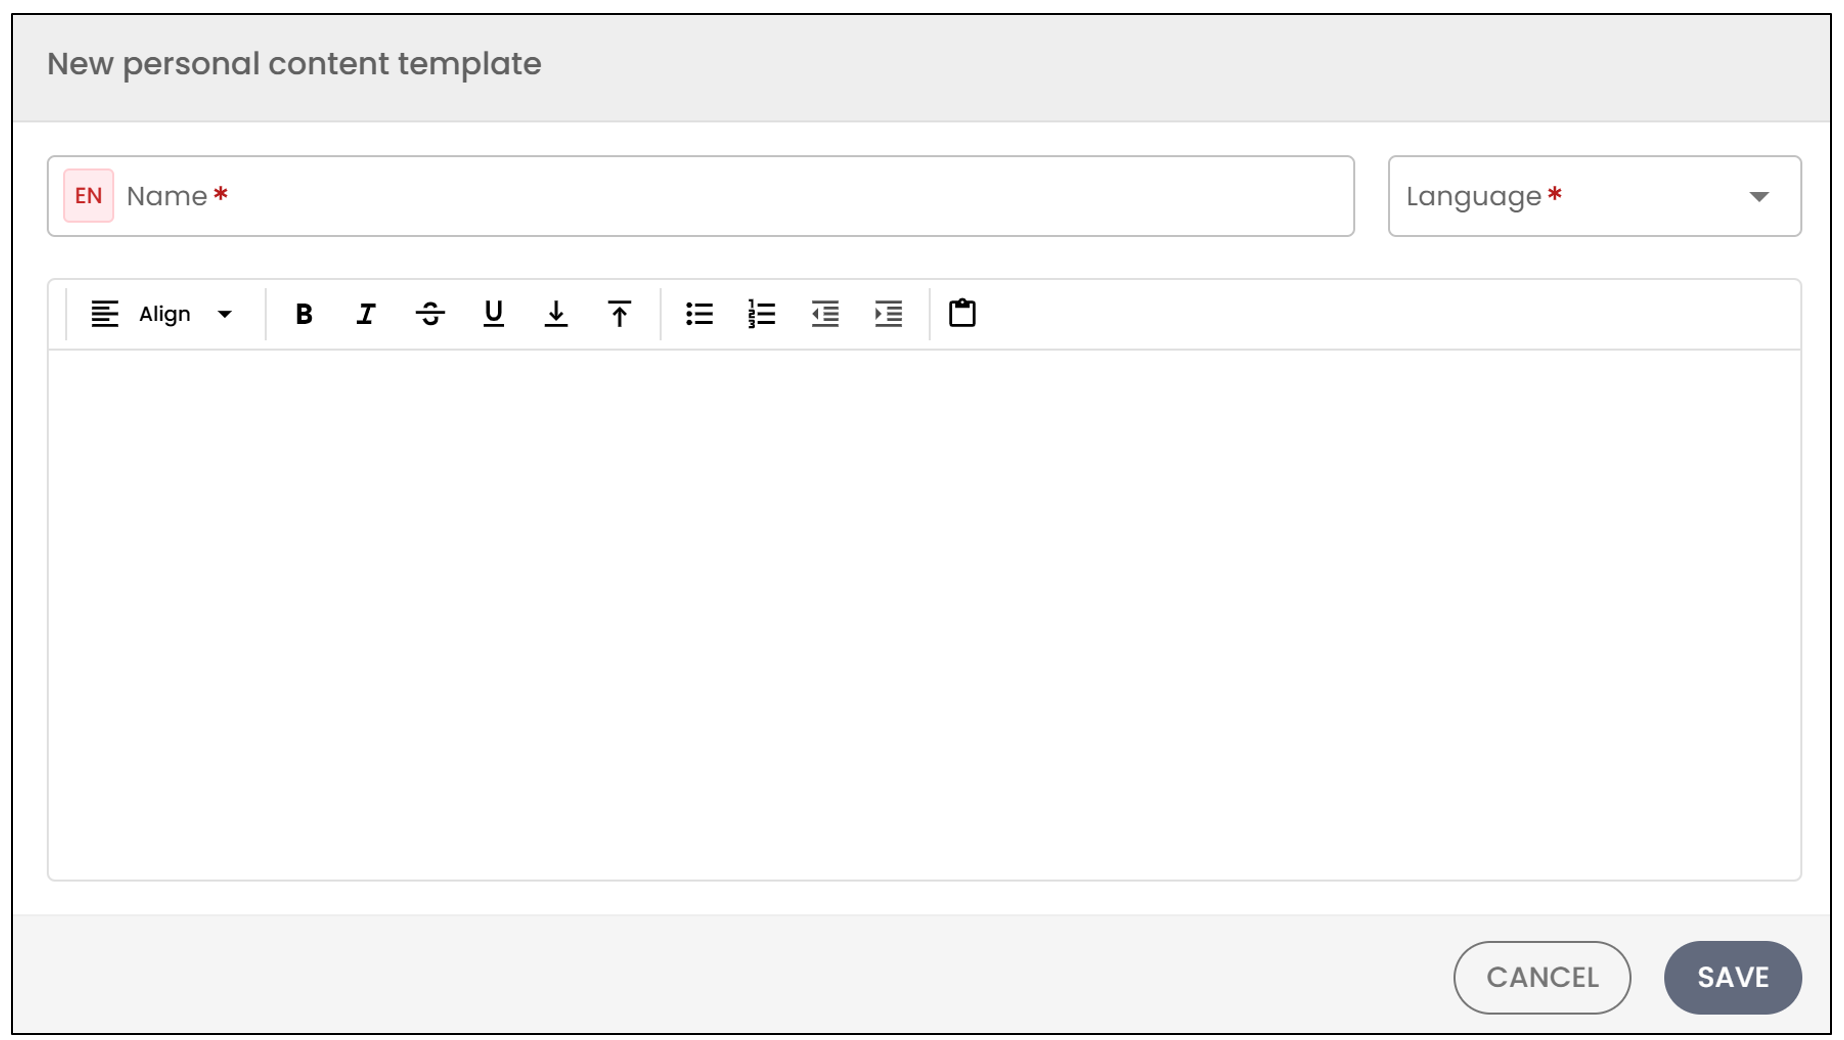
Enter the template Name and Language.
You can then enter the message content and click on Save.
If you click on Save at the top right, the folder will not be sent, but it will be saved in your eZsign folders.
- If you wish to send the folder, click on Send eZsign Folder at the bottom right.
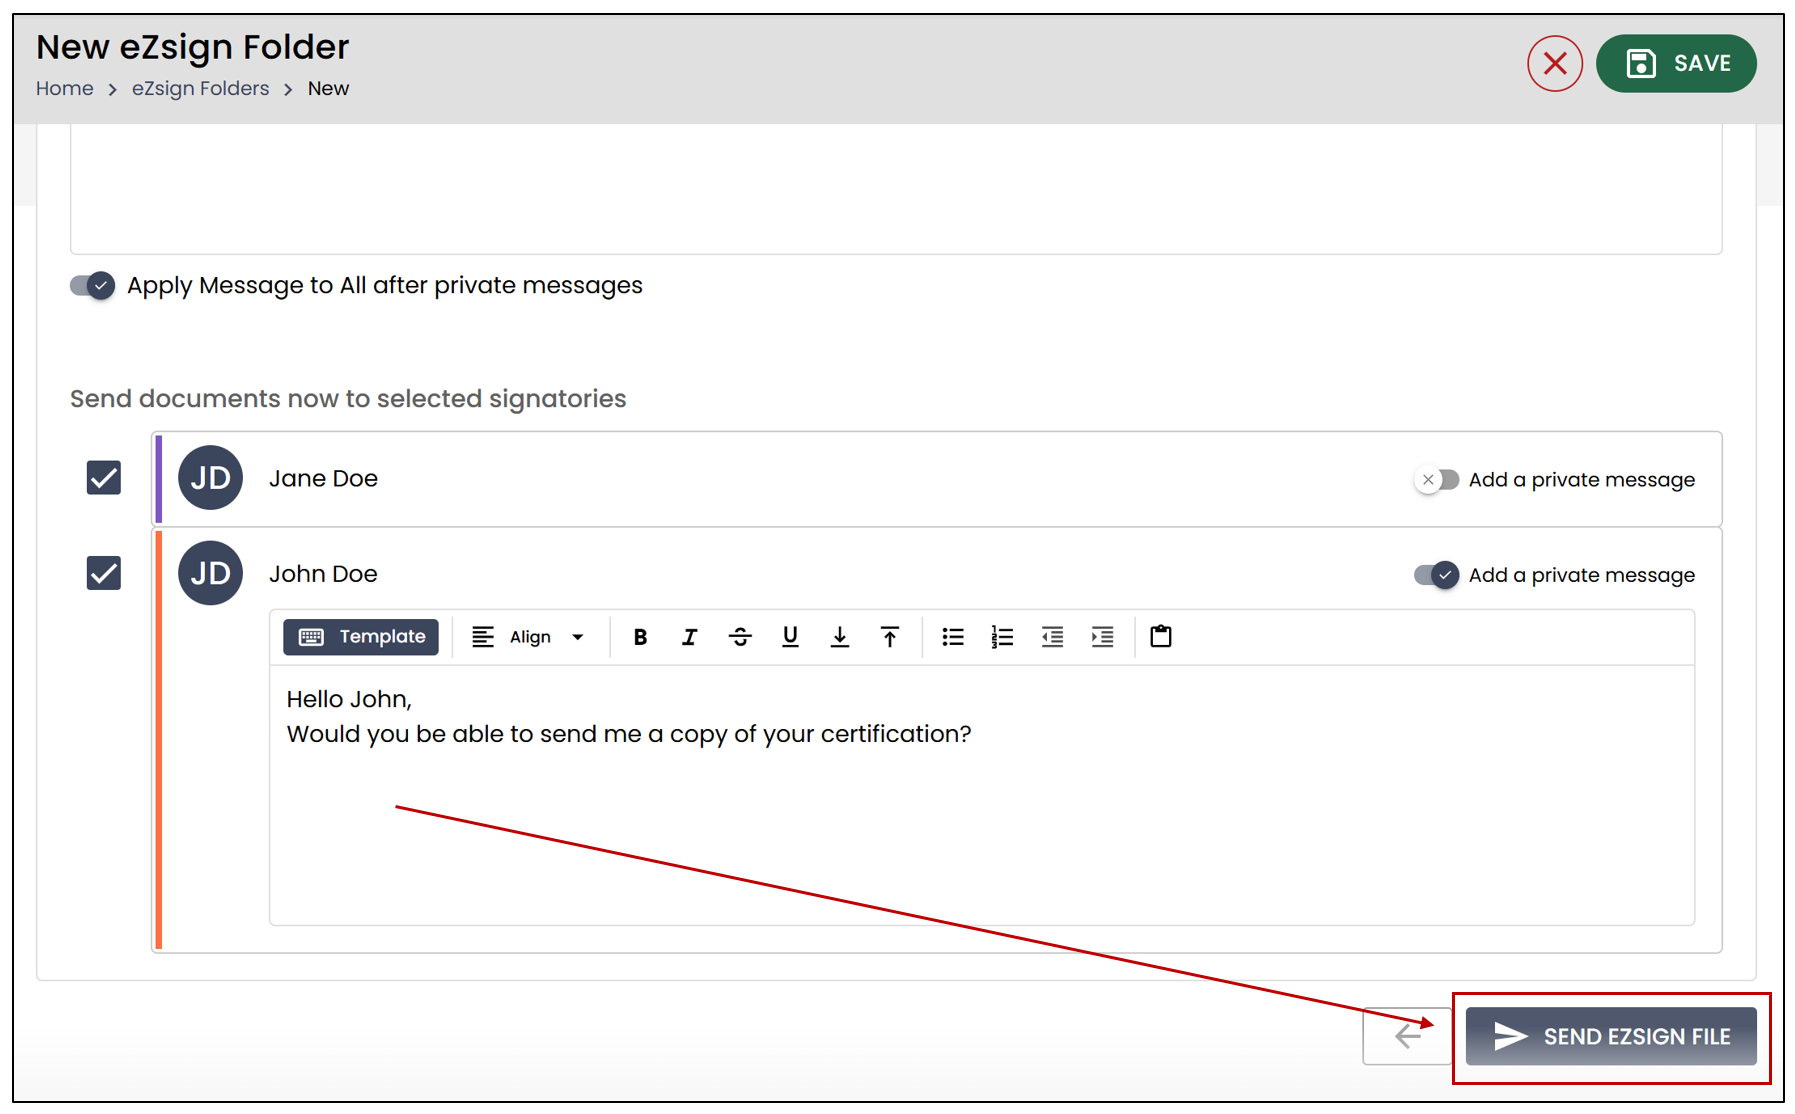
- You will be redirected to your folder, where you can then check the folder status.