

English
3 Buyers/Sellers Must Sign the Same Document
3 Buyers/Sellers Must Sign the Same Document
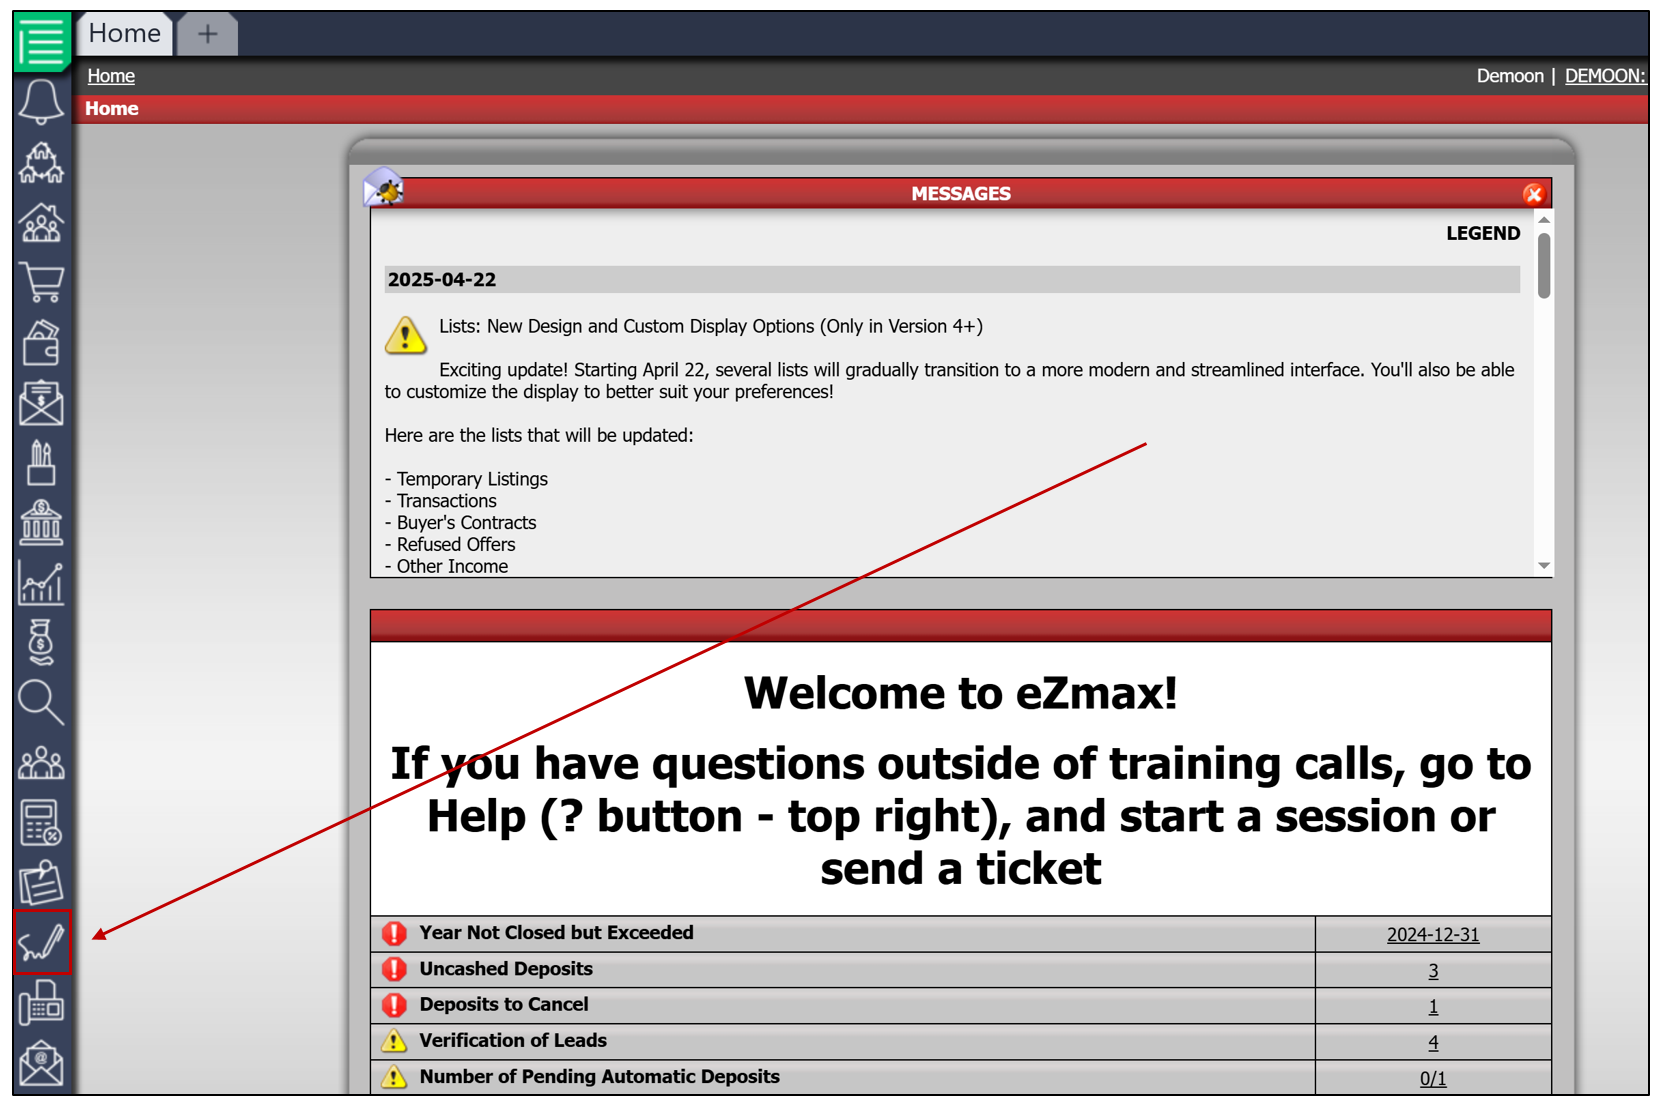
- From the main eZmax menu, click on the

icon, then you will access the eZsign folders.
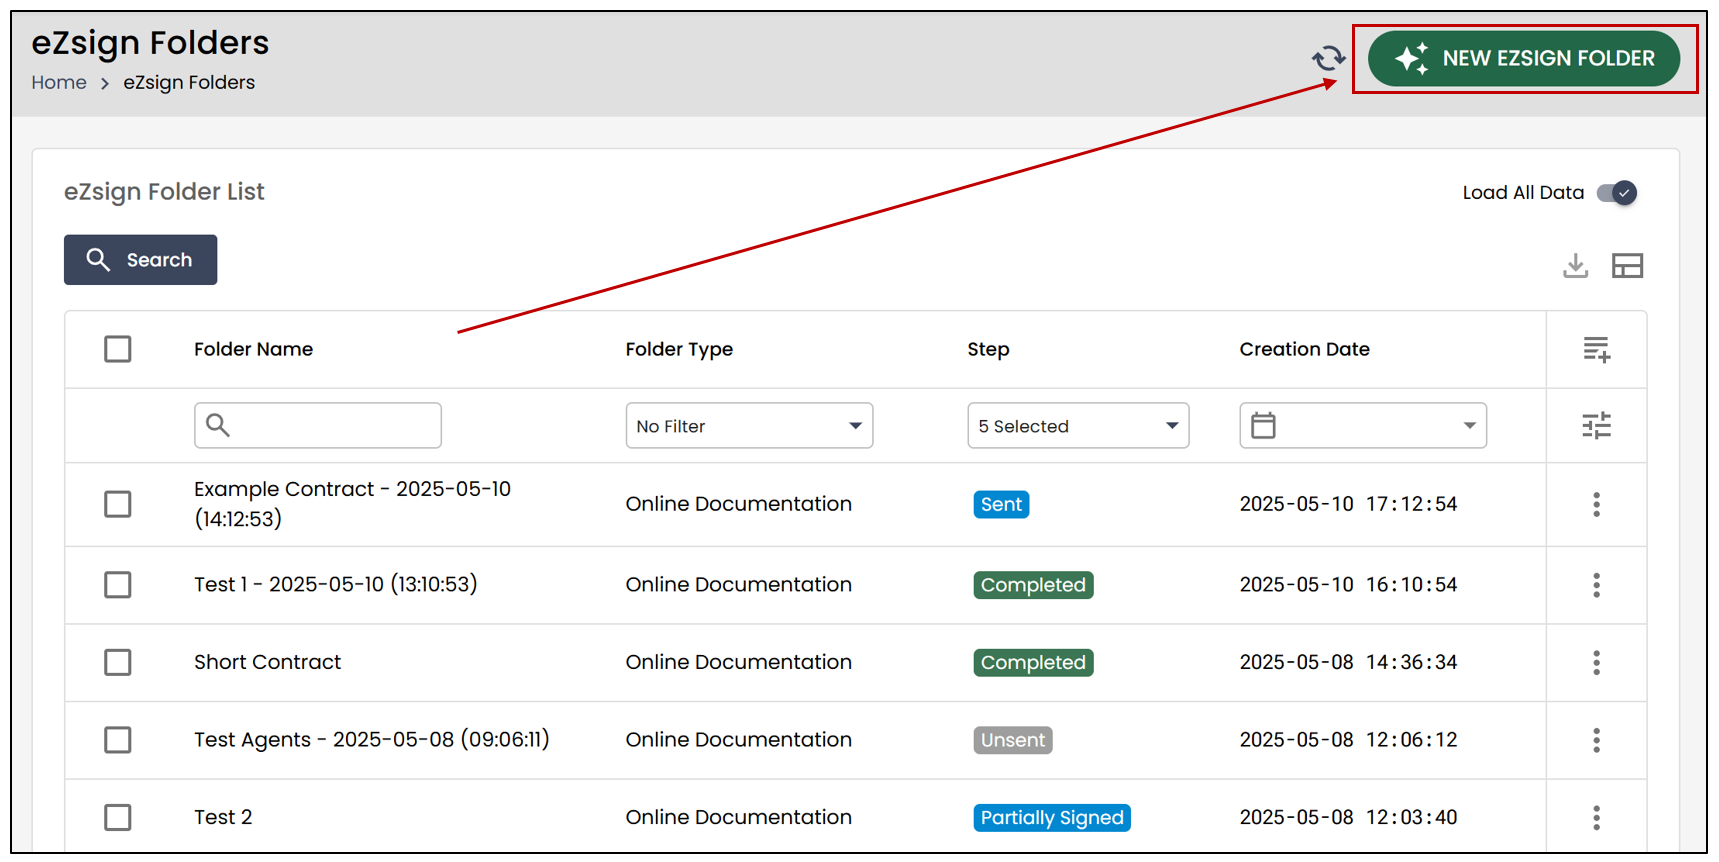
- To create a new eZsign folder, click on the corresponding button.
From now on, when creating an eZsign folder, each step follows a guided procedure.
Folder Information
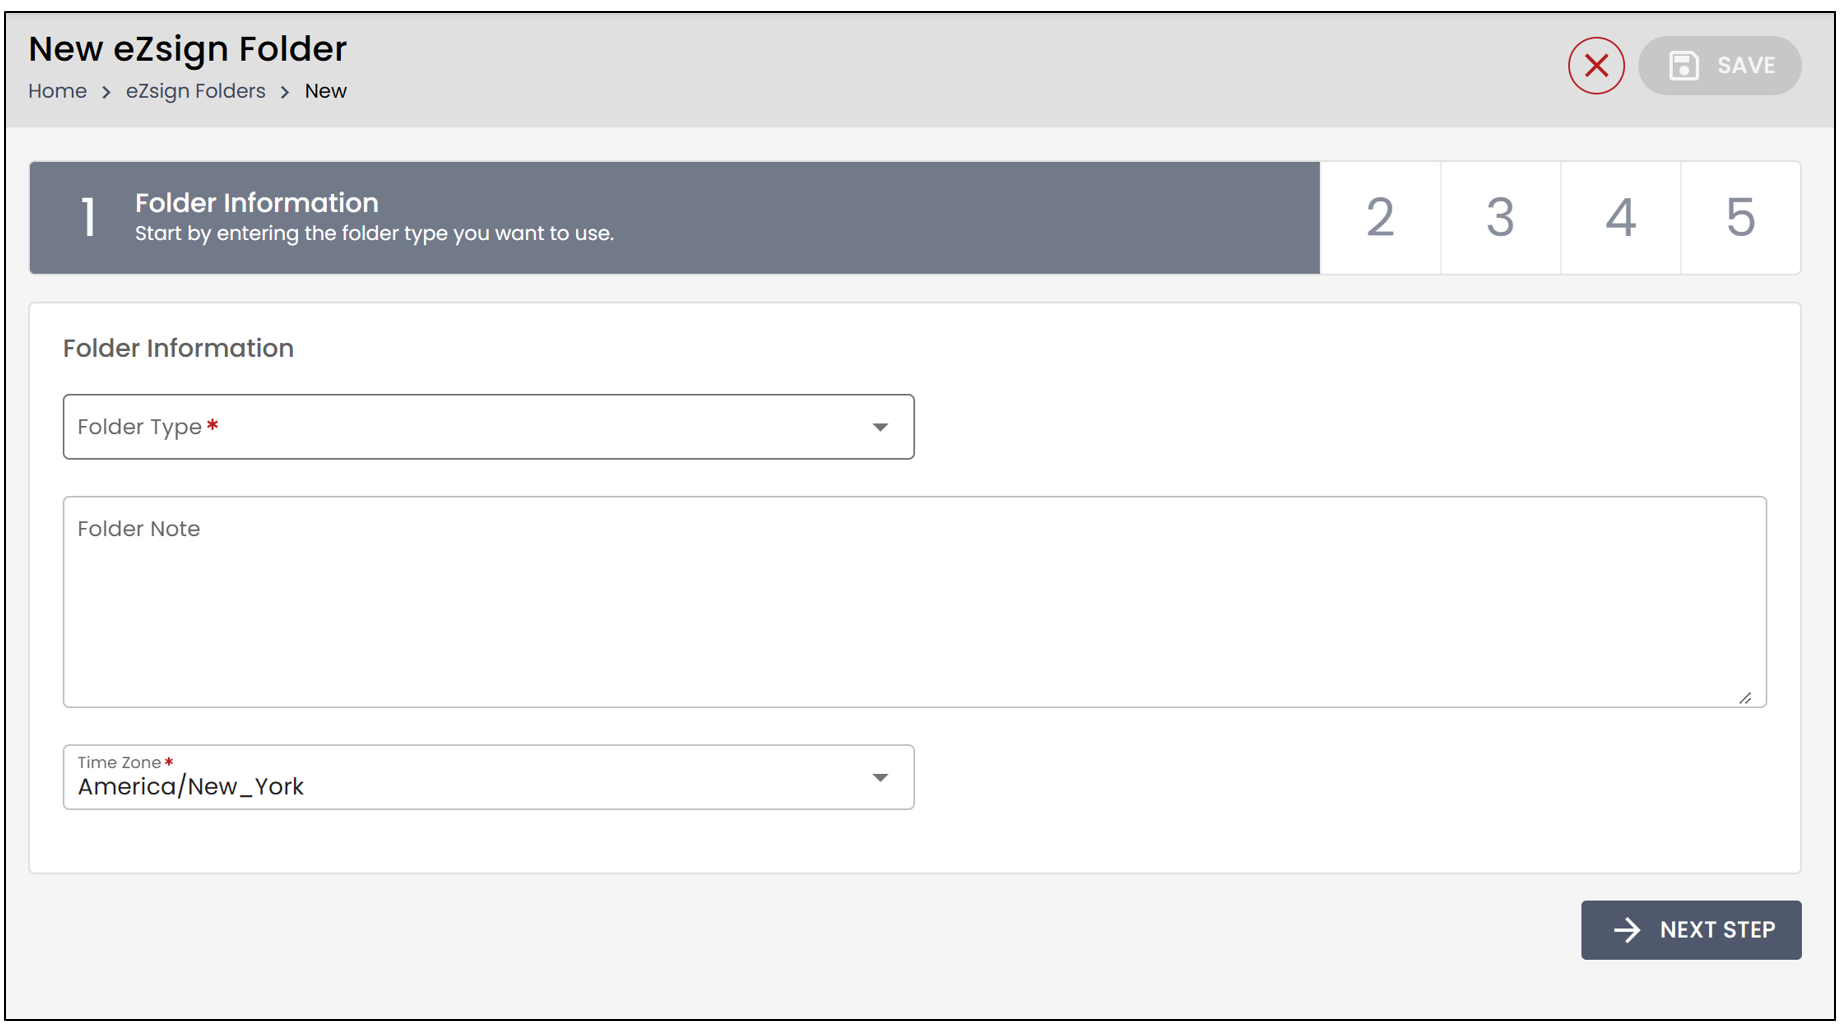
- For this first step, you can select the Folder Type from the drop-down list and add a Folder Note.
NOTE: The Folder Note is not visible to the recipients; only the folder creator will have access to it.
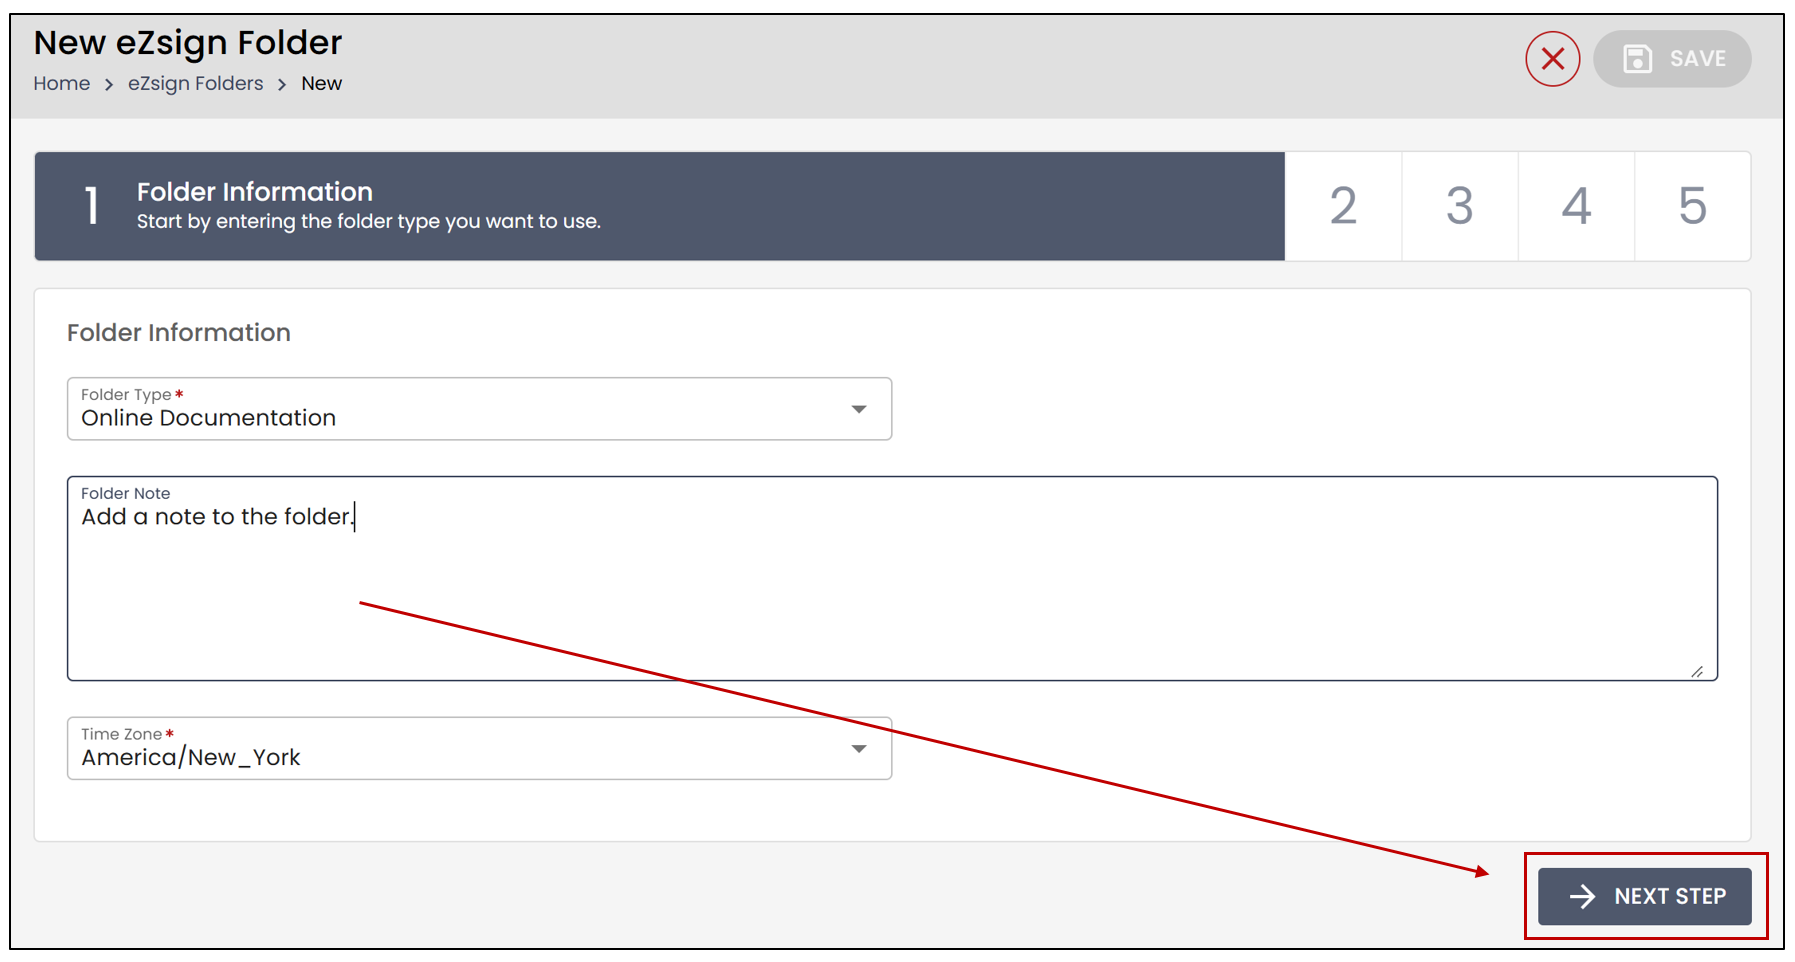
- Next, select the Time Zone from the drop-down list, then click on Next Step.
Document Creation
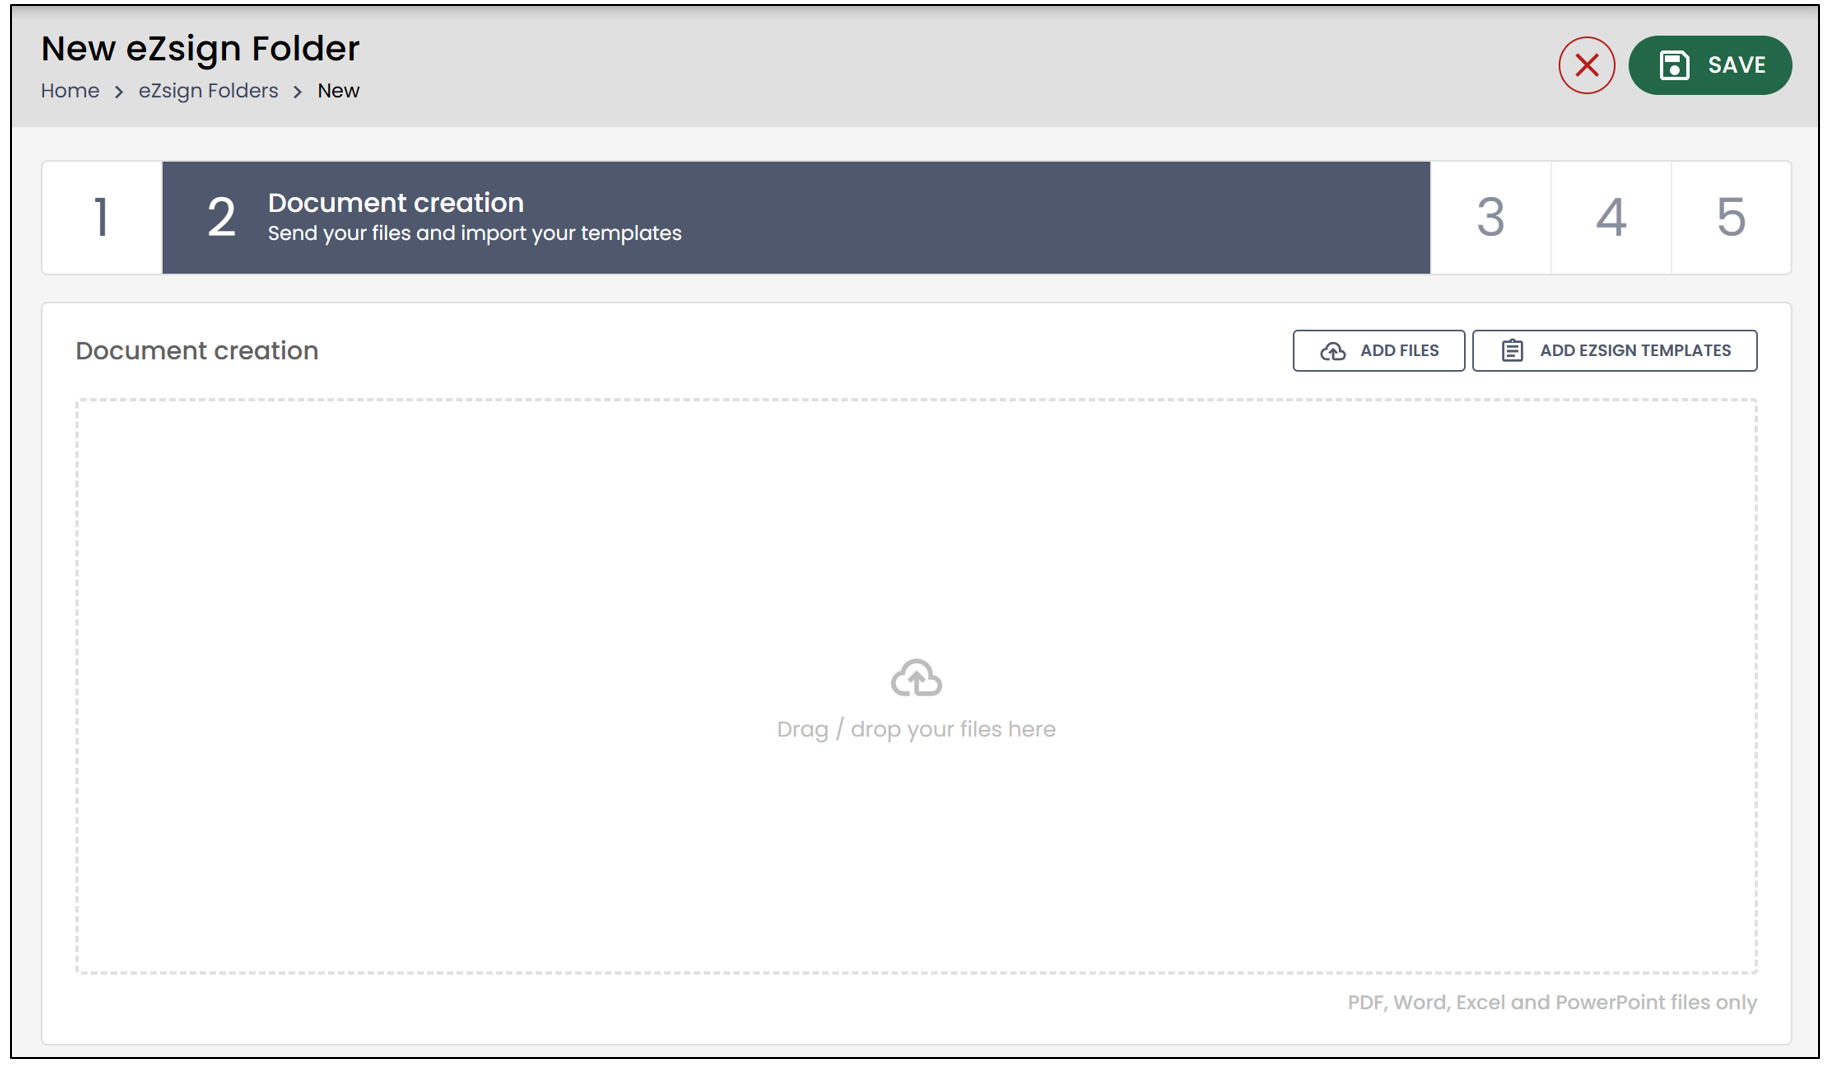
During the document creation step, you need to add the files intended for signature. There are two ways to add files to the folder: upload files directly from your computer or add eZsign templates.
- To upload files from your computer, you can drag and drop the documents or click the Add Files button.
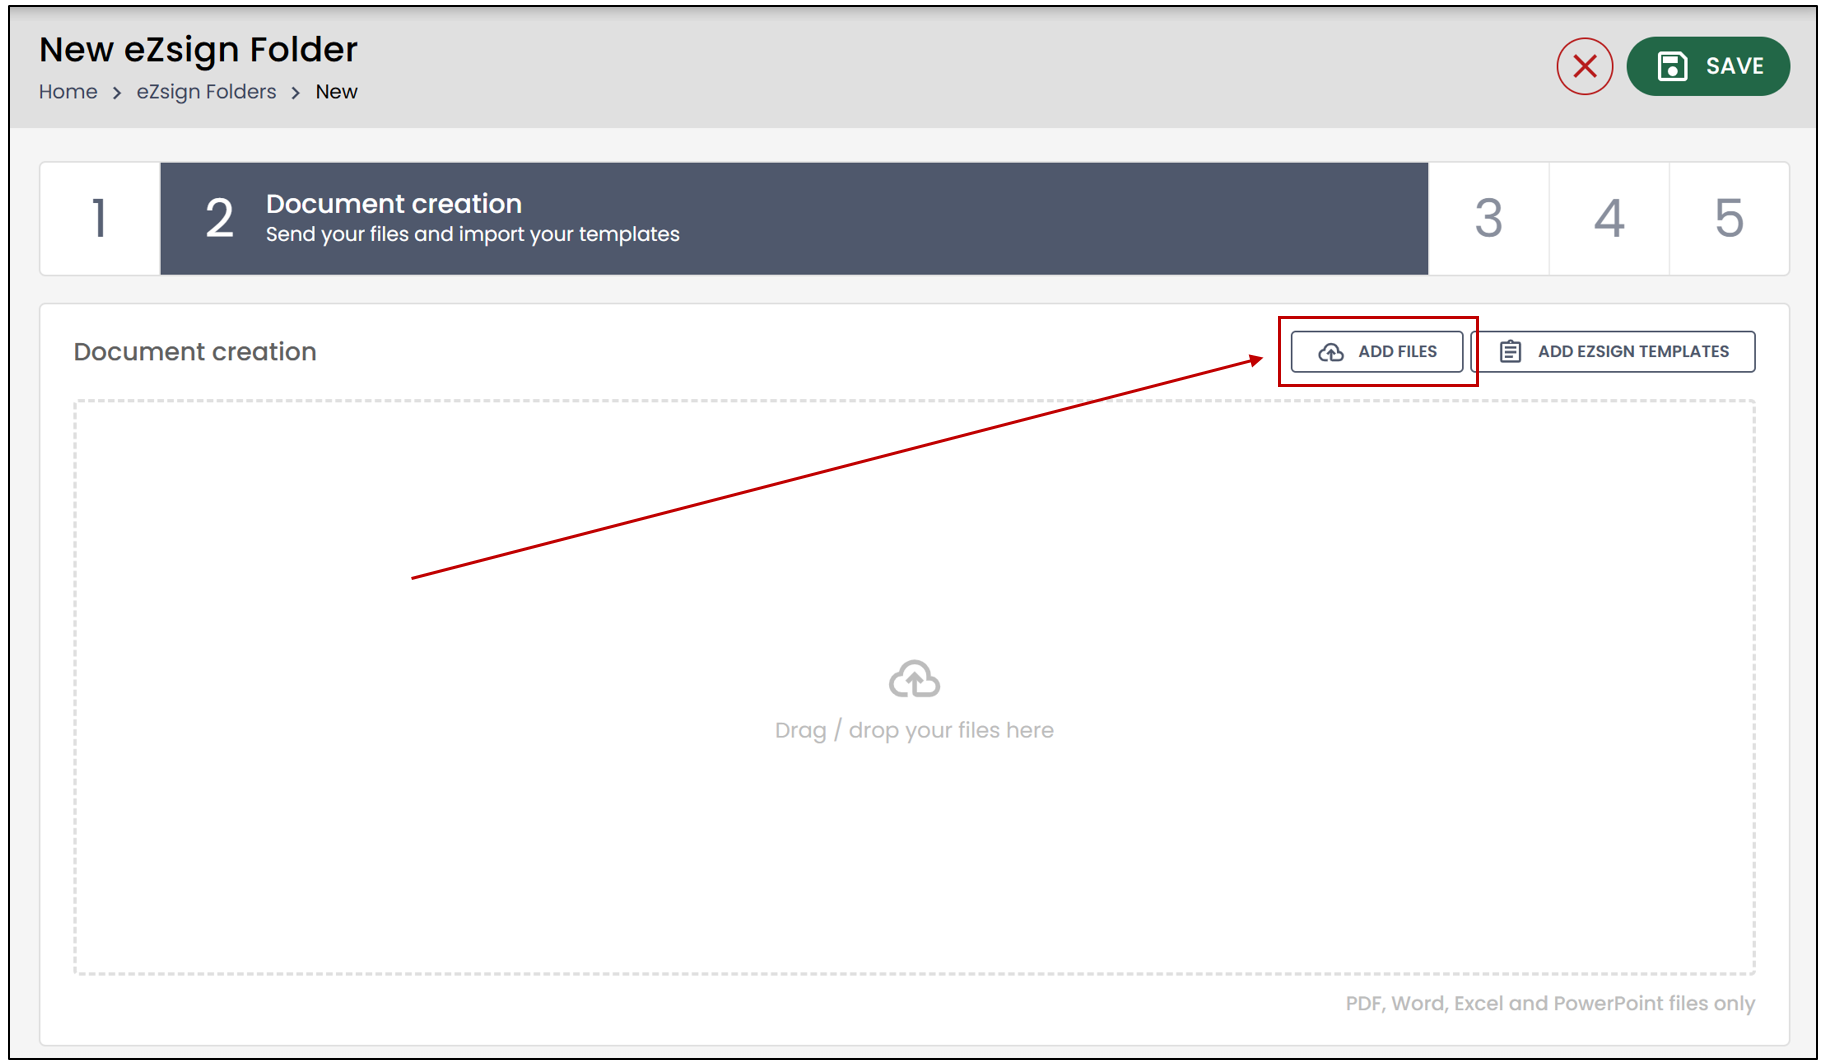
- Select the desired document from your computer, then click Open.
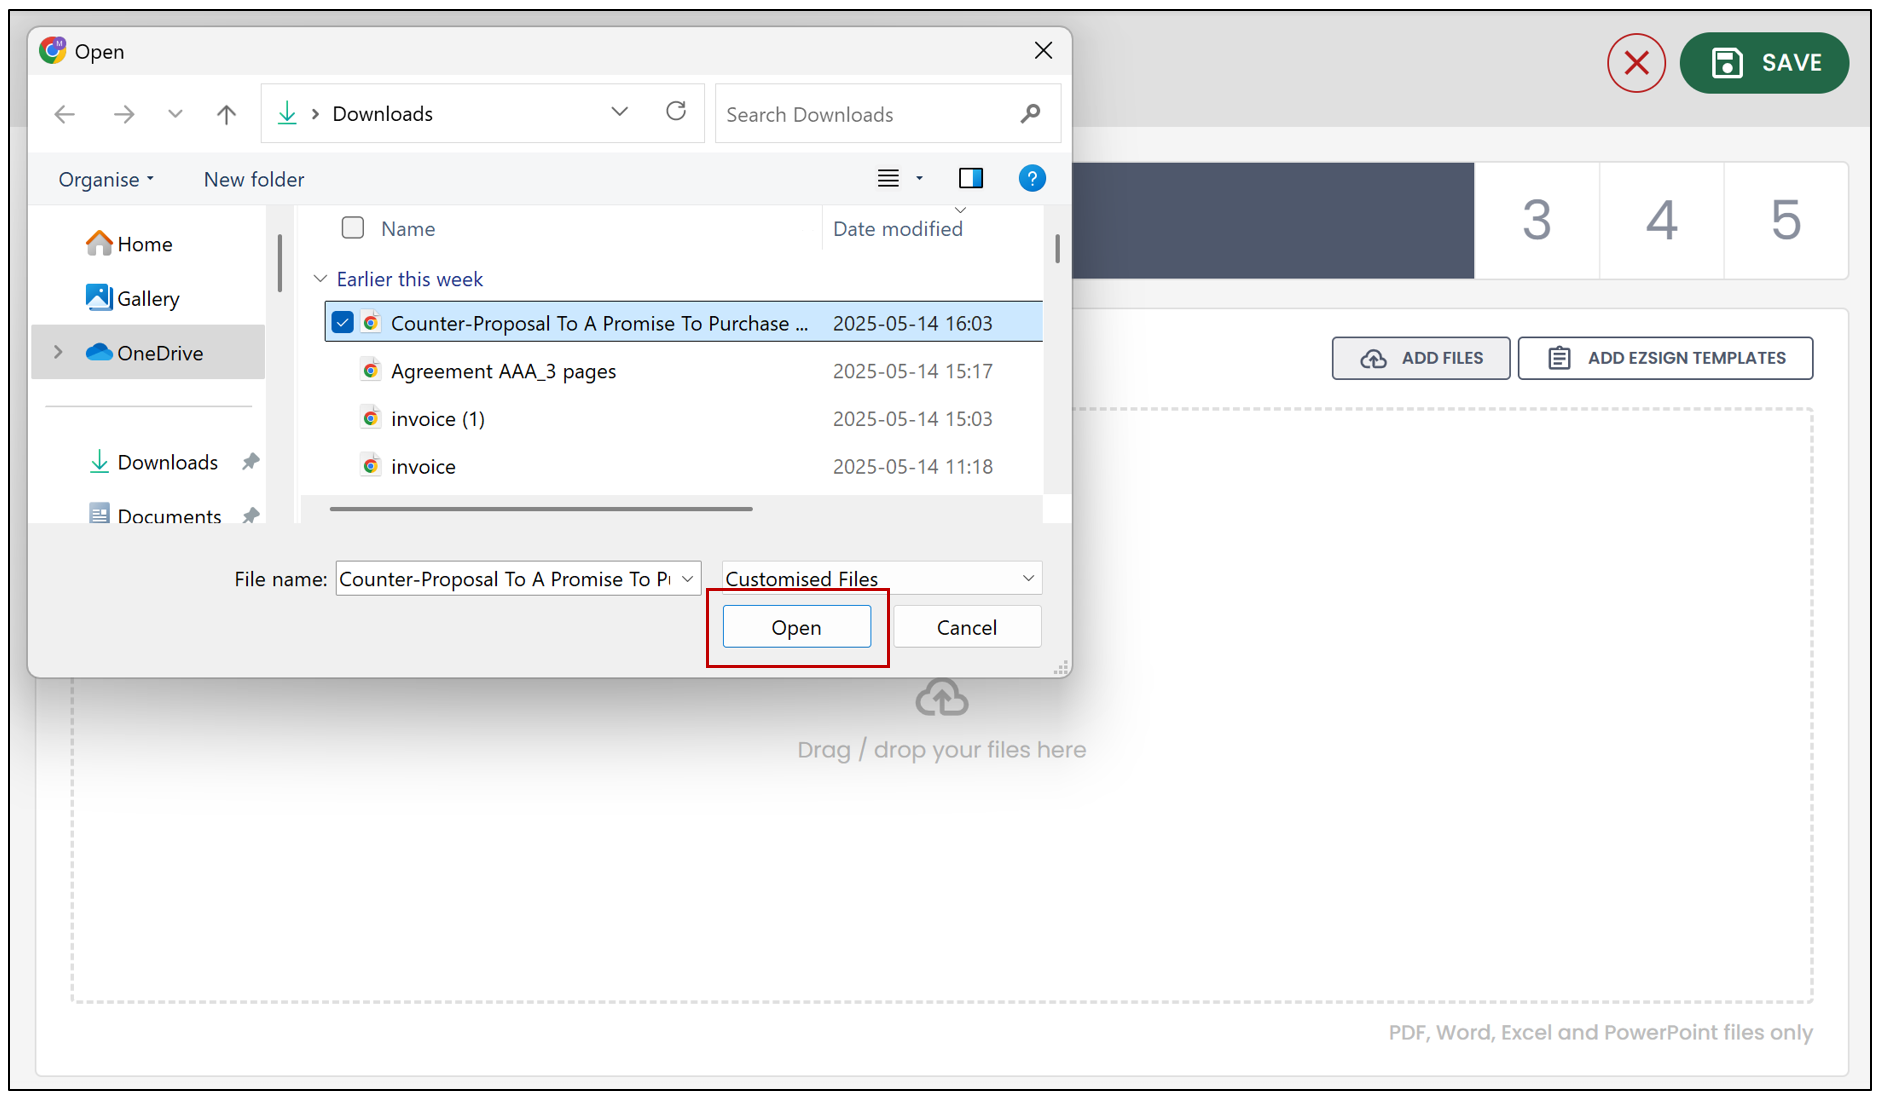
- You can then add eZsign Templates to your document.
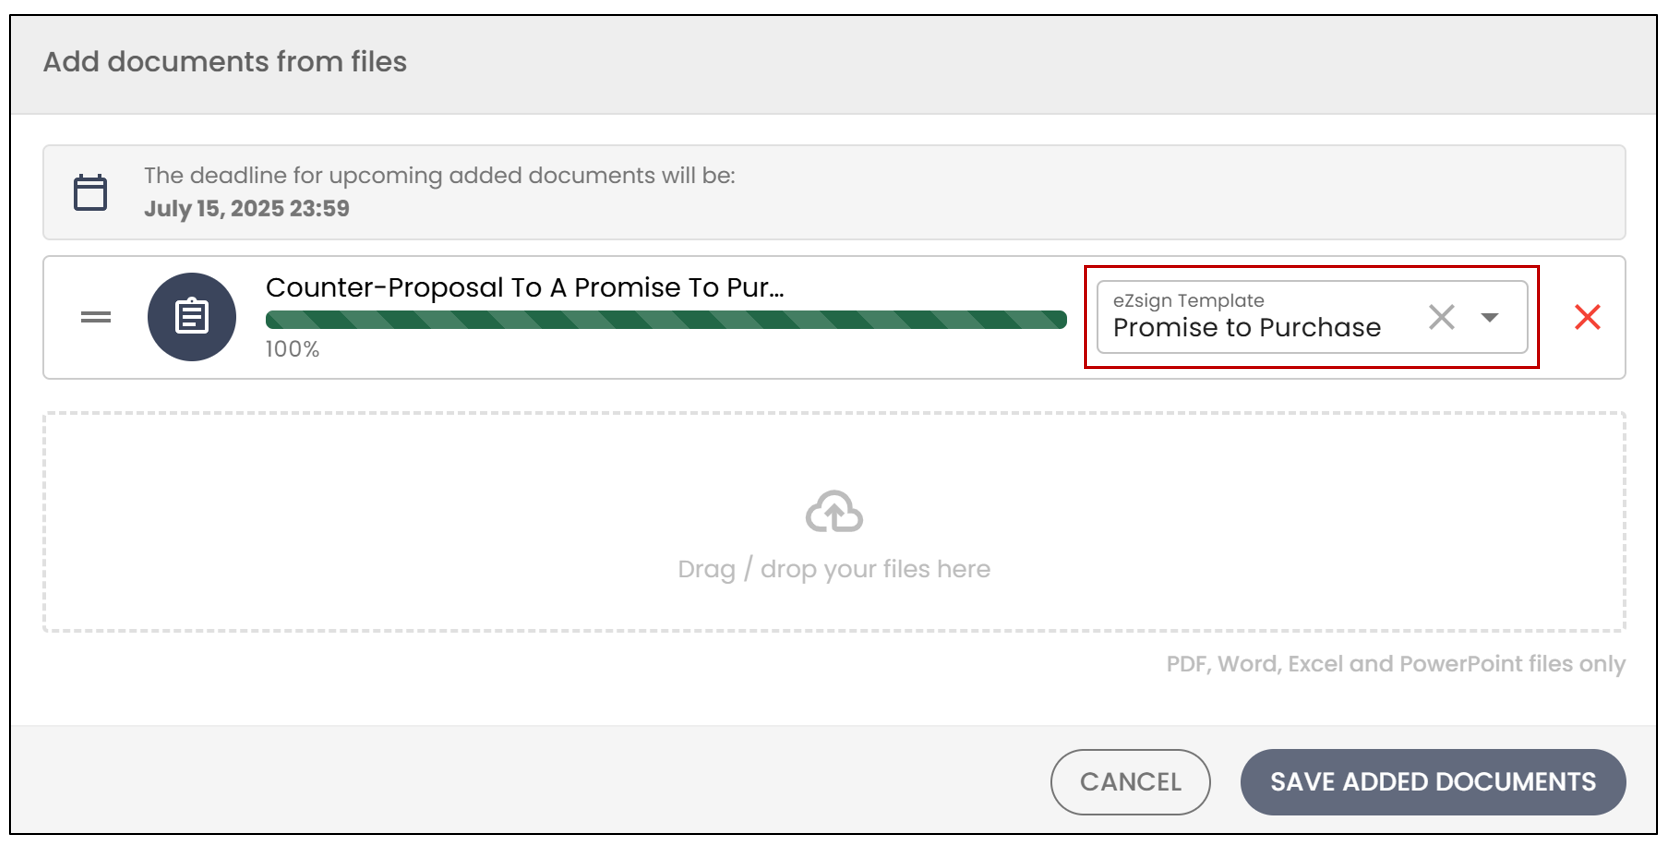
- Click Save Added Documents.
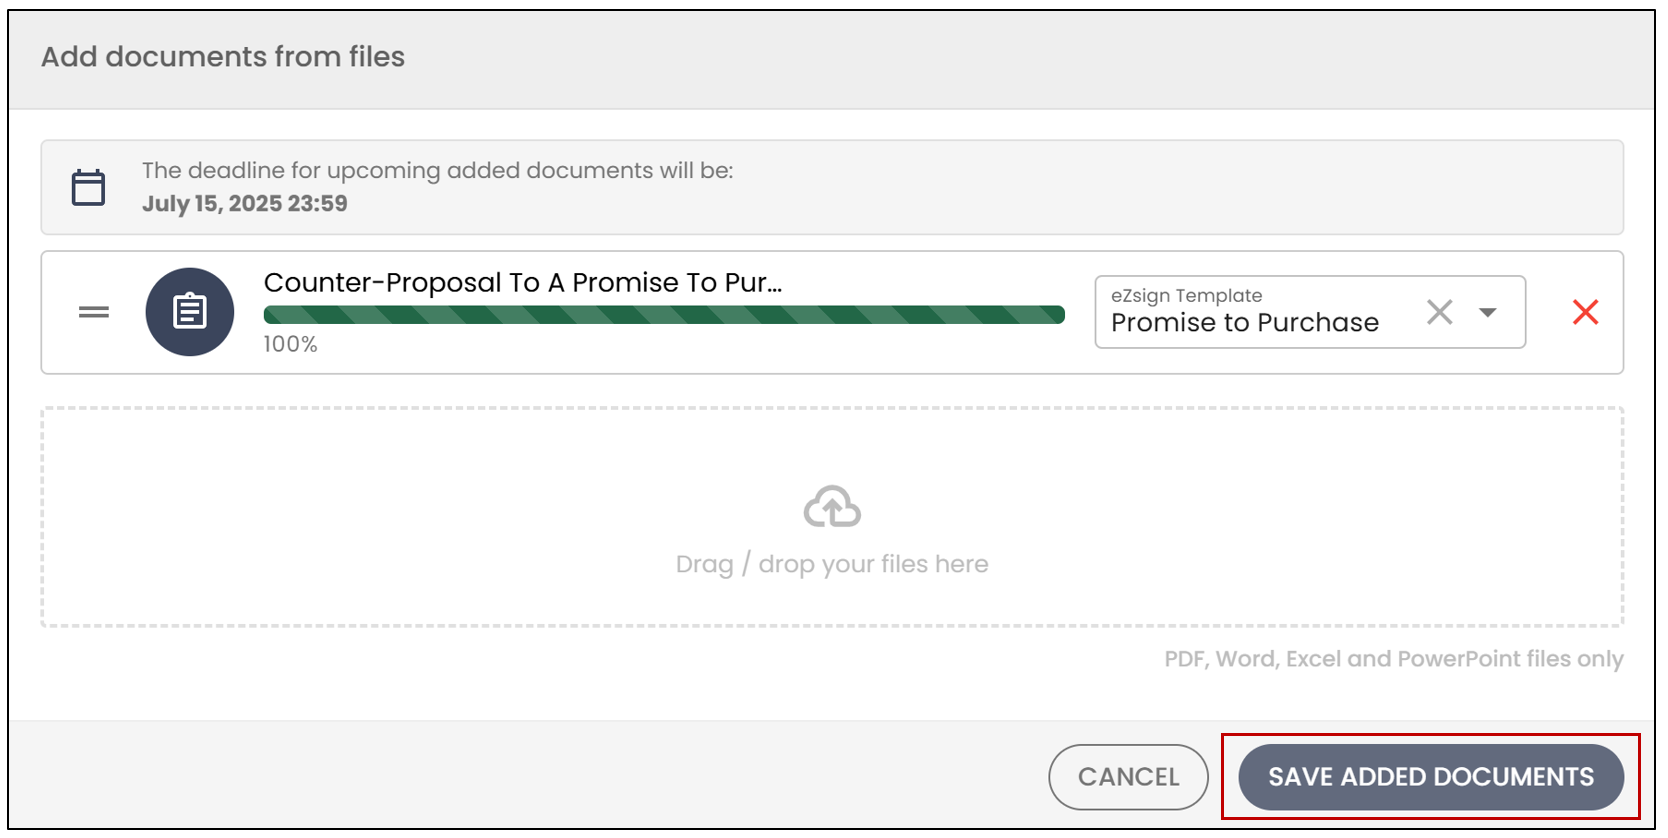
- Then click Next Step.
Signatories
In this article, we’ll explain how to add three or more signers — buyers or sellers — who need to sign the document.
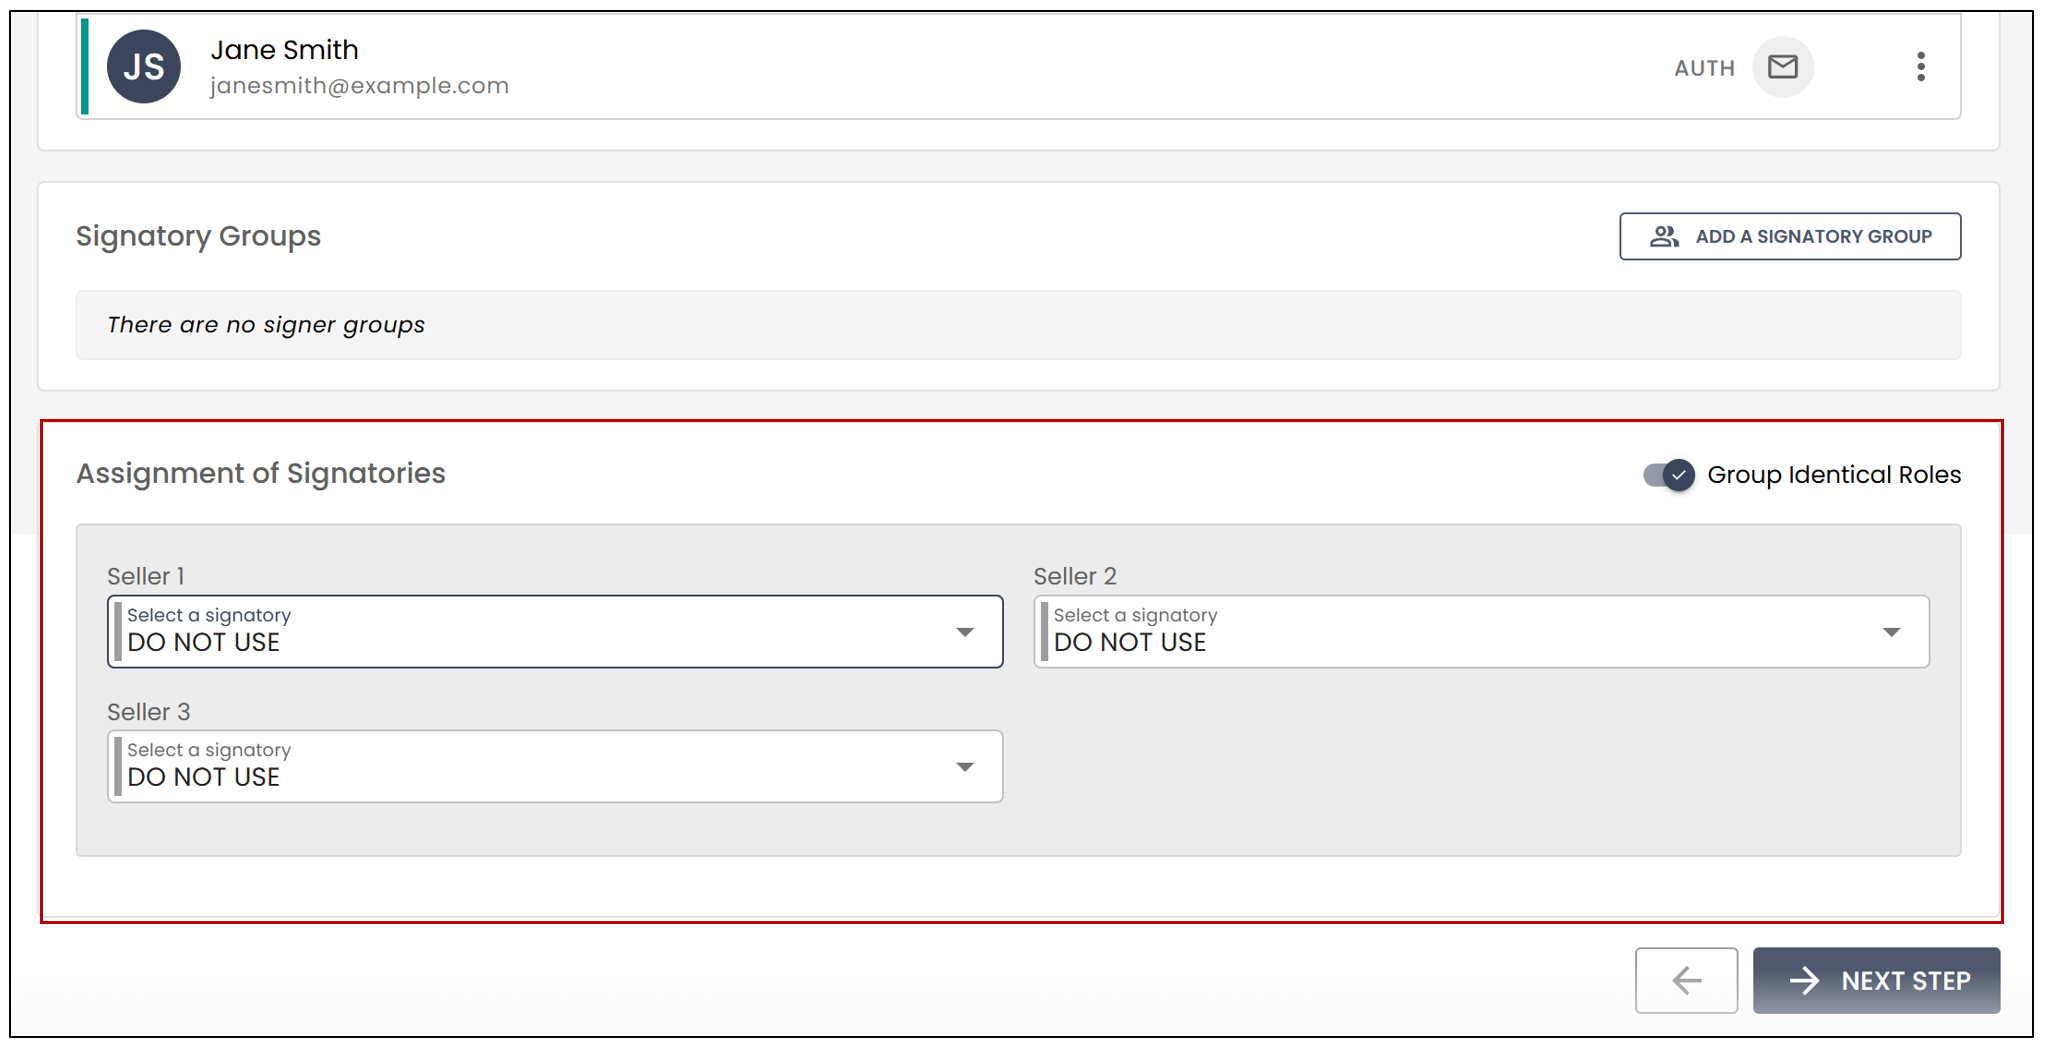
The template applied to the document in this example includes 3 roles for sellers, so we’ll show you how to add fields for an additional seller who also needs to sign the same document.
- The first step is to add your sellers as signers to the file. Click Add Signatories.
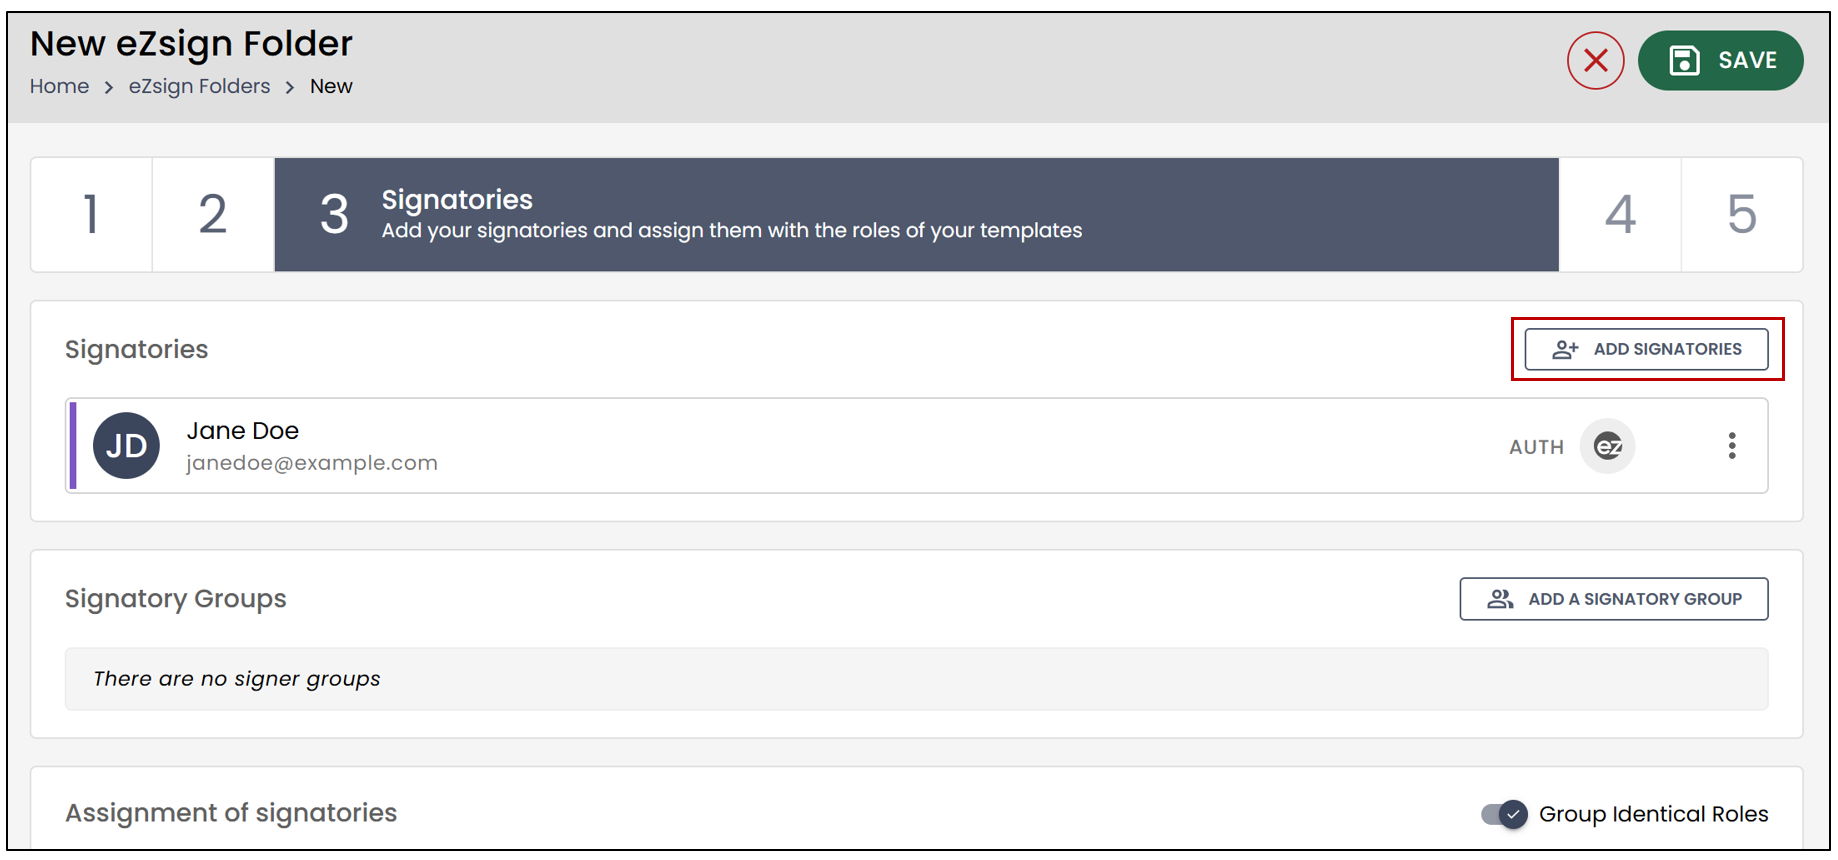
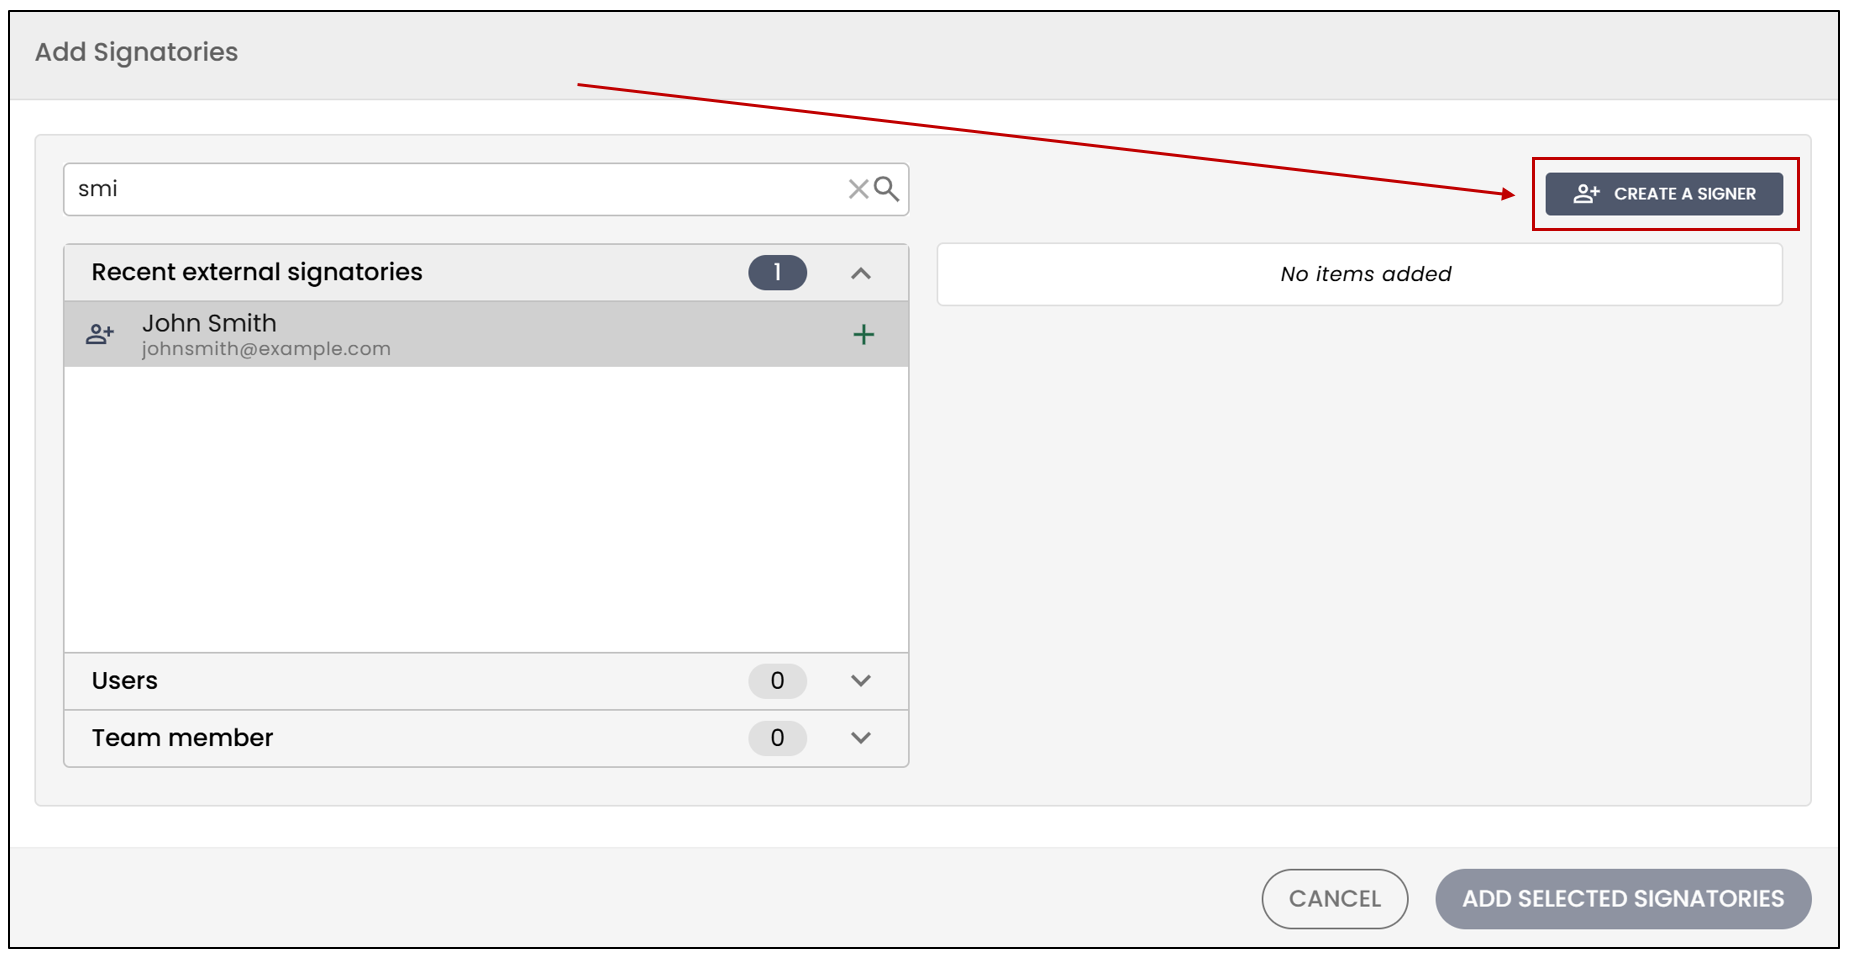
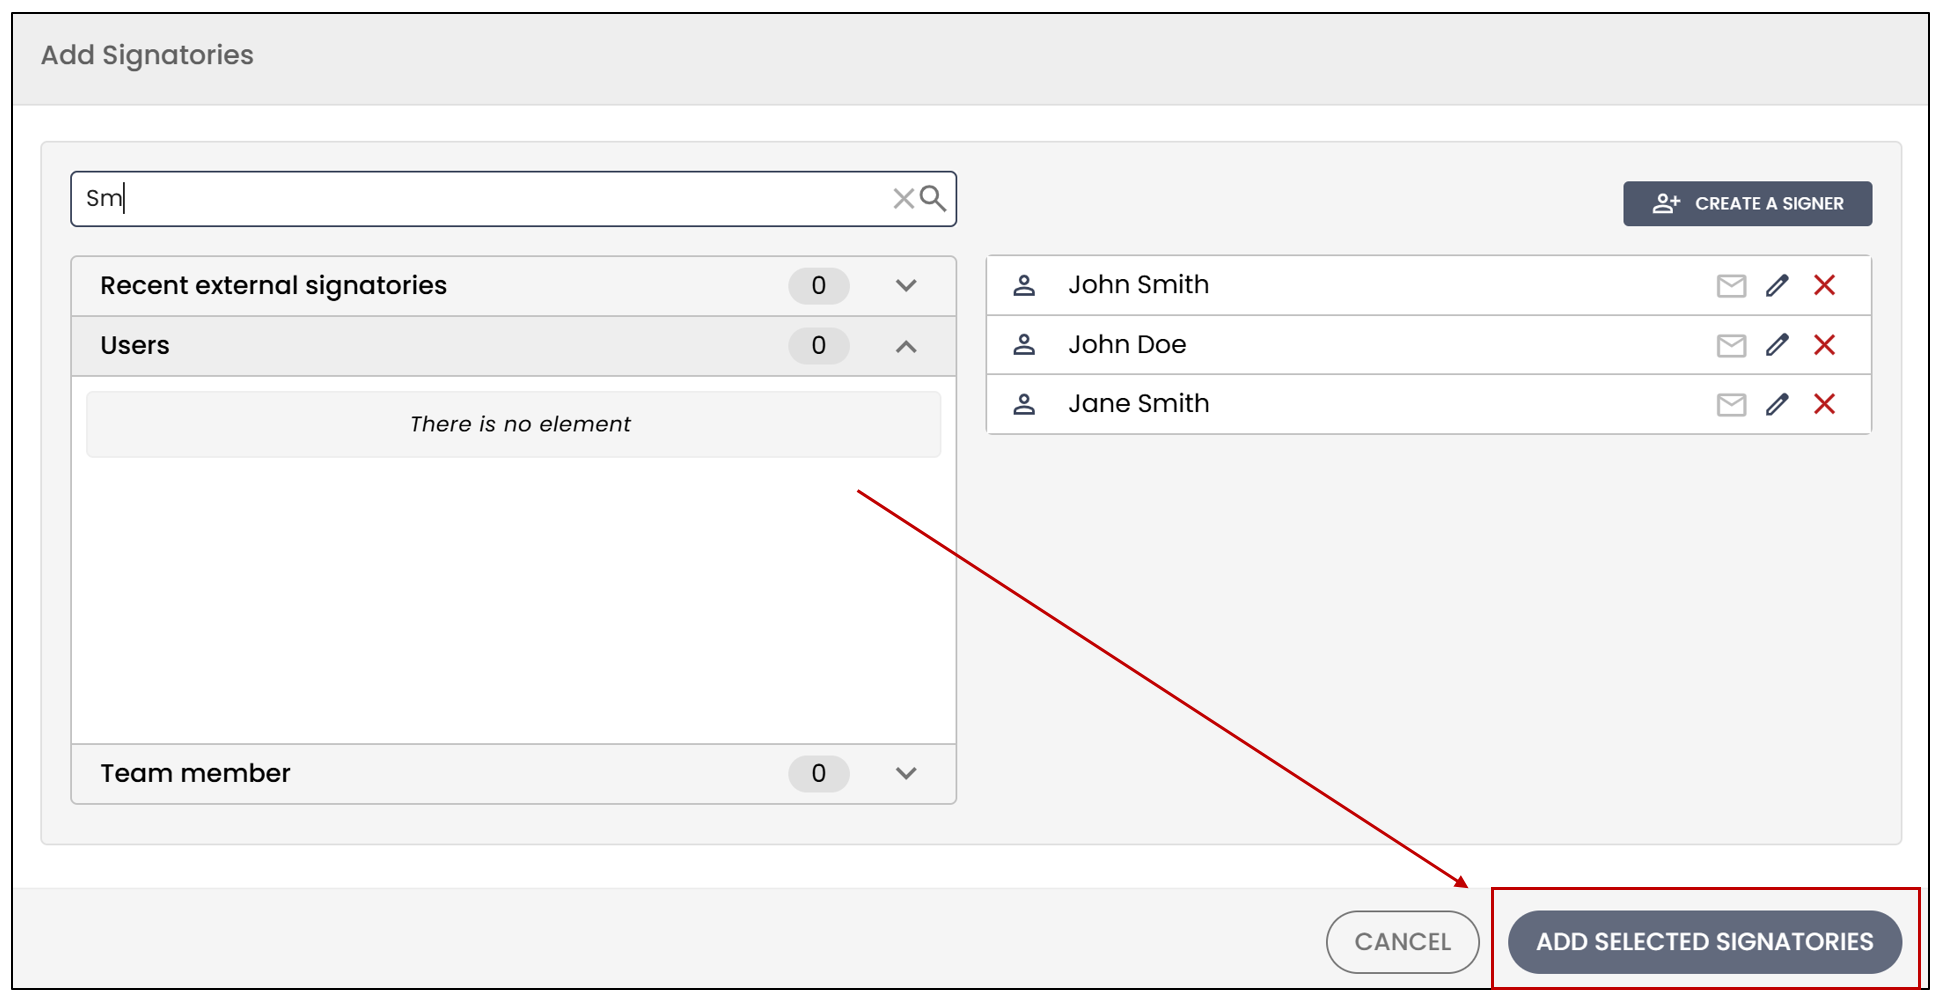
- You can then add all the document’s signers from the drop-down list, or click Create a Signer.
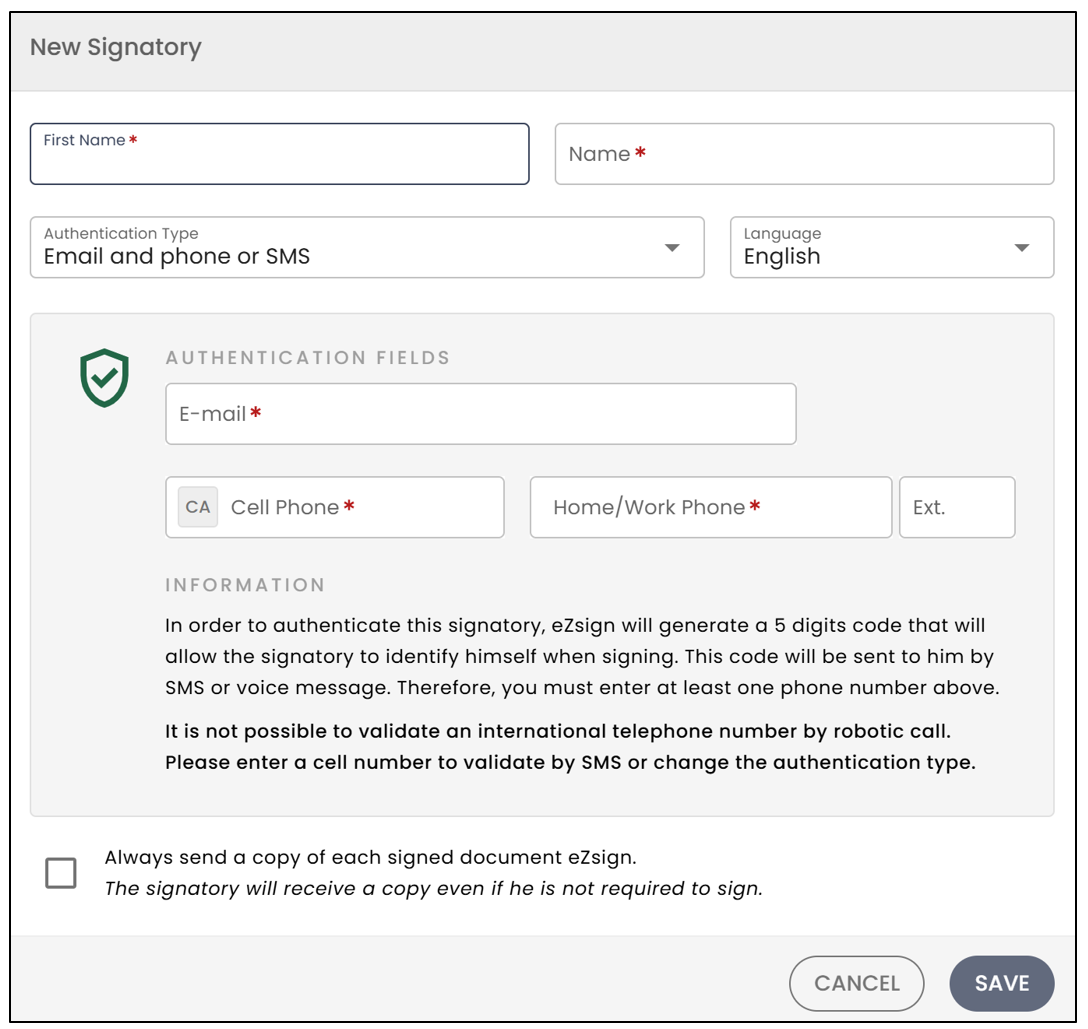
You will be able to enter the signer’s First Name and Last Name. Then, select the Language.
From the drop-down list, select the Authentication Type. For more information, please refer to the article Types of Signatory Authentication.
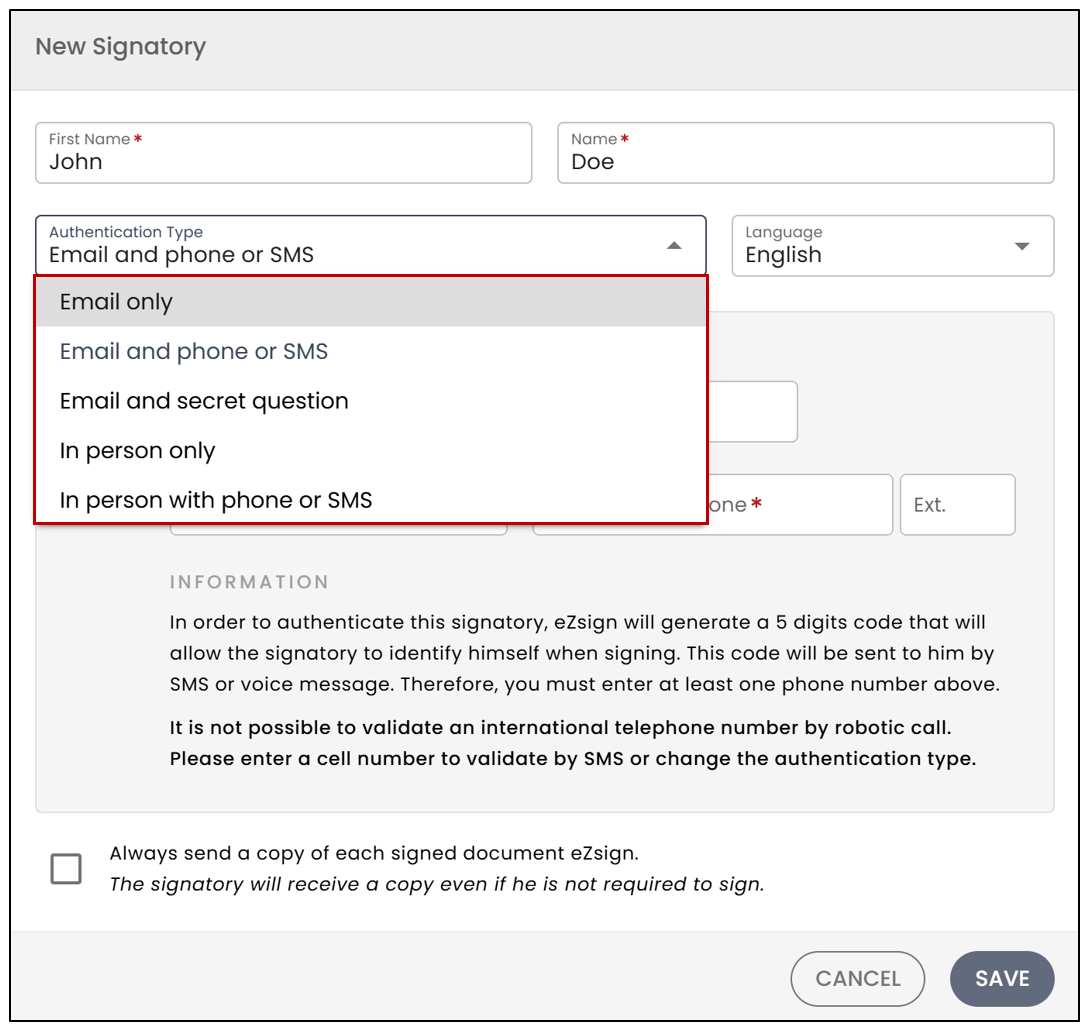
- Click on Save to create the new signer. When you are done, click on Add Selected Signatories.
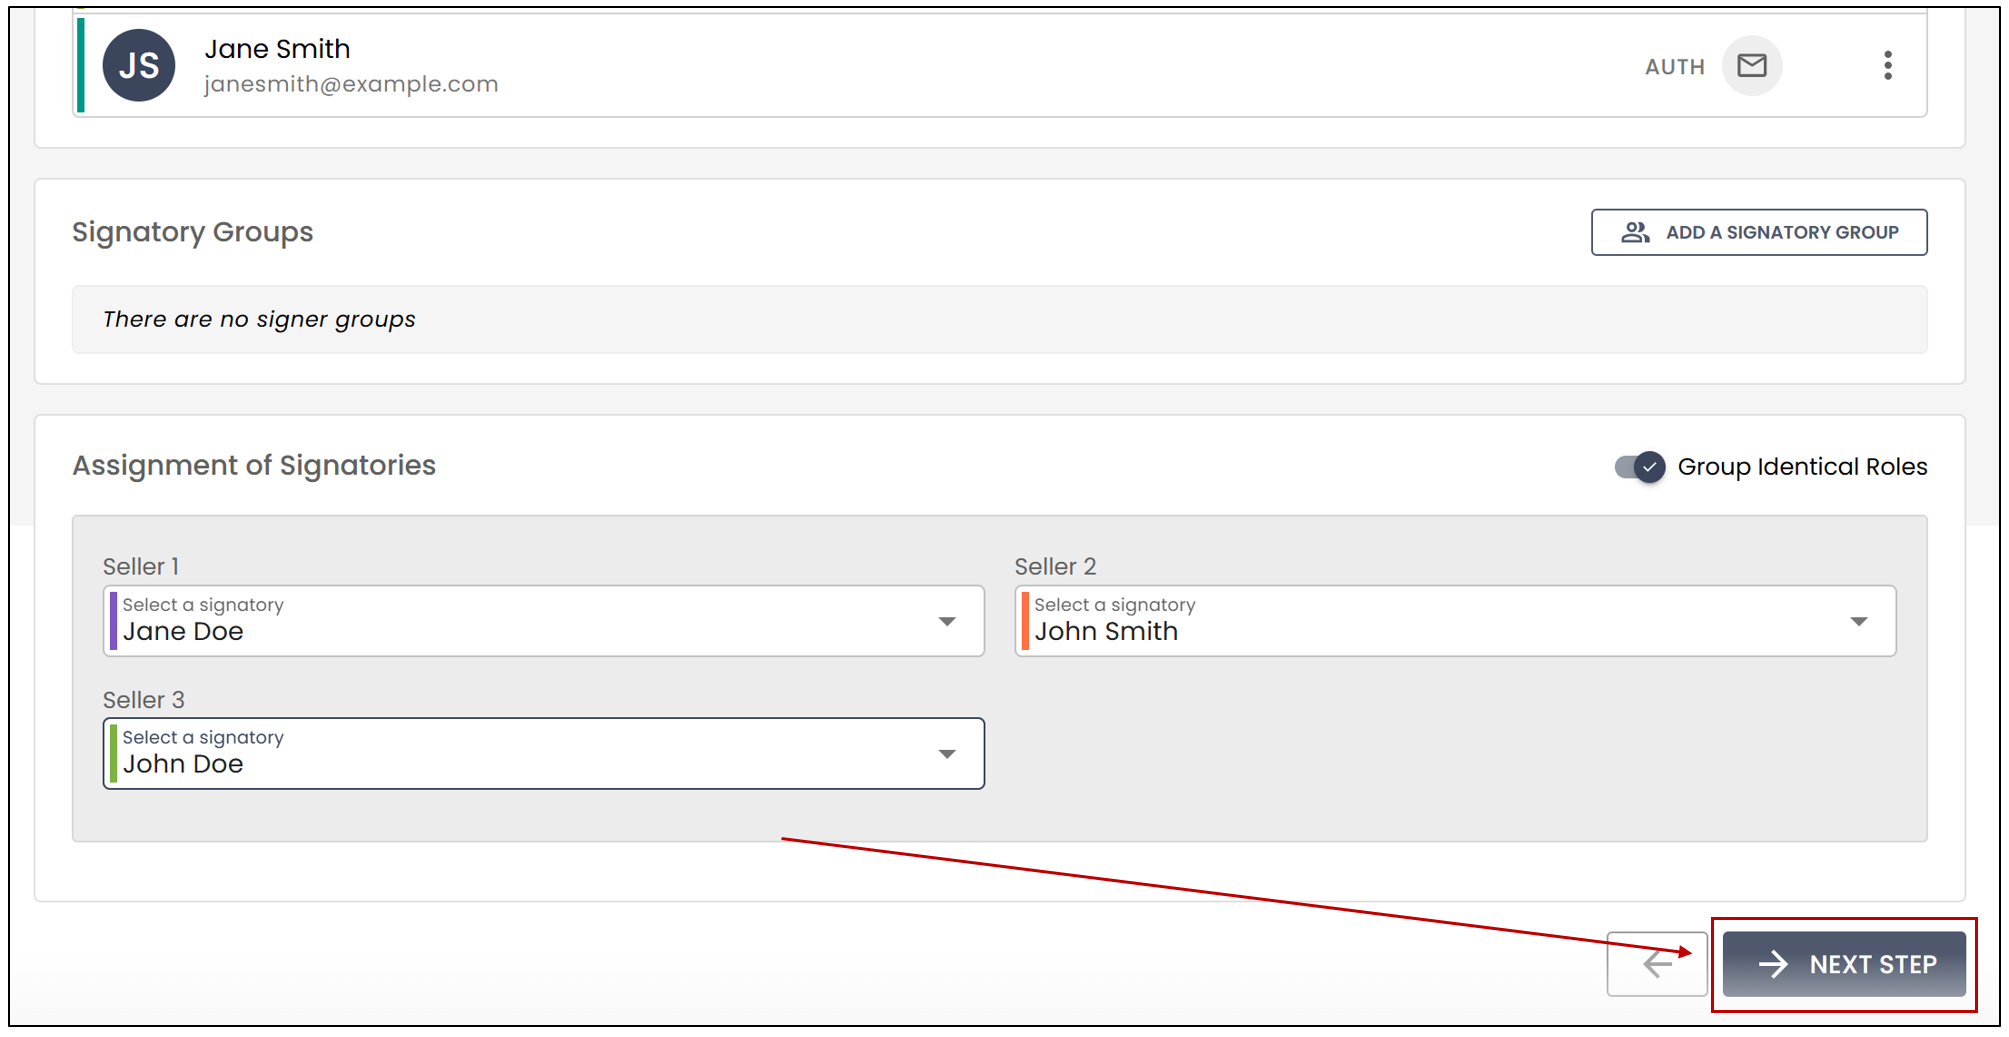
- In the Assignment of Signatories section, you will have the option to assign a signer to signature fields, but only if you have previously associated a template with the document.
- Select the desired signer from the drop-down list.
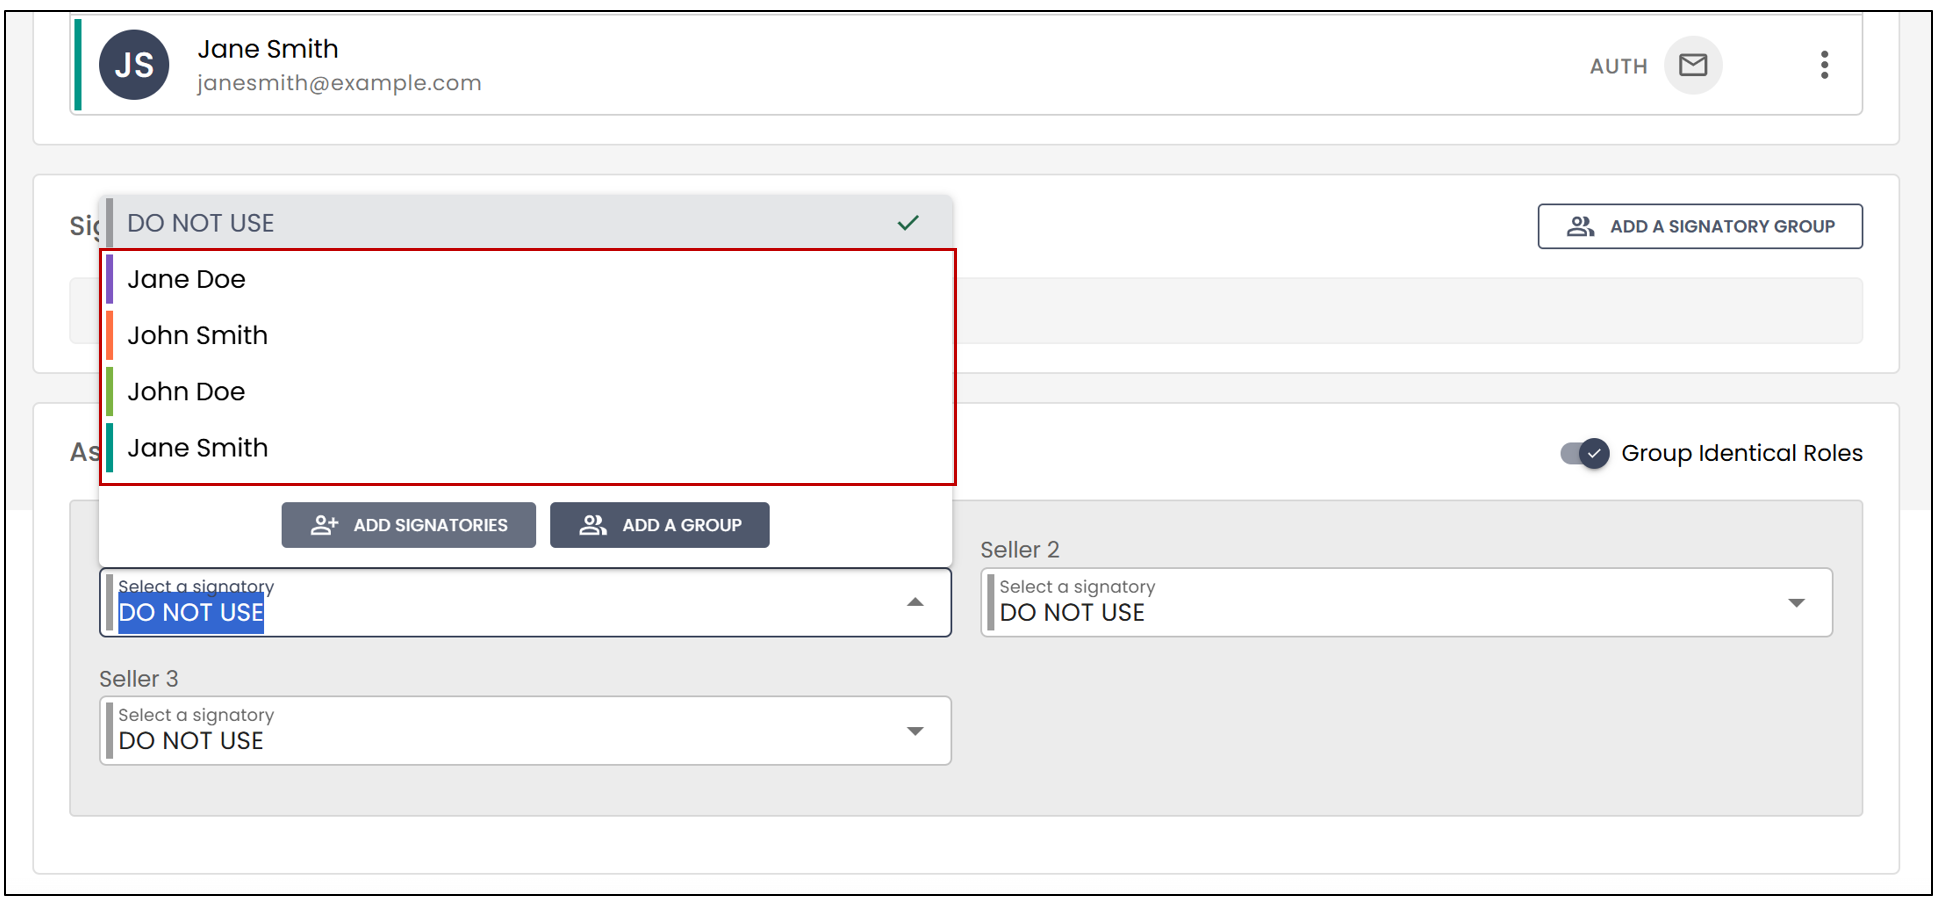
NOTE: You have the option, from a role, to Add Signatories.
- Once the roles are assigned, click on Next Step.
Document Verification
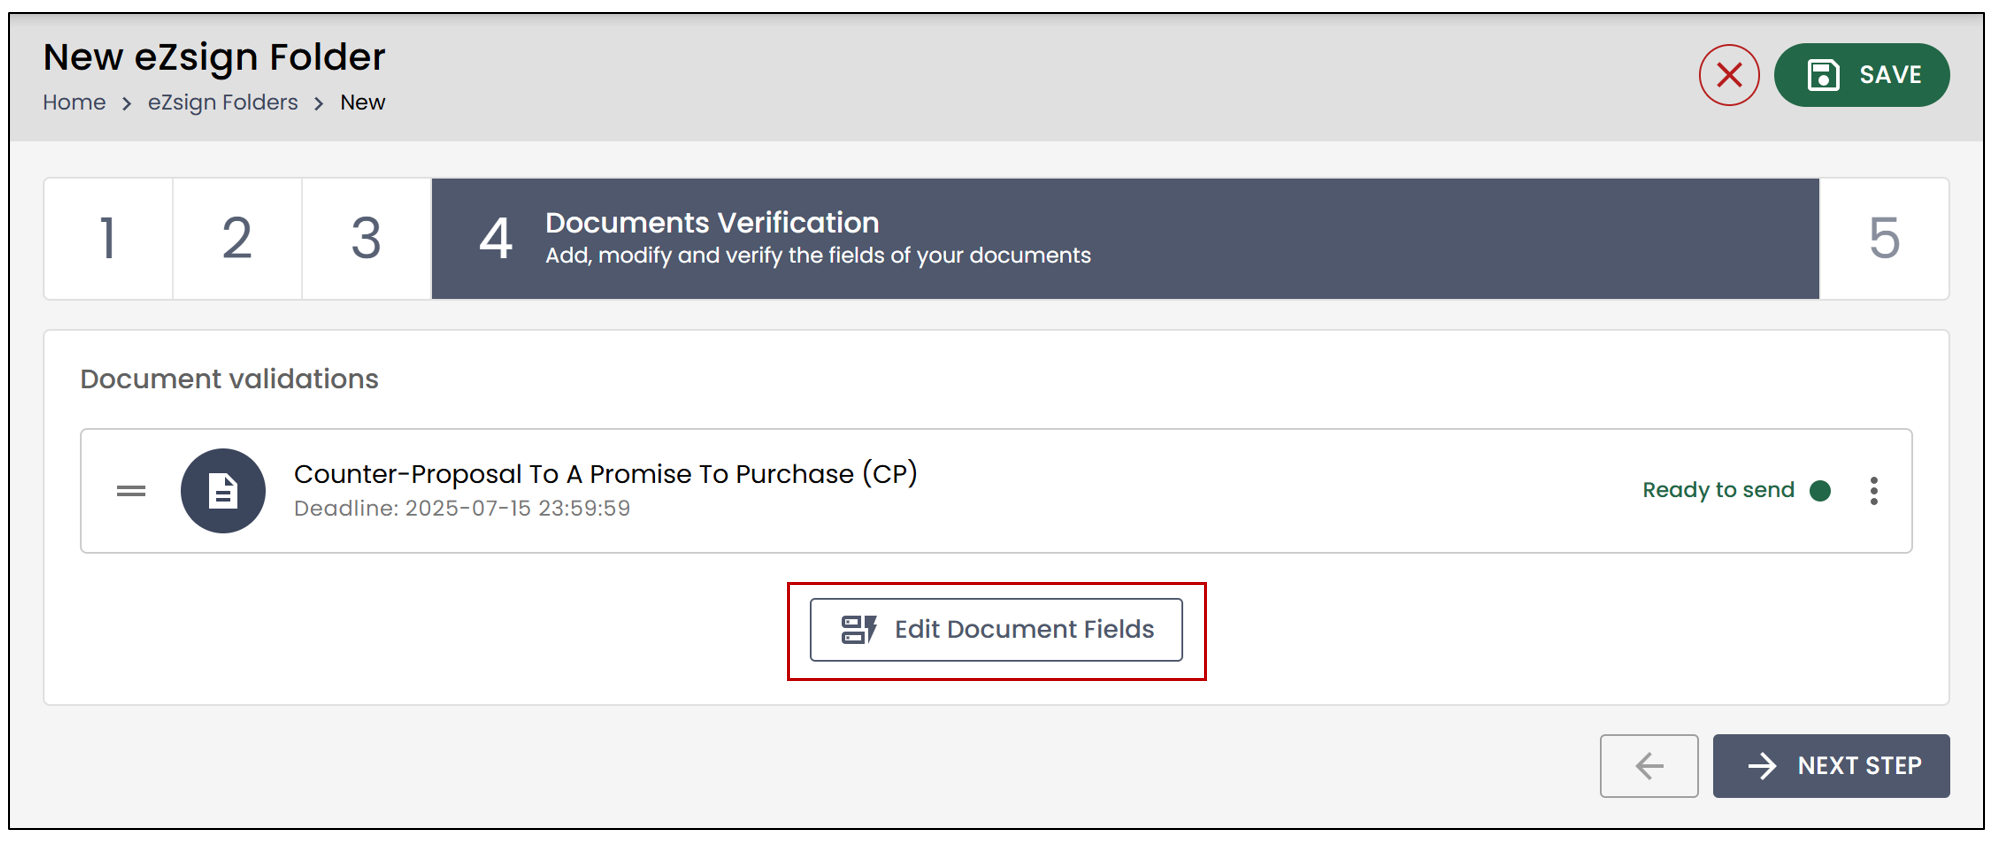
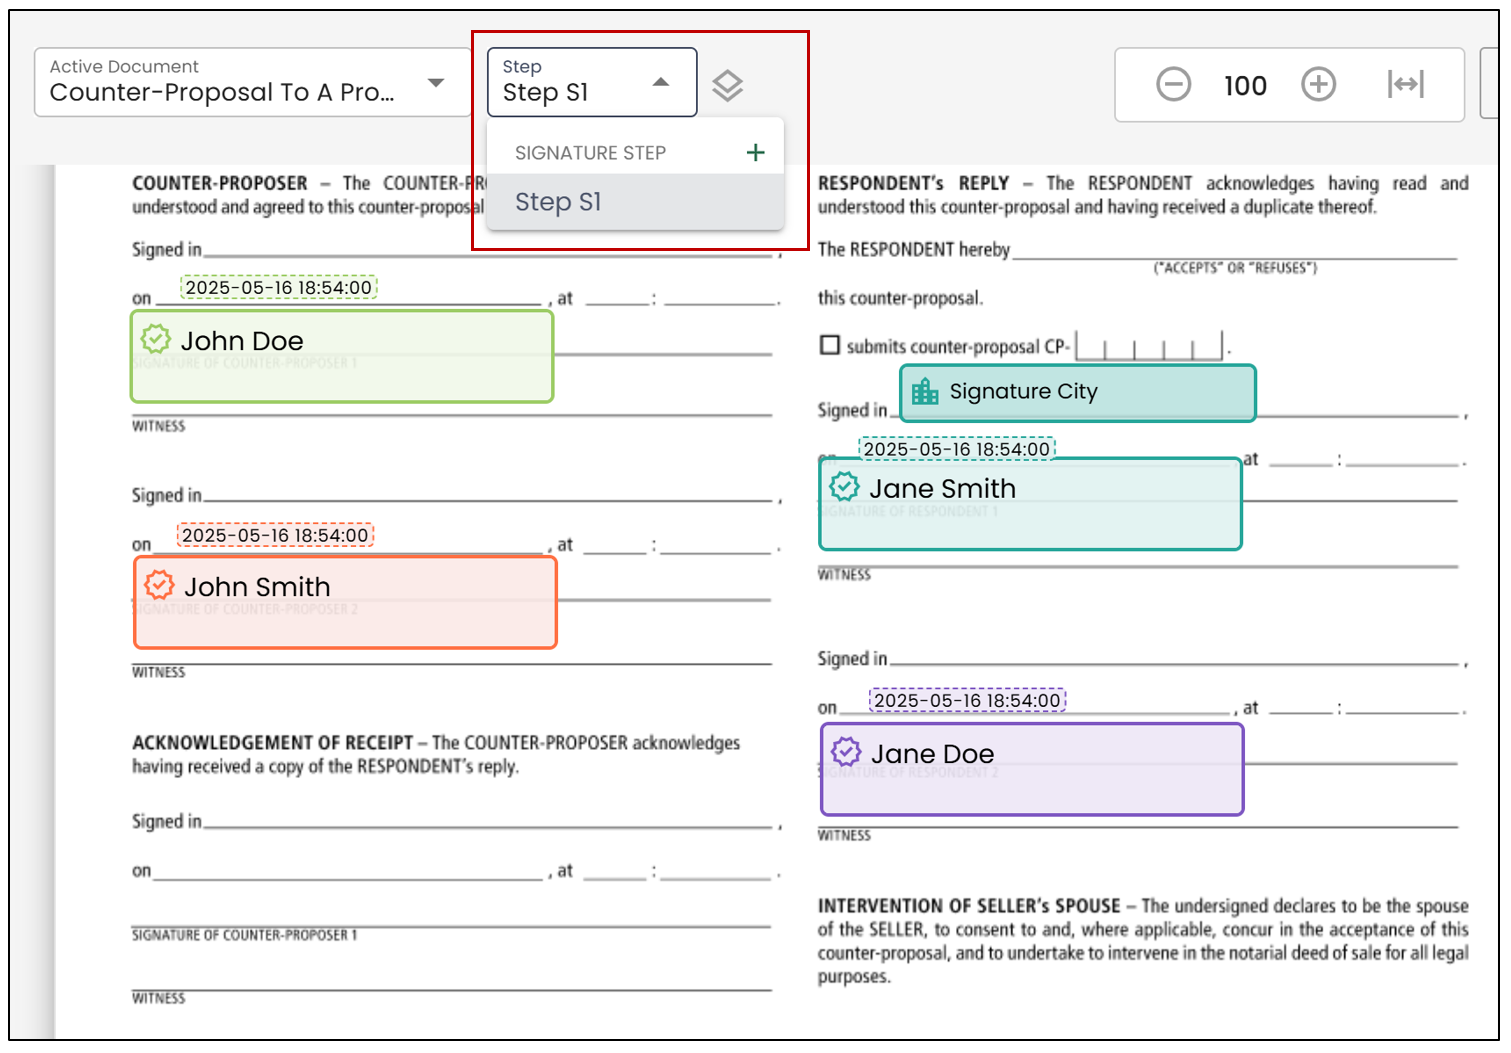
- In the Document Verification step, if you wish to add signatures that are not included in the applied eZsign template, click on Edit Document Fields.
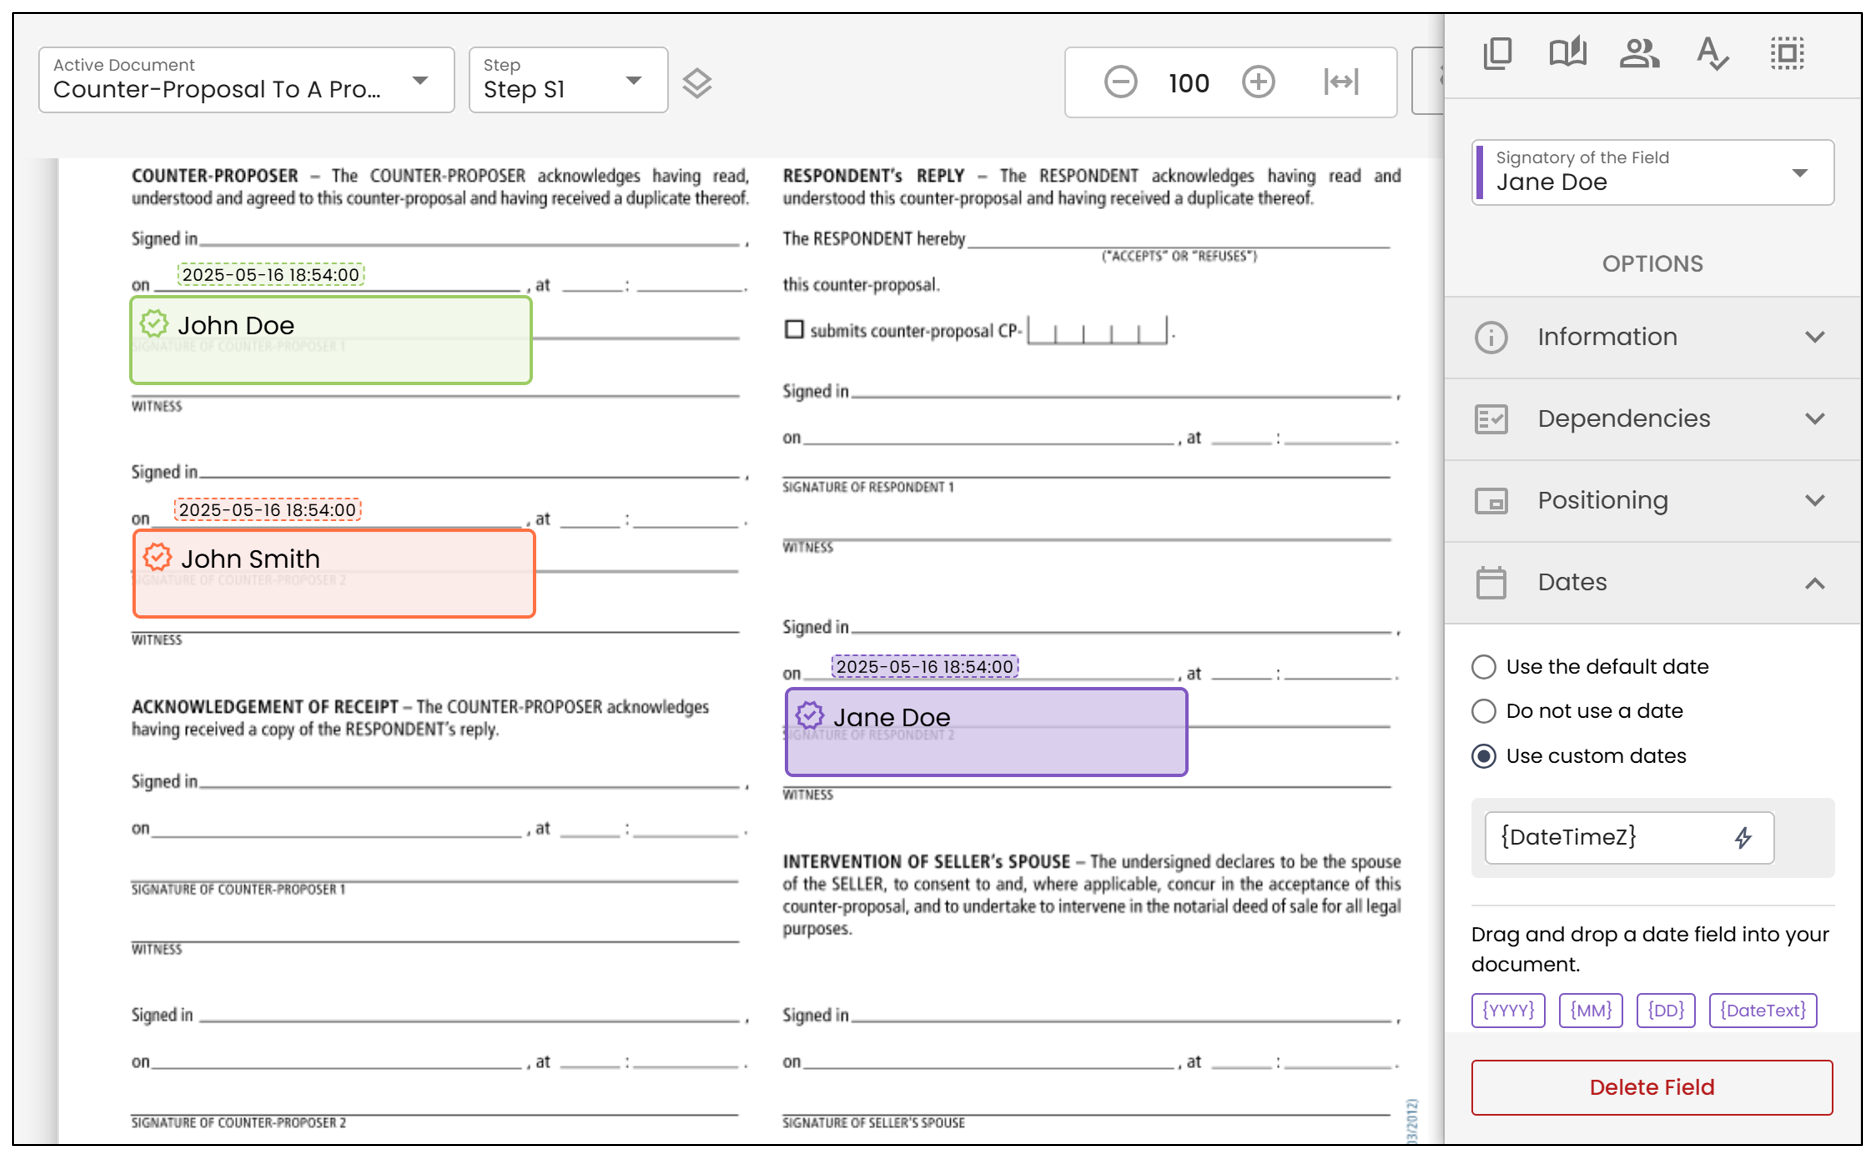
You will notice that the template fields will automatically appear on the document:
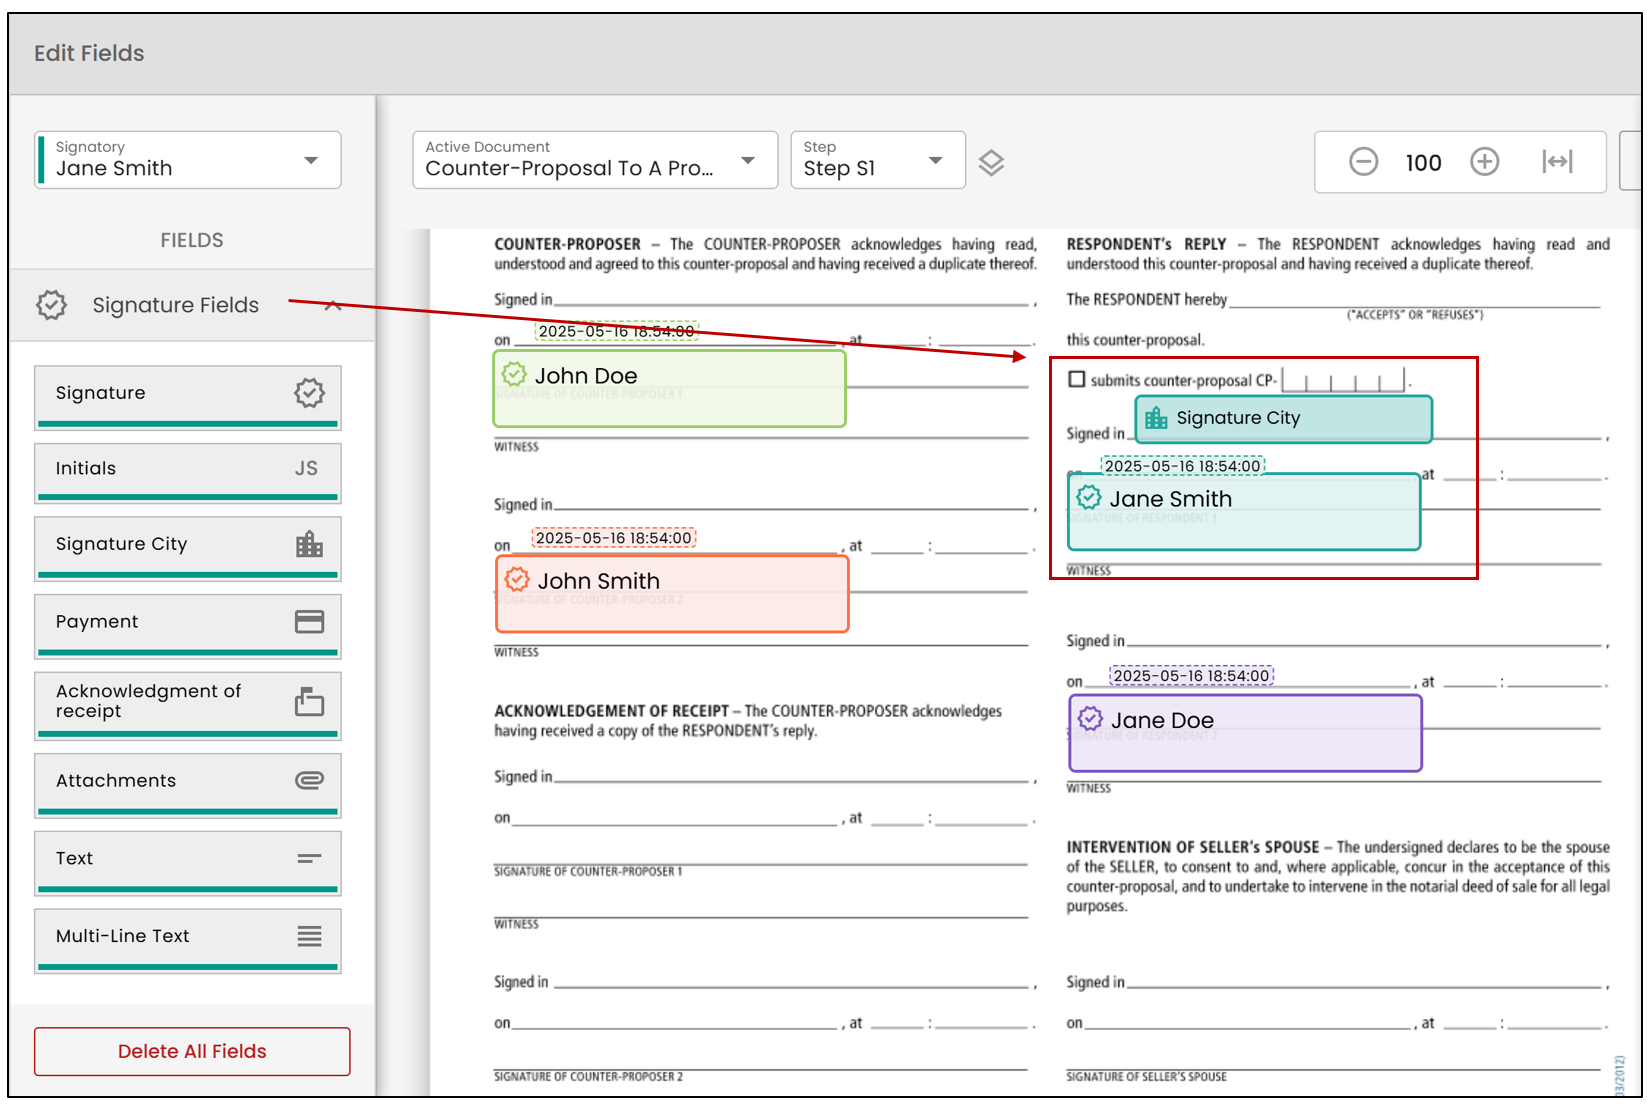
- To add new fields, you will need to select the desired signer, then drag the fields onto the document.
NOTE: You can review the signature step of a field by selecting it, then checking the step at the top of the document.
- Click Save , then follow the steps to send the file.