
Français
Adding/Editing/Apply a Stamp
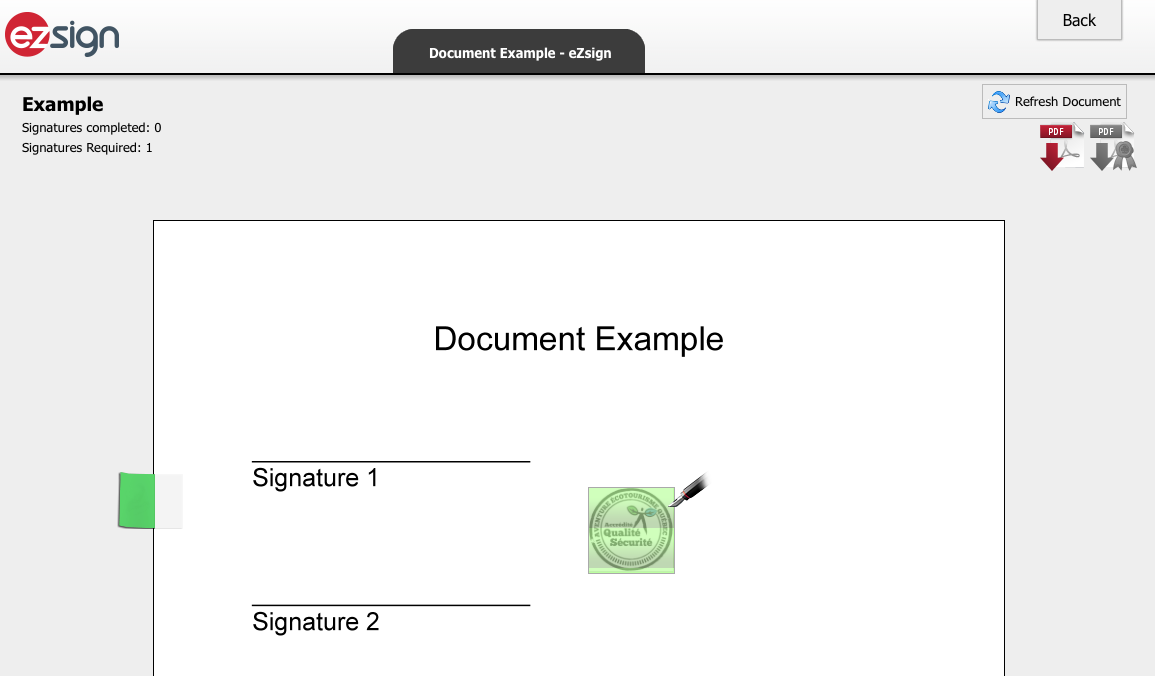
It is possible to create a stamp to apply to a document during the electronic signature process. It can be an image of an accreditation seal, a handwritten signature or other. Once created, this stamp can be selected when adding fields in a document.
Adding a Stamp
From Main menu >> General >> List of Stamps - eZsign.
Click on Actions >> New Stamp.
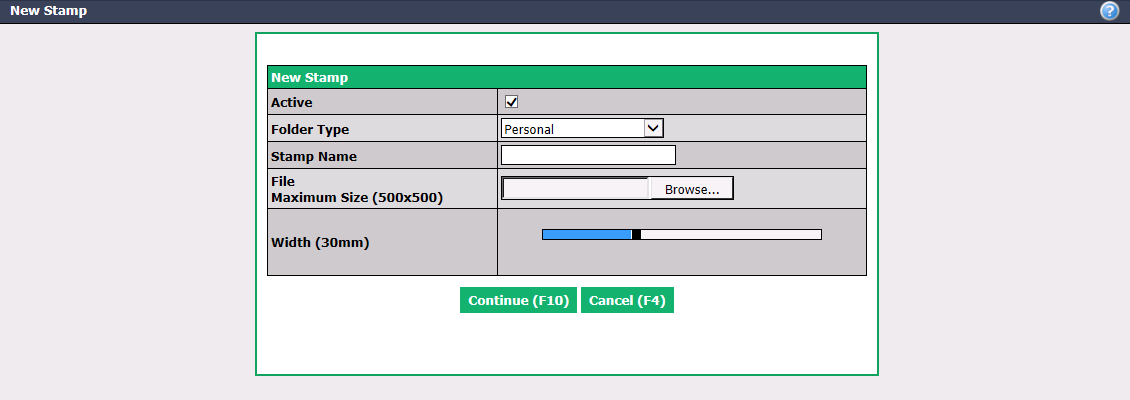
Active will be checked when the stamp is active. To inactivate a stamp, uncheck this box.
Select in which Folder Type the stamp will be available.
Enter the Stamp Name , i.e. the description of the stamp.
Click on Browse to select the desired File from your computer.
Warning
The maximum size of the stamp file (image) is 500 x 500 pixels.
You can decide on the stamp’s Width in millimetres (20 to 50) by adjusting the selection bar.
Click on Continue and the stamp will be added in the system.
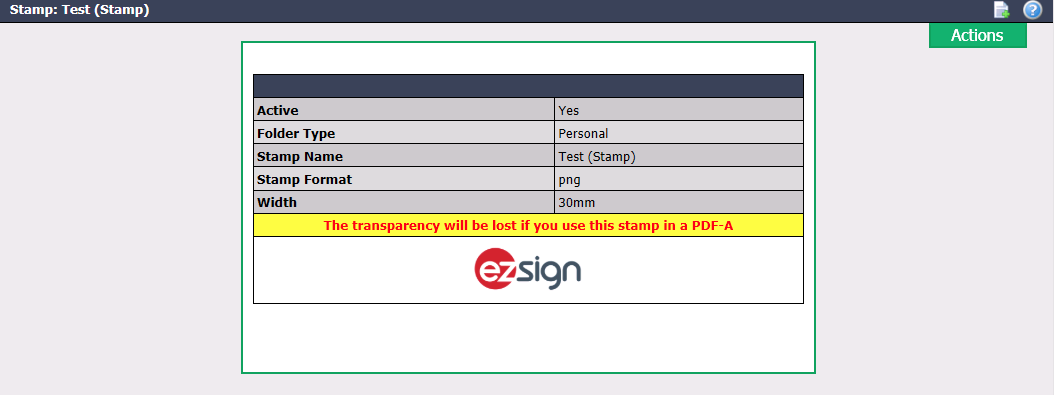
- When the stamp’s format is a Transparent PNG, you will get this warning message: "The transparency will be lost if you use this stamp on a PDF-A". This means that you will see the white outline (or the original background colour) of the stamp when it is applied in a PDF-A document.
Editing a Stamp
- To modify an existing stamp, select it from the List of Stamps and click on Actions >> Edit Stamp.
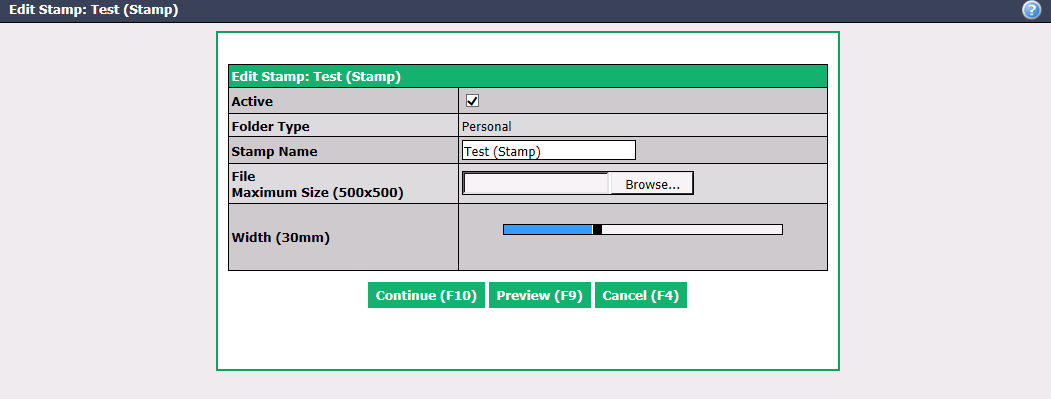
You can change the Stamp Name , select another File , and/or change the stamp Width.
To see the stamp applied in a sample document, click on Preview.
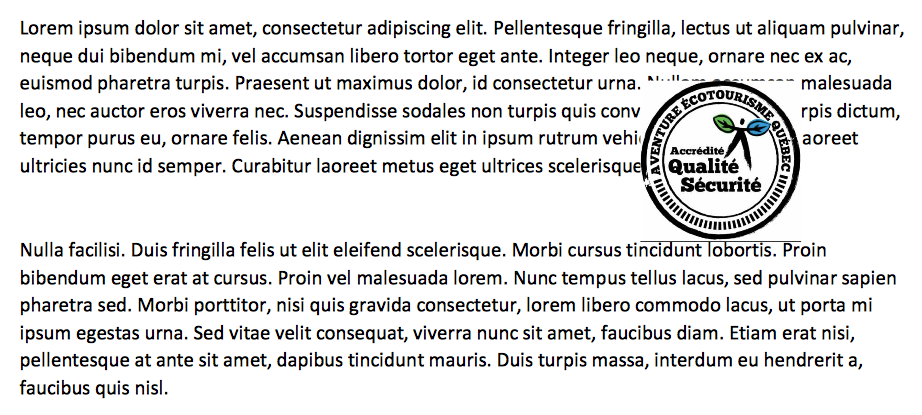
- When you have completed the changes, click on Continue to save them.
Apply a Stamp
Once a stamp has been added to the list of stamps, it is possible to select it when adding fields in a document.
- From the desired eZsign folder:
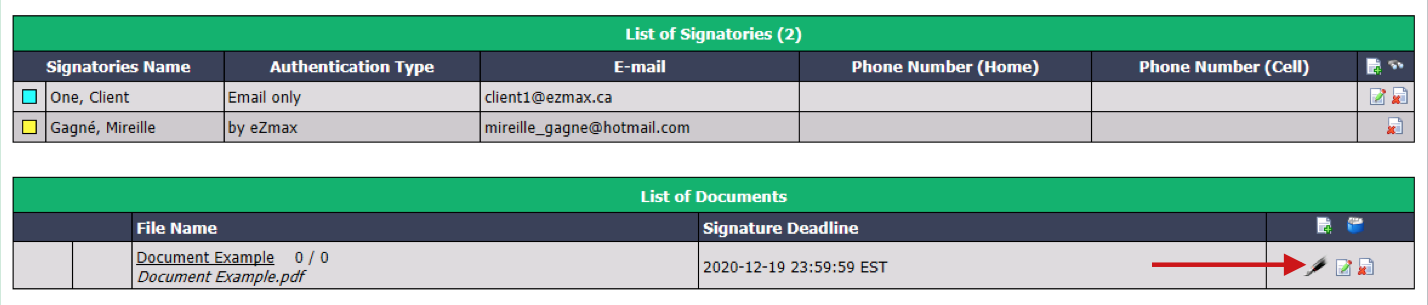
- In the "List of Documents" section, click on **the file name or the **Fountain Pen icon to display the document.
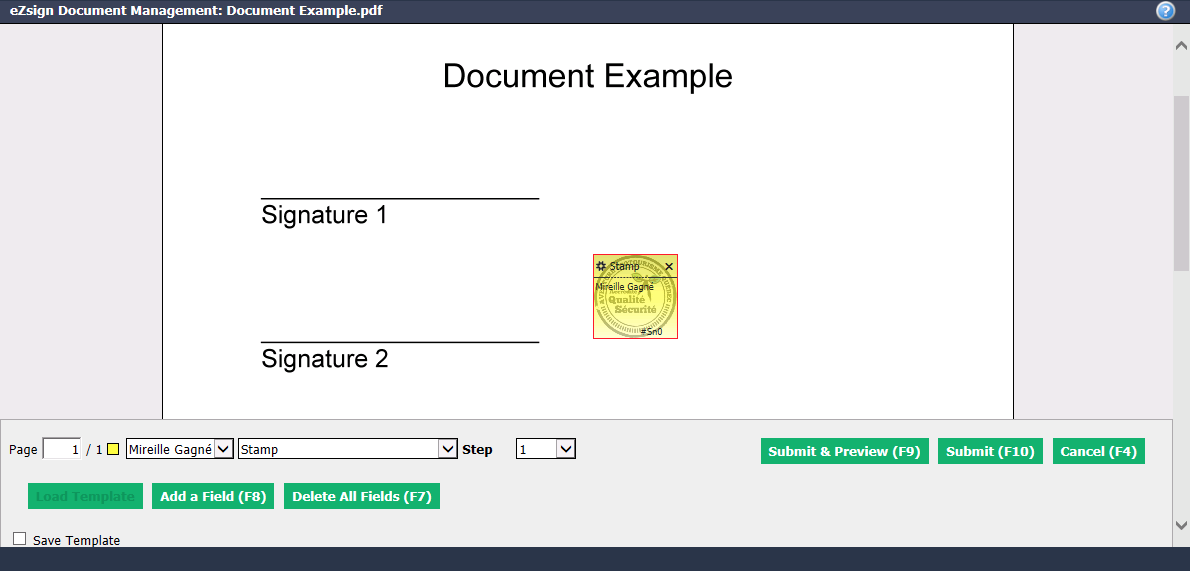
- From the drop-down lists, select the desired signatory, the type of field "Stamp" and the desired Step.
NOTE: Only the user can be selected as a signatory when the field is a stamp.
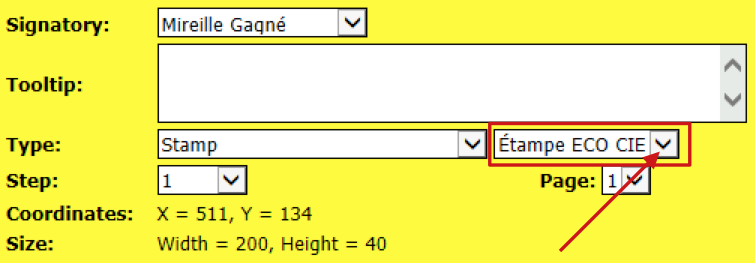
- If the stamp that appears is not the one you want, click on the Gear Wheel icon in the field. From the drop-down list, select the desired stamp.
When all the desired fields are added, you can click onSubmit & Previewto verify the appearance of the final document or you can click onSubmit to confirm the location of the fields.****
During the document signing process, you will be able to click on the stamp to apply it.