

English
Add/Edit a User Group
It is possible to create a group composed of selected users so that all members of this group have access to the same shared eZsign folders without needing to impersonate another user, or for the members of this group to share the same permissions.
Create a User
From the search in your main menu >> **Admin **>> Admin Configuration >> Users.
- Then click on Actions , followed by New User.
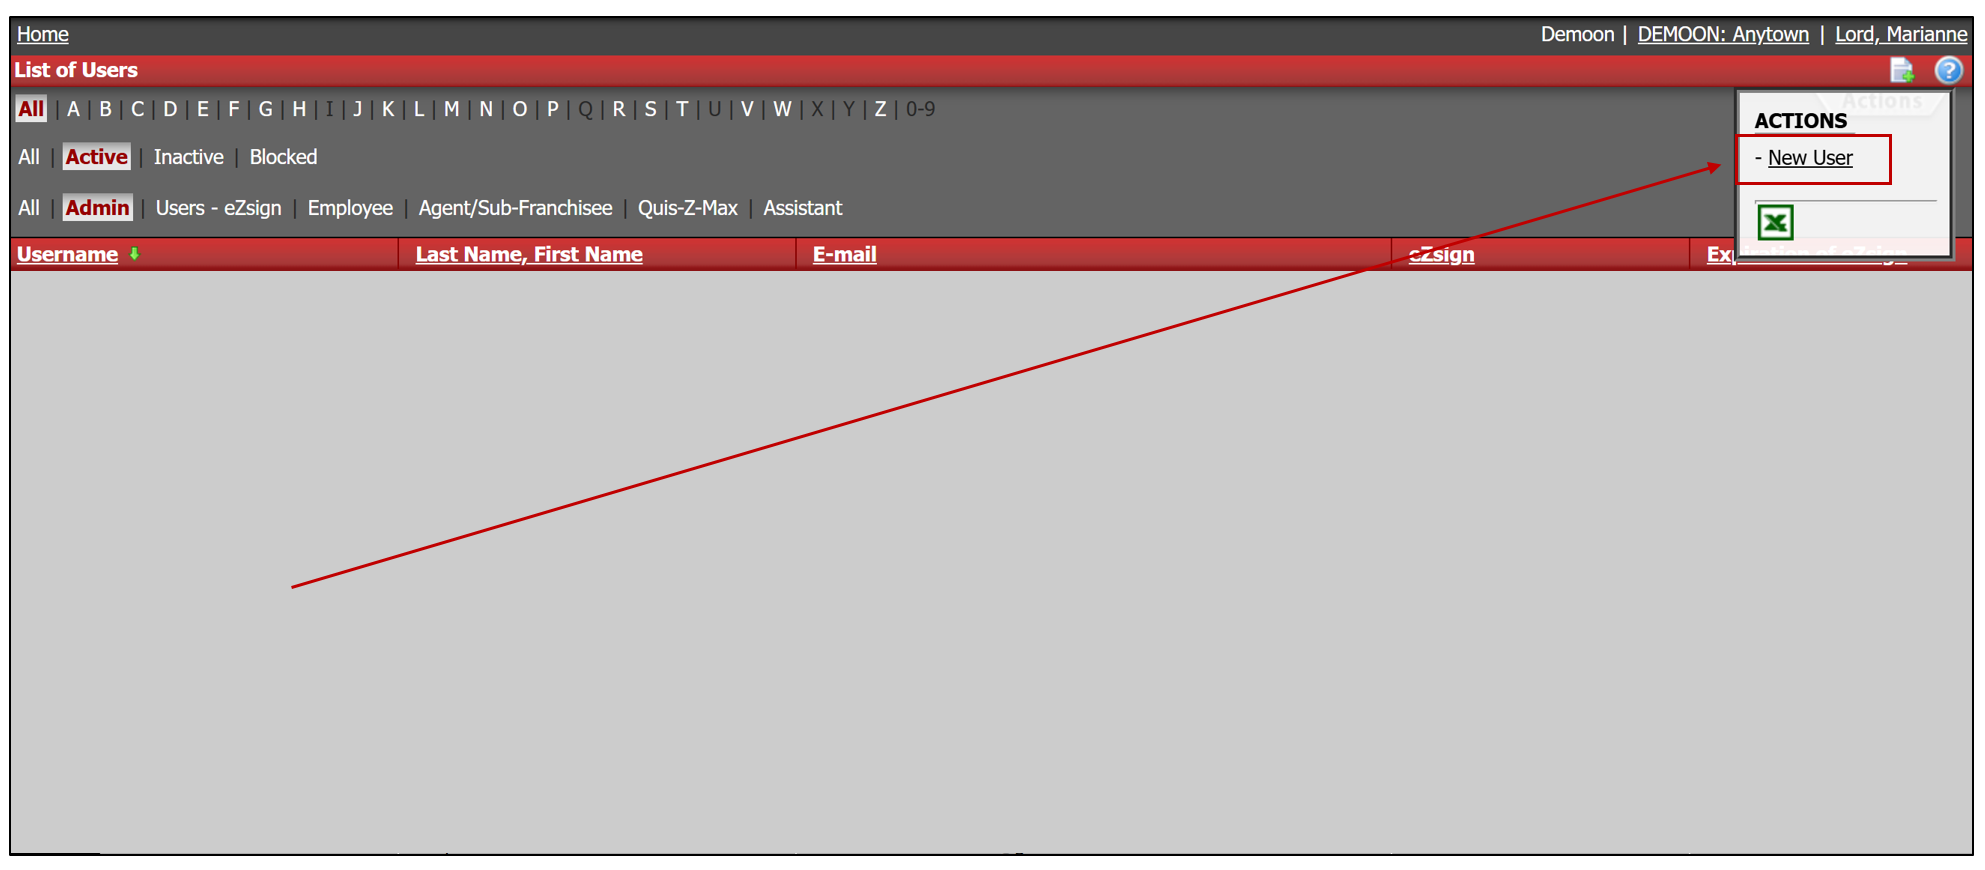
For more information, please refer to the article Adding/Editing a User.
Add a User Group
From the search in your main menu >> Admin >> Admin Configuration >> User Groups.
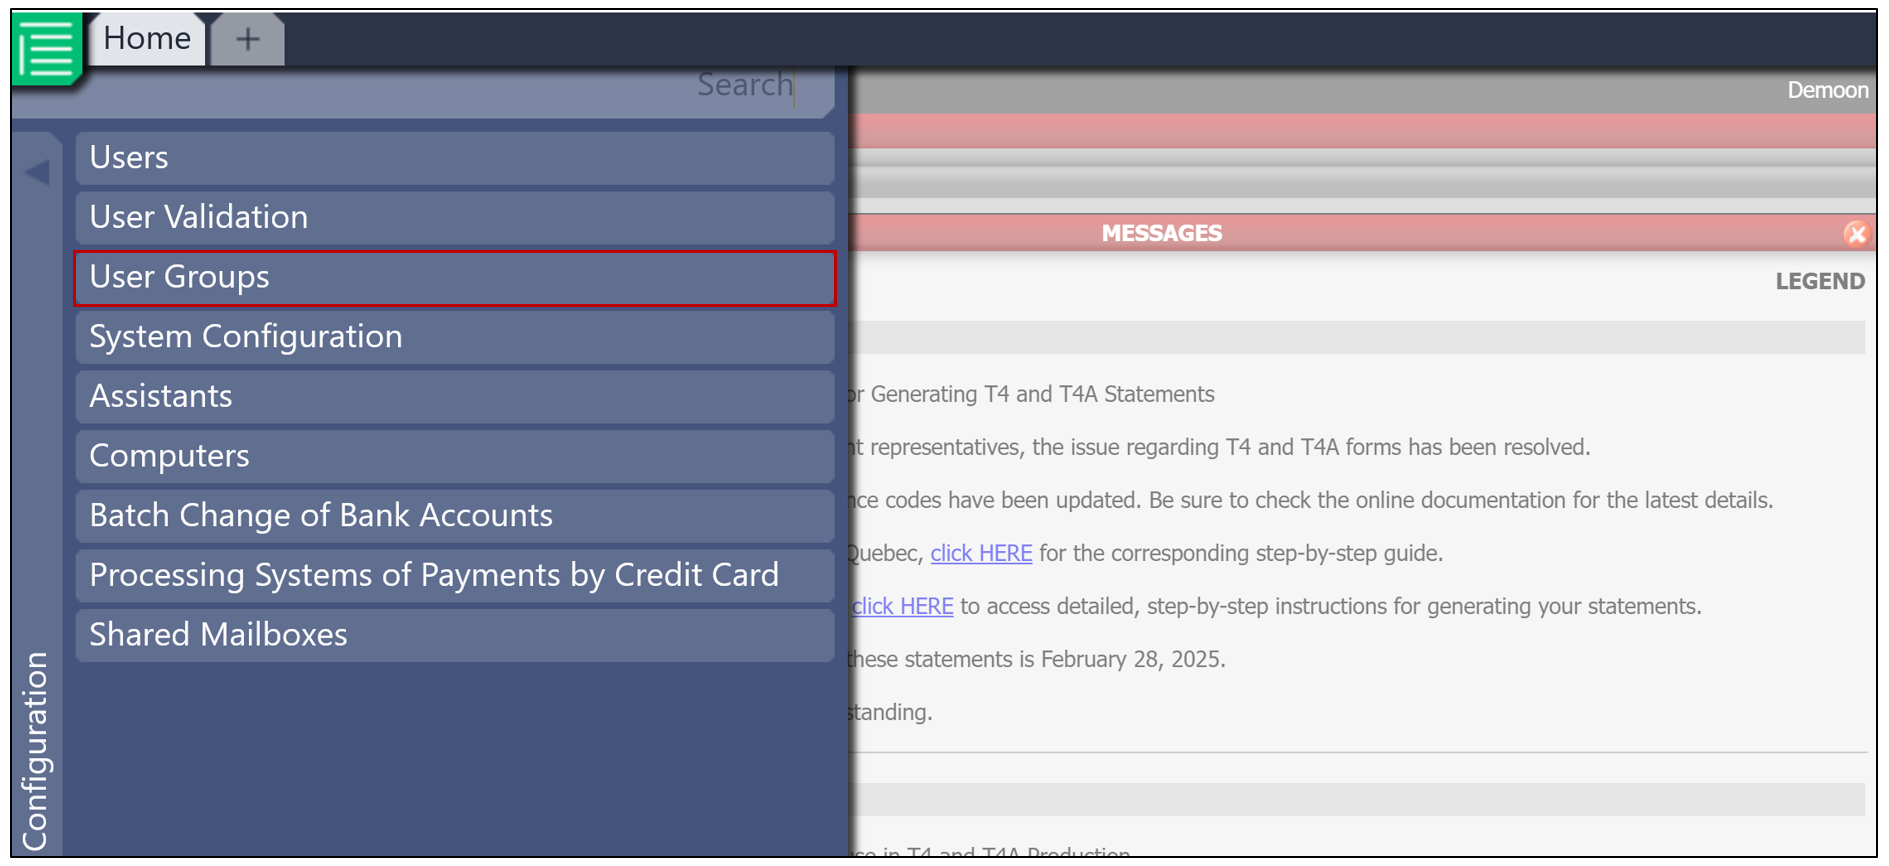
- Then click on New User Group.
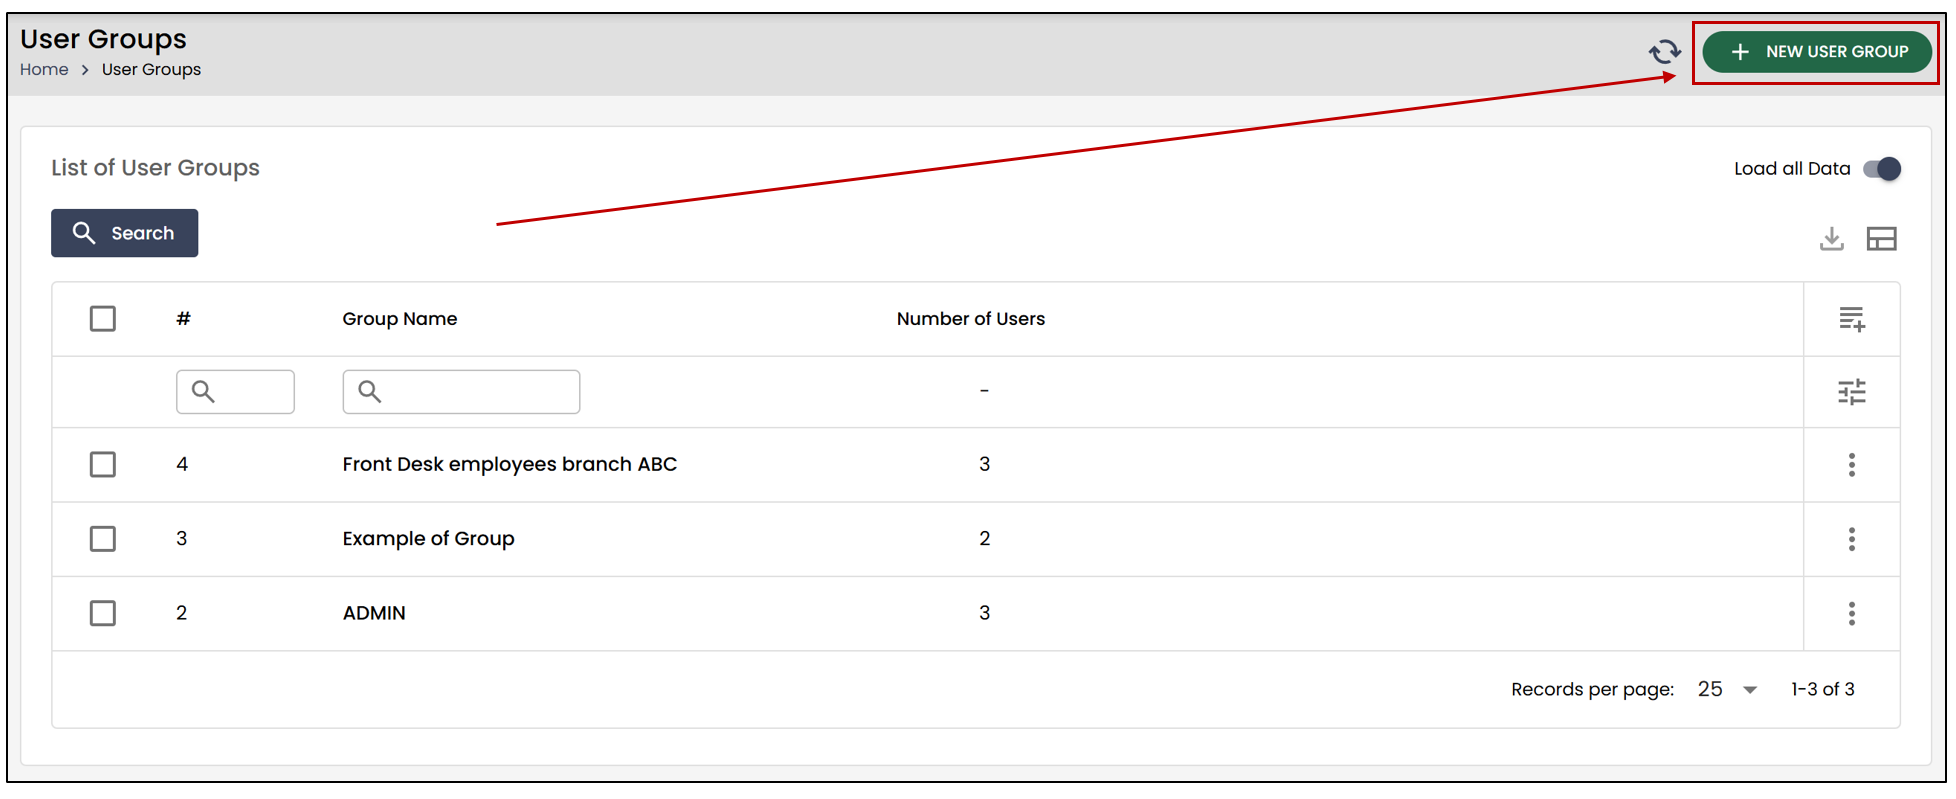
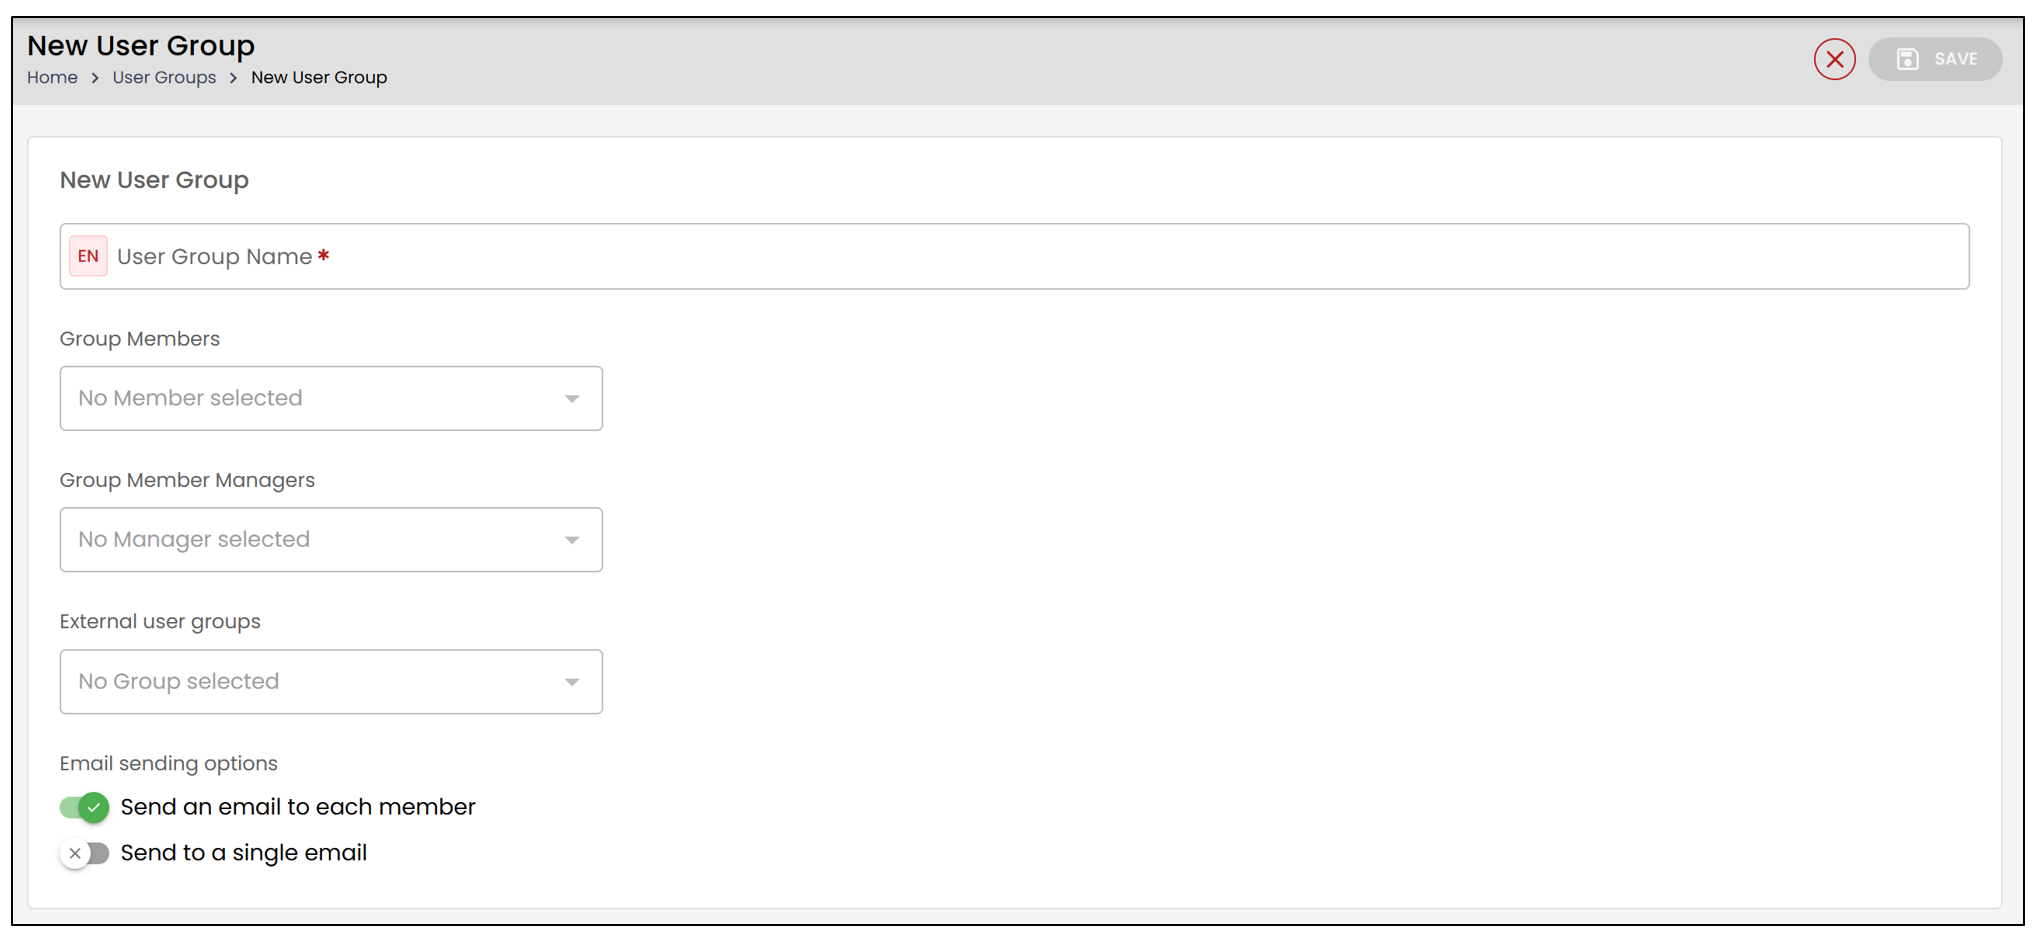
Enter the User Group Name in French and English. To switch languages, press "Tab." We recommend choosing a name that clearly describes the group, such as its function.
Select the desired Group Members using the arrows. The double arrow allows you to select all members/permissions in one click, while the single arrow selects only the checked ones.
Group Members : These are the users, Admin, and agents who already exist in the system. The members you select will have access to the same shared folders or share the same permissions.
NOTE: You will be able to add new members later. They will automatically receive all permissions upon being added.
- Group Member Managers : Group member managers will have access to user groups in the Administration section of the platform and will be able to add or remove group members. This feature allows a manager to control which users have access to the folder type without having access to all users or the ability to create/modify them.
NOTE: For a user to appear in your list of managers, you must first grant them the "Administration >> User Groups (Delegate)" permission.
Email Sending Options (eZsign) :
Send an email to each member : The eZsign electronic signature email will be sent to all members.
Send to a single email : The email will be sent to only one email address, for example a shared inbox.
Group Permissions
Group Permissions : These are the permissions that already exist in the system. For each permission you grant to the group, all members of this group will inherit the permission by default. This option is dynamic. In other words, if a permission is added to the group, it will automatically be assigned to all group members.
Click Save , and the user group will be added to the system. You will then be able to view the information and permission of this group.
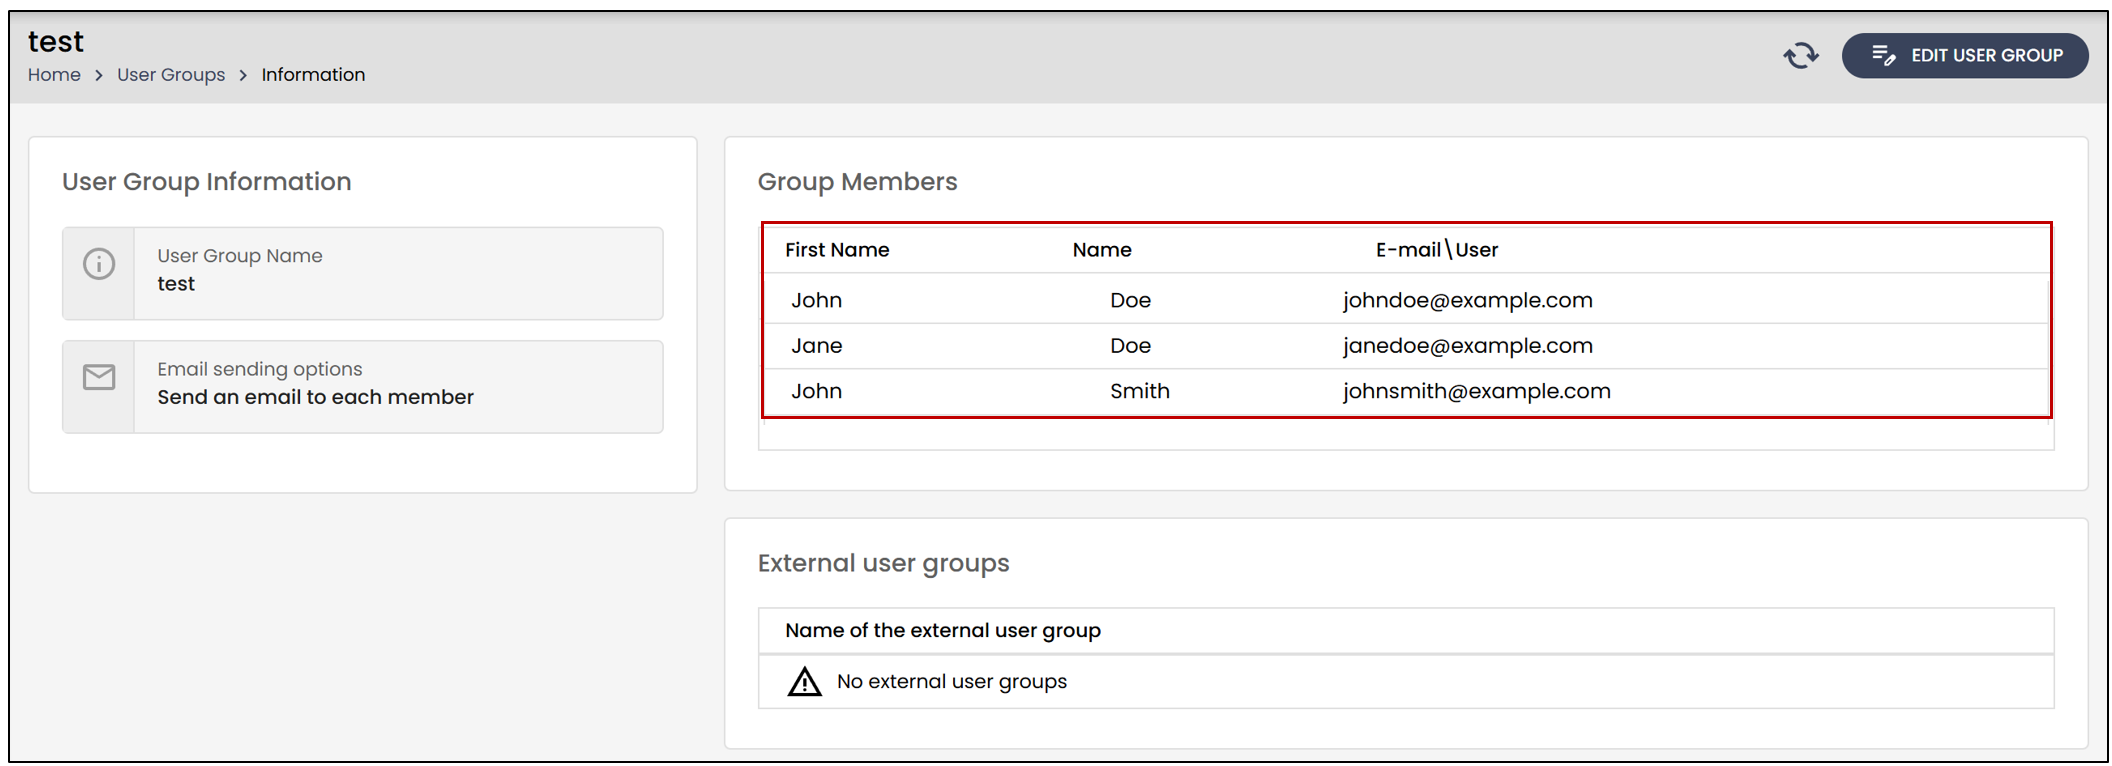
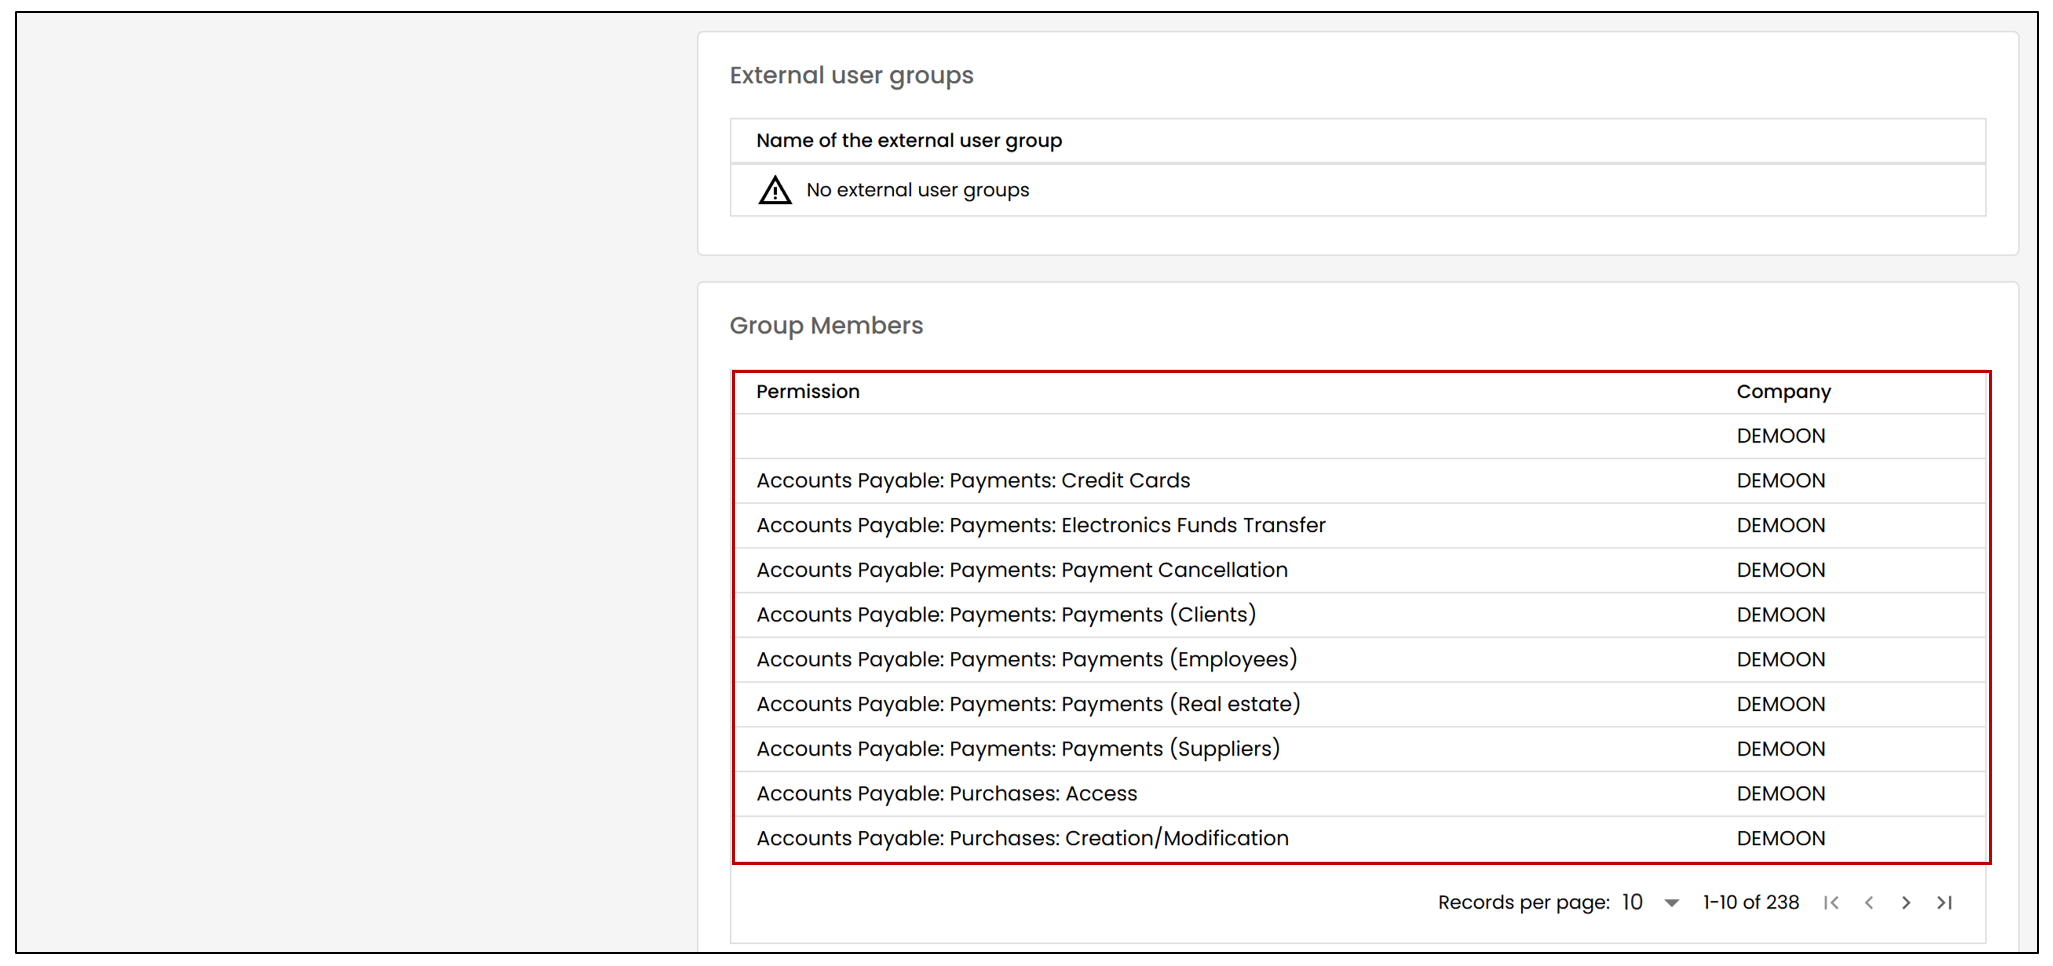
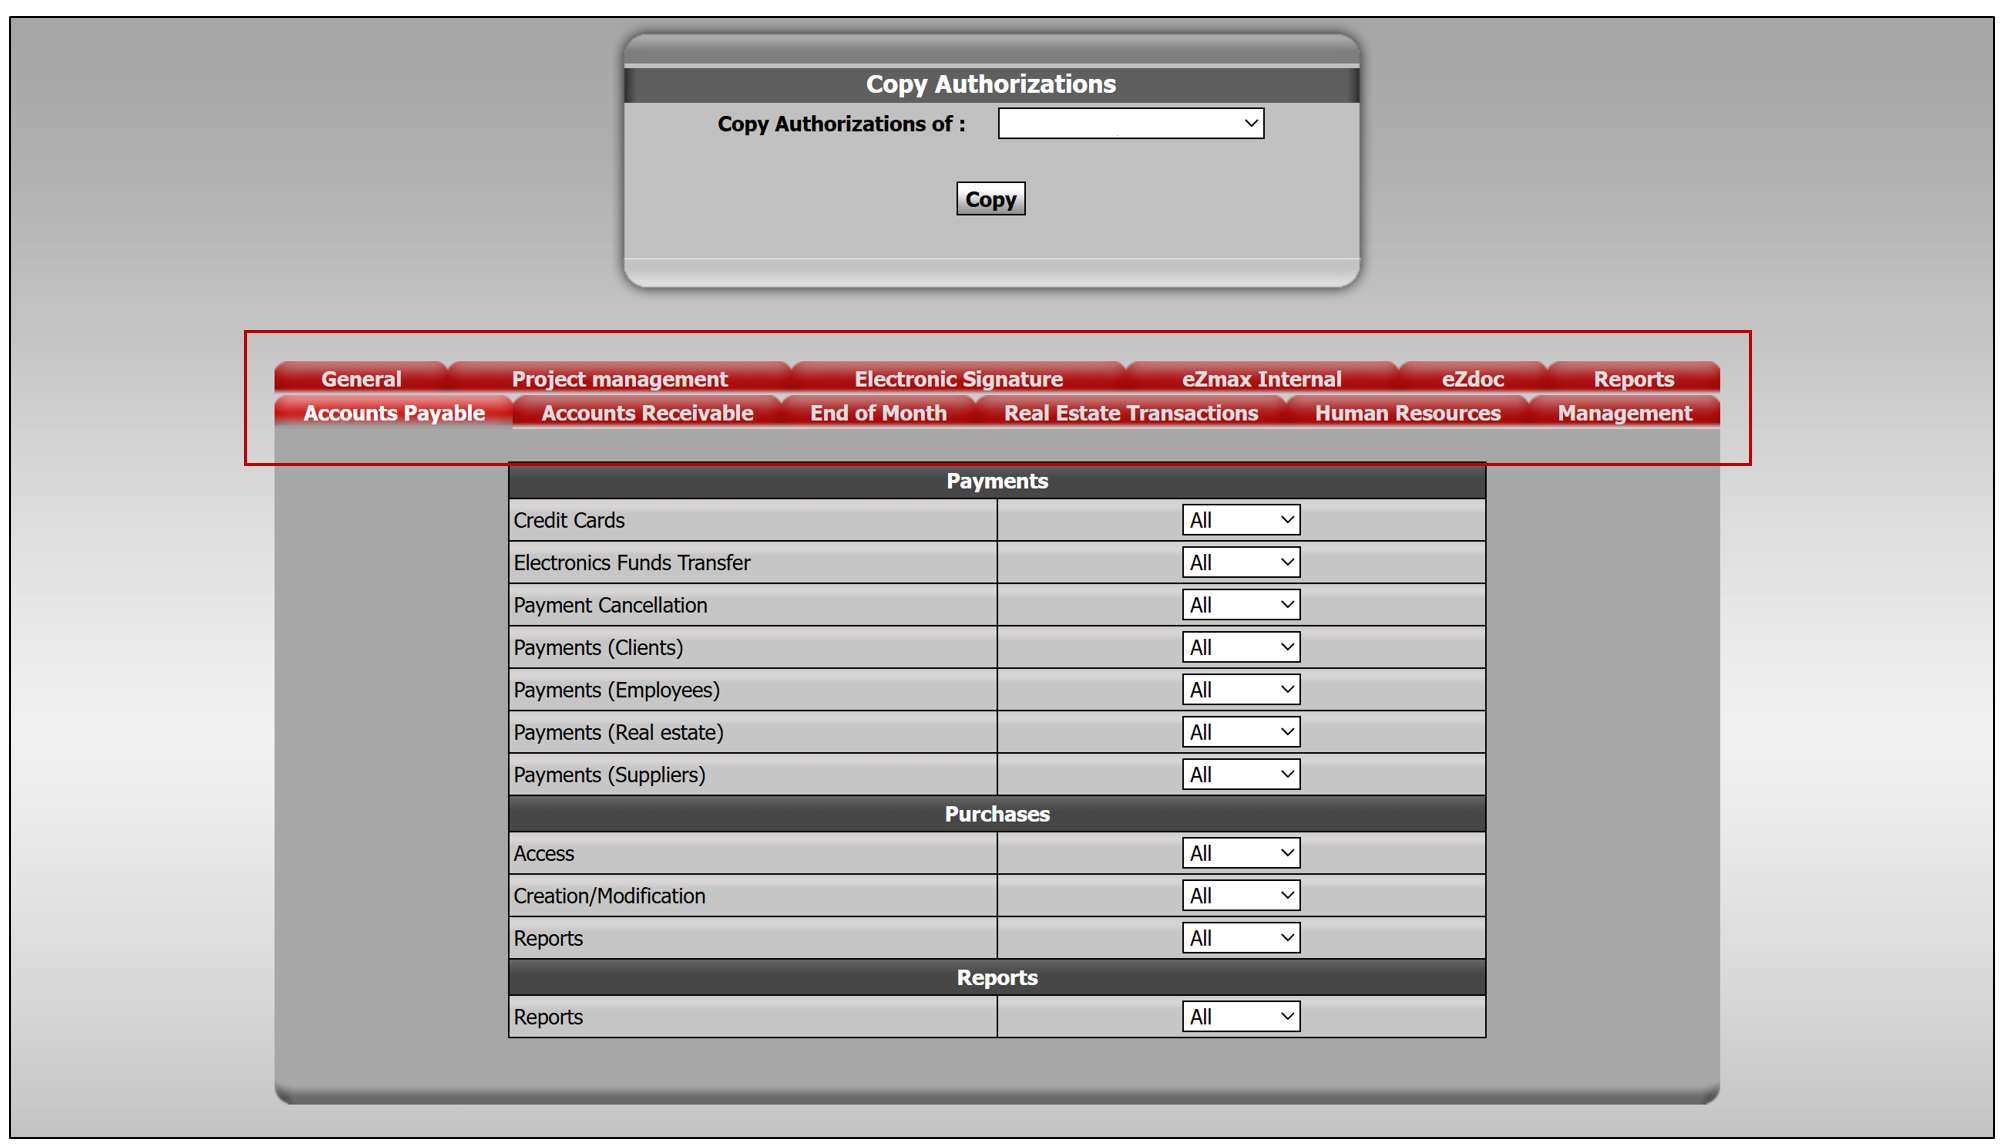
NOTE: All permissions can be found under Users >> Manage Permissions. It is possible to modify the permissions of a single user by selecting them from the User List.
Edit a User Group
To modify an existing user group, select it from the User Group List and click on Edit User Group.
Make the desired changes and click Save to record them.