
English
Types of Fields
When you add fields in a document, you must choose the type from the drop-down list.
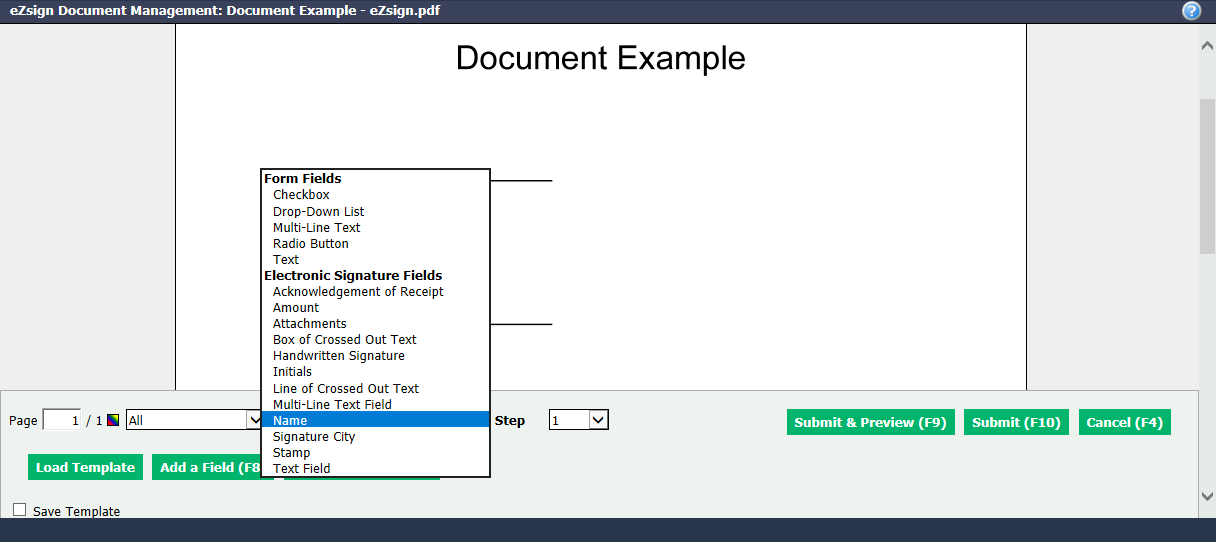
- There are "Form Fields" and "Electronic Signature Fields".
Form Fields
"Checkbox"
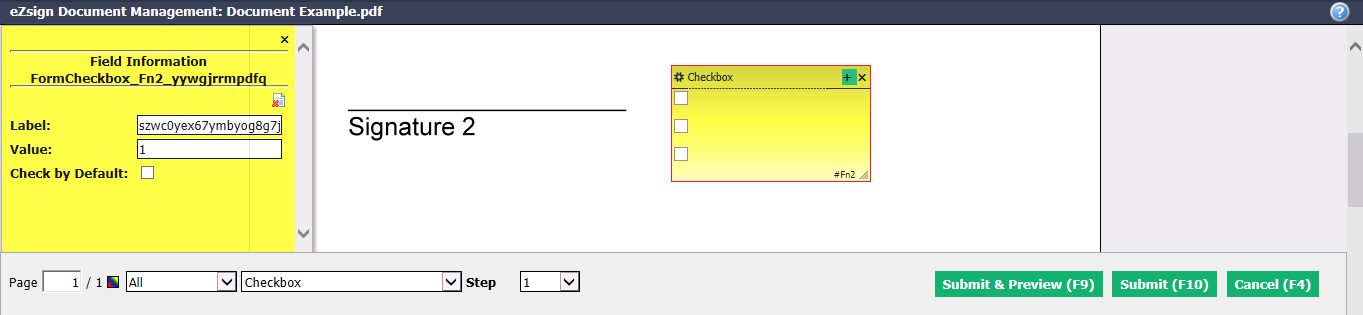
You can click on the to add a checkbox in the field.
By placing your cursor on the bottom right corner of the field, you can enlarge it in width and height.
You can move a checkbox in the field by placing your cursor over the desired button and dragging to the desired position.
When you click on a checkbox, the field information appears in a yellow window on the left.
If you want a particular checkbox to be checked by default during the electronic signature, enter the Value (position) of the desired checkbox and check the Check by Default box. Repeat these steps for each desired checkbox, if applicable.
By clicking on the Gear Wheel icon (Menu), you will be able to edit/add:
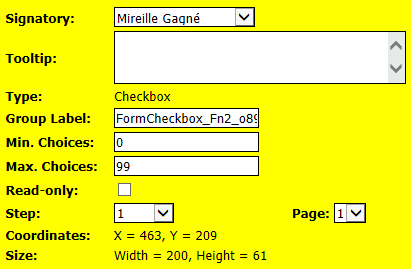
* **Signatory** : Indicates the person who will sign this field.
* **Tooltip** : You can add information that will appear when the document is signed electronically by clicking on this icon

(Information). * Group Label : ? * Min. Choices : Enter "1" if you want this field to be mandatory when the document is signed electronically. Otherwise, leave it at "0". * **Max.**Choices : Enter the maximum number of boxes that can be checked when the document is signed electronically. * Read-only : Check this box if you want ? * Step : Indicates the order in which the signature must be applied. For more information, please see the article Order in Which Signatories will Sign (310). * Page : Indicates the page of the document on which the field will be added.
- Here is the image of the field that you will see when you click on Submit** & Preview**, i.e. how it will appear on the document during the electronic signature.

"Drop -Down List"
Not yet available.
"Multi-Line Text"
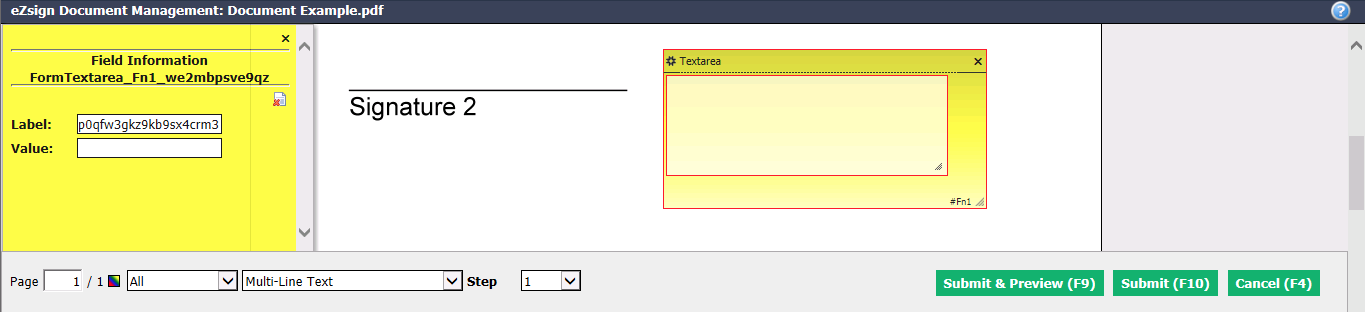
The signatory will be able to write a text on several lines.
By placing your cursor on the bottom right corner of the field, you can enlarge it in width and height.
By placing your cursor on the bottom right corner of the text, you can enlarge it in width and height.
When you click on the multi-line text, the field information appears in a yellow window on the left.
By clicking on the Gear Wheel icon (Menu), you will be able to edit/add:
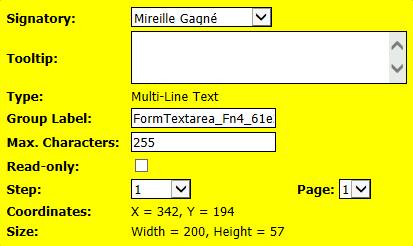
* **Signatory** : Indicates the person who will sign this field.
* **Tooltip** : You can add information that will appear when the document is signed electronically by clicking on this icon
(Information). * Group Label : ? * **Ma x. **Characters : Enter the maximum number of characters that can be written when the document is signed electronically. * Read-only : Check this box if you want ? * Step : Indicates the order in which the signature must be applied. For more information, please see the article Order in Which Signatories will Sign (310). * Page : Indicates the page of the document on which the field will be added.
- Here is the image of the field that you will see when you click on Submit** & Preview**, i.e. how it will appear on the document during the electronic signature.

"Radio Button"
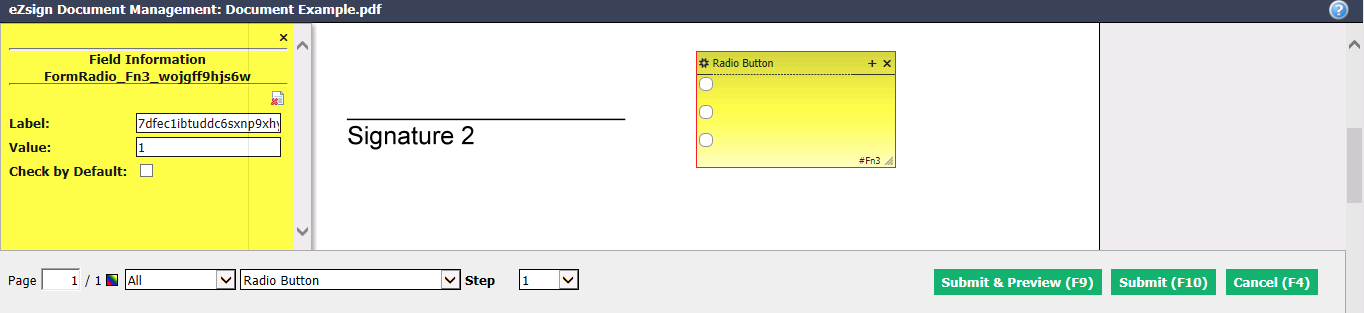
You can click on the to add a radio button in the field.
By placing your cursor on the bottom right corner of the field, you can enlarge it in width and height.
You can move a radio button in the field by placing your cursor over the desired button and dragging to the desired position.
When you click on a radio button, the field information appears in a yellow window on the left.
If you want a particular radio button to be checked by default during the electronic signature, enter the Value (position) of the desired radio button and check the Check by Default box.
NOTE: No more than one radio button can be checked by default.
- By clicking on the Gear Wheel icon (Menu), you will be able to edit/add:
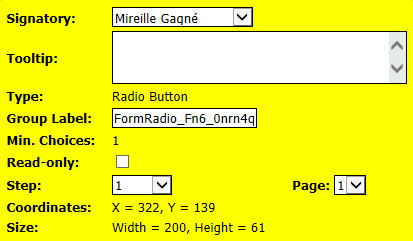
* **Signatory** : Indicates the person who will sign this field.
* **Tooltip** : You can add information that will appear when the document is signed electronically by clicking on this icon
(Information). * Group Label : ? * **Min. **Choices : Enter "1" if you want this field to be mandatory when the document is signed electronically. Otherwise, leave it at "0". * Read-only : Check this box if you want ? * Step : Indicates the order in which the signature must be applied. For more information, please see the article Order in Which Signatories will Sign (310). * Page : Indicates the page of the document on which the field will be added.
- Here is the image of the field that you will see when you click on Submit** & Preview**, i.e. how it will appear on the document during the electronic signature.

"Text"
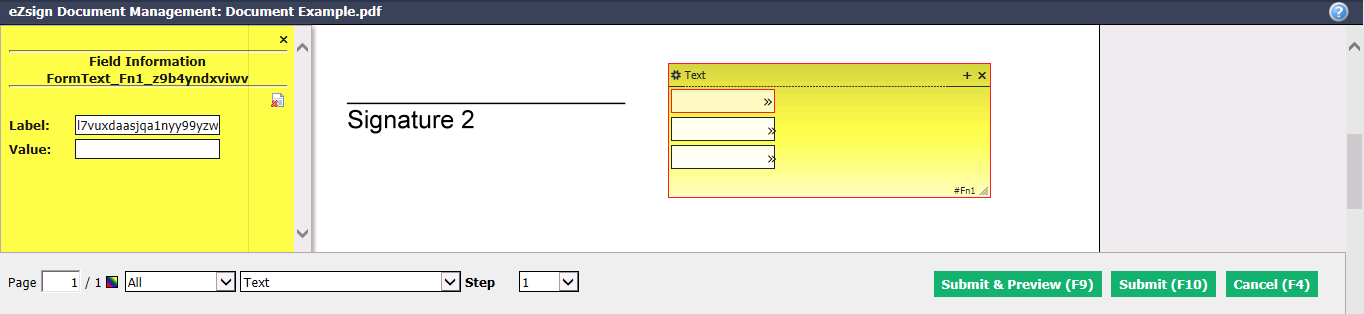
The signatory will be able to write a text, but only on one line.
You can click on the to add a checkbox in the field.
By placing your cursor on the bottom right corner of the field, you can enlarge it in width and height.
You can increase the width of a text line by placing your cursor on the double arrow to the right of the desired line.
You can also move a text line in the field by placing your cursor over the desired line and dragging to the desired position.
When you click on a text line, the field information appears in a yellow window on the left.
By clicking on the Gear Wheel icon (Menu), you will be able to edit/add:
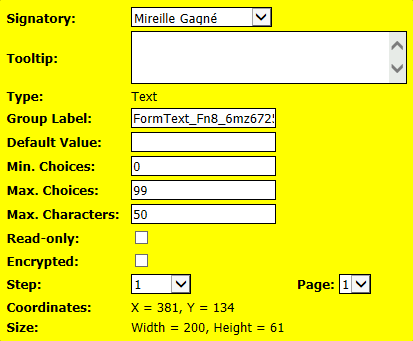
* **Signatory** : Indicates the person who will sign this field.
* **Tooltip** : You can add information that will appear when the document is signed electronically by clicking on this icon
(Information). * Group Label : ? * Default Value : ? * Min. Choices : Enter "1" if you want this field to be mandatory when the document is signed electronically. Otherwise, leave it at "0". * **Max.**Choices : Enter the maximum number of boxes that can be checked when the document is signed electronically. * **Ma x. **Characters : Enter the maximum number of characters that can be written when the document is signed electronically. * Read-only : Check this box if you want ? * Encrypted : ? * Step : Indicates the order in which the signature must be applied. For more information, please see the article Order in Which Signatories will Sign (310). * Page : Indicates the page of the document on which the field will be added.
- Here is the image of the field that you will see when you click on Submit** & Preview**, i.e. how it will appear on the document during the electronic signature.

Electronic Signature Fields
Here is the description and image of each of the types of fields that you will see when you click on Submit & Preview, i.e. how it will appear on the document during the electronic signature.
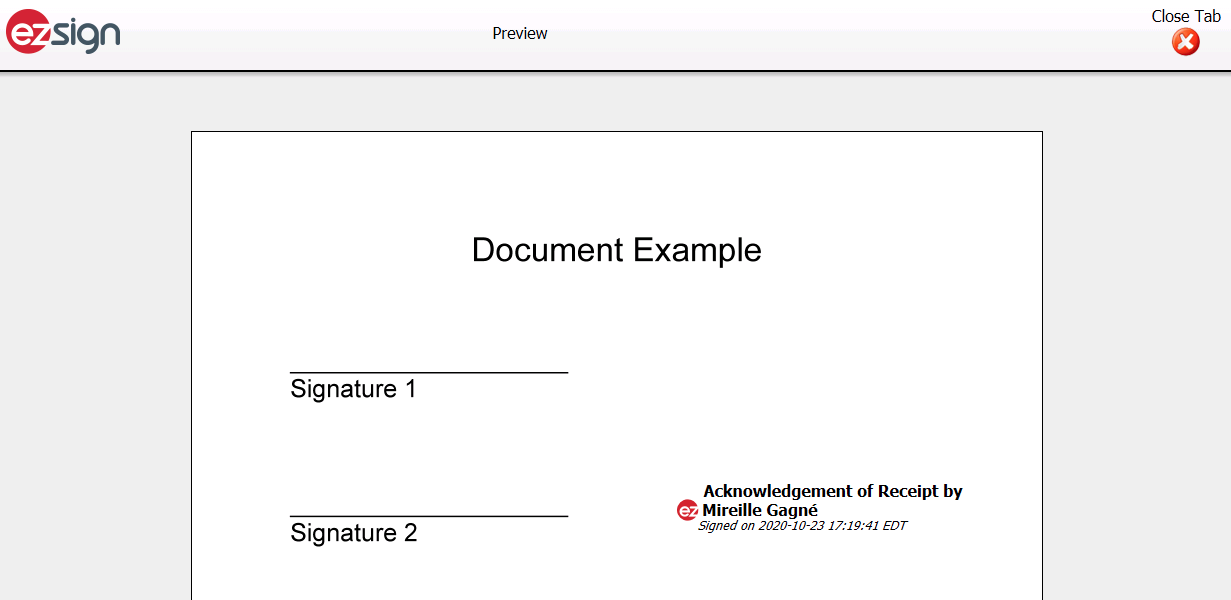
- "Acknowledgement of Receipt": The text "Acknowledged by (Name of signatory)" will appear on the document.
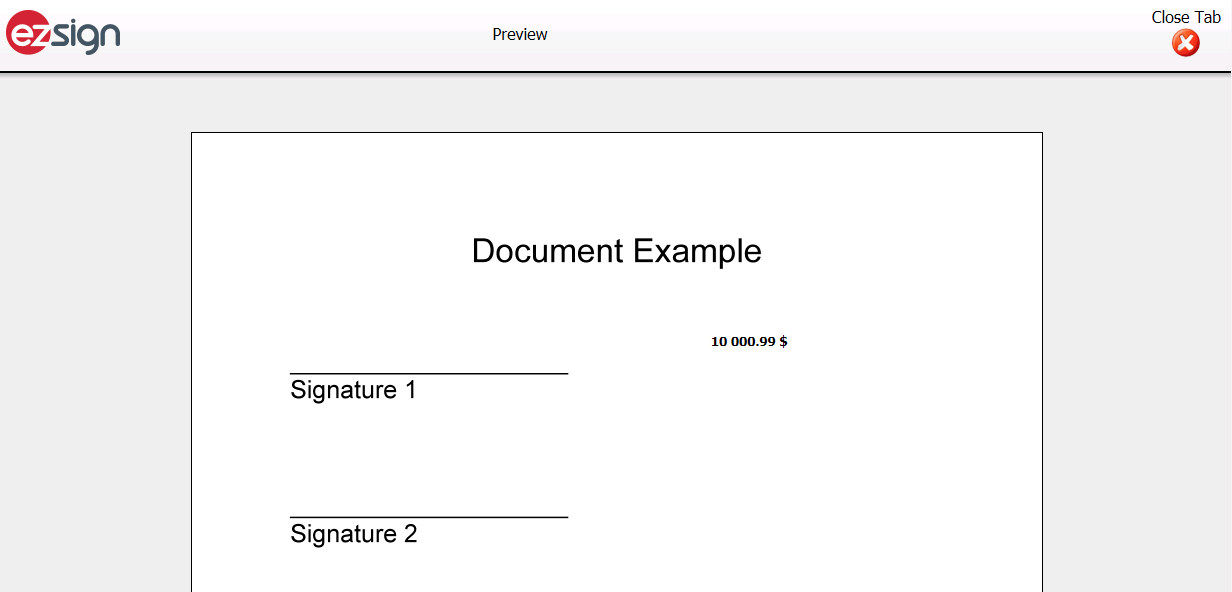
- "Amount": The signatory will enter the desired amount in the field provided.
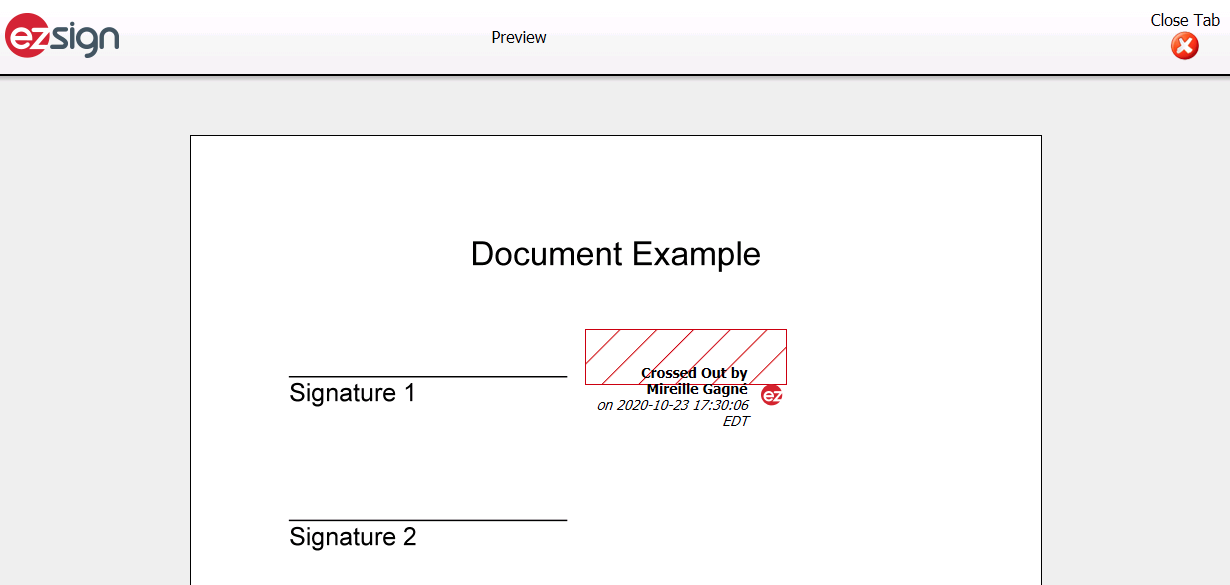
- "Box of Crossed Out Text": You can cross out several lines of text in the document by adding a box of diagonal red lines. By placing your cursor on the bottom right corner of the field, you can enlarge it to the maximum width and height of the document. The box of diagonal red lines and the text "Crossed Out by (Name of signatory)" will appear on the document.
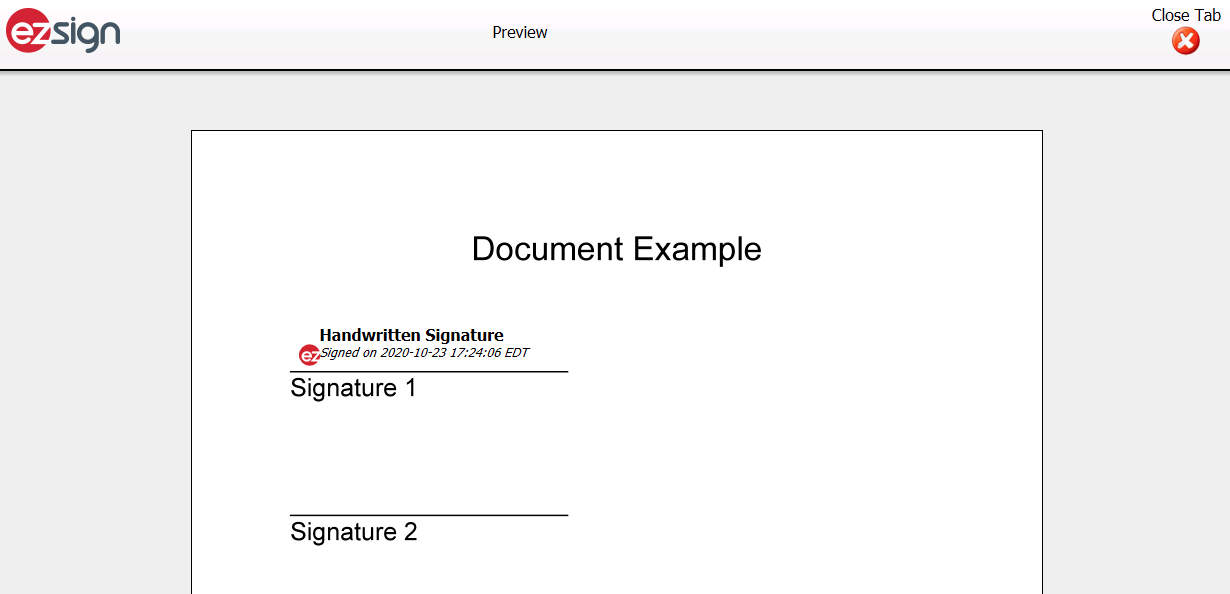
- "Handwritten Signature": The signatory will sign the document with his cursor.
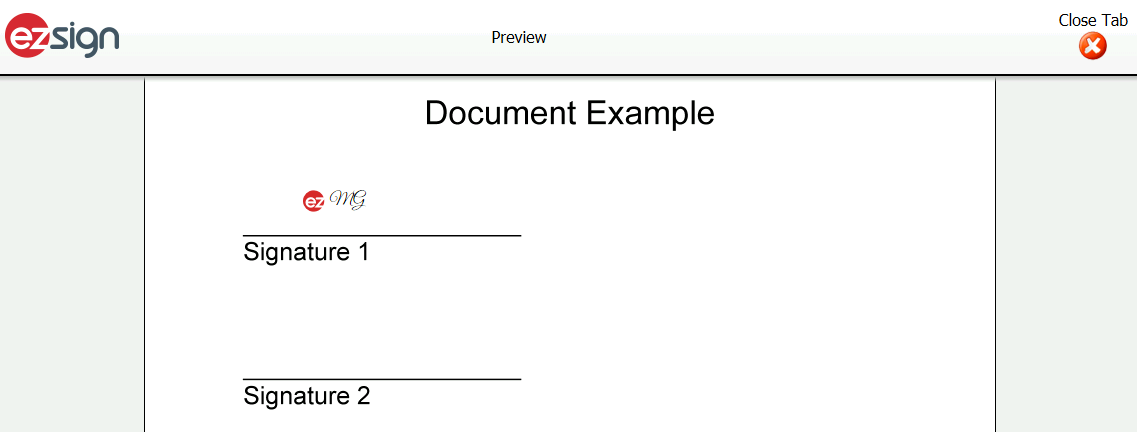
- "Initials": The initials of the signatory will appear on the document. There are two possible writing formats: "Normal" (by default) or "Cursive". To select the cursive format:
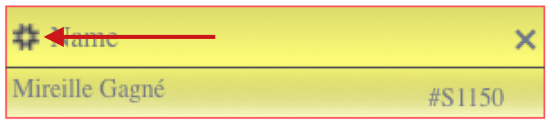
* Click on the Gear Wheel icon of the desired field.
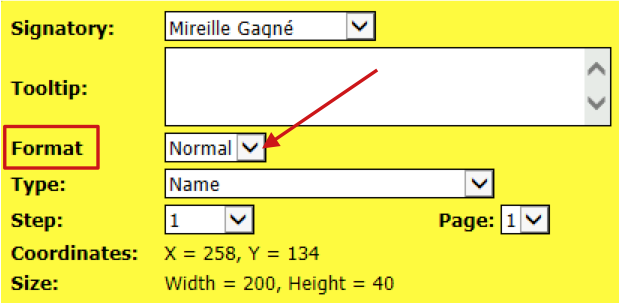
* Select the "Cursive" writing **Format** from the drop-down list.
Normal
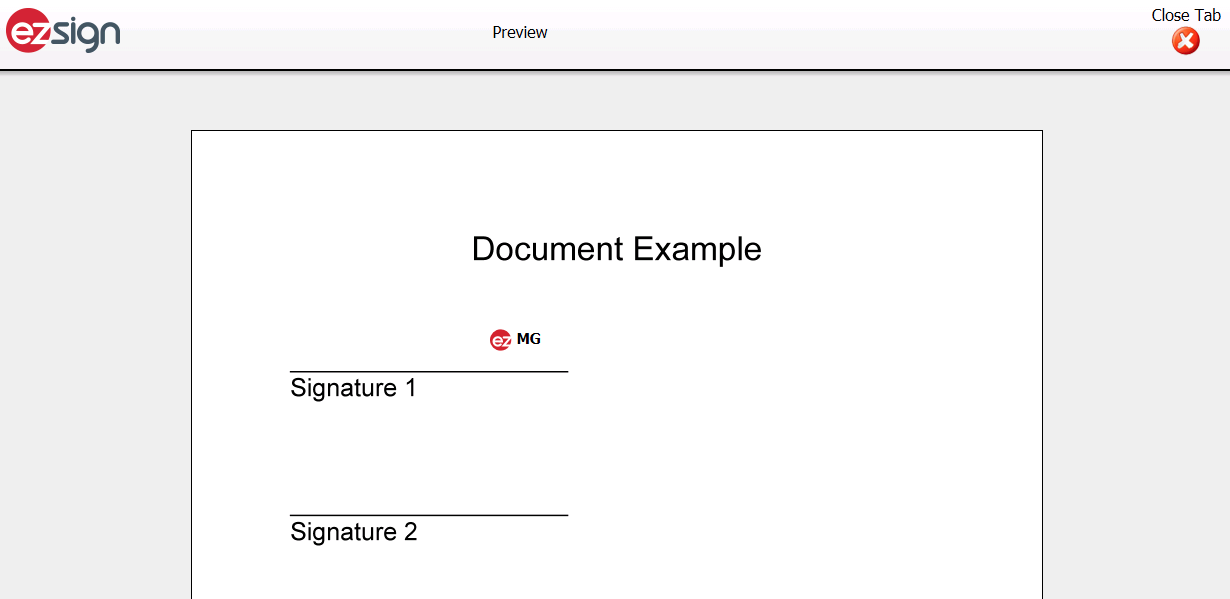
Cursive
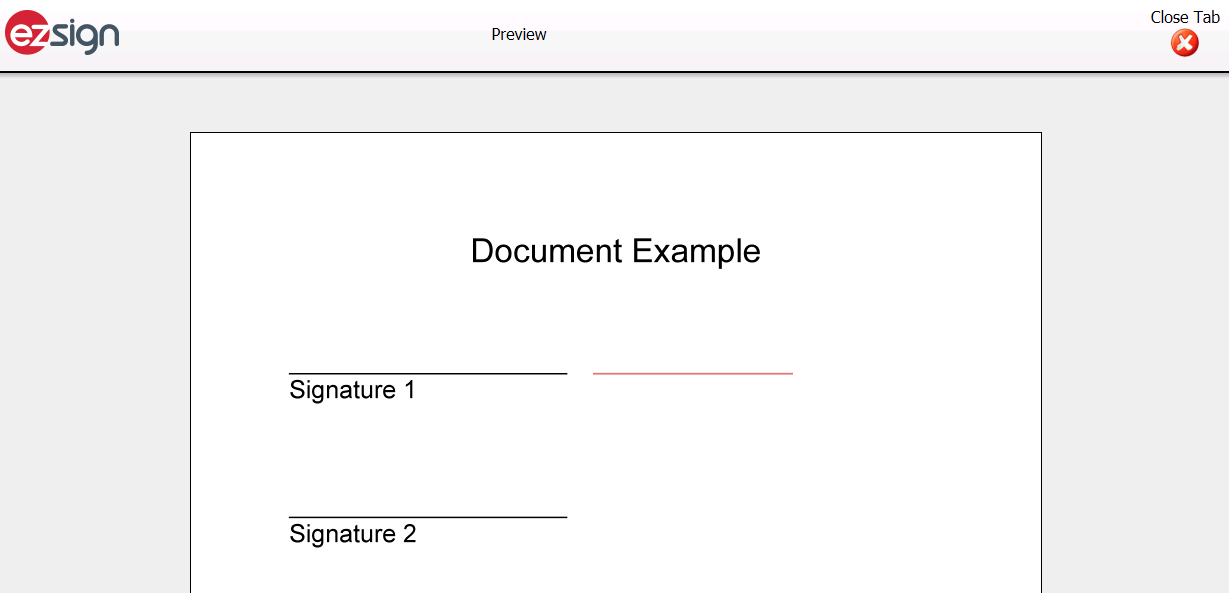
- "Line of Crossed Out Text": You can cross out a line of text in the document by adding a horizontal red line. By placing your cursor on the bottom right corner of the field, you can enlarge it to the maximum width of the document.
To place the red line in the middle of the text line to be crossed out, rely on the black line in the middle of the field.
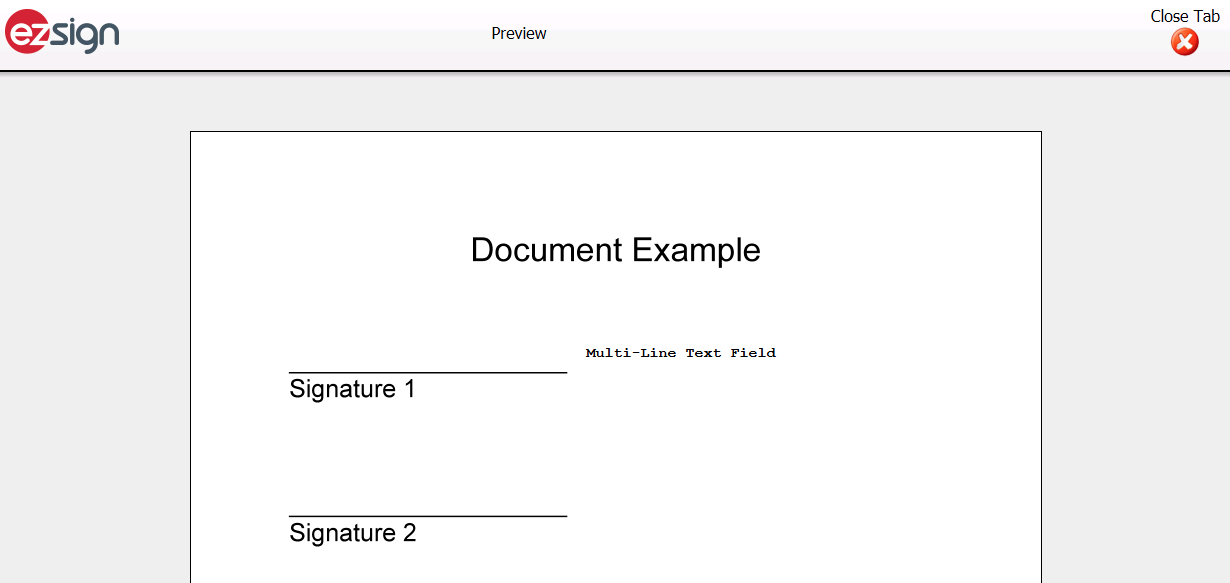
- "Multi-Line Text Field": The signatory will be able to write a text on several lines. By placing your cursor on the bottom right corner of the field, you can enlarge it to the maximum width and height of the document.
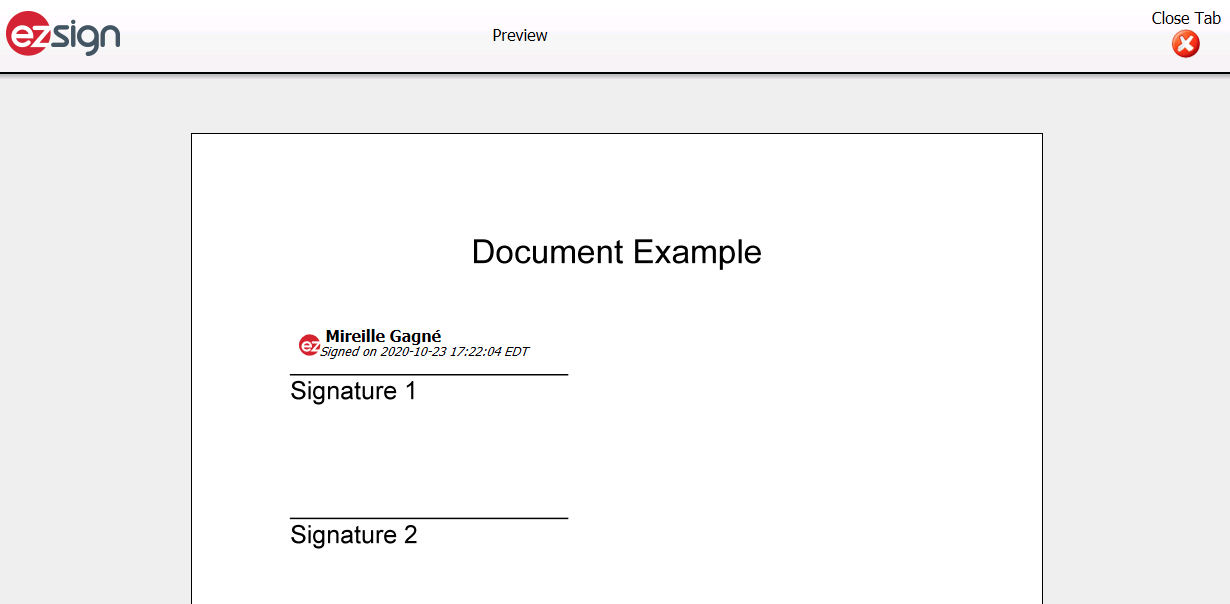
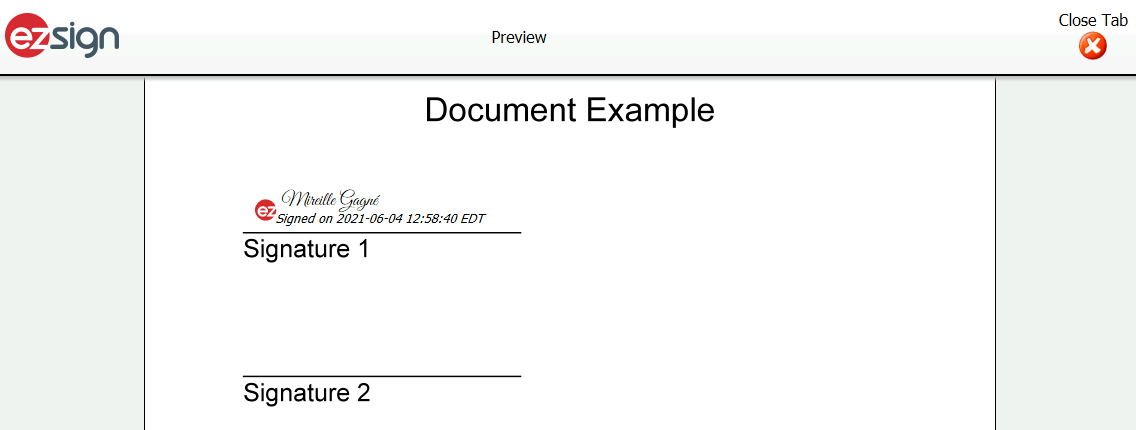
- "Name": Default field type. The name of the signatory will appear numerically. There are two possible writing formats: "Normal" (by default) or "Cursive". To select the cursive format:
* Click on the Gear Wheel icon of the desired field.
* Select the "Cursive" writing **Format** from the drop-down list.
Normal
Cursive
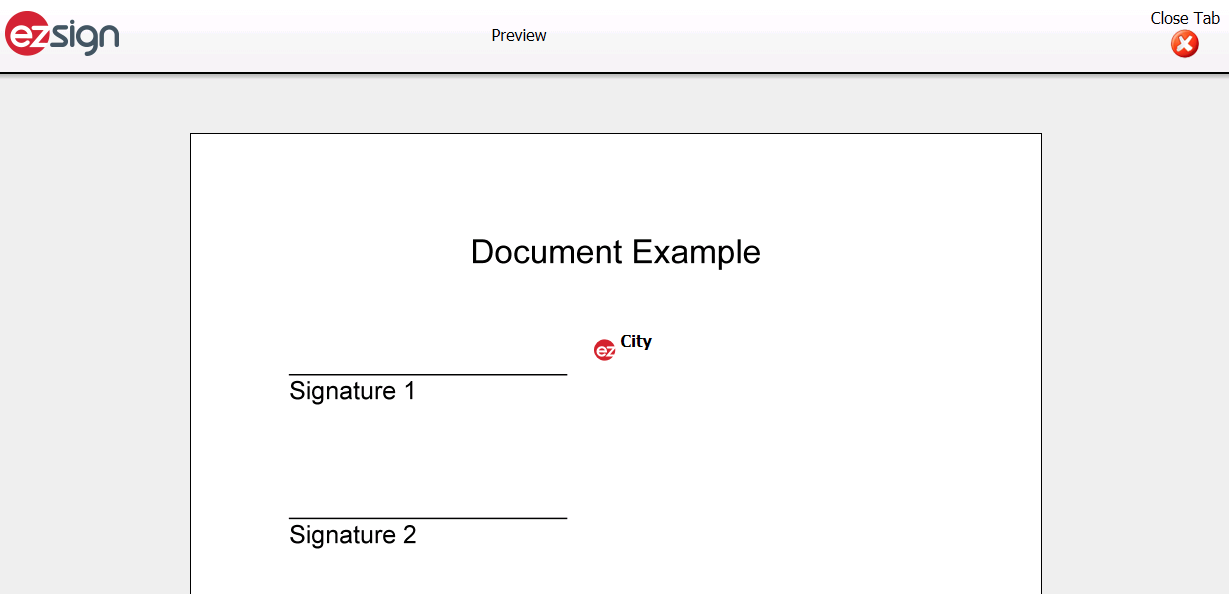
- "Signature City": The signatory will enter the city from which he is signing in the field provided.
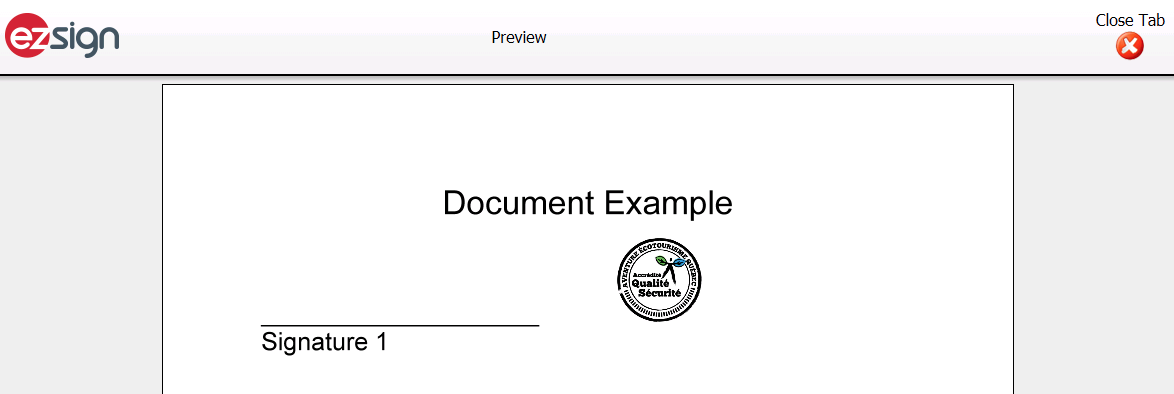
- "Stamp": You can add the image of an accreditation seal, handwritten signature or other in the document. For more information, please see the article Adding/Editing/Apply a Stamp.
- "Text Field": The signatory will be able to write a text, but only on one line. By placing your cursor on the bottom right corner of the field, you can enlarge it to the maximum width of the document.