
English
Creation of an eZsign Folder with the Assistant
Creation of an eZsign Folder With the Assistant
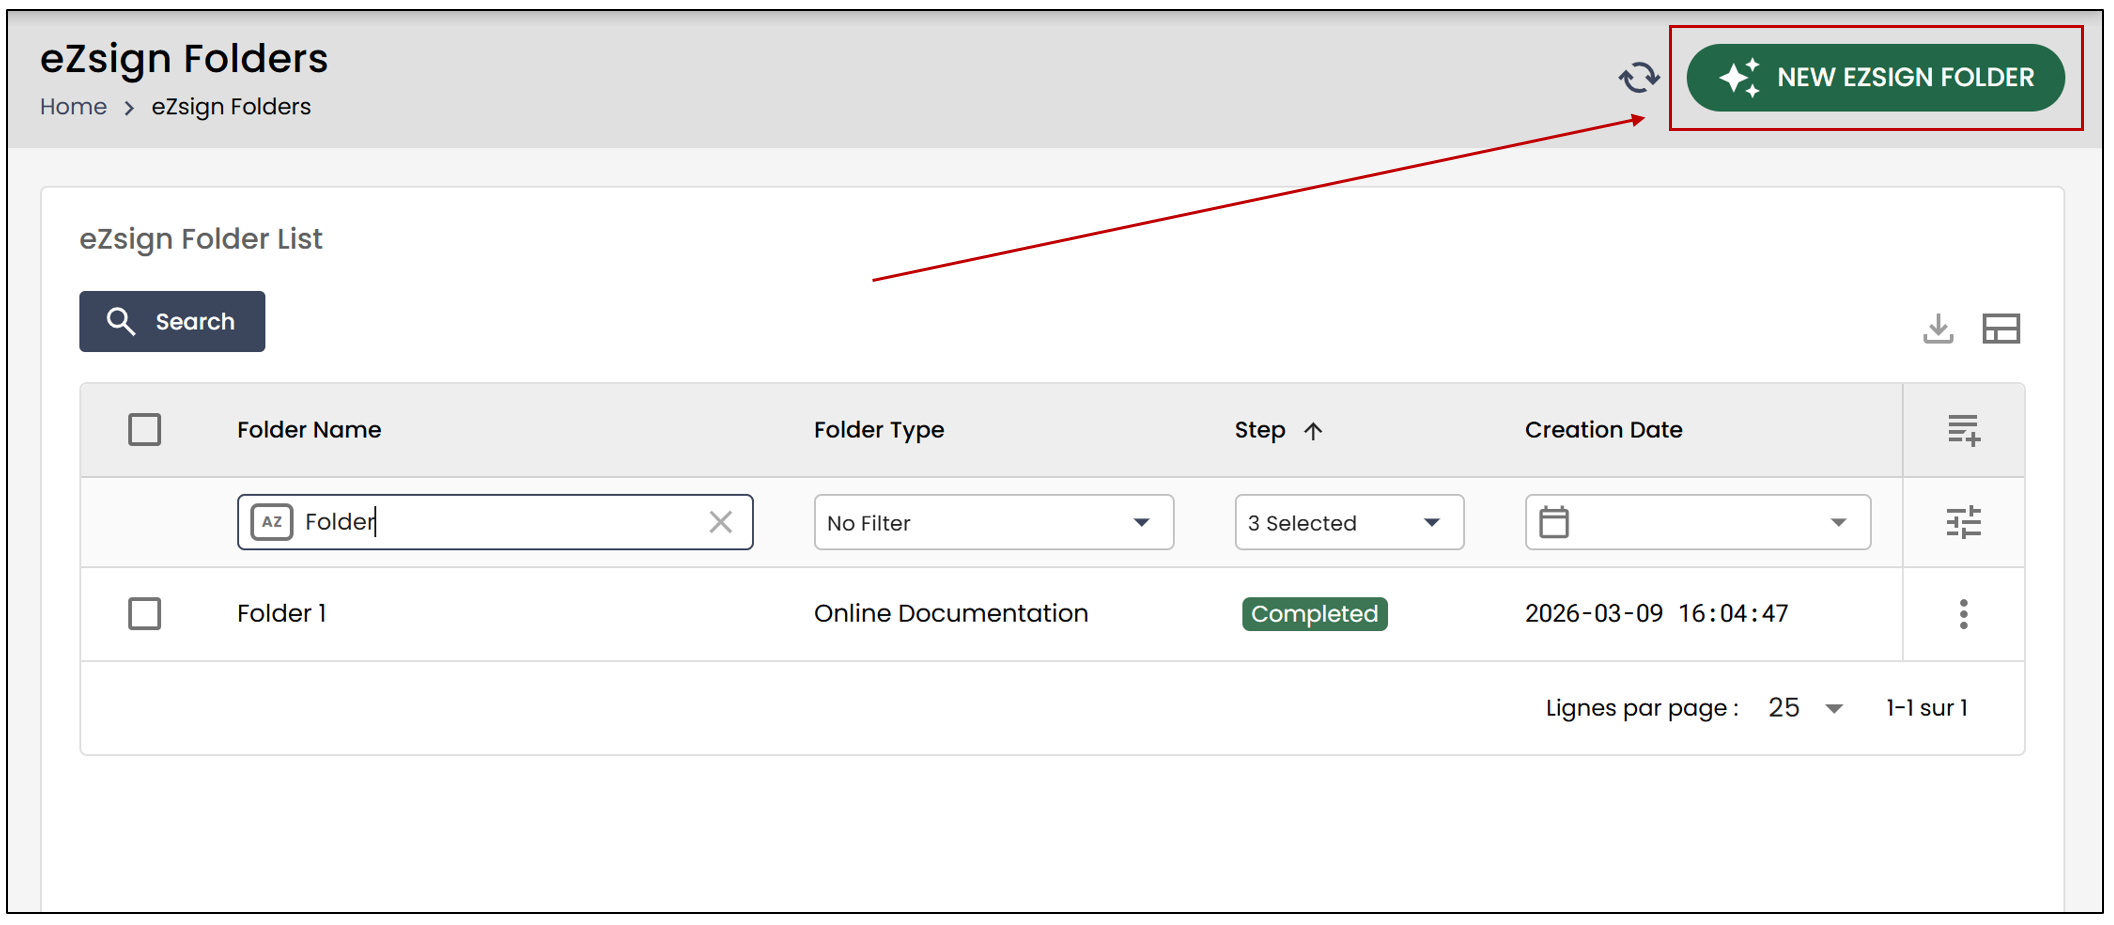
- In the left menu, click on eZsign Folders , then click on New eZsign Folder. You can also use the Quick Menu in the top bar, click on Quick Menu >> Create a Folder.
Folder Information
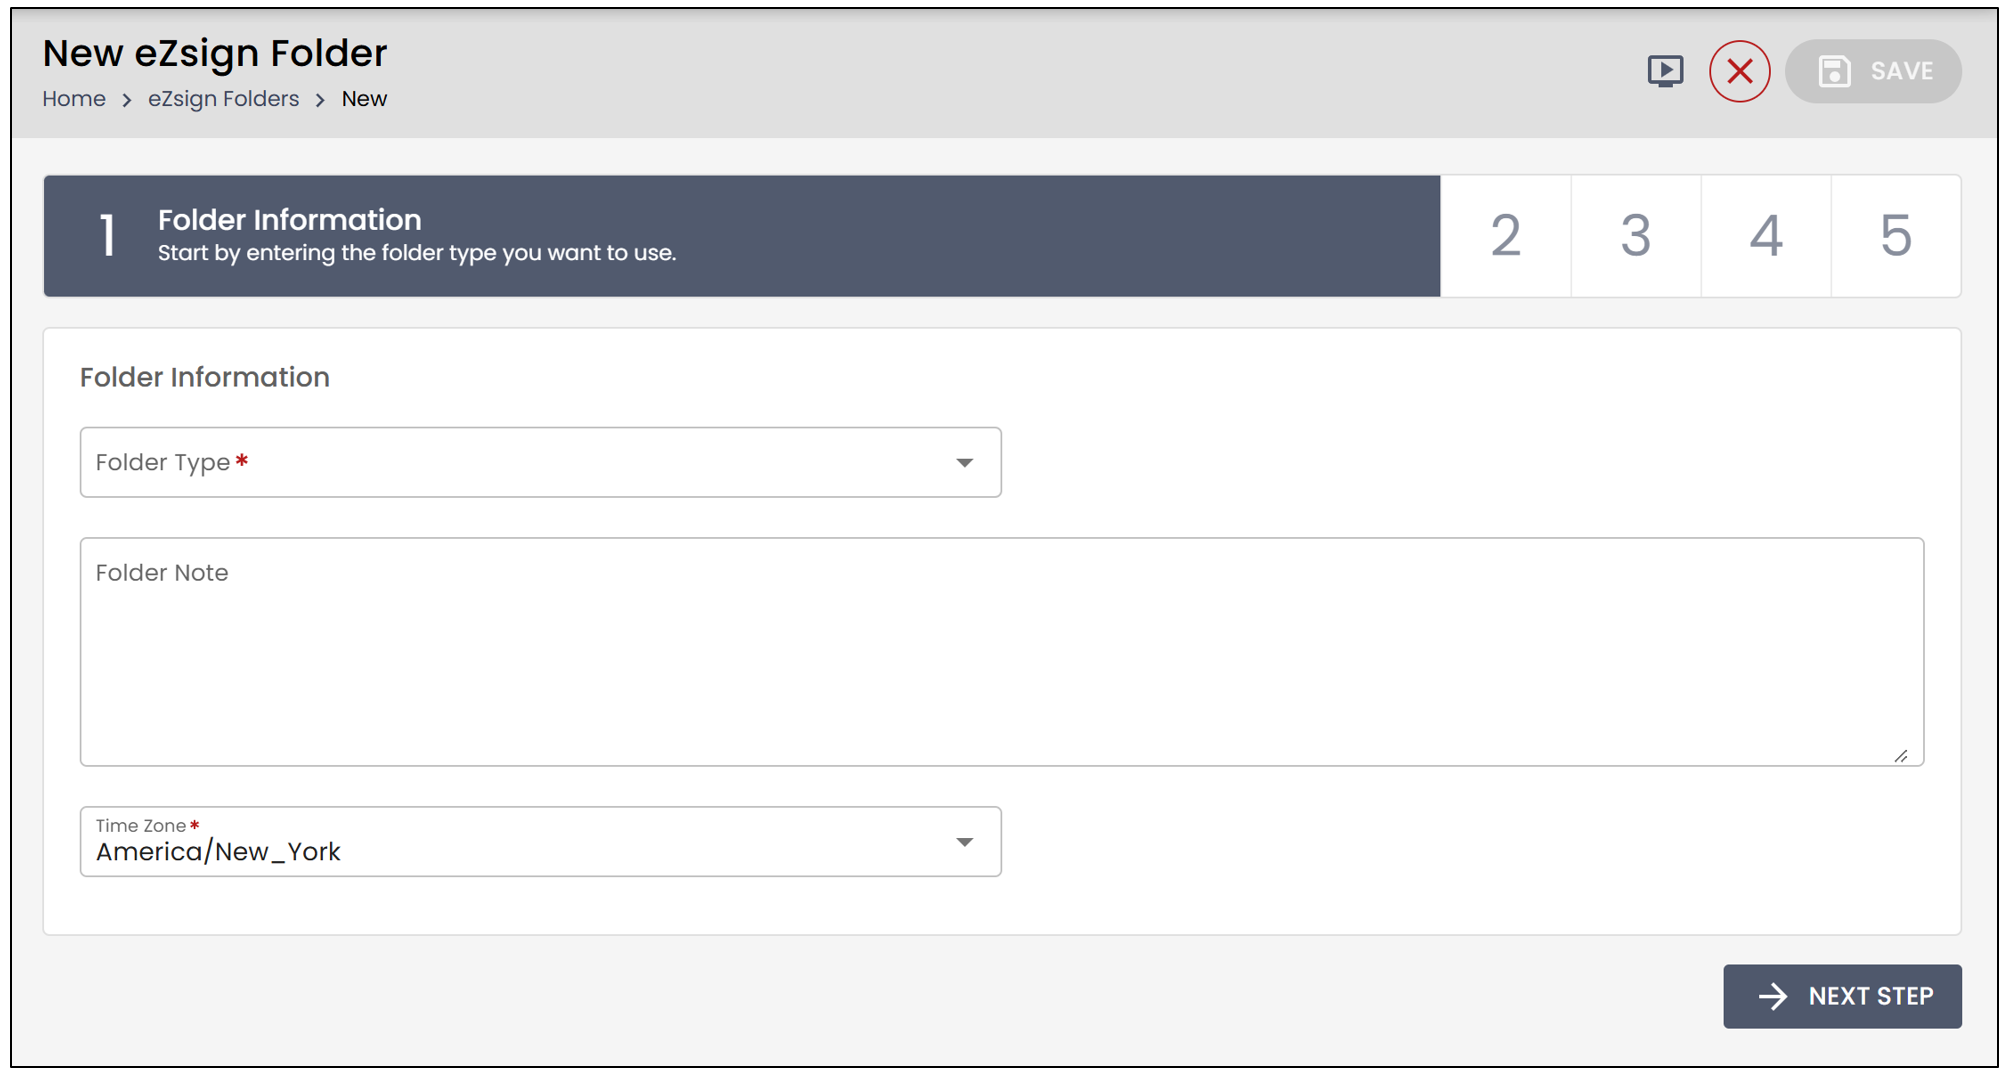
- For this first step, you can select the Folder Type from the dropdown list and add a Folder Note.
NOTE: The file note is not visible to the recipients of the file; only the creator of the file will have access to it.
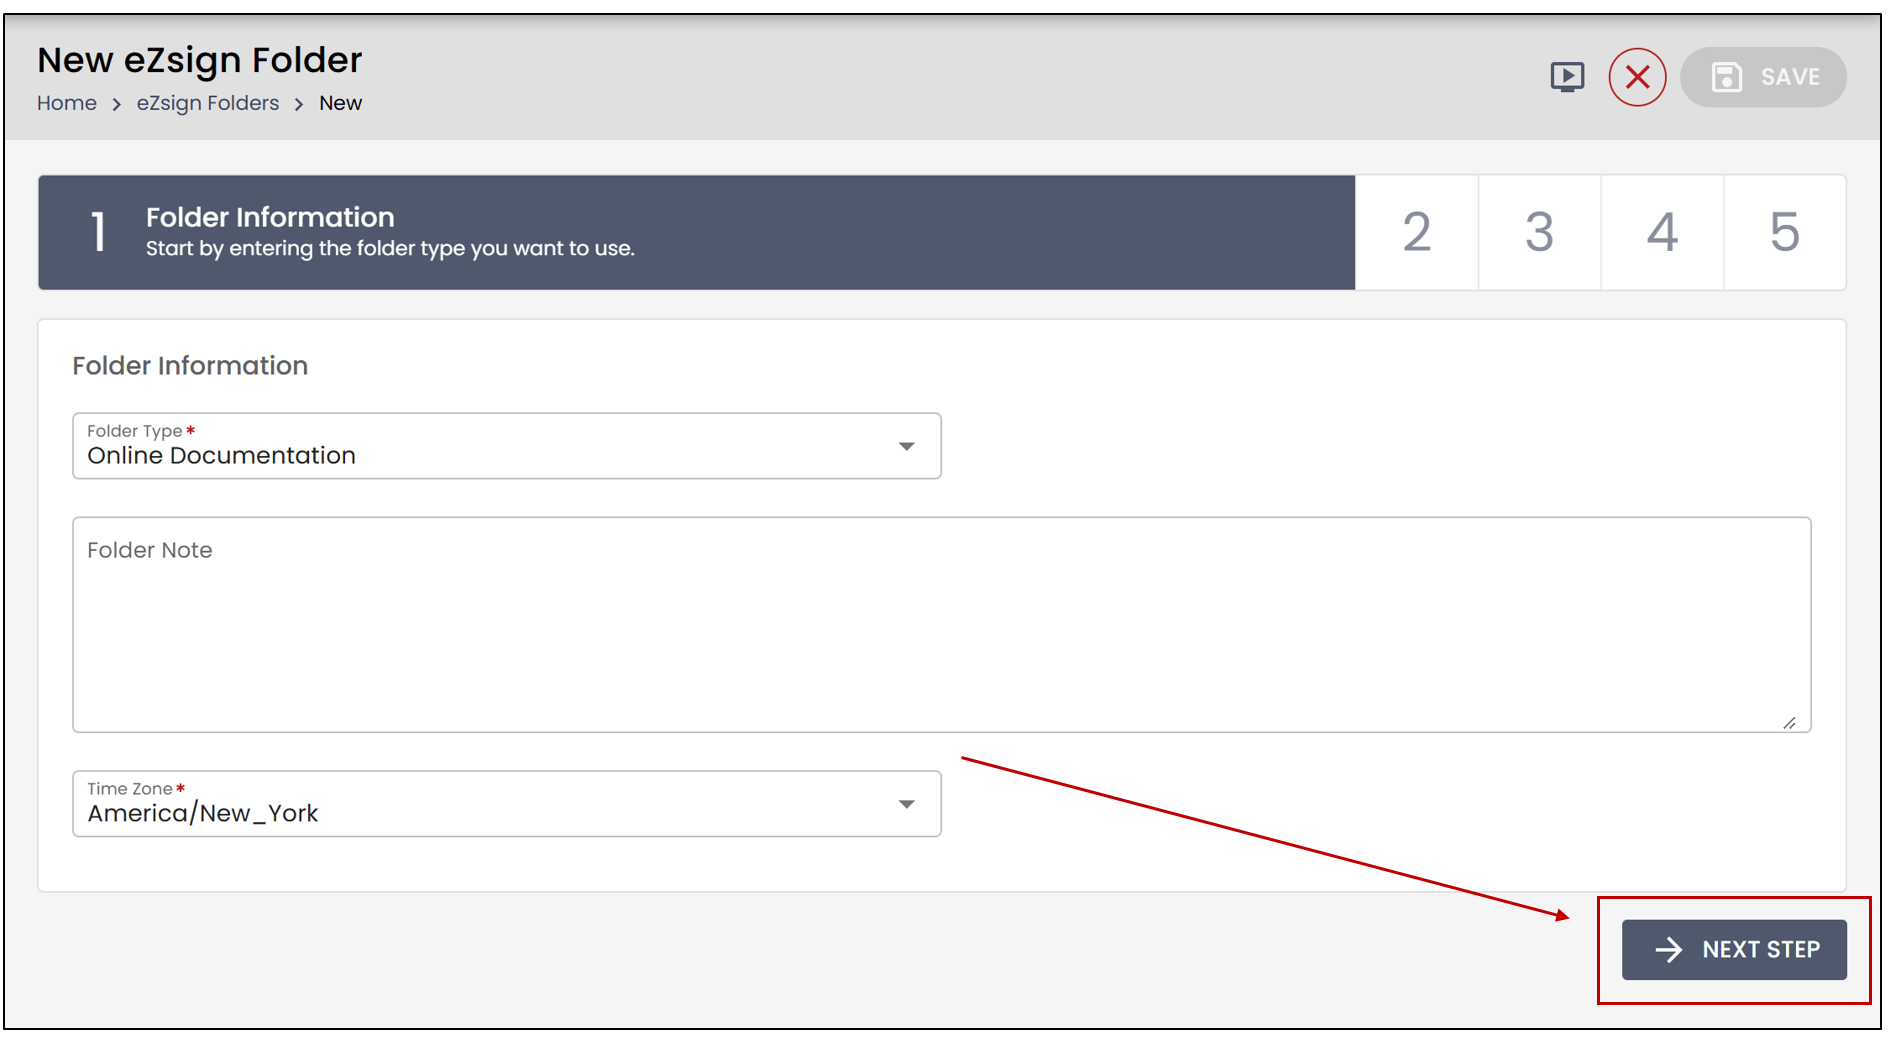
- Next, select the Time Zone from the dropdown list, then click Next Step.
Adding documents
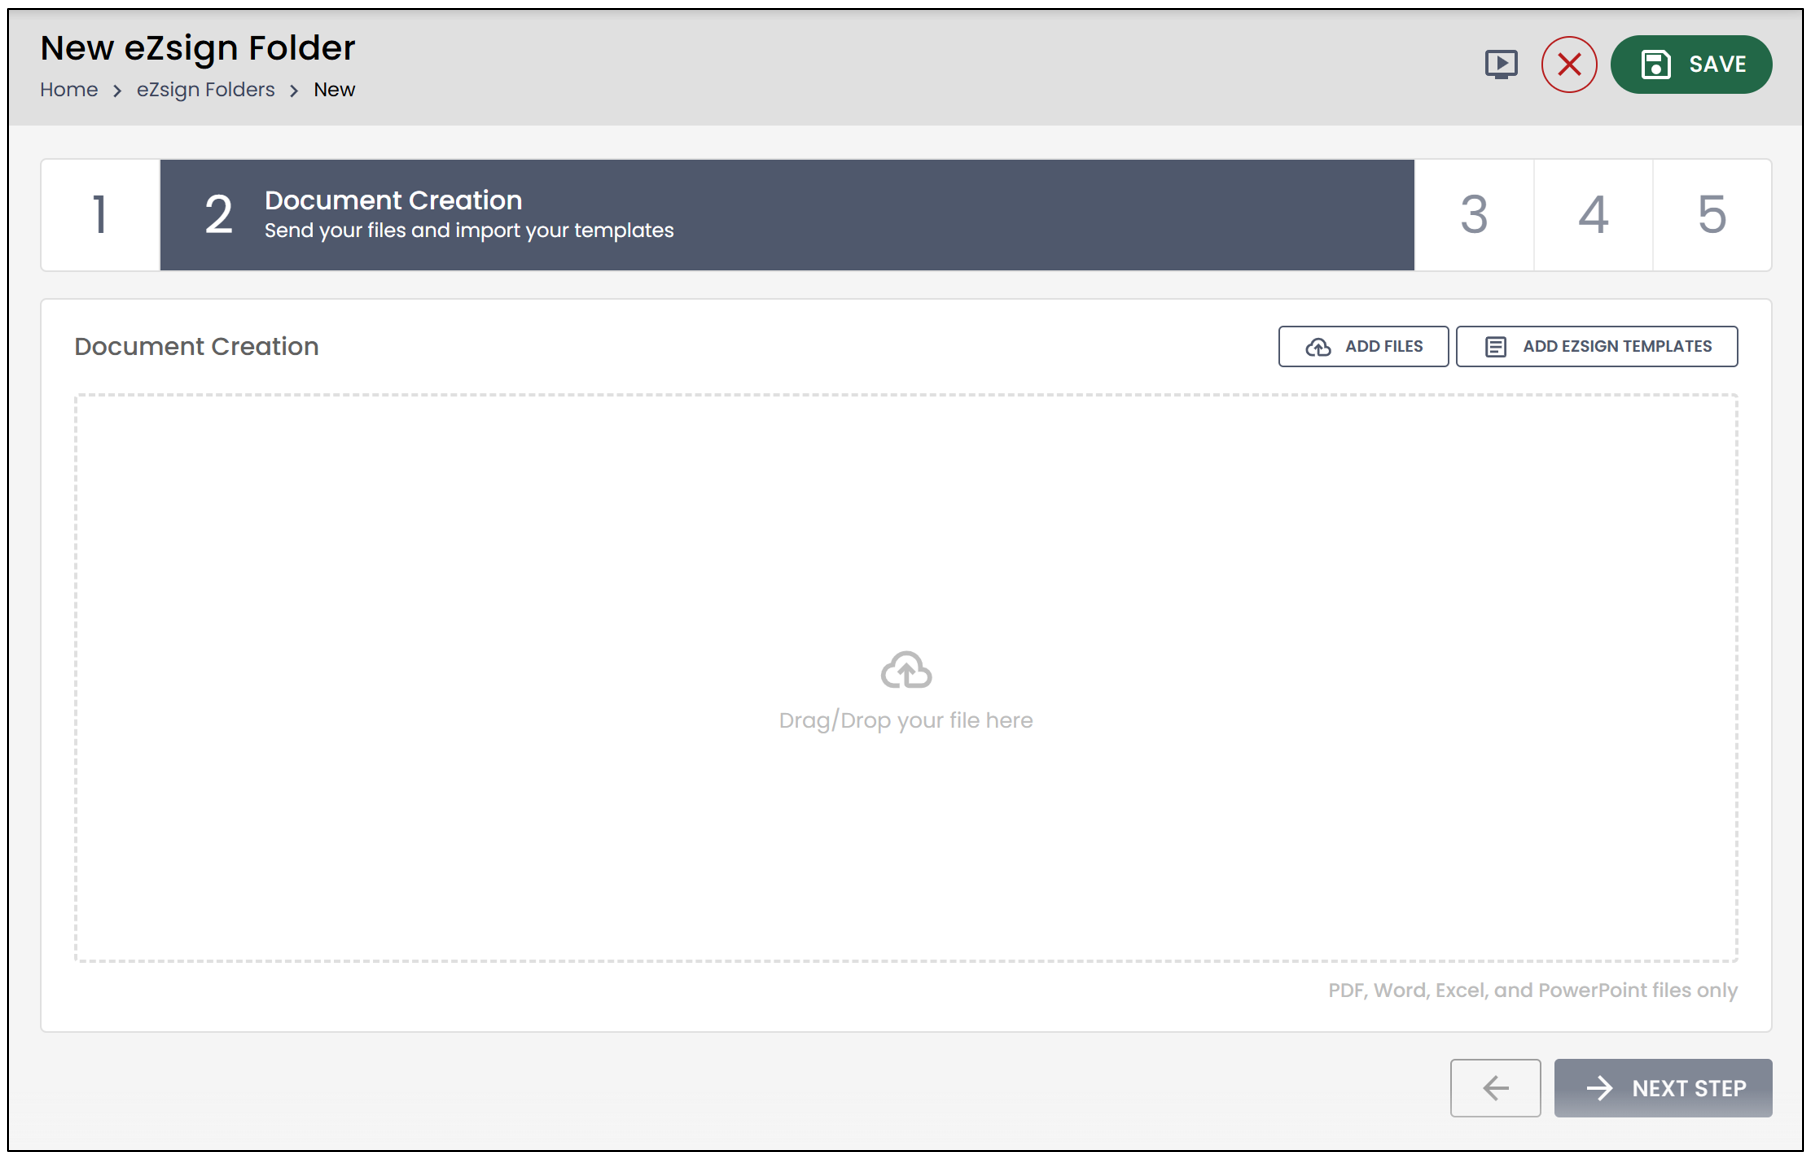
During the document creation step, you need to add the files intended for signing. There are two ways to add files to the folder: upload files directly from your computer or add eZsign templates.
- To add files from your computer, you can drag and drop the documents or click the Add Files button.
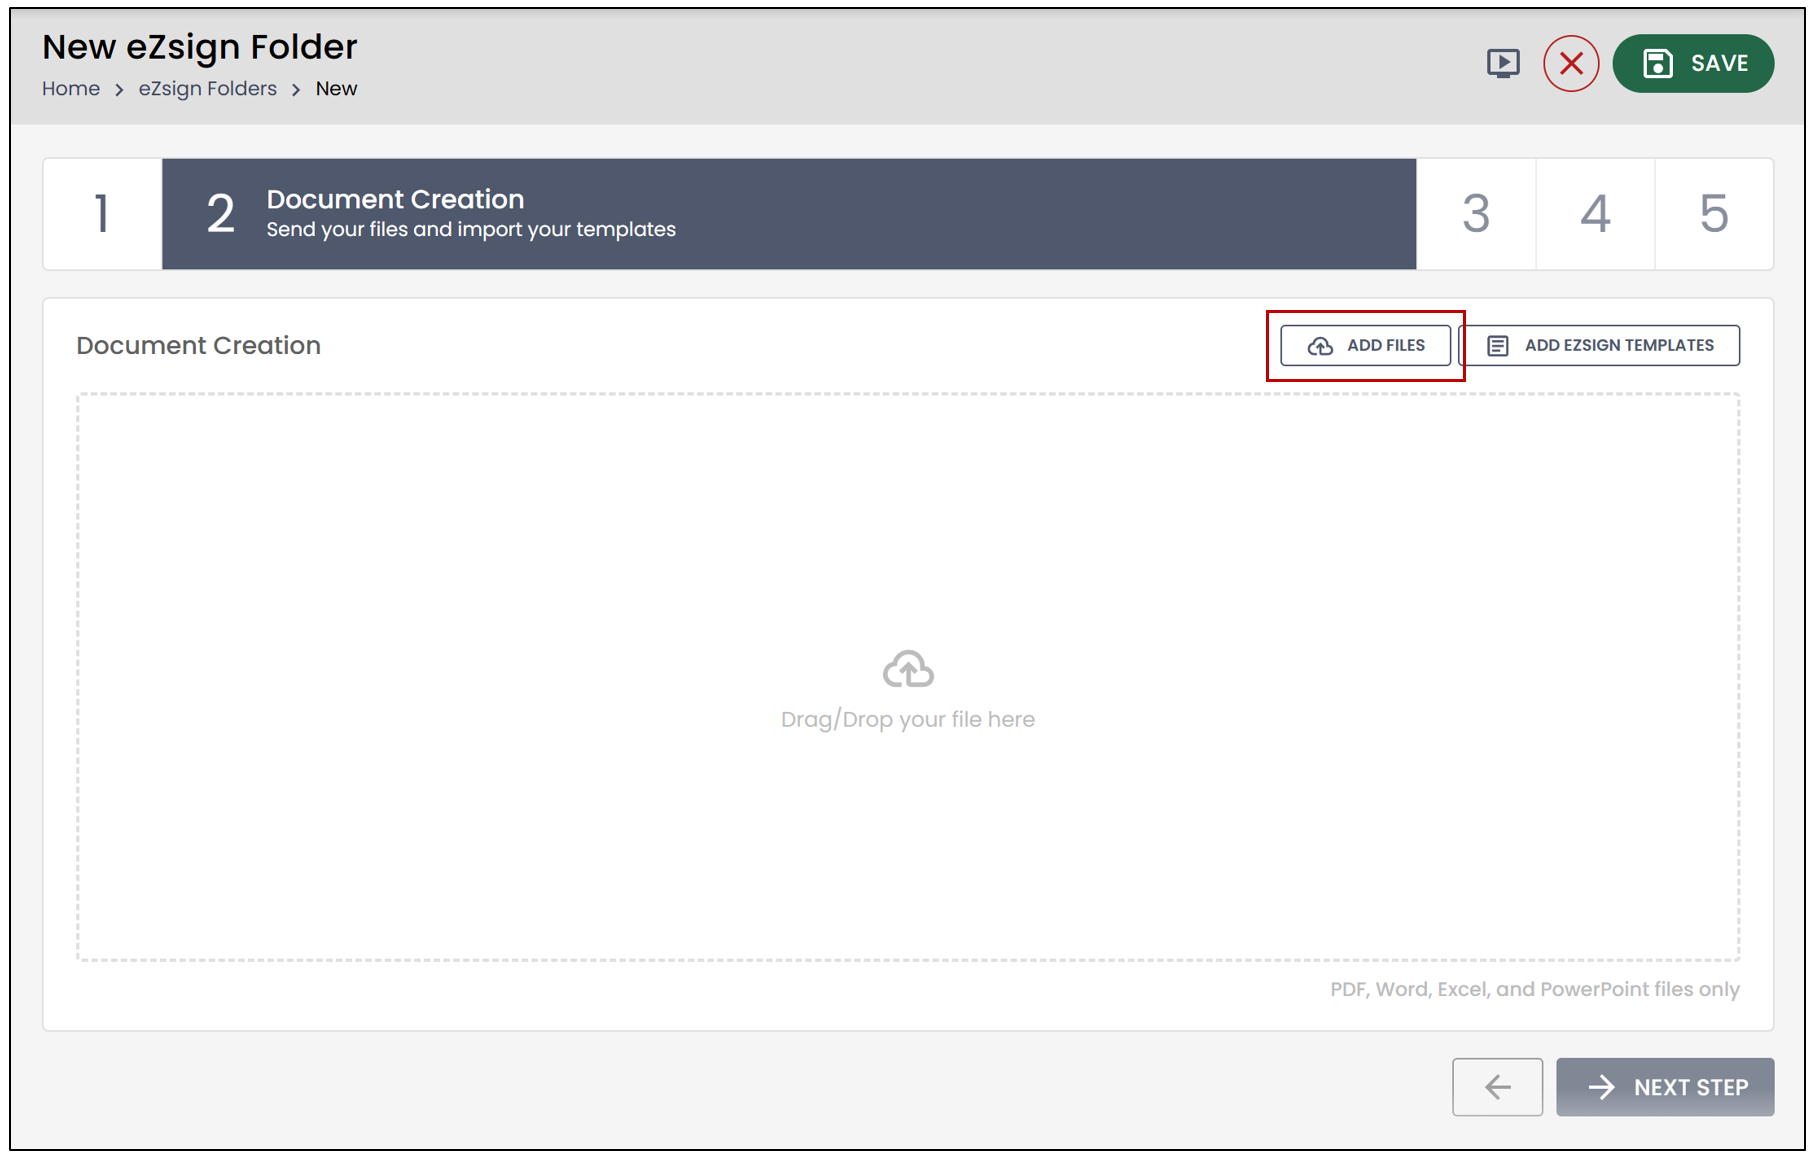
- Select the desired document from your computer, then click Open.
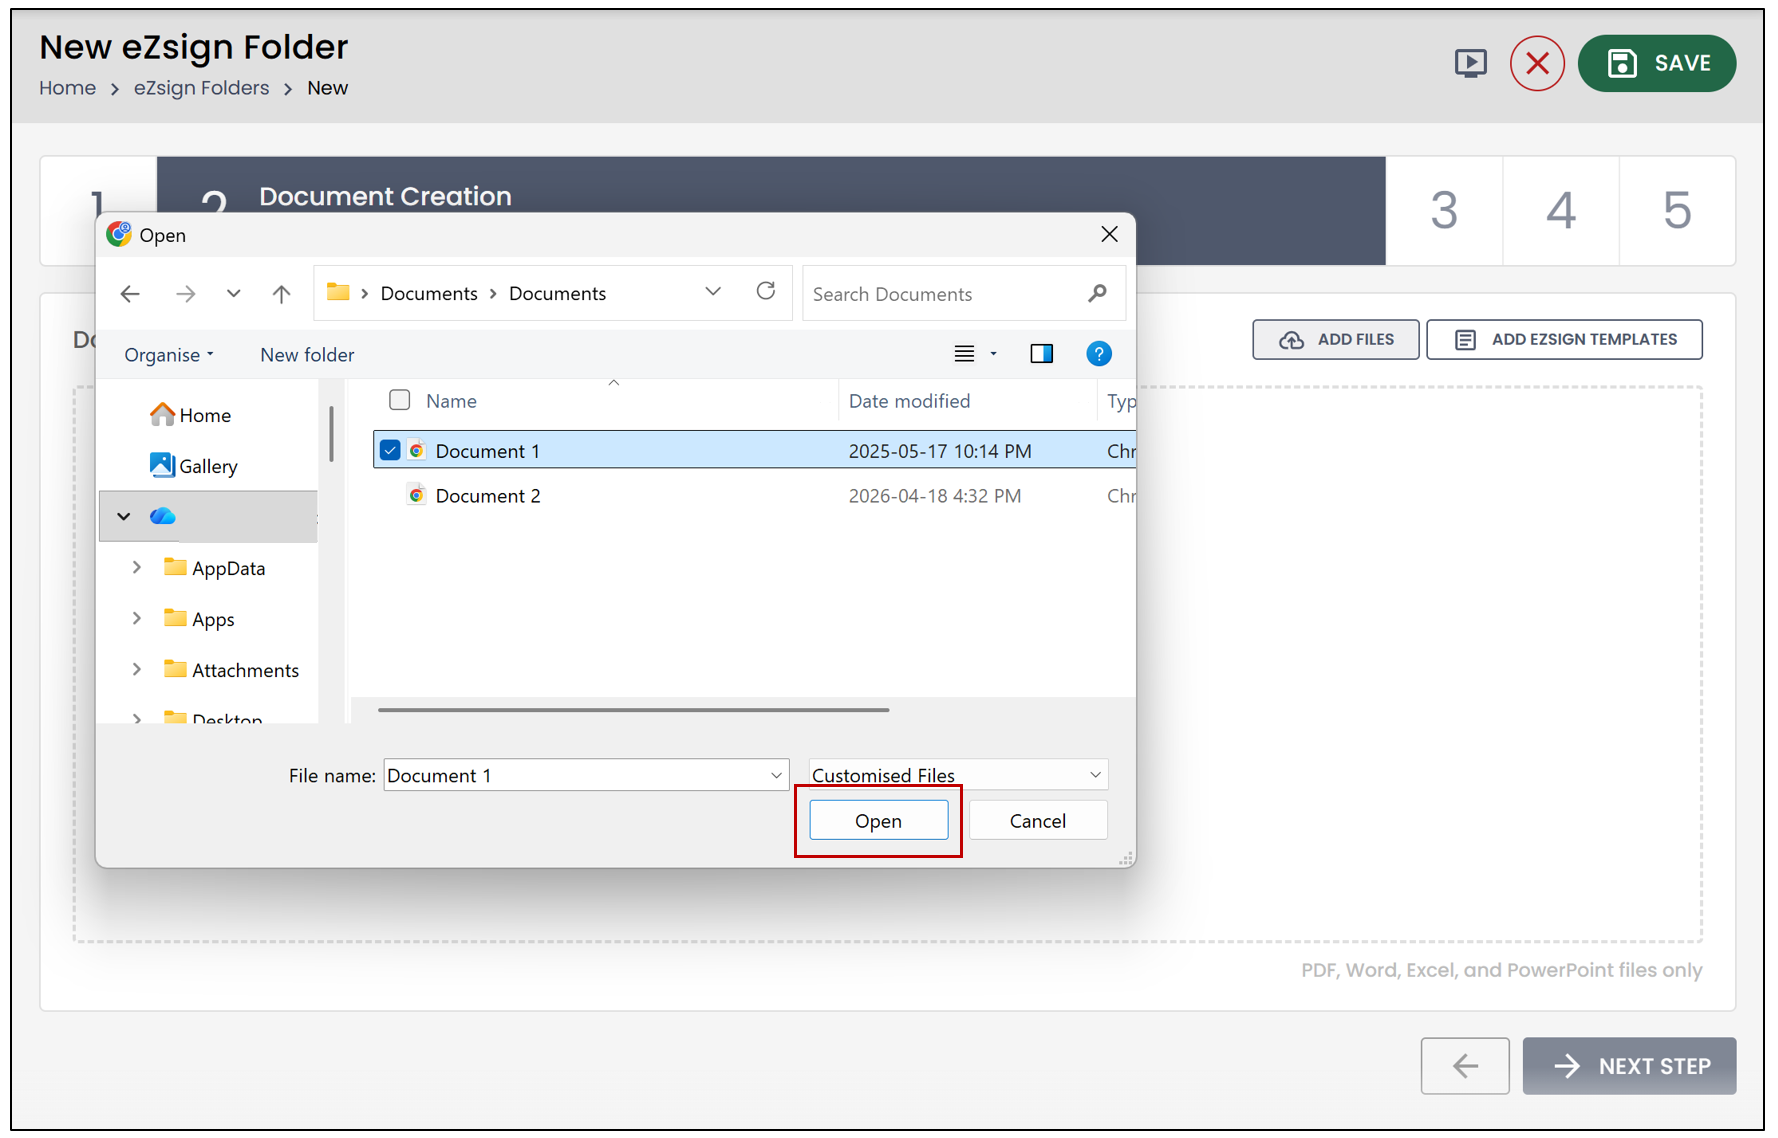
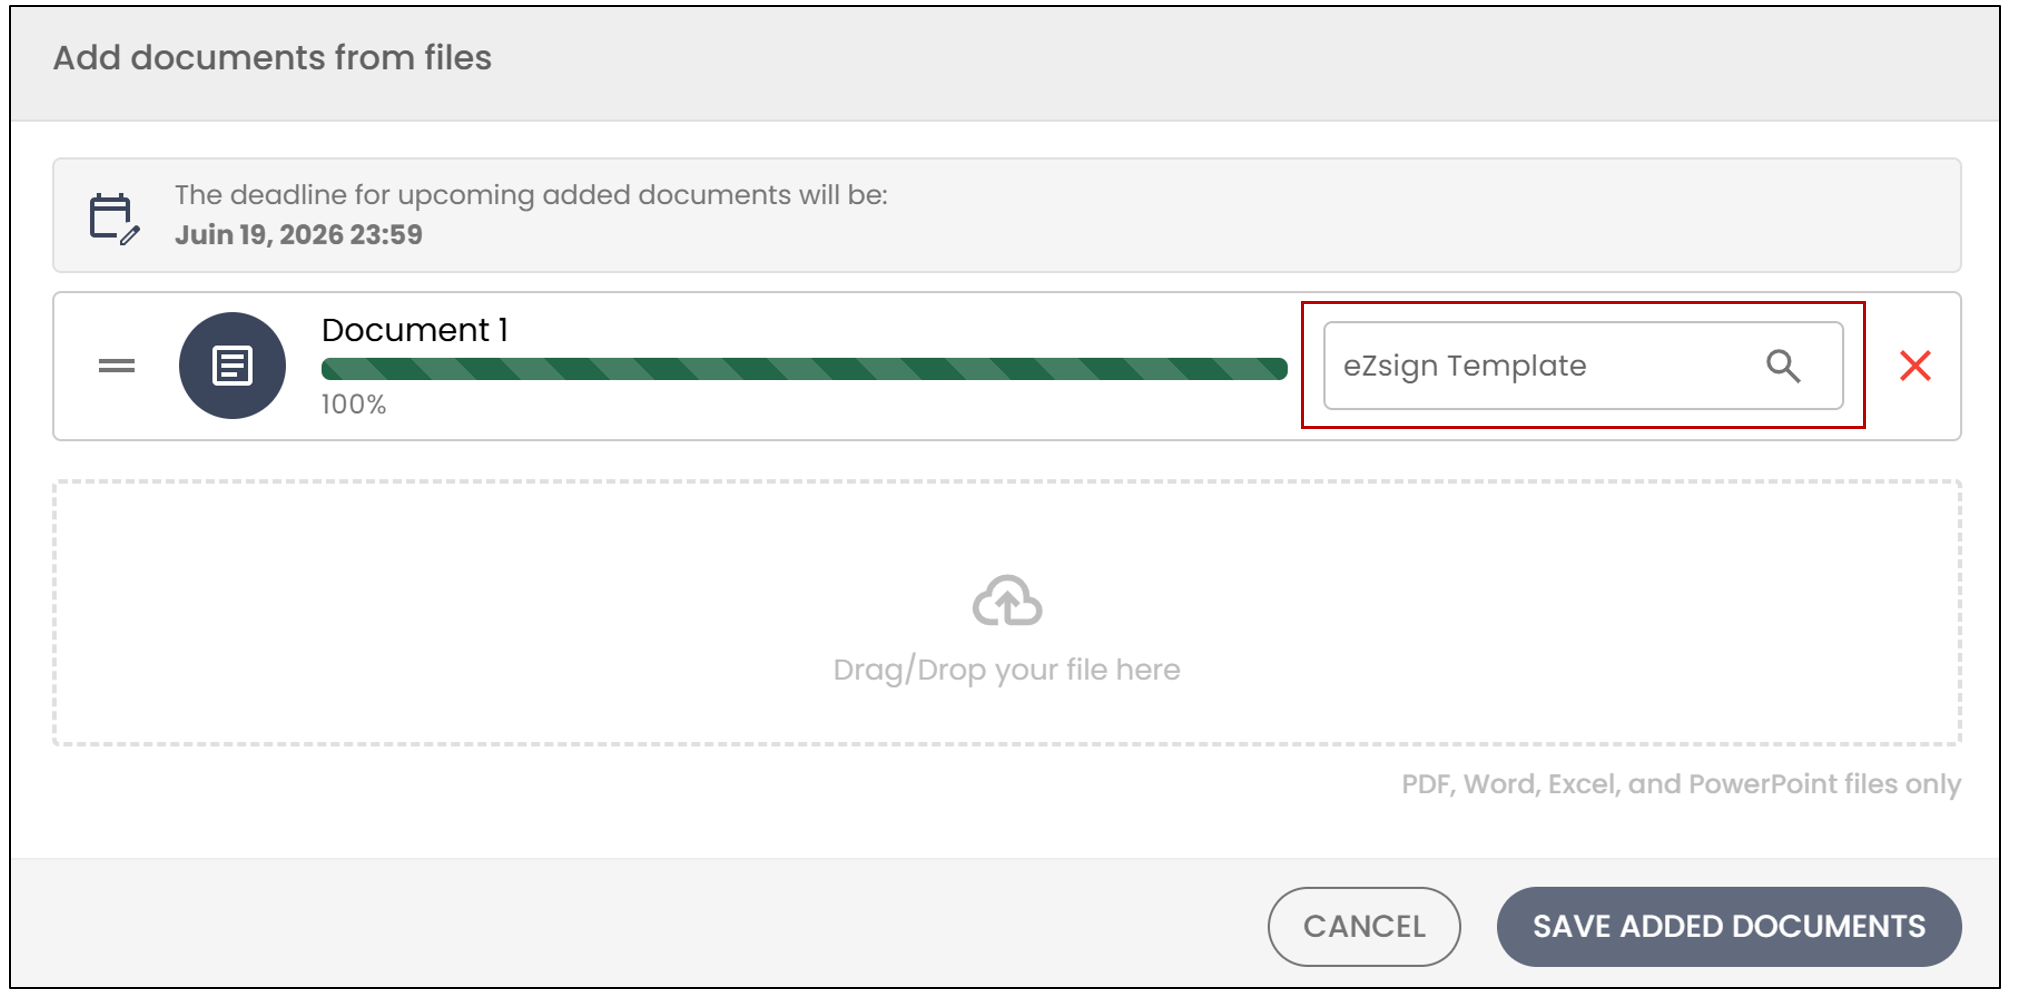
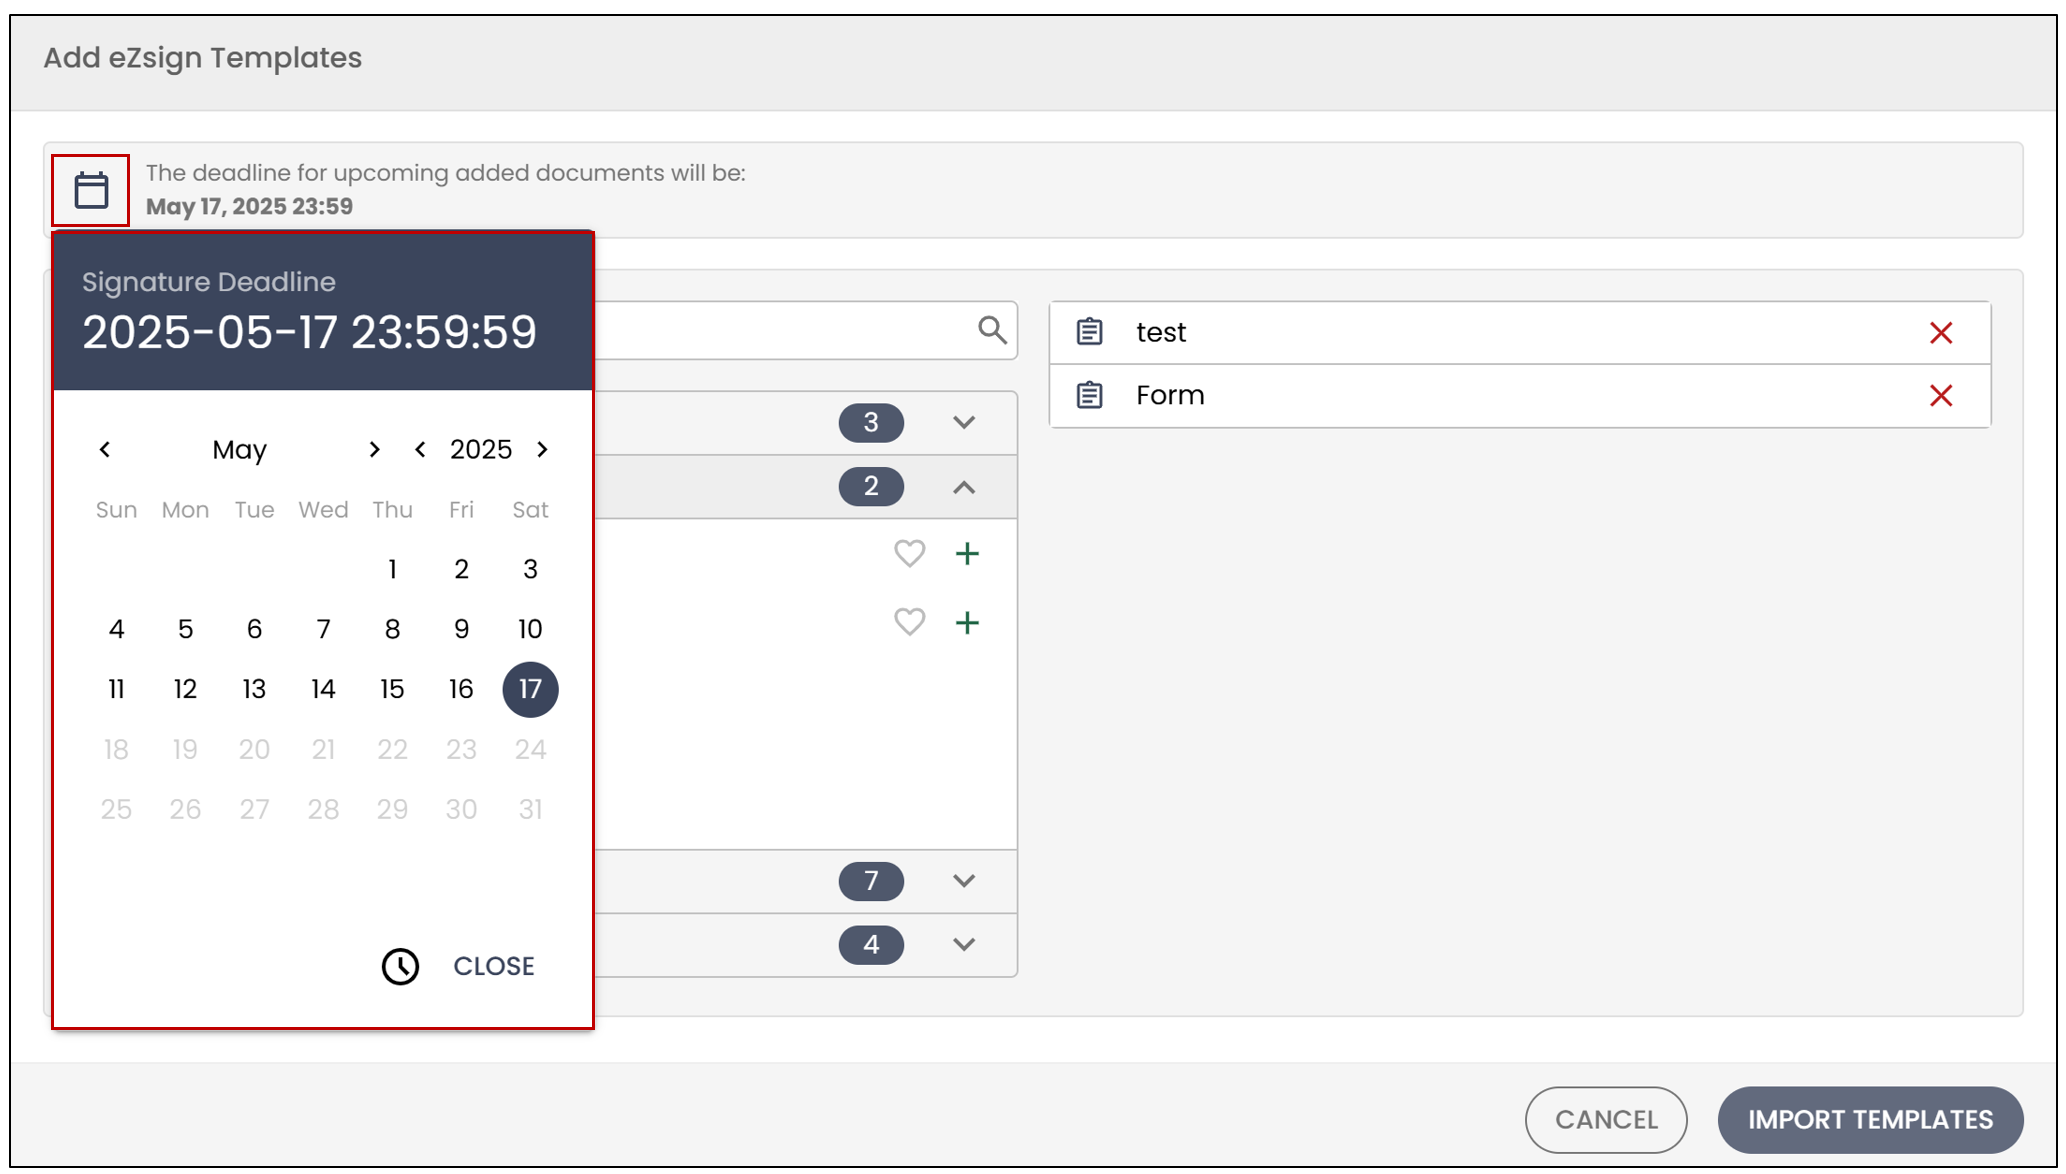
- You can modify the deadline for the next documents added.
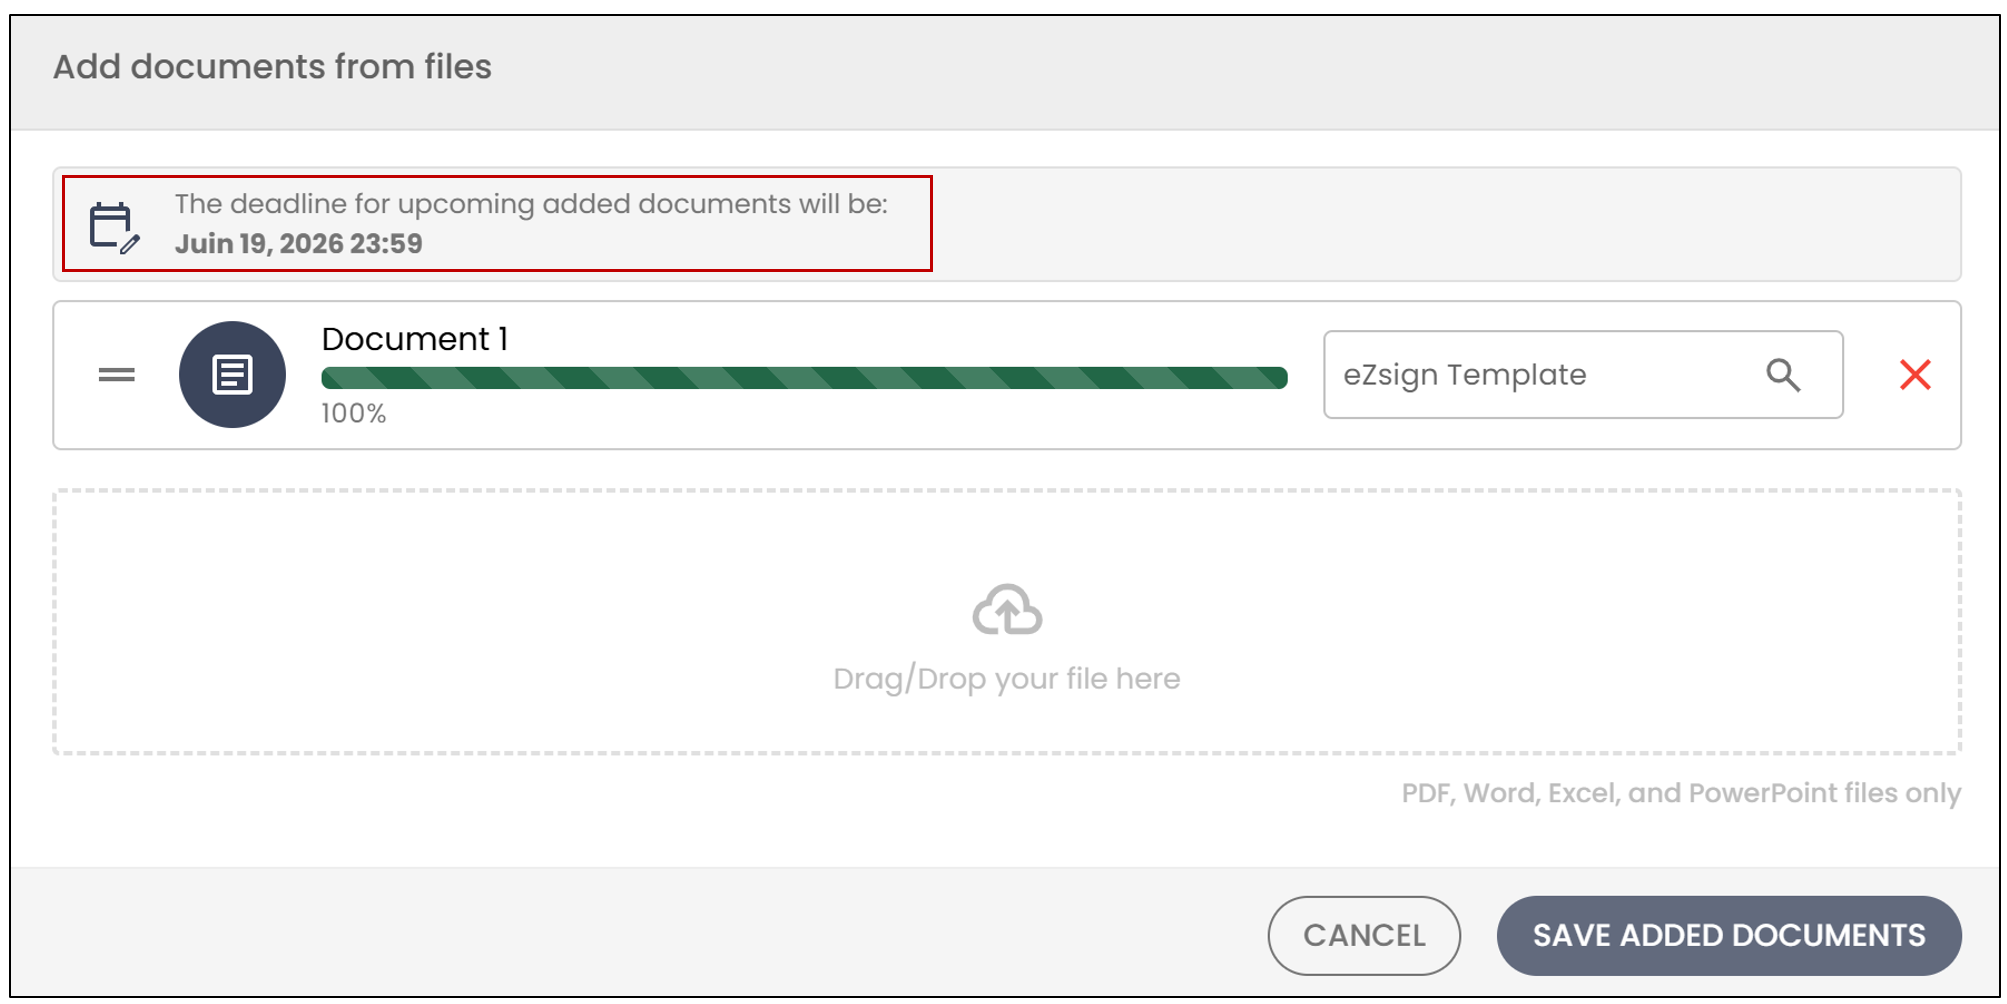
- You will also have the option to apply an eZsign template to the document by selecting it from the dropdown list.
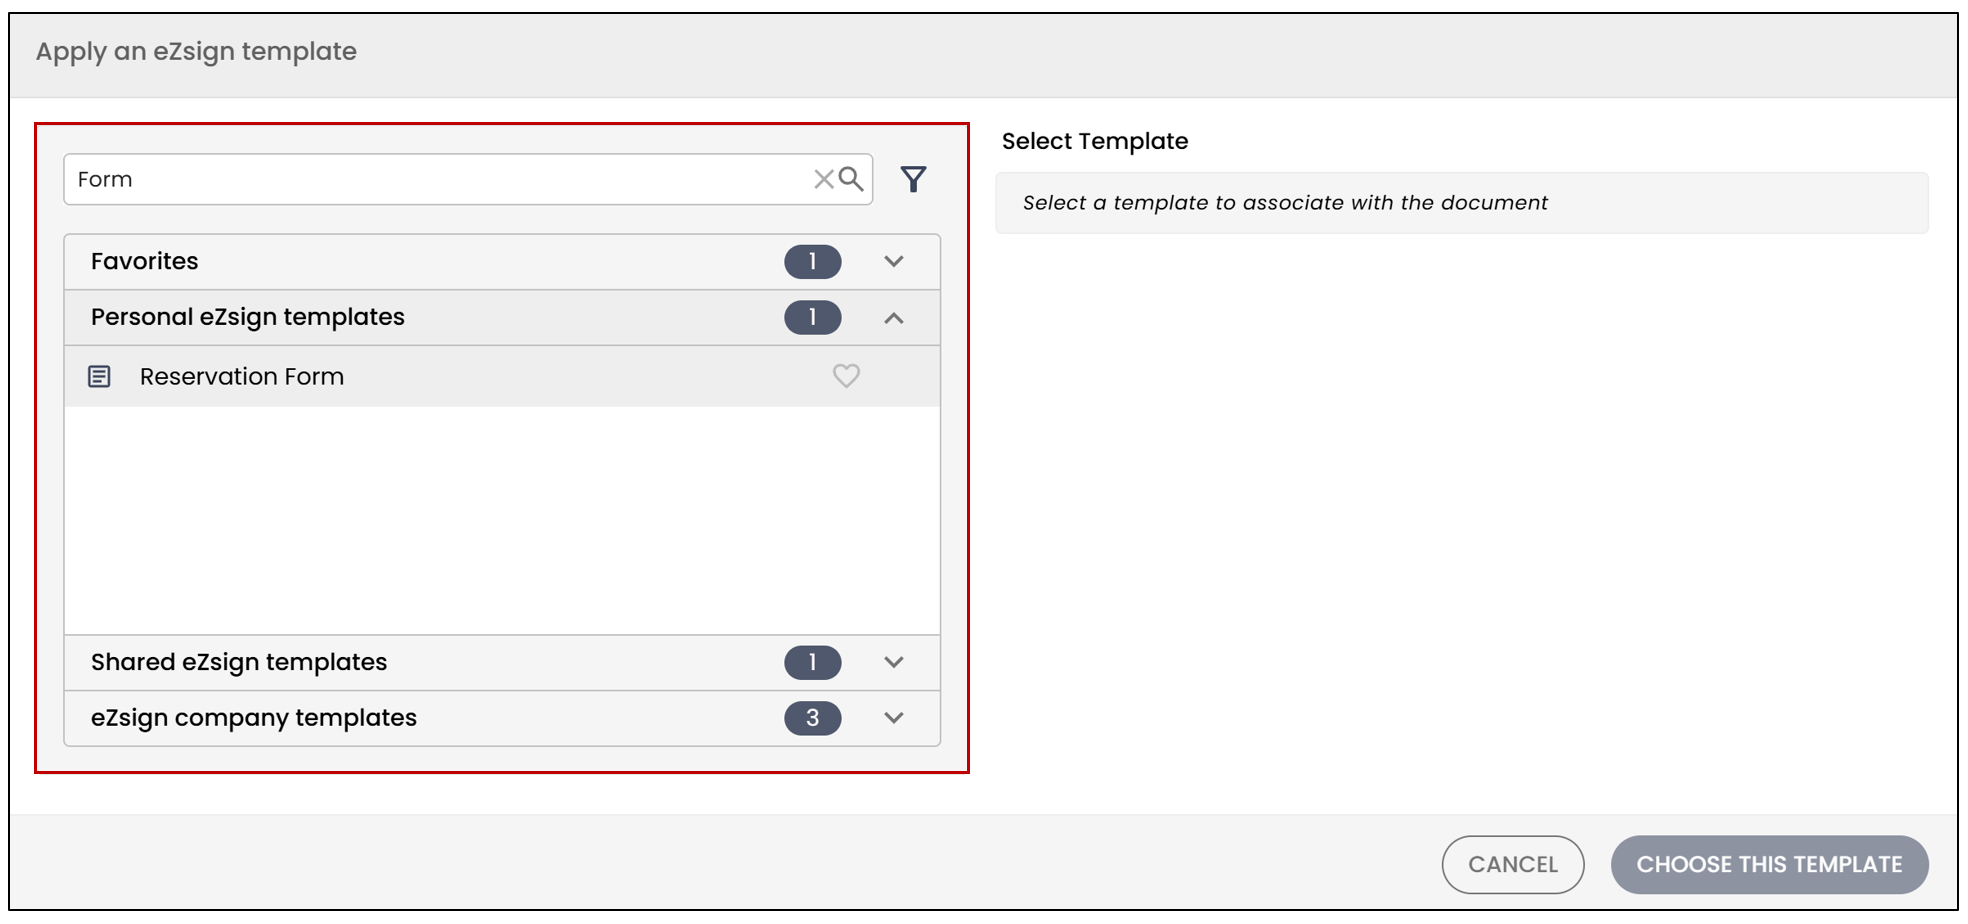
- Click Choose this template.
NOTE: To add a template to your favorites, click the heart to the right of the desired template.
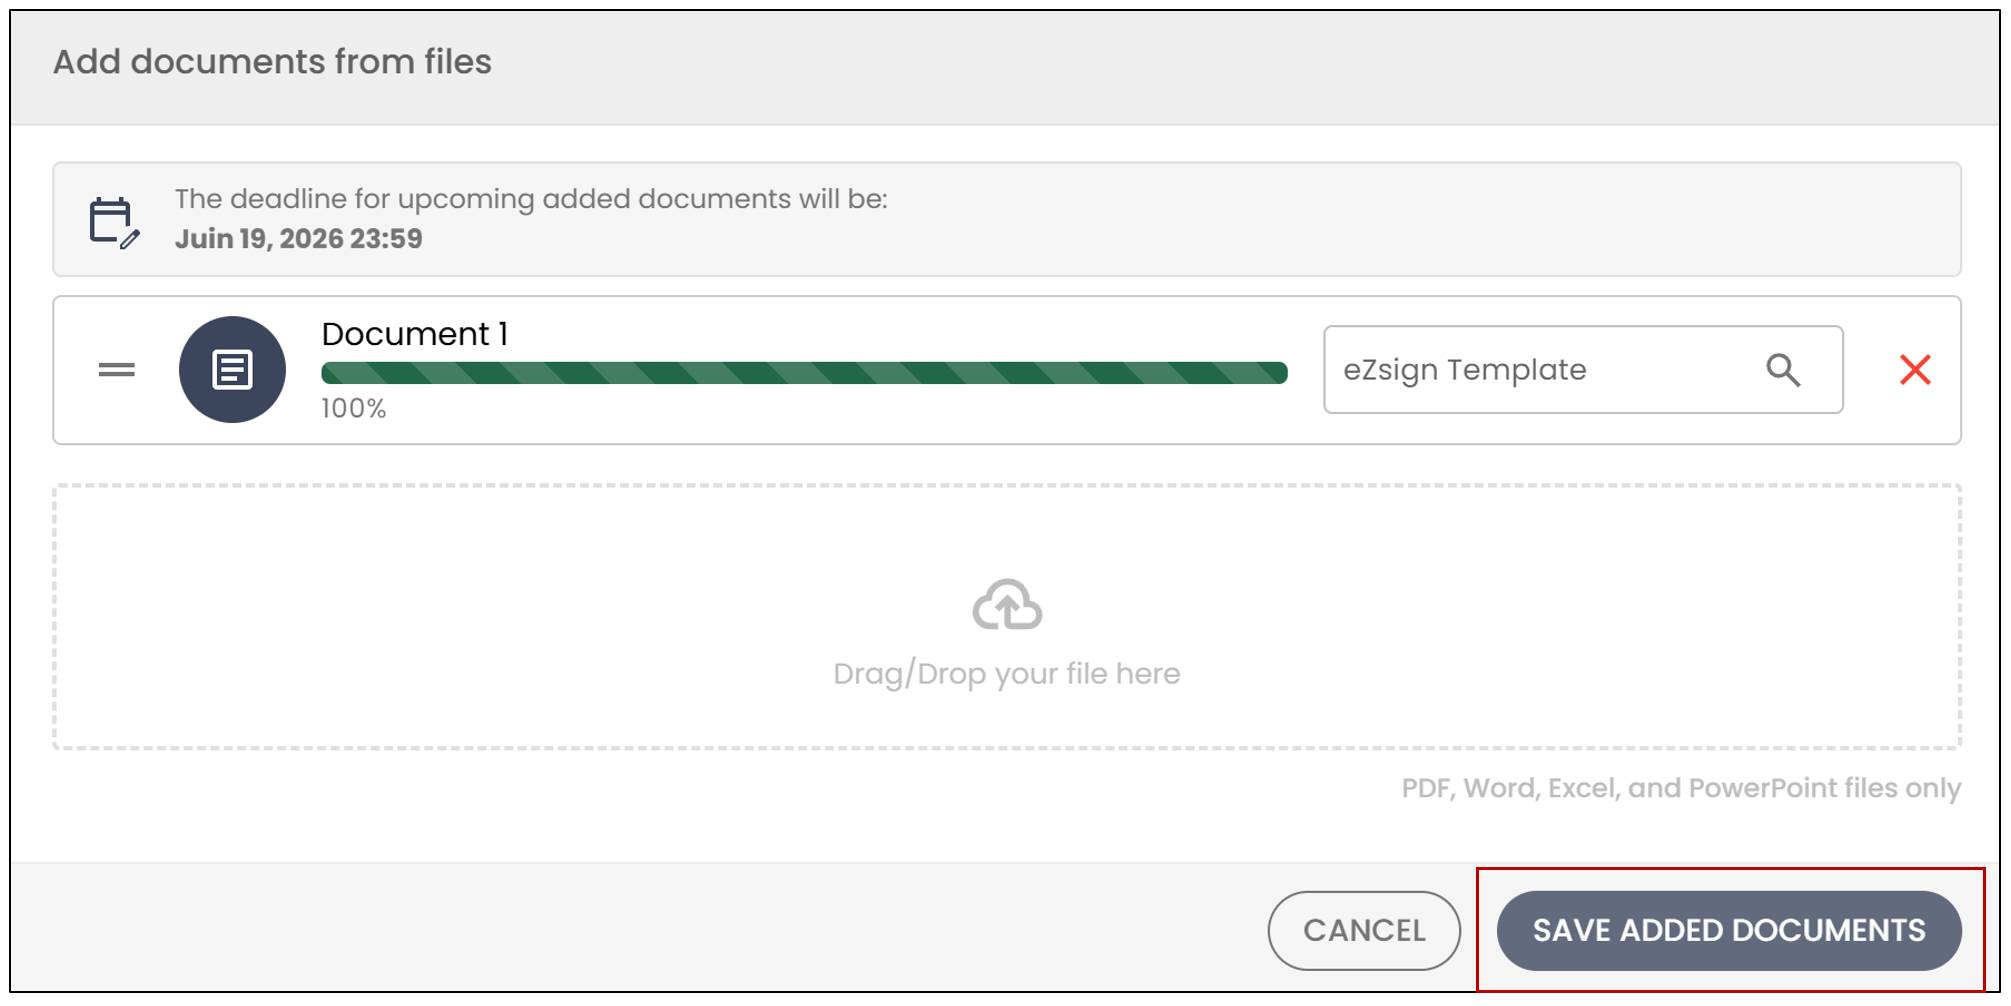
- To add the document to the folder, click Save added documents.
- To add templates, select Add eZsign Templates.
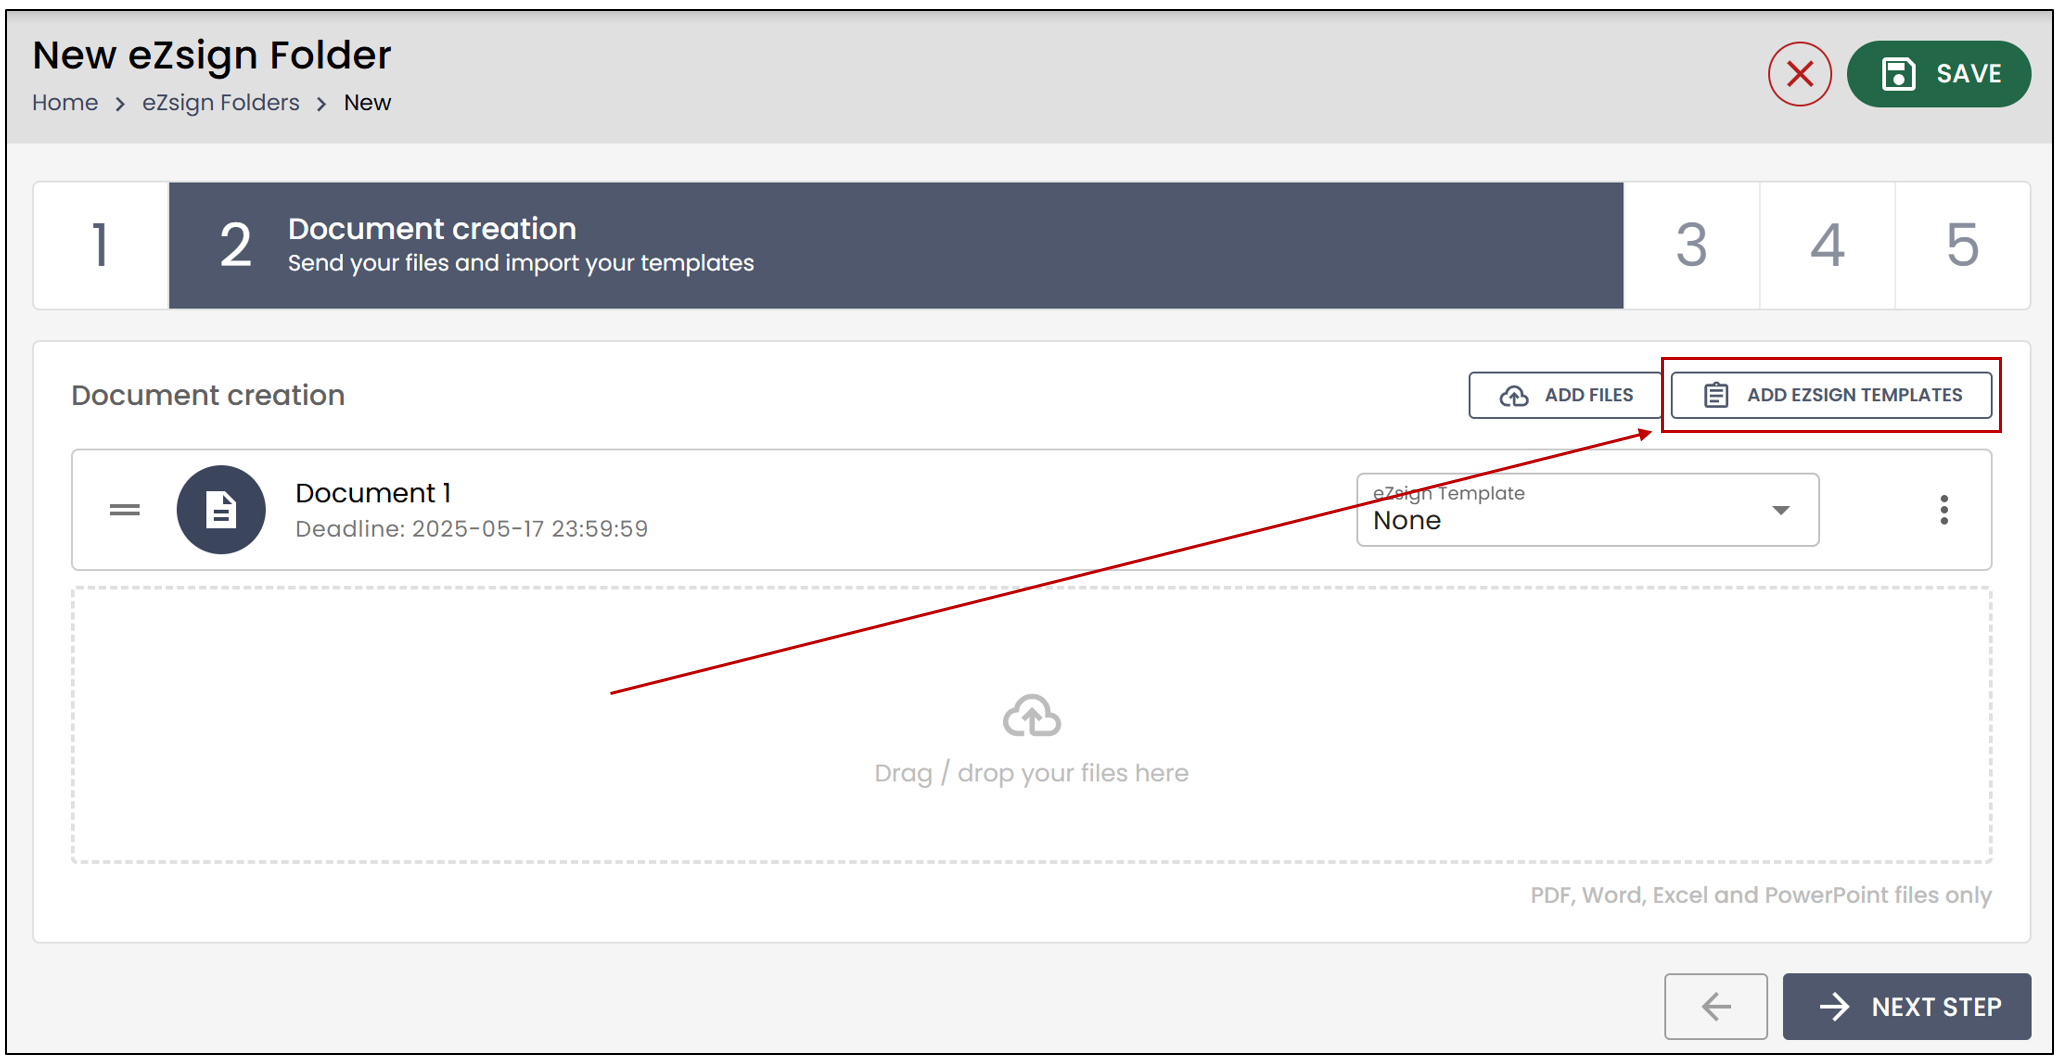
- You can then select the desired template(s) and click on Import Templates.
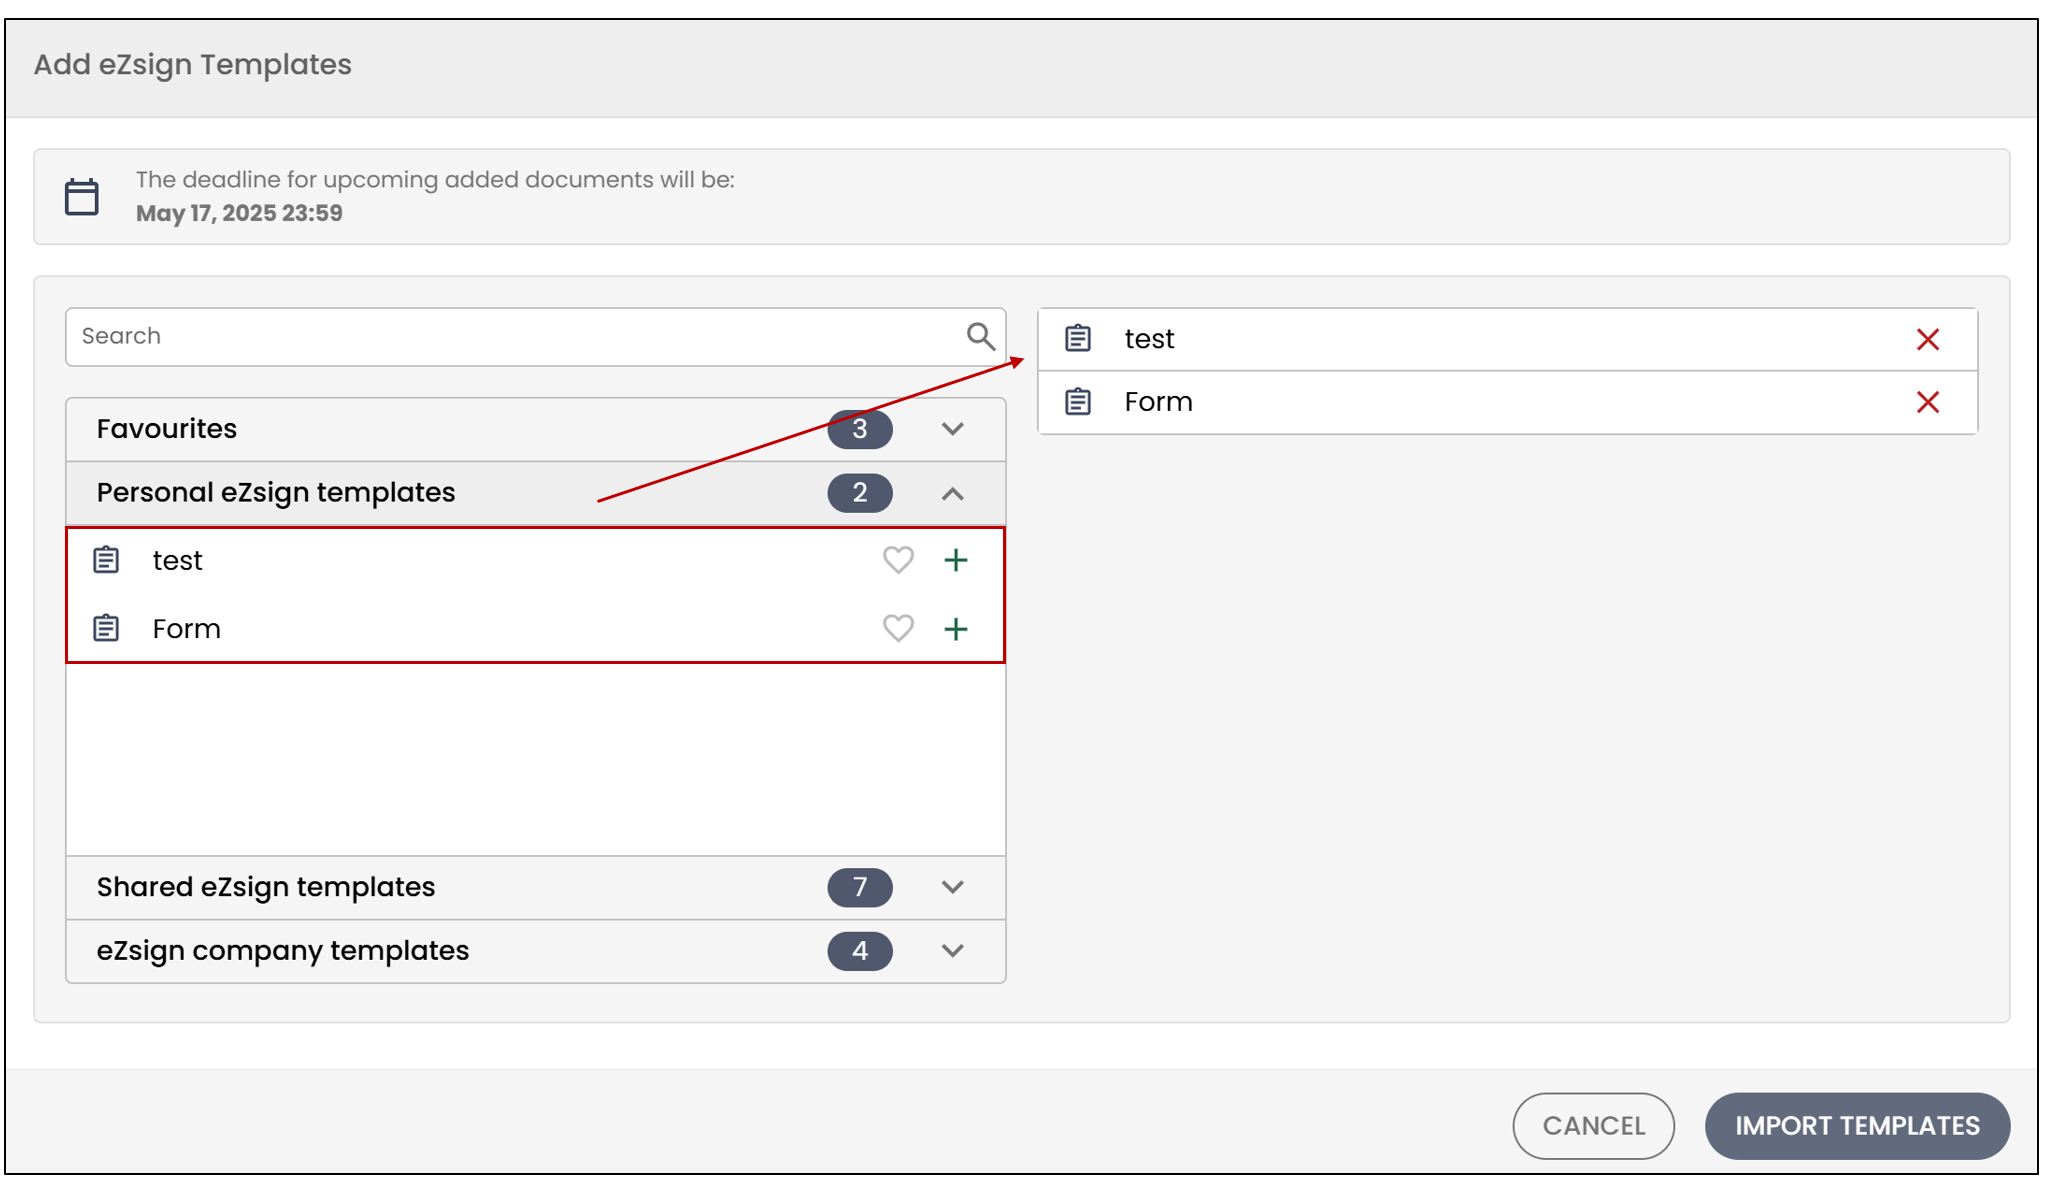
- By clicking on the

icon, you can select the Signature Deadline , which is the due date for signing the document or template.
Click on Import Templates
When you are finished, select Next Step at the bottom right.
Adding Signatories
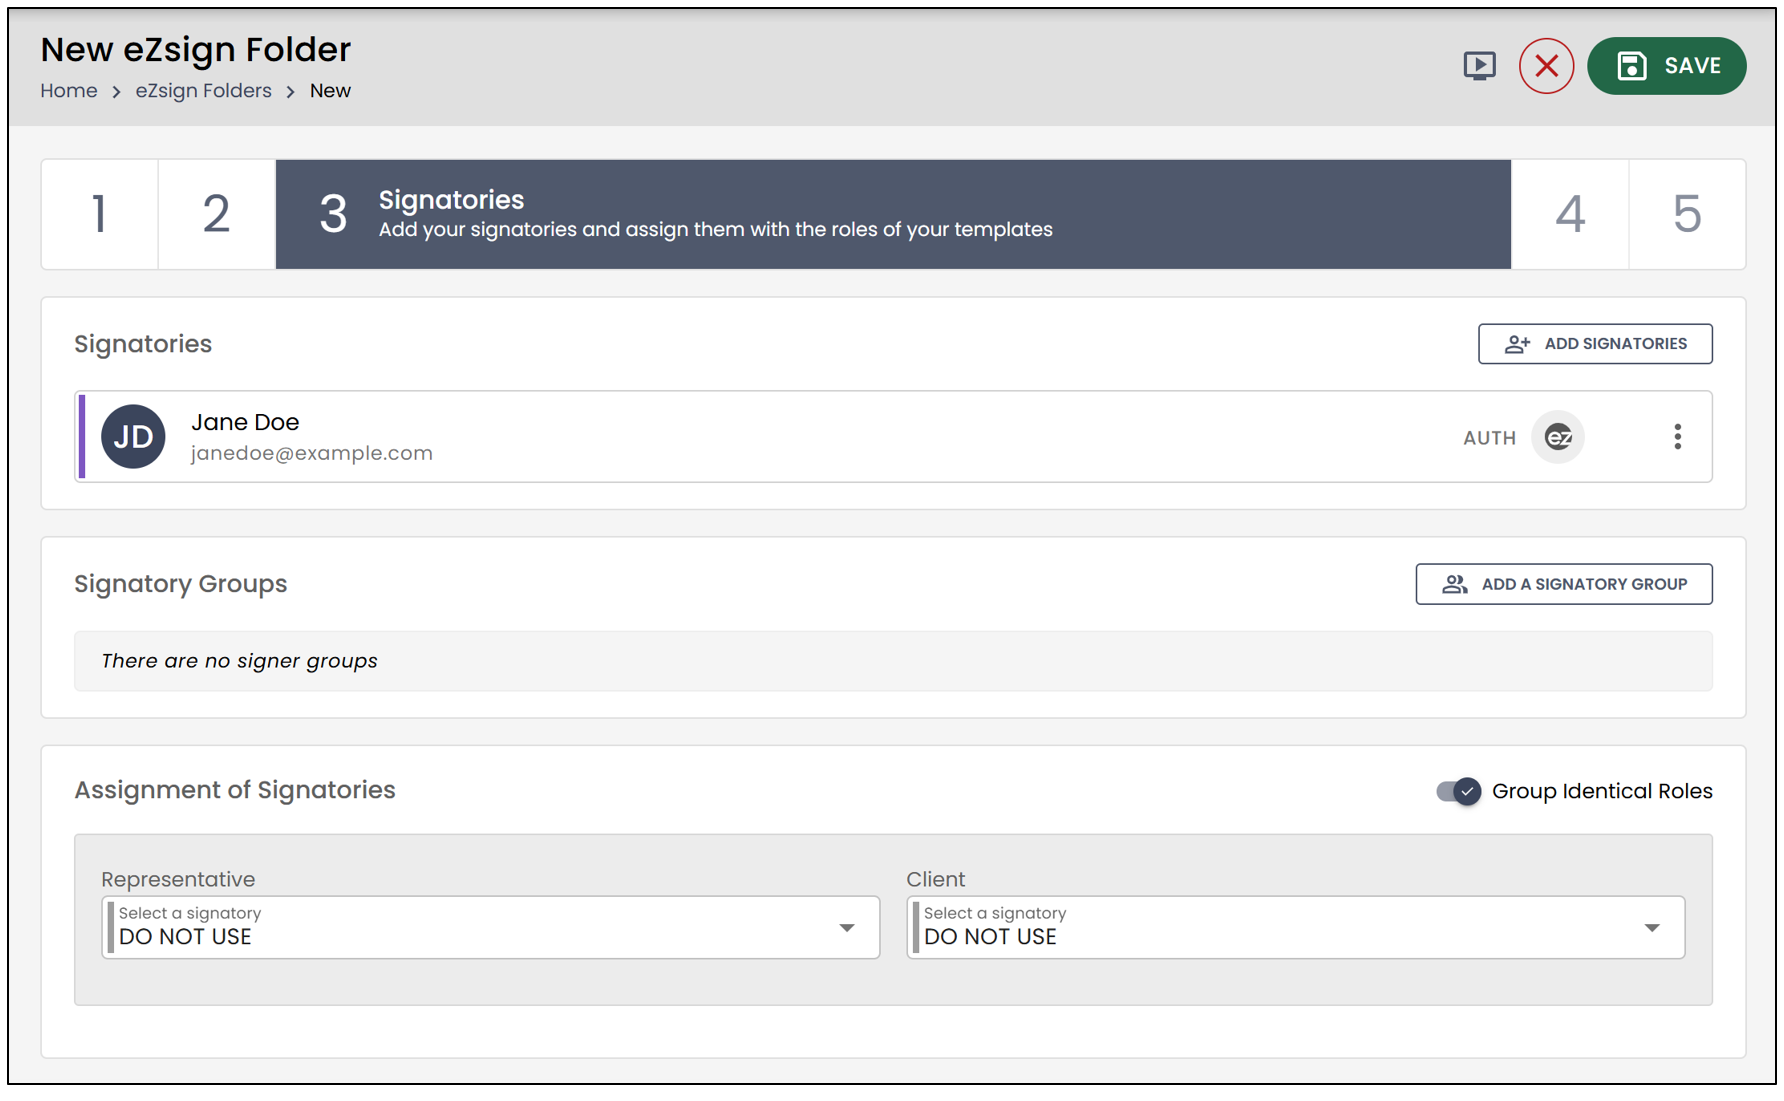
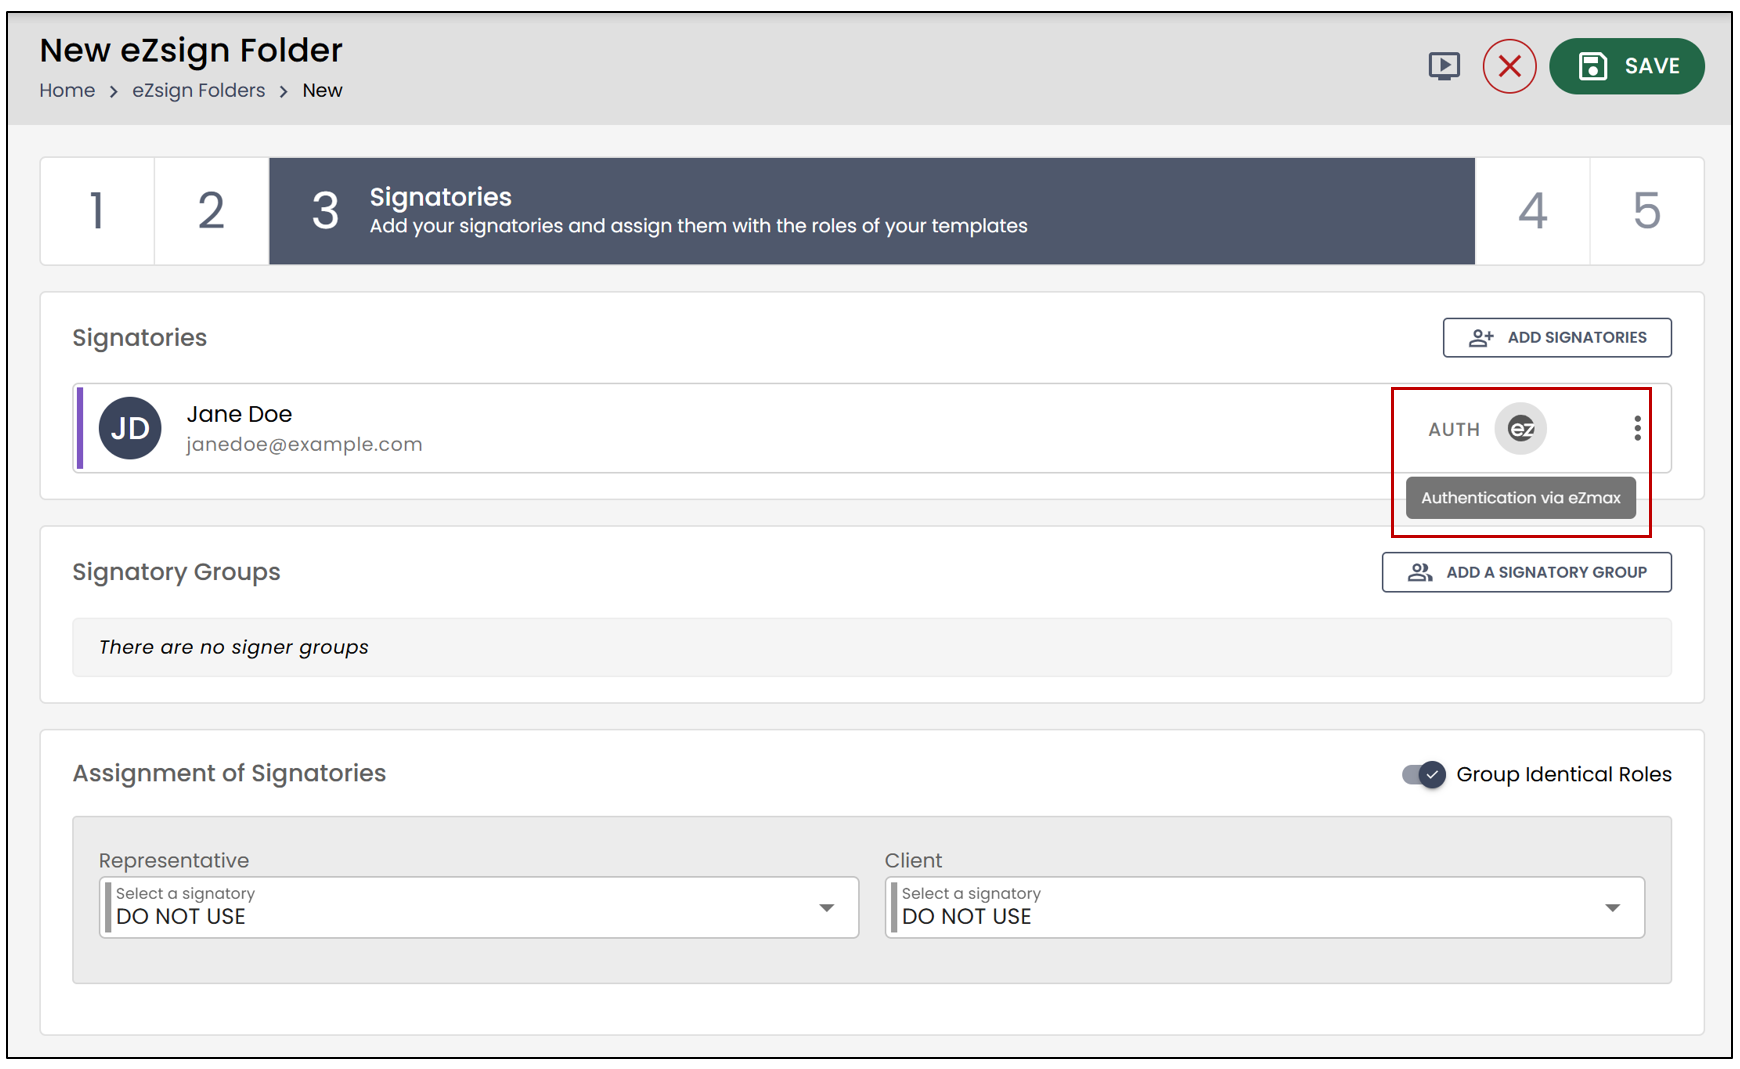
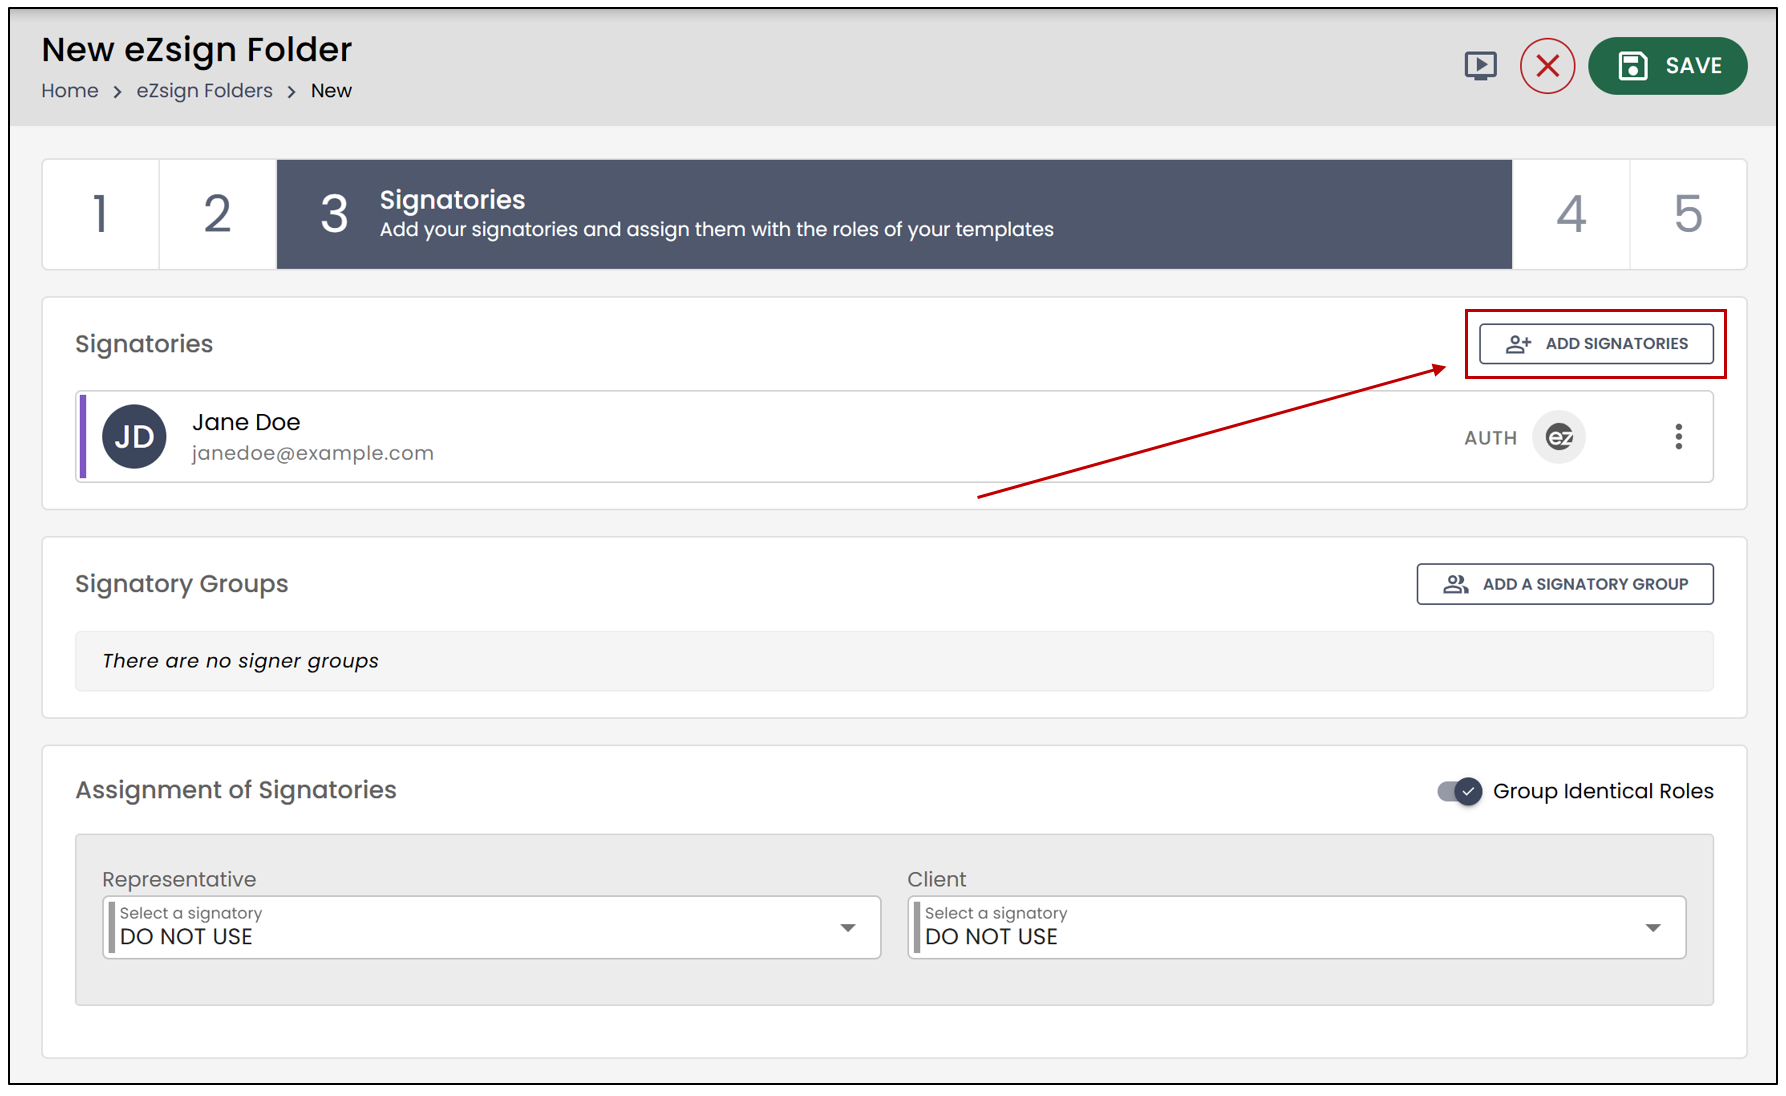
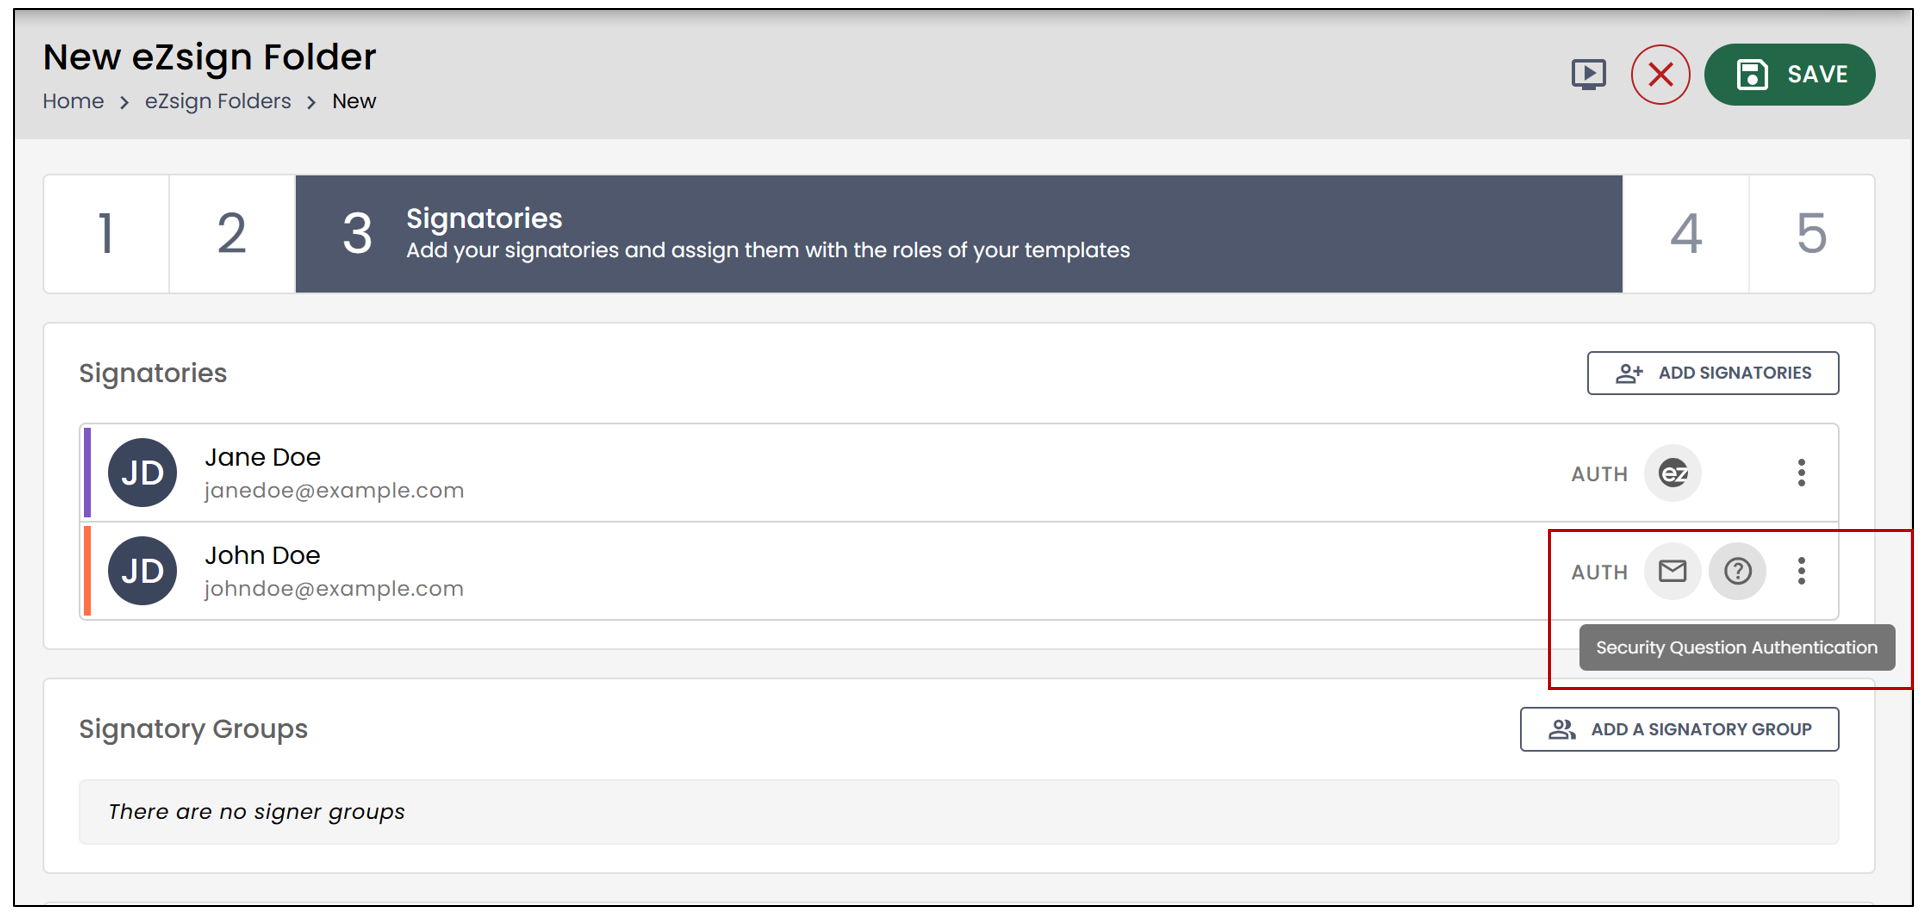
- The authentication type will be displayed to the right of each added signatory. In this example, the authentication type will be via eZmax.
NOTE: If, as a broker, you do not wish to sign via the application, you must be added manually as a signatory. Email signing cannot be automated for a user. All users must sign via eZmax or the eZsign website.
- To add signatories to the folder, click the button in the top right corner.
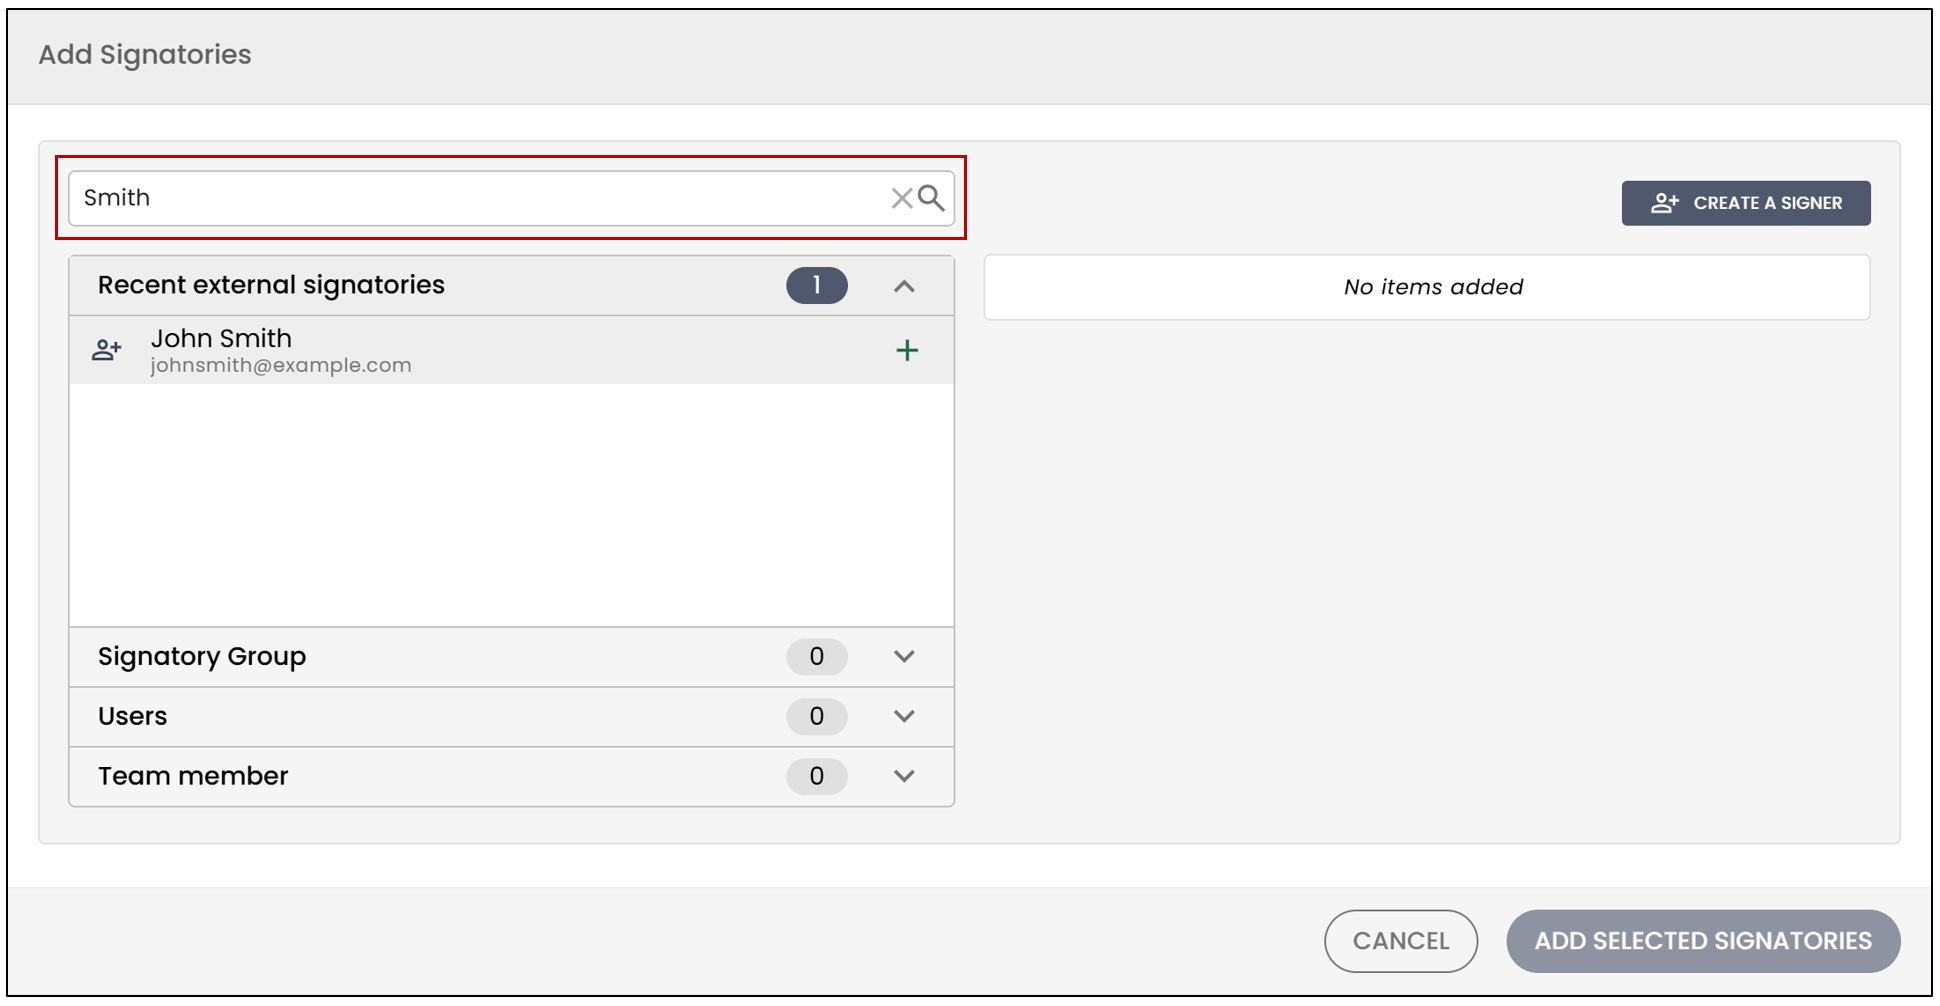
You will have the option to select a recent signatory. If they are already in your database, they will automatically appear in the list. You can also enter, for example, your client’s last name to easily find matching signatories.
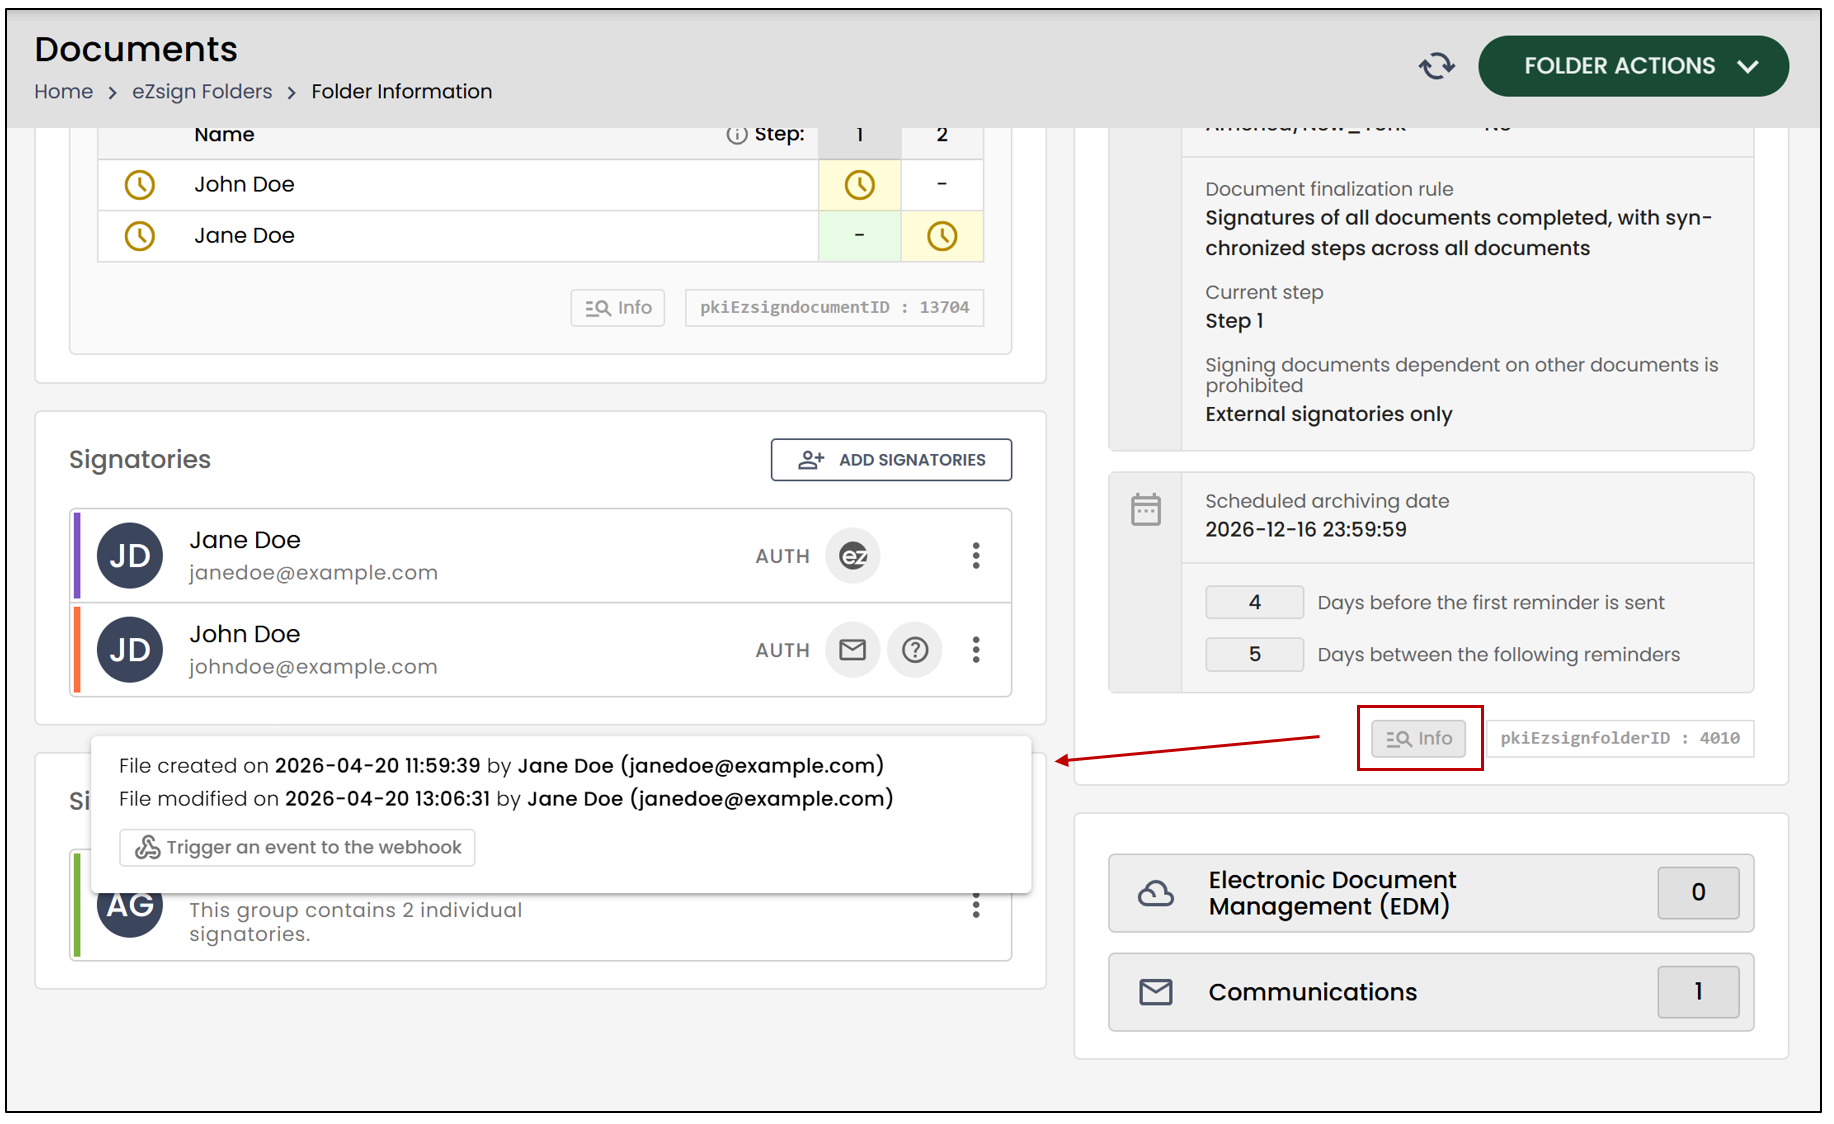
NOTE: Recent signatories are displayed for a period of up to 13 months. The reference date used for this display is the creation date of the folder to which the signatory is associated. It should also be noted that, for a signatory to appear in this list, they must have the required permissions to manage the folder and must have an authorized login type in the new folder. To view the creation date, click Info.
Create a Signatory
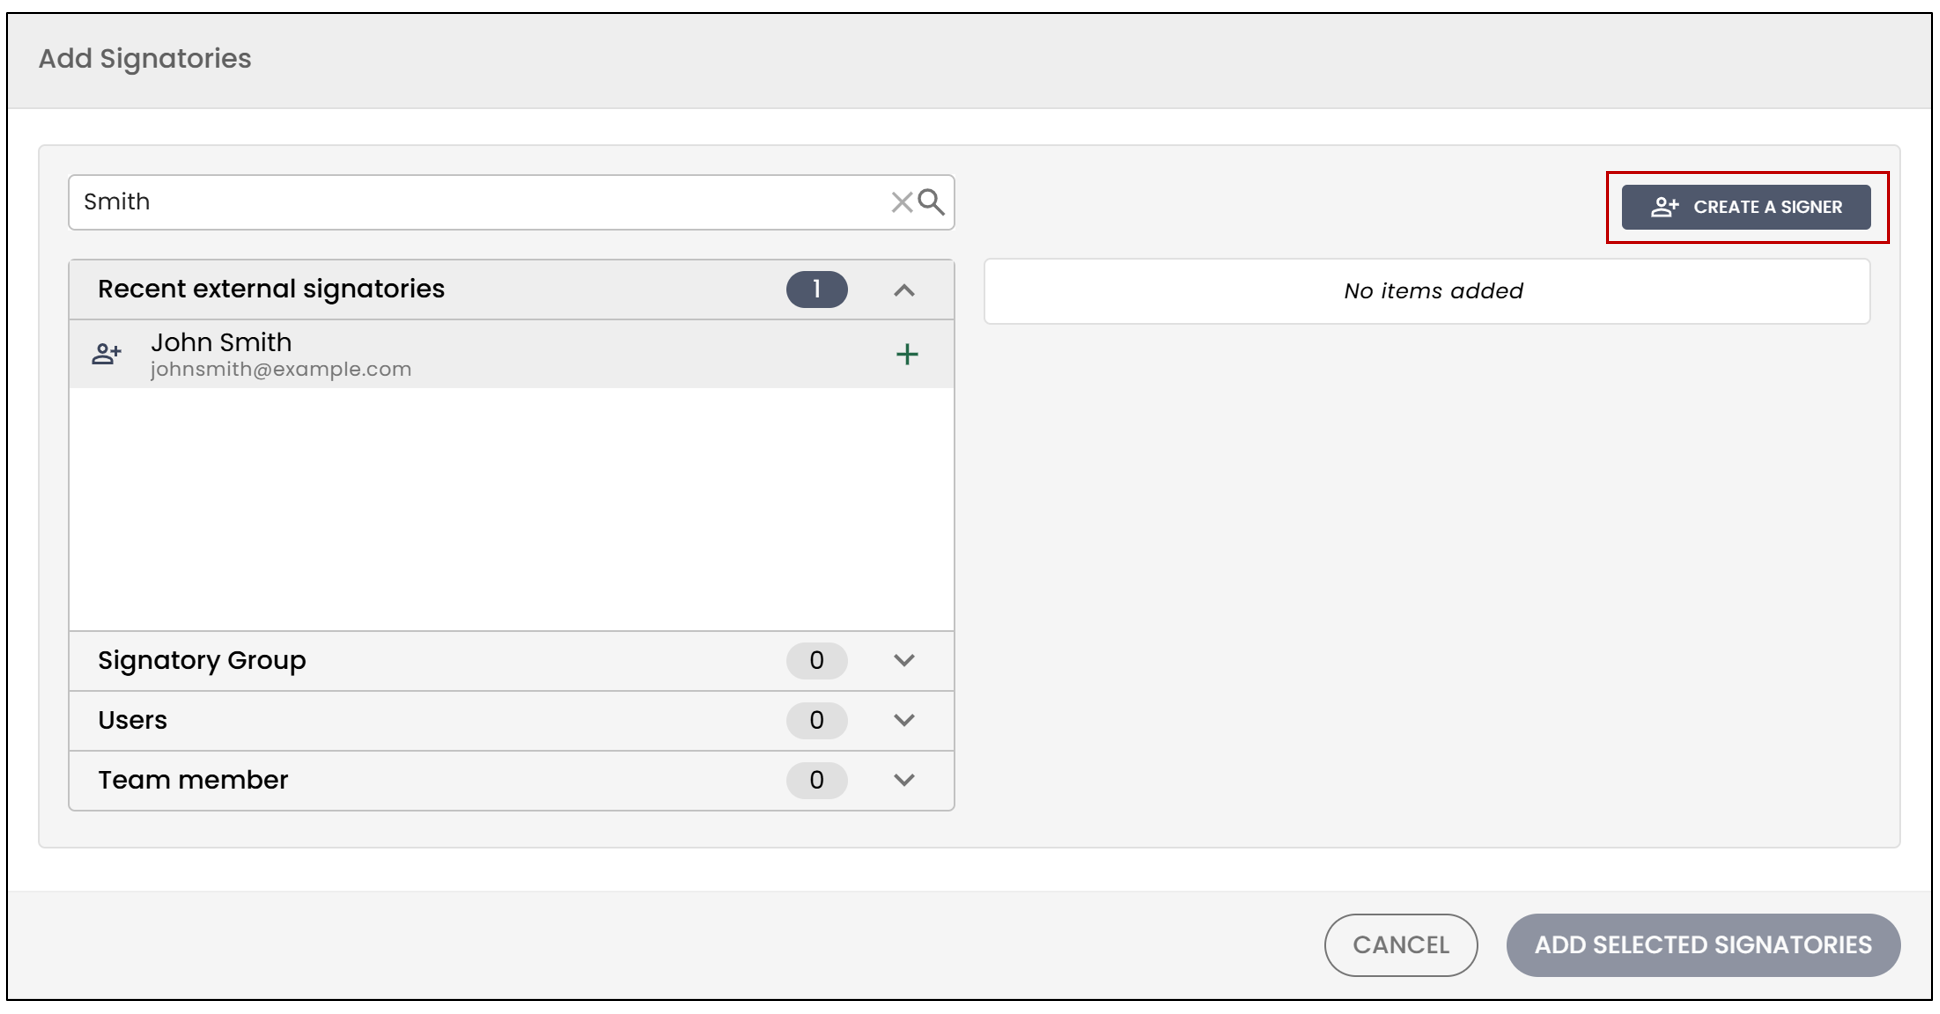
- To create a brand new signatory, click Create a signer.
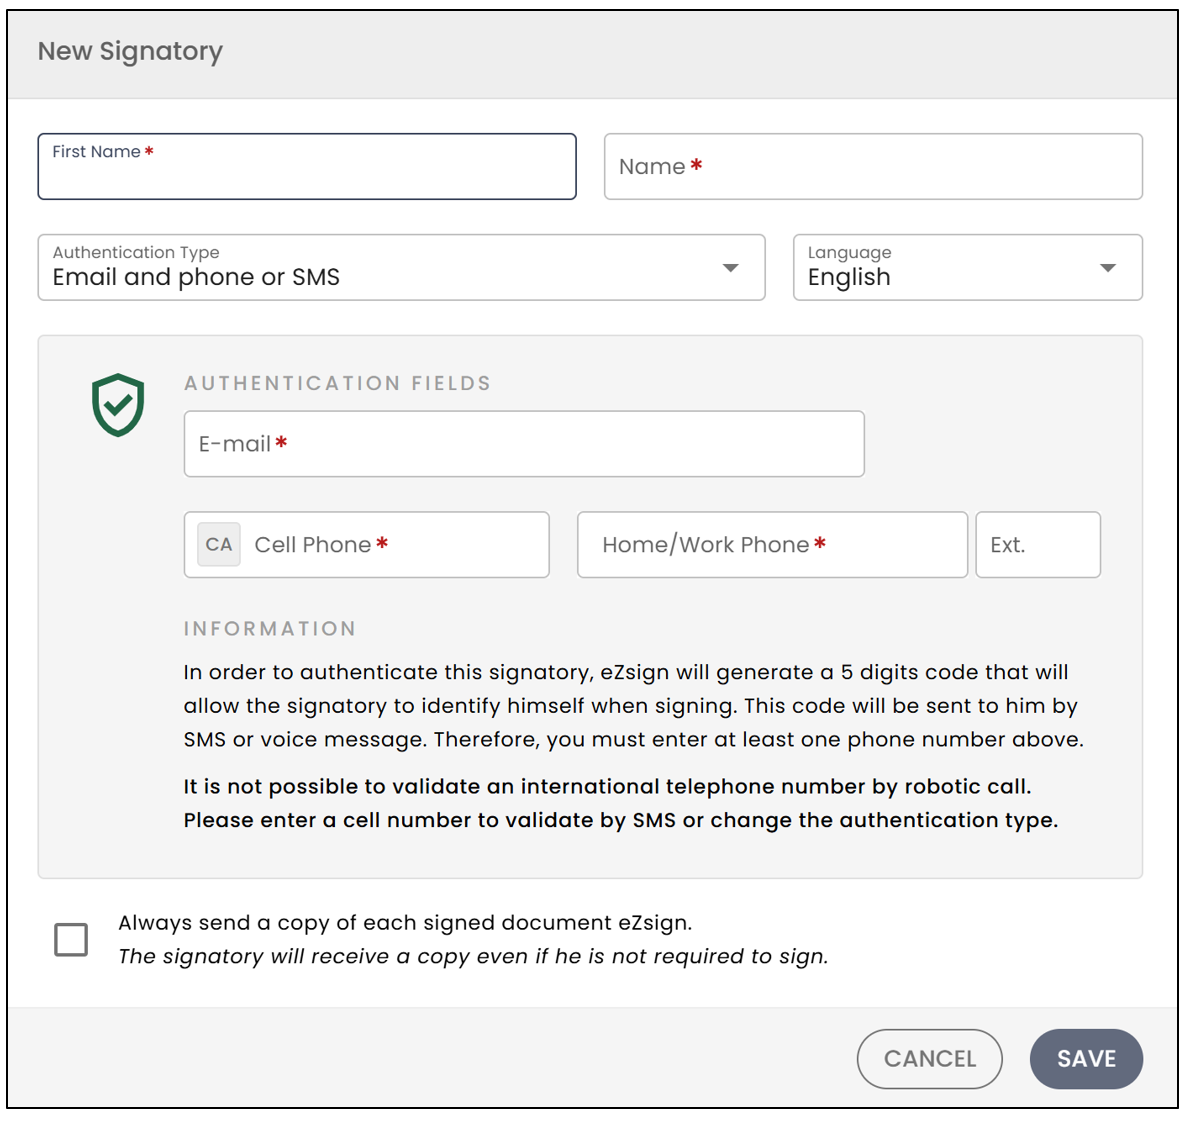
- You can enter the signatory’s first and last name. Then select the language.
NOTE: The fields have character limits. The first name is limited to a maximum of 20 characters , and the last name to a maximum of 25 characters.
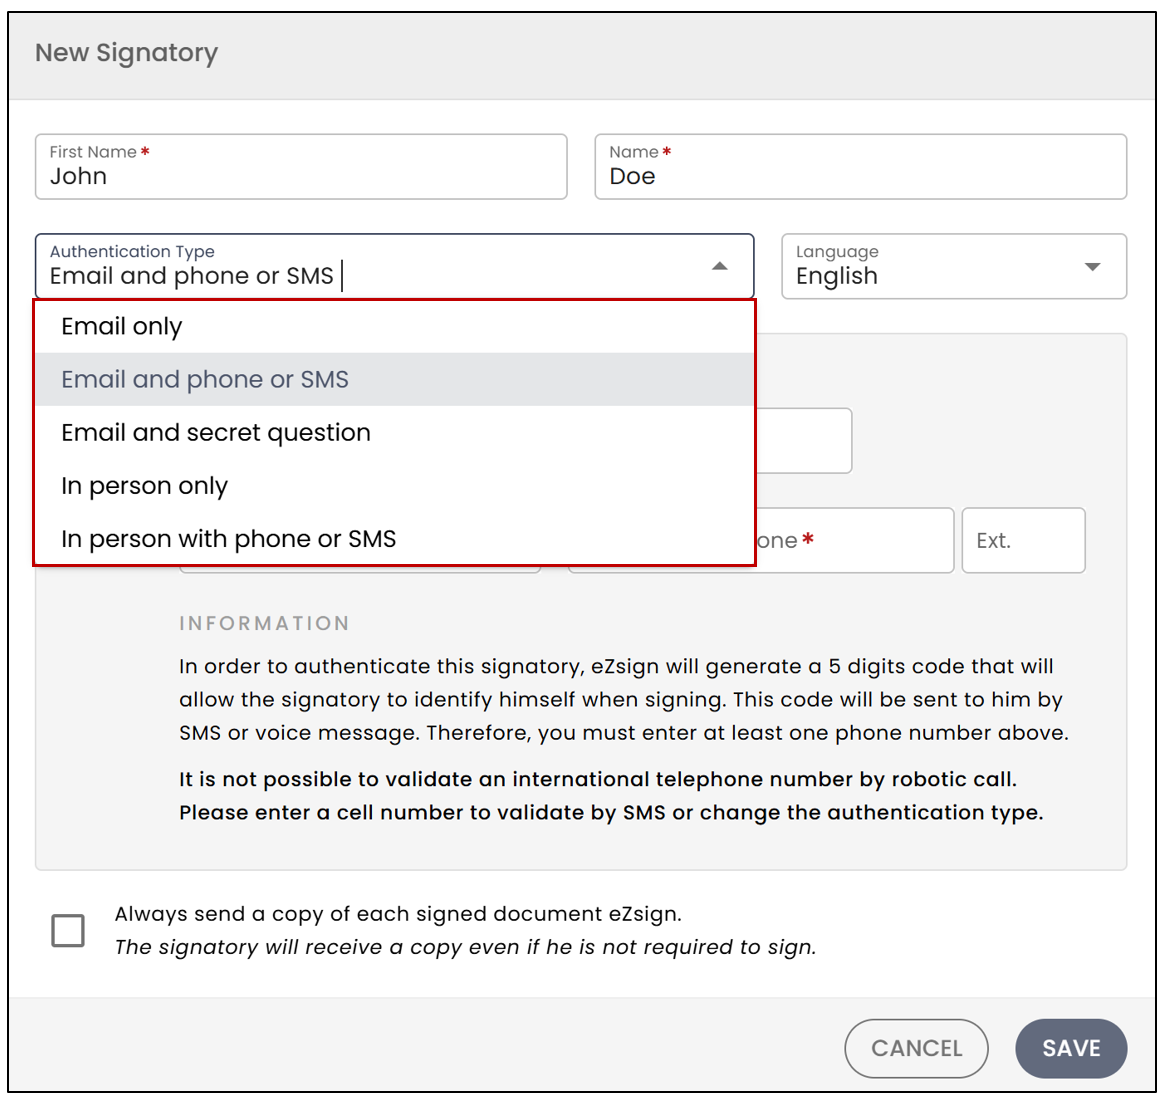
- From the dropdown list, select the Authentication Type. For more information, please refer to the article Types of Signatory Authentication.
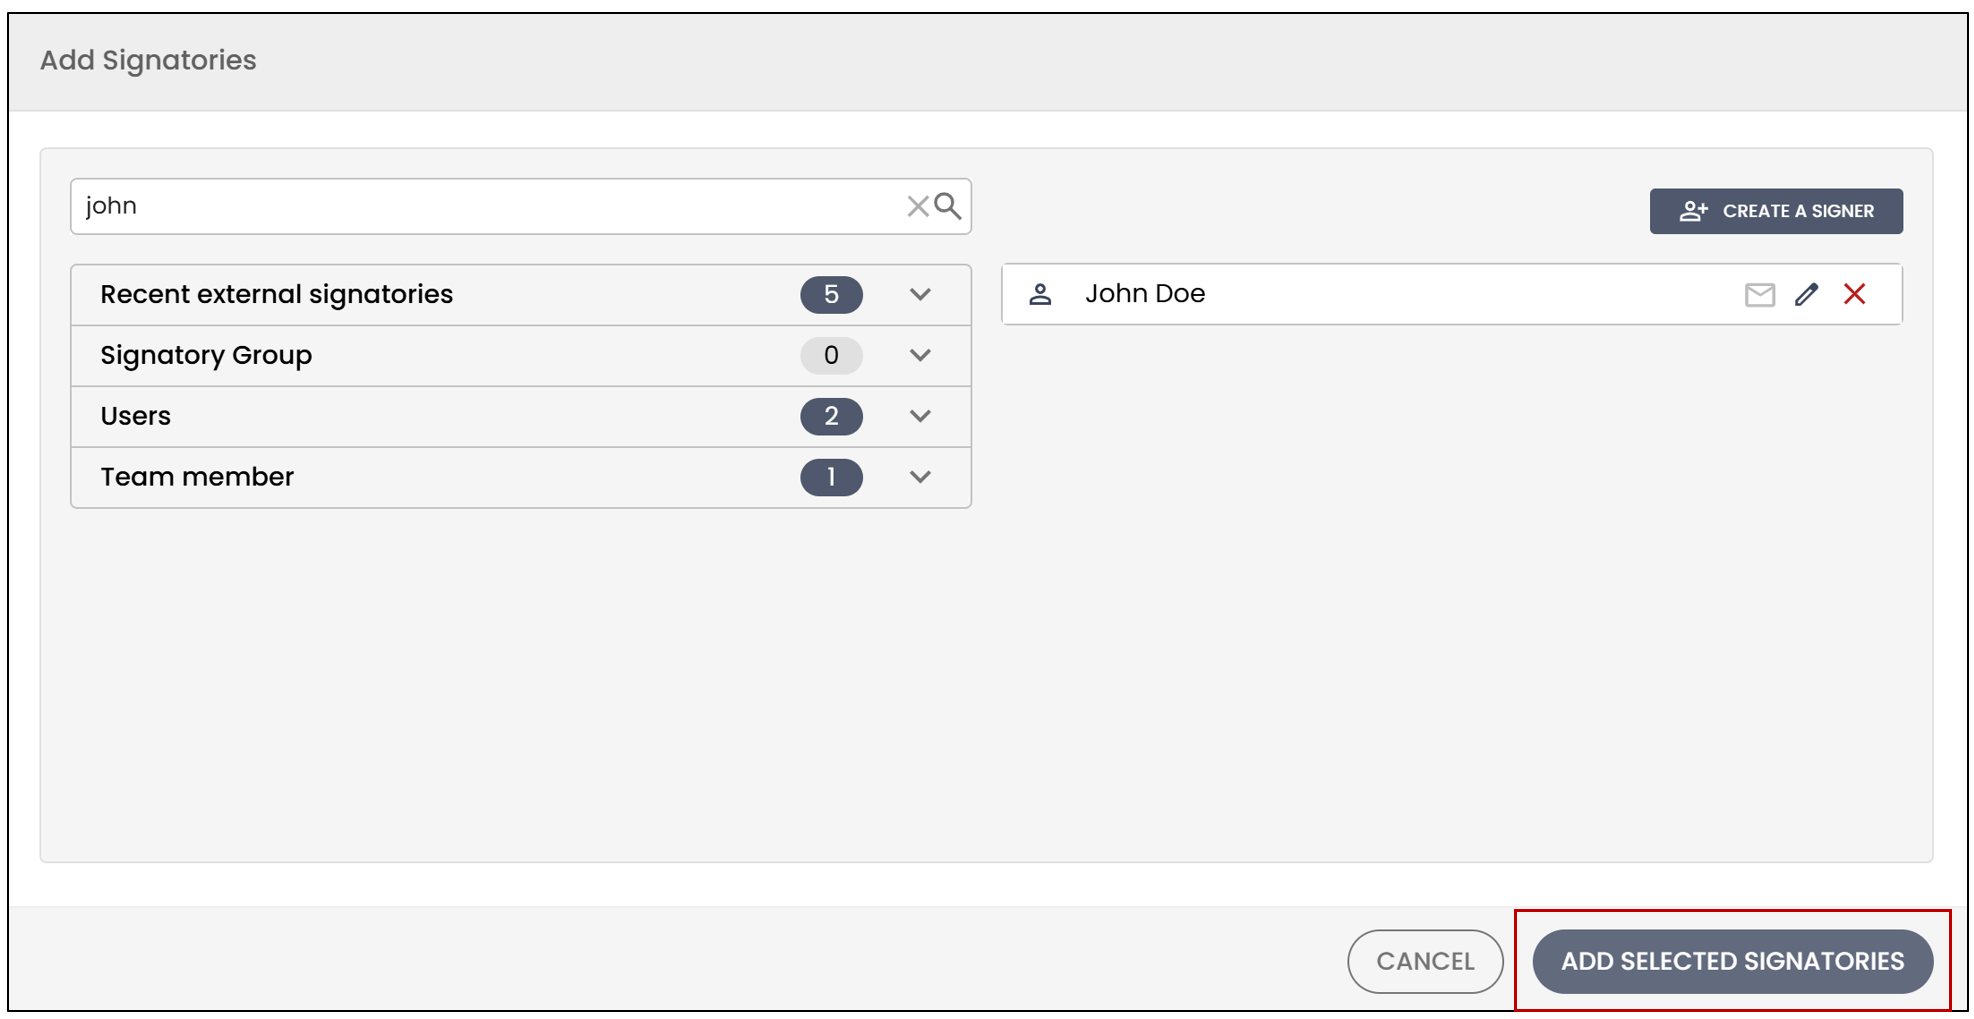
- Click Save to create the new signatory. Once you’re done, click Add selected signatories.
- The signatory will appear in the list, and you will be able to view the authentication type to the right.
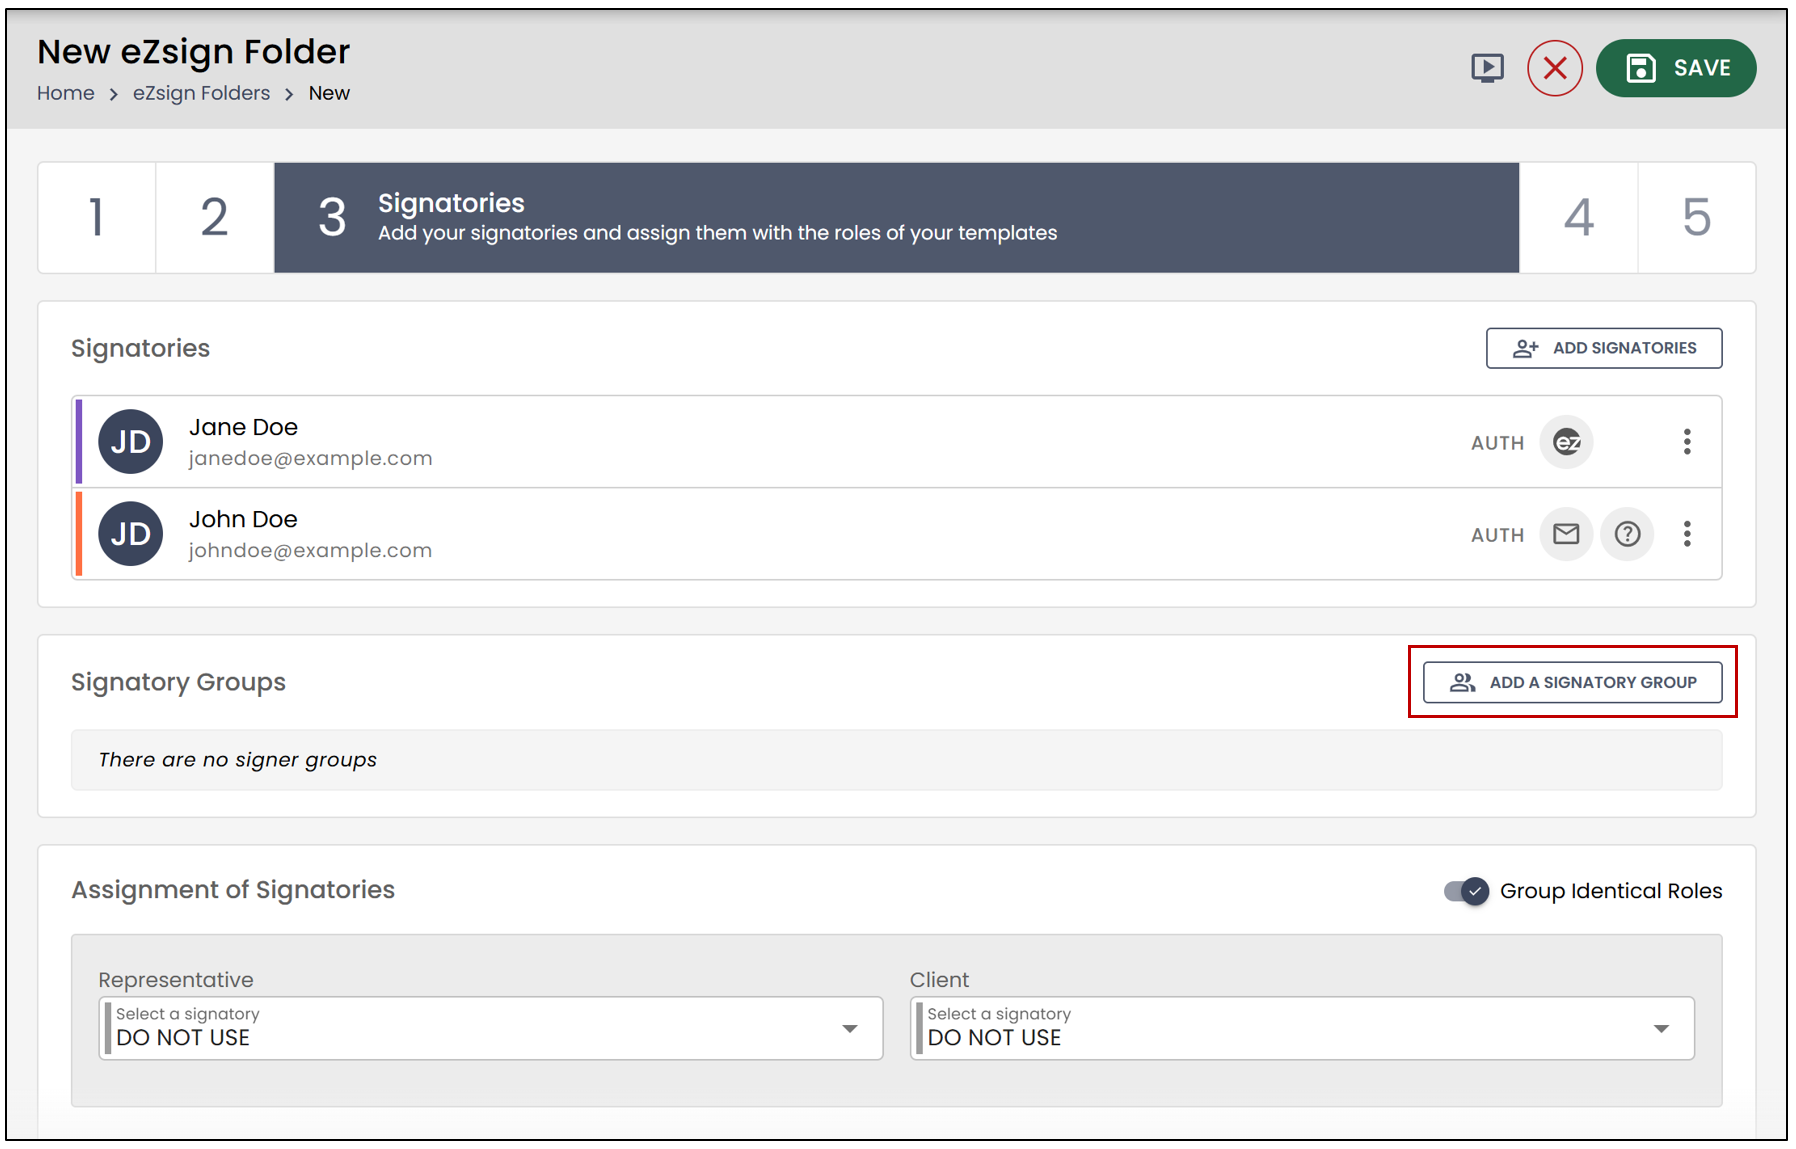
Add a Signatory Group
- To add a group of signatories to the documents, select Add a group of signatories.
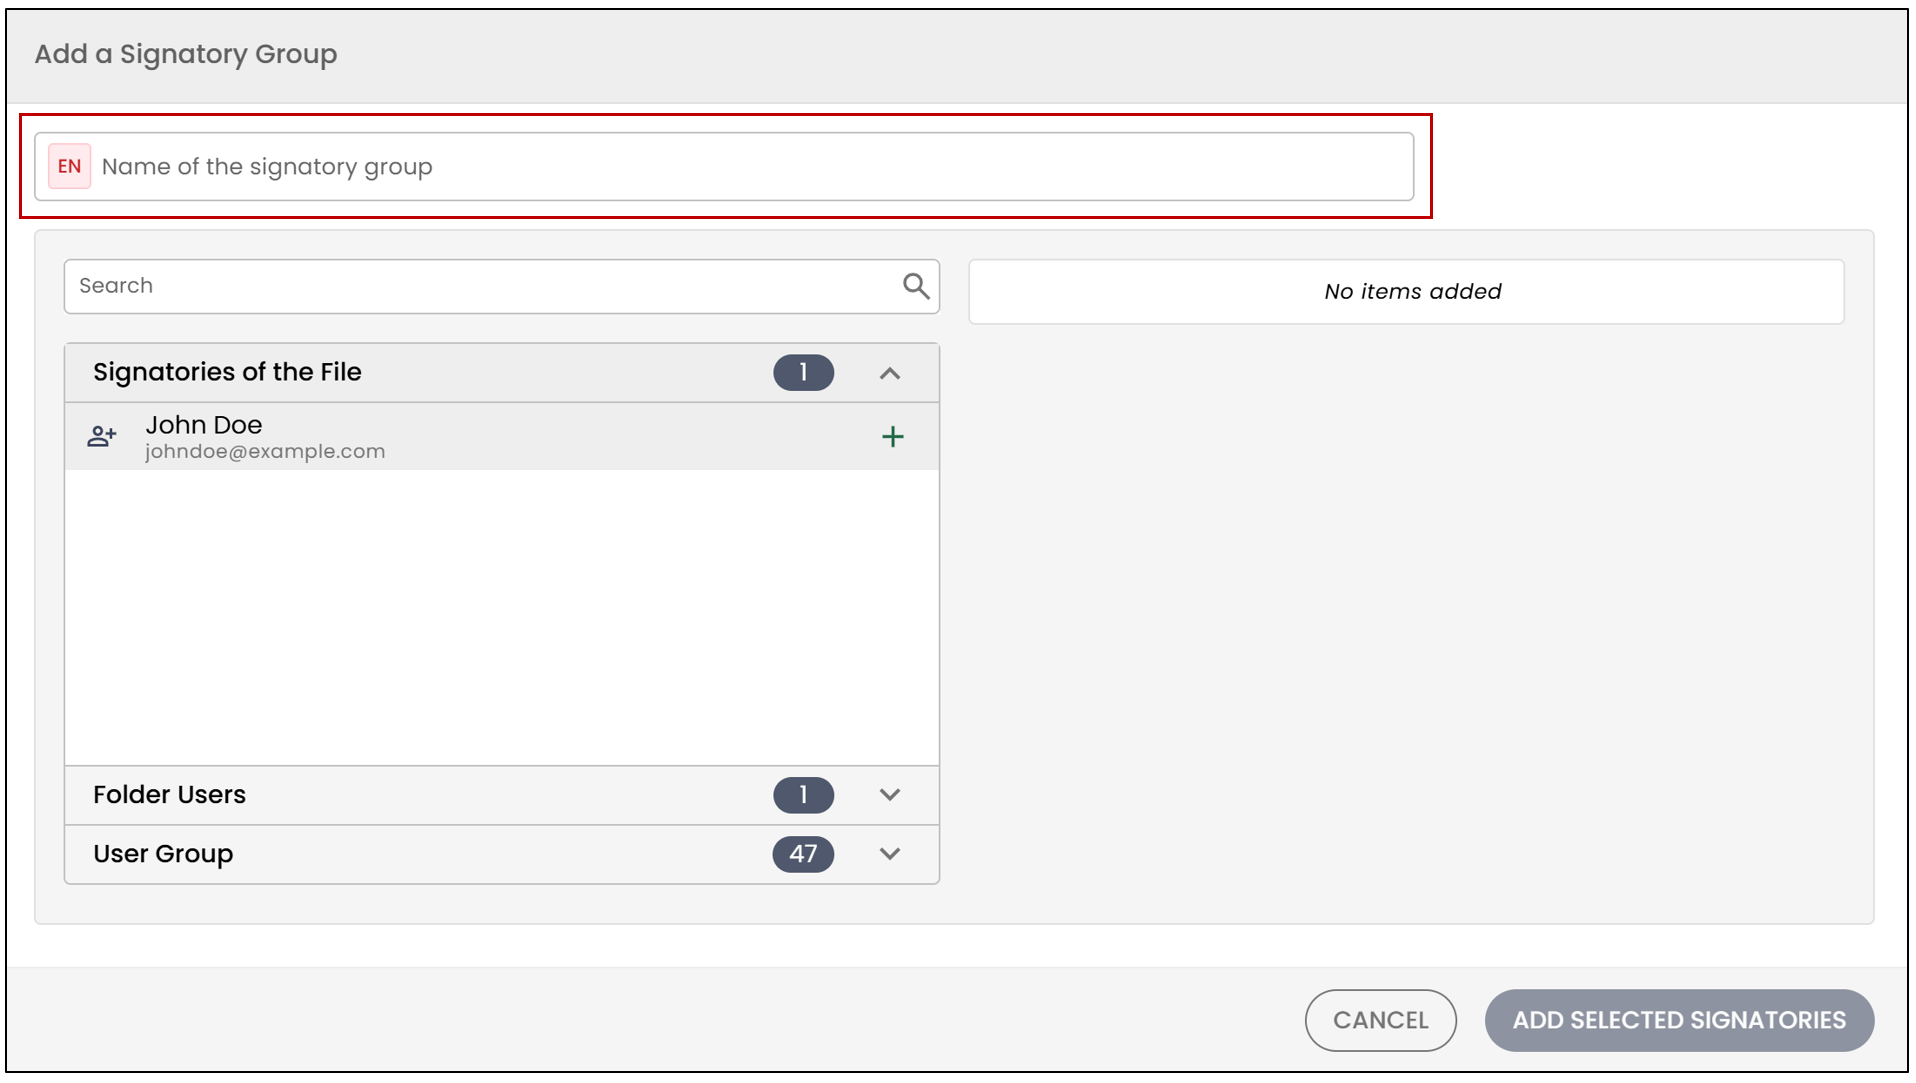
- First, you will need to enter the N****ame of the signatory group.
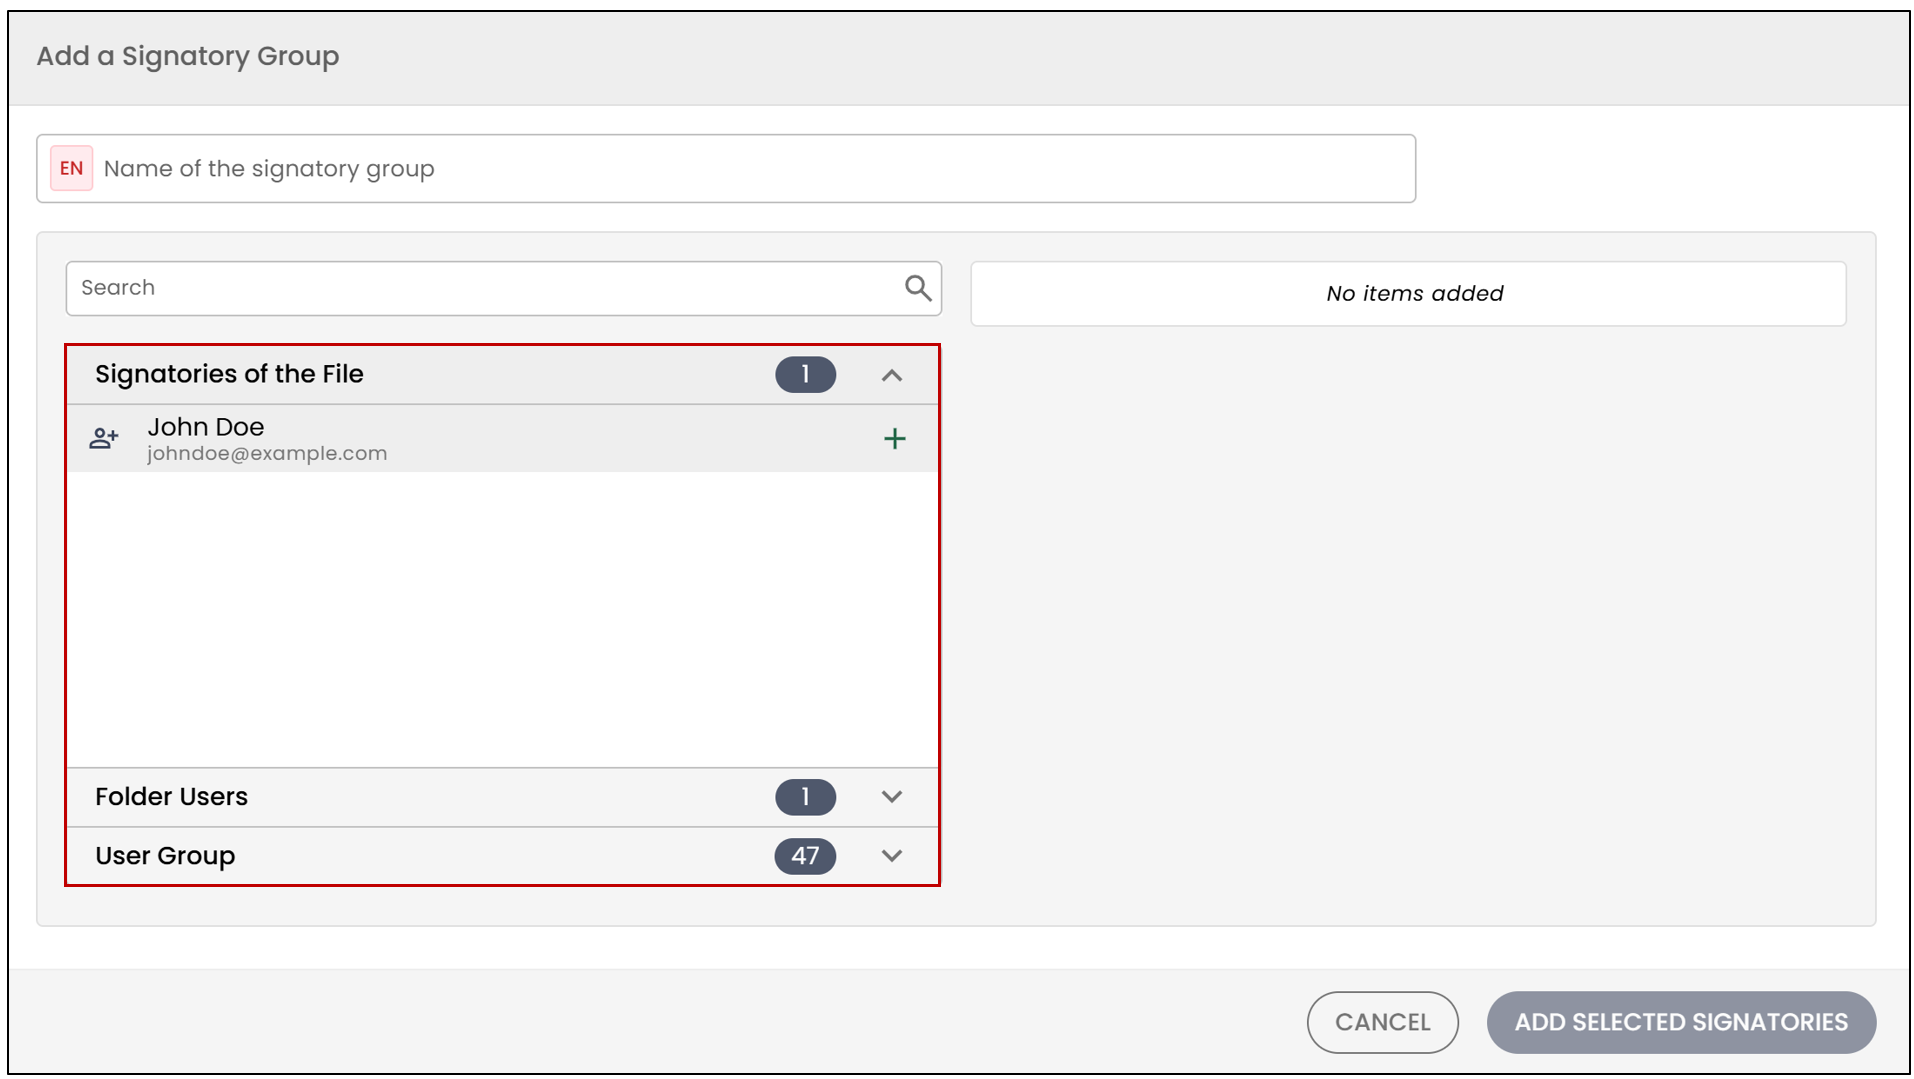
- You can then select signatories using the search bar or the dropdown list by choosing Signatories of the folder or Folder Users. You can also select a User Group.
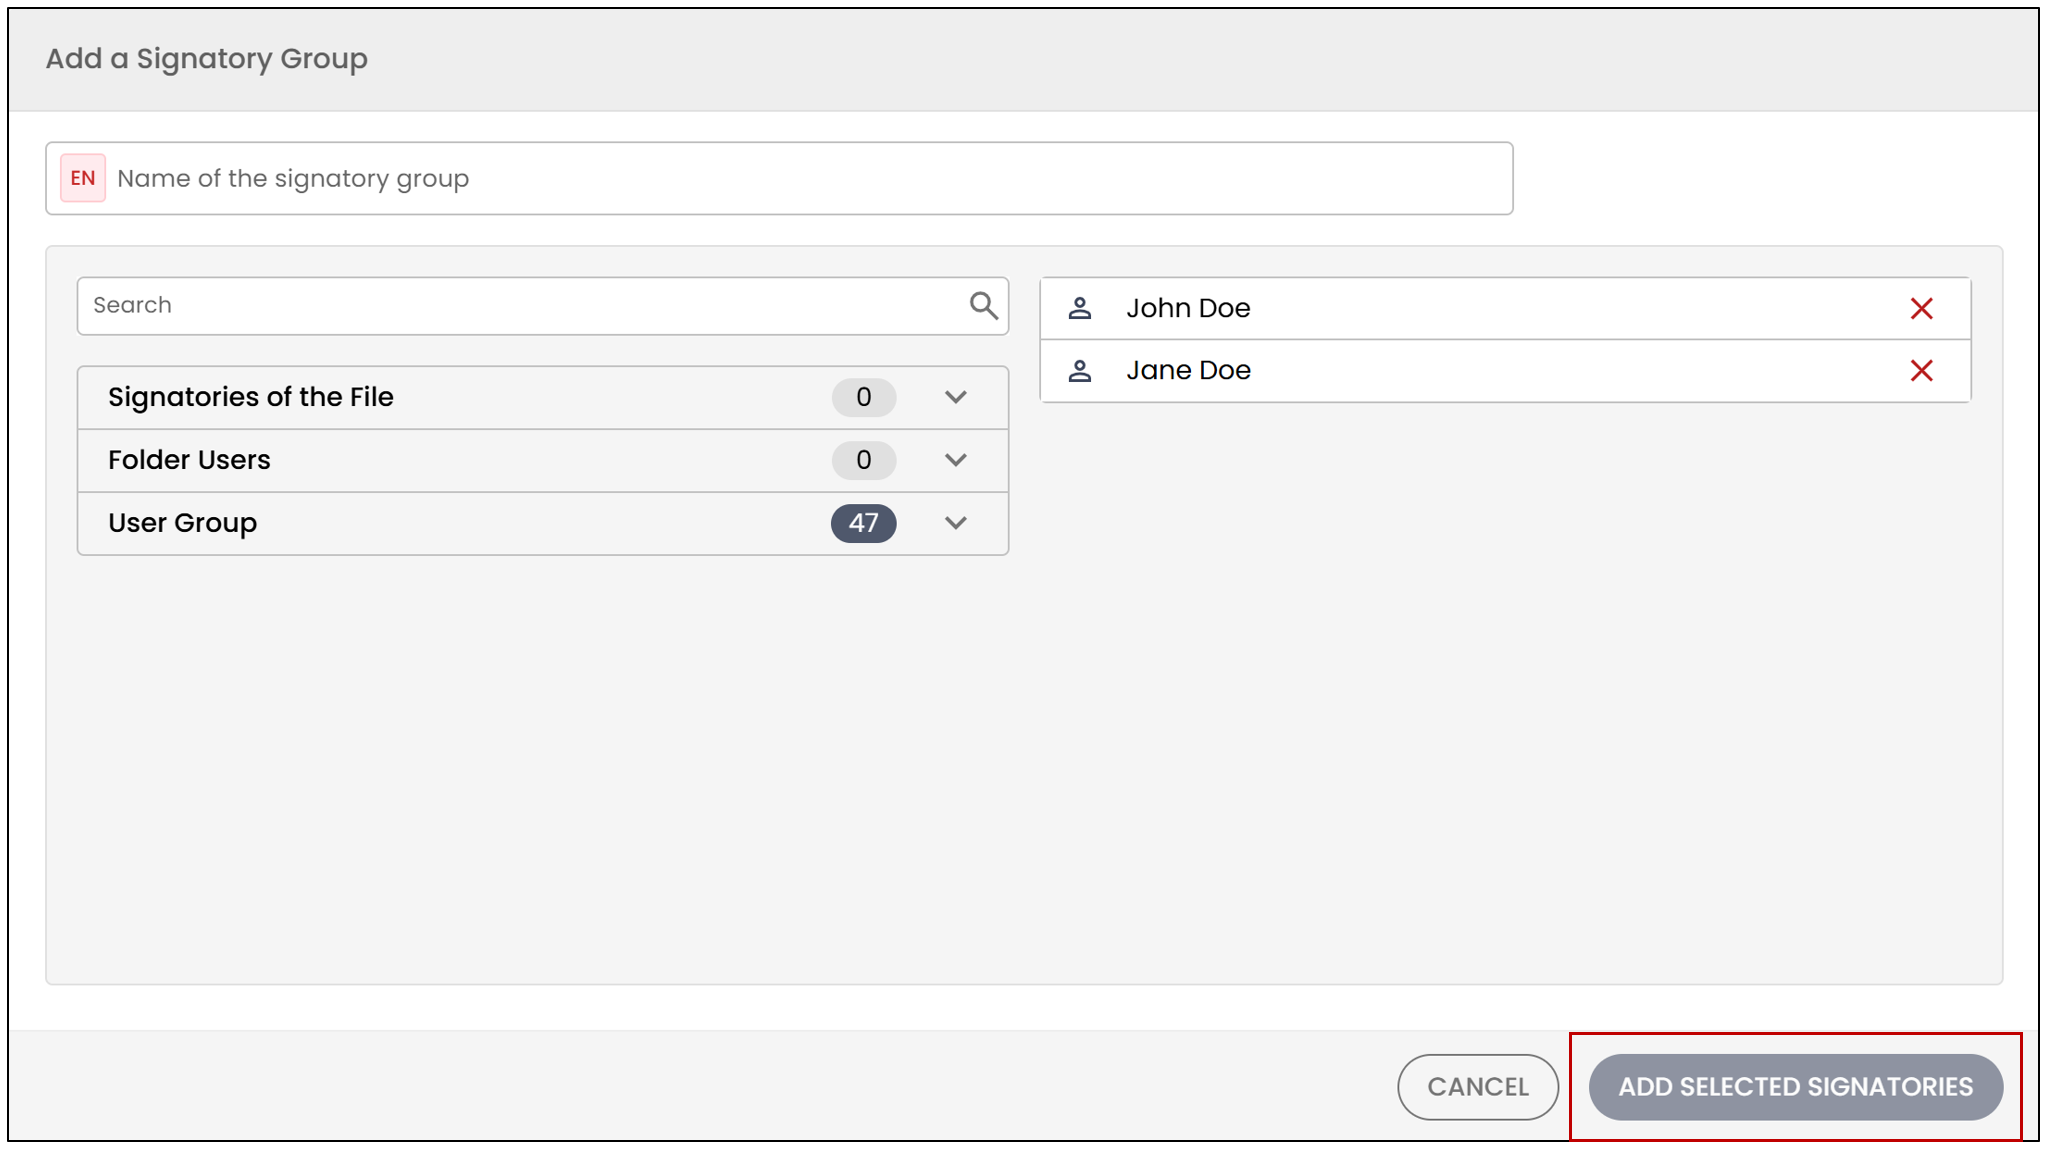
- Once all signatories have been added, select Add selected signatories.
CC Recipients
For more information about CC recipients, please refer to the article Managing CC Recipients.
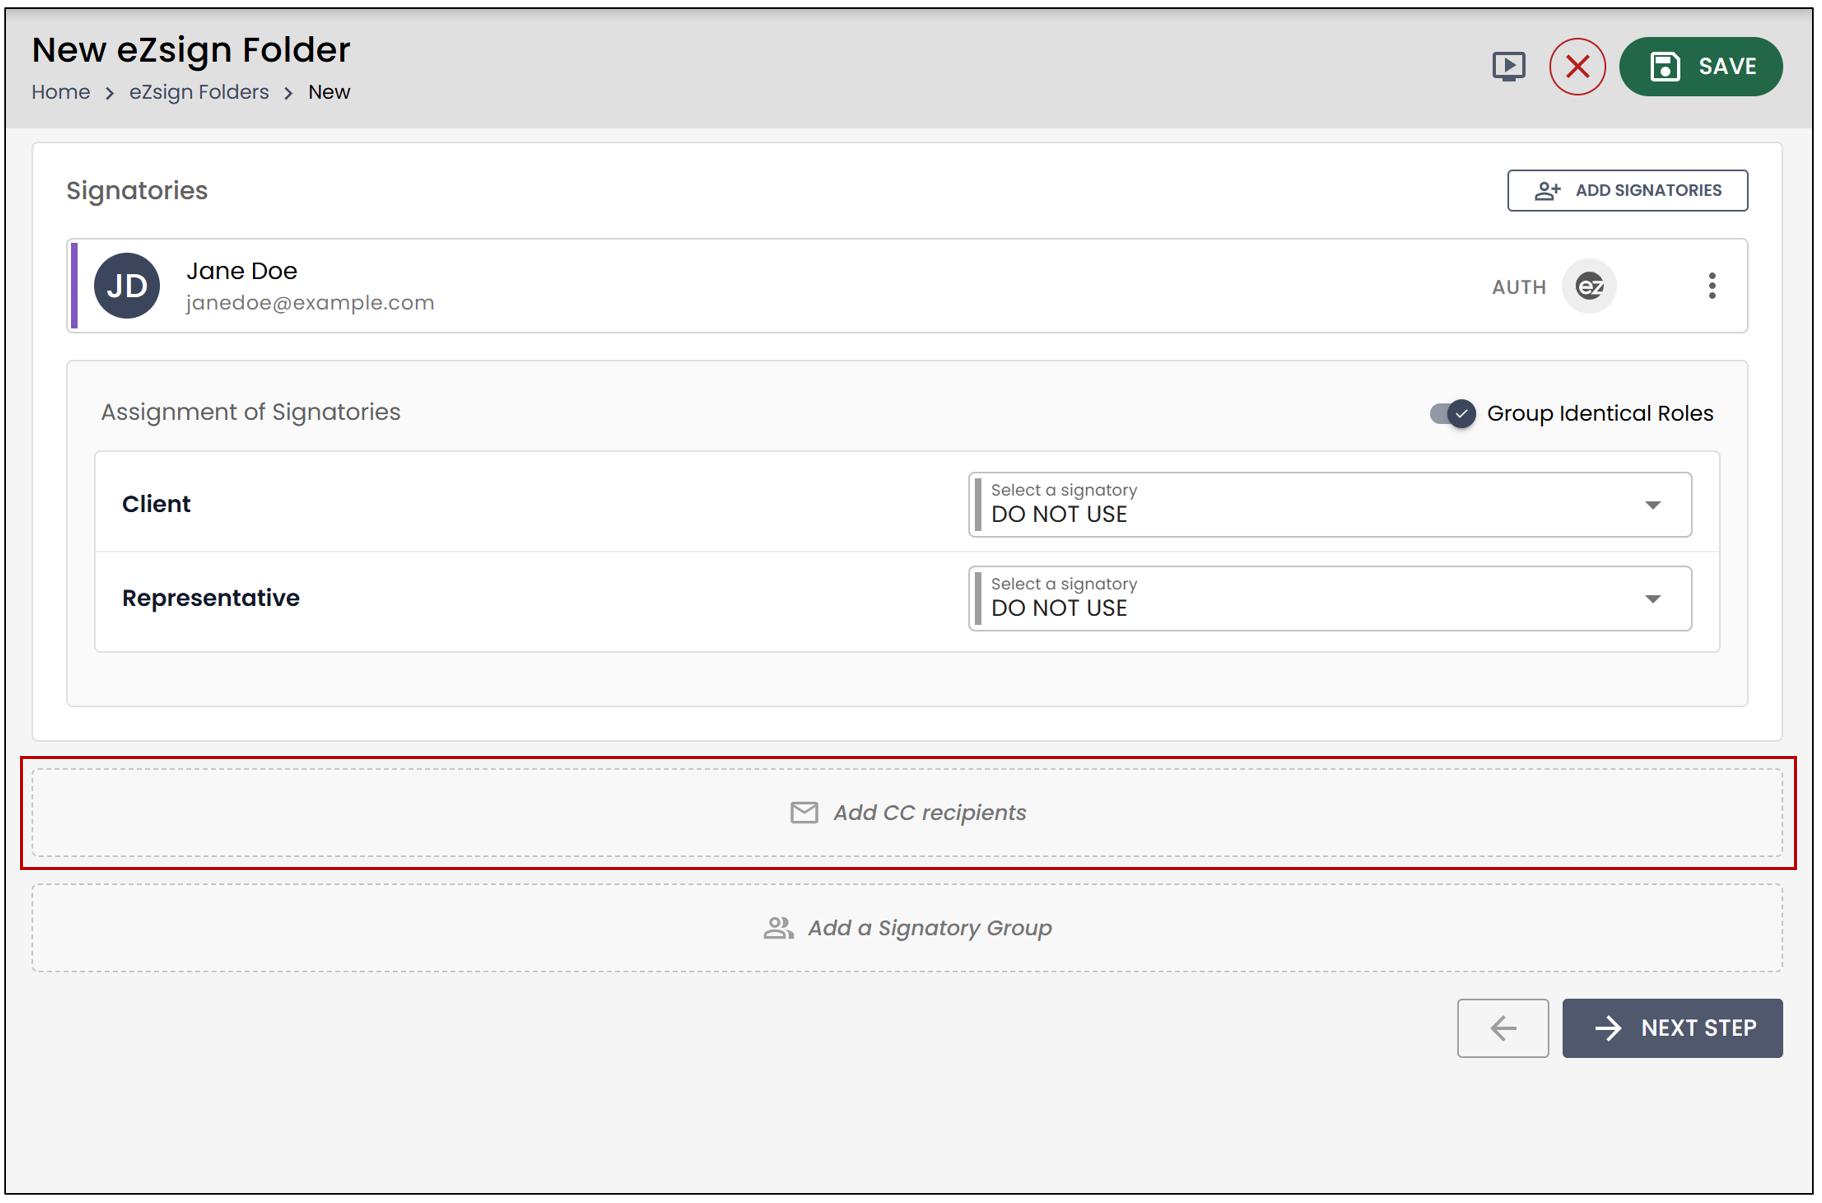
Role Association
If you have associated a template with your document, you will be able to assign signatories based on their role. In our example, you will need to select a Client and a Representative from the dropdown list.
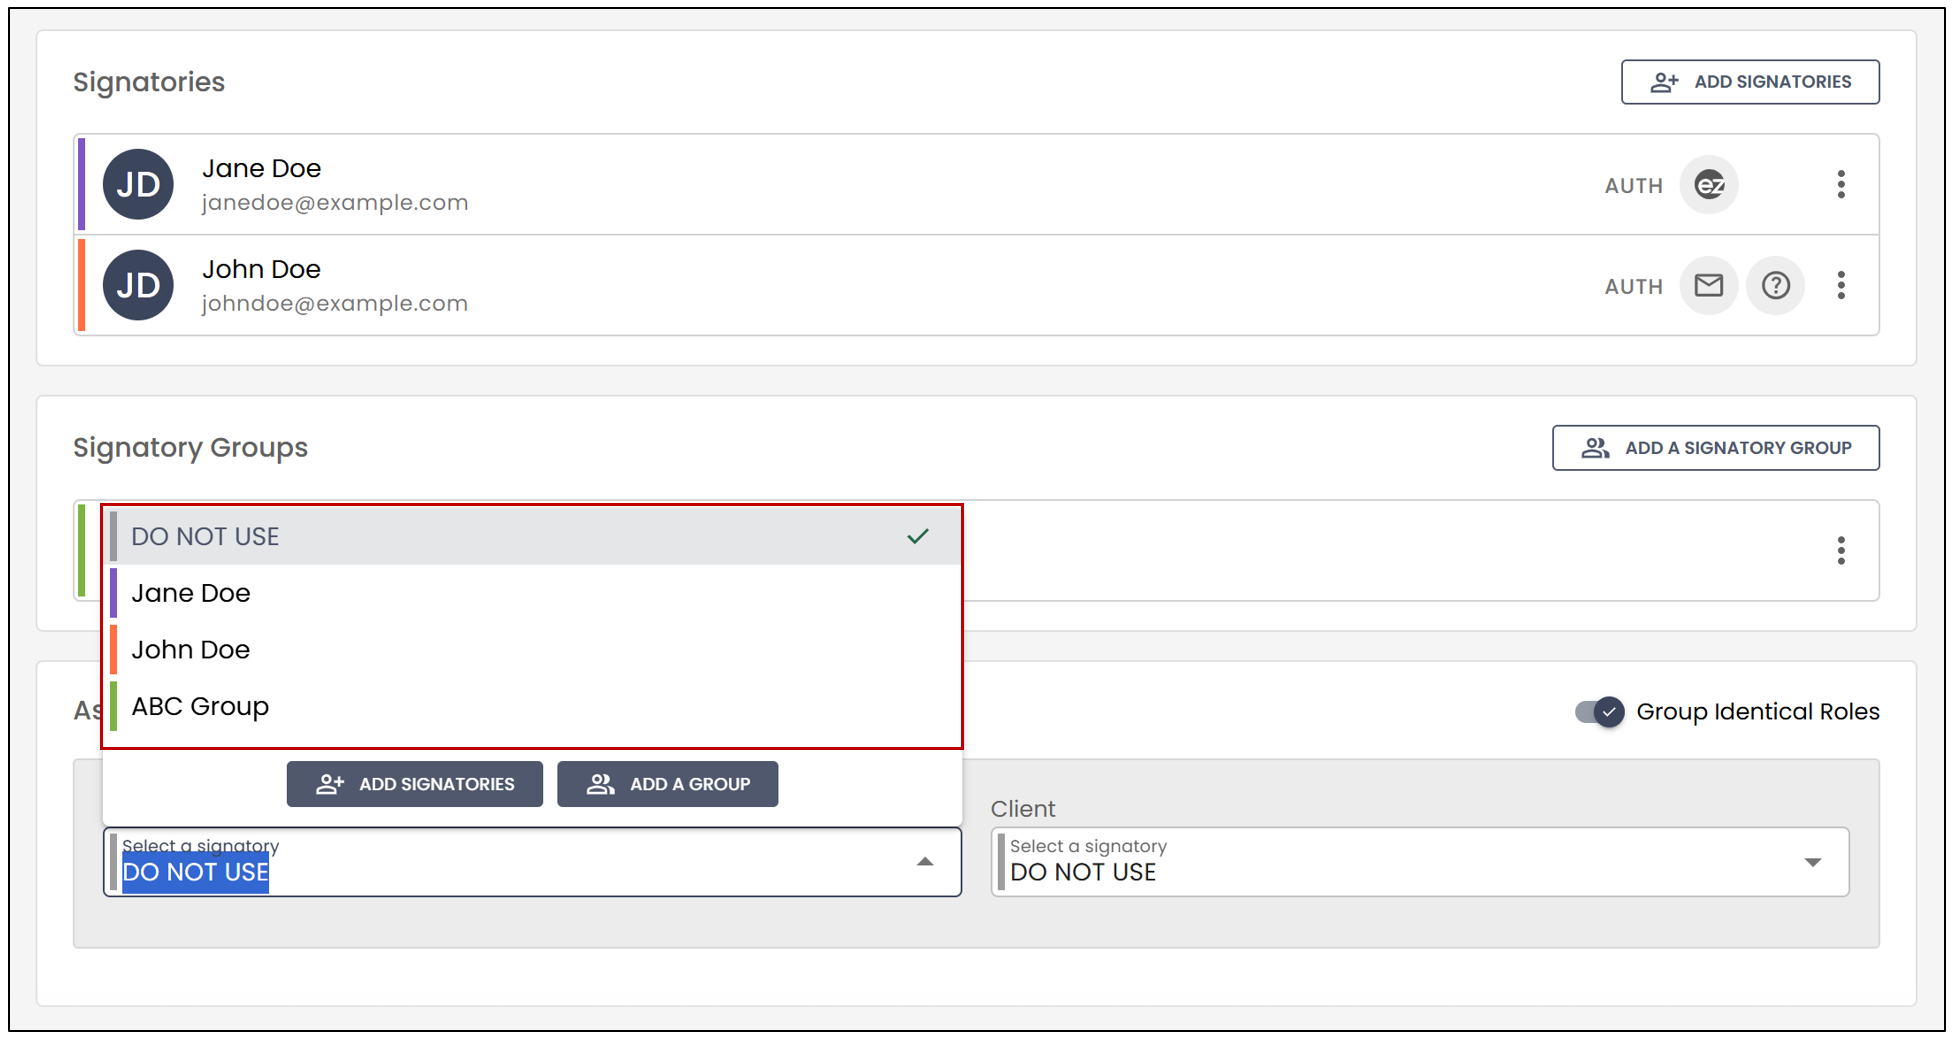
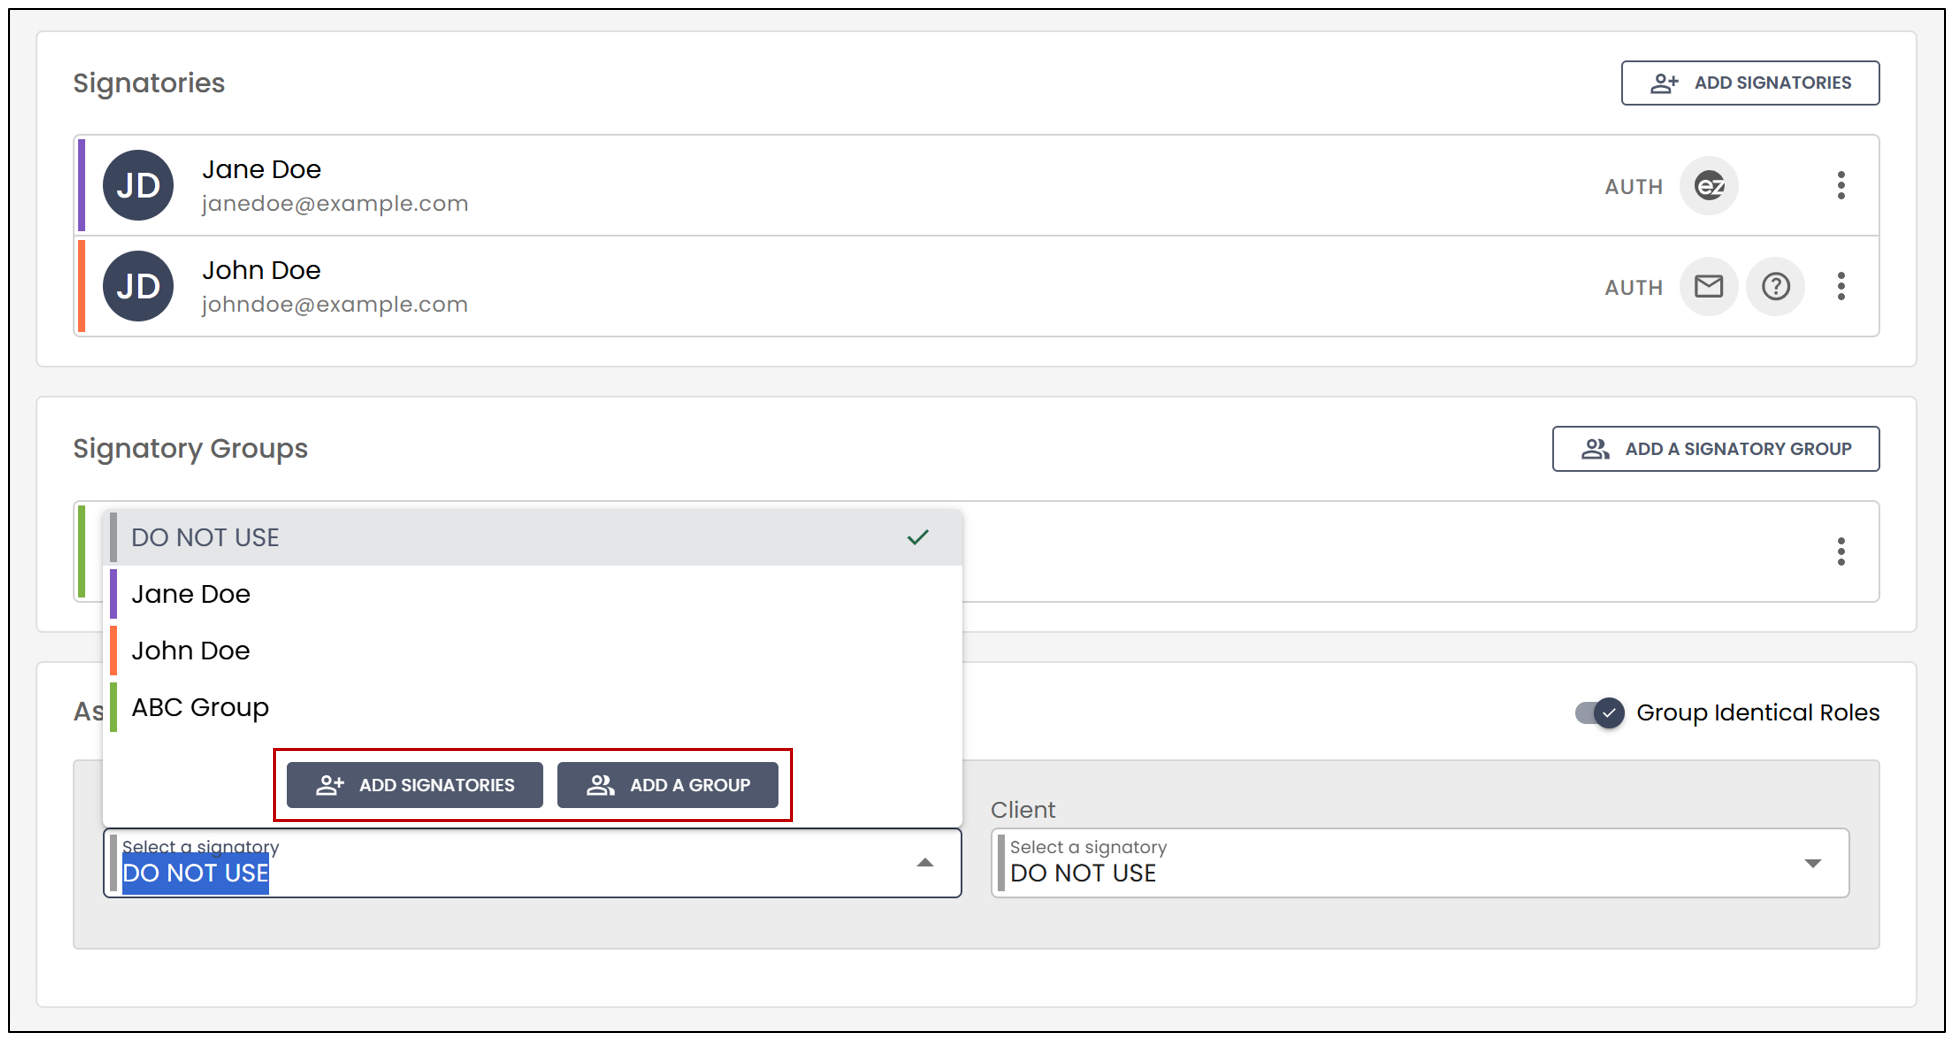
- You still have the option to Add signatories or Add a group.
- When you are finished, select Next Step at the bottom right.
NOTE: If you do not wish to use certain roles, simply click Next Step.
Document Verification
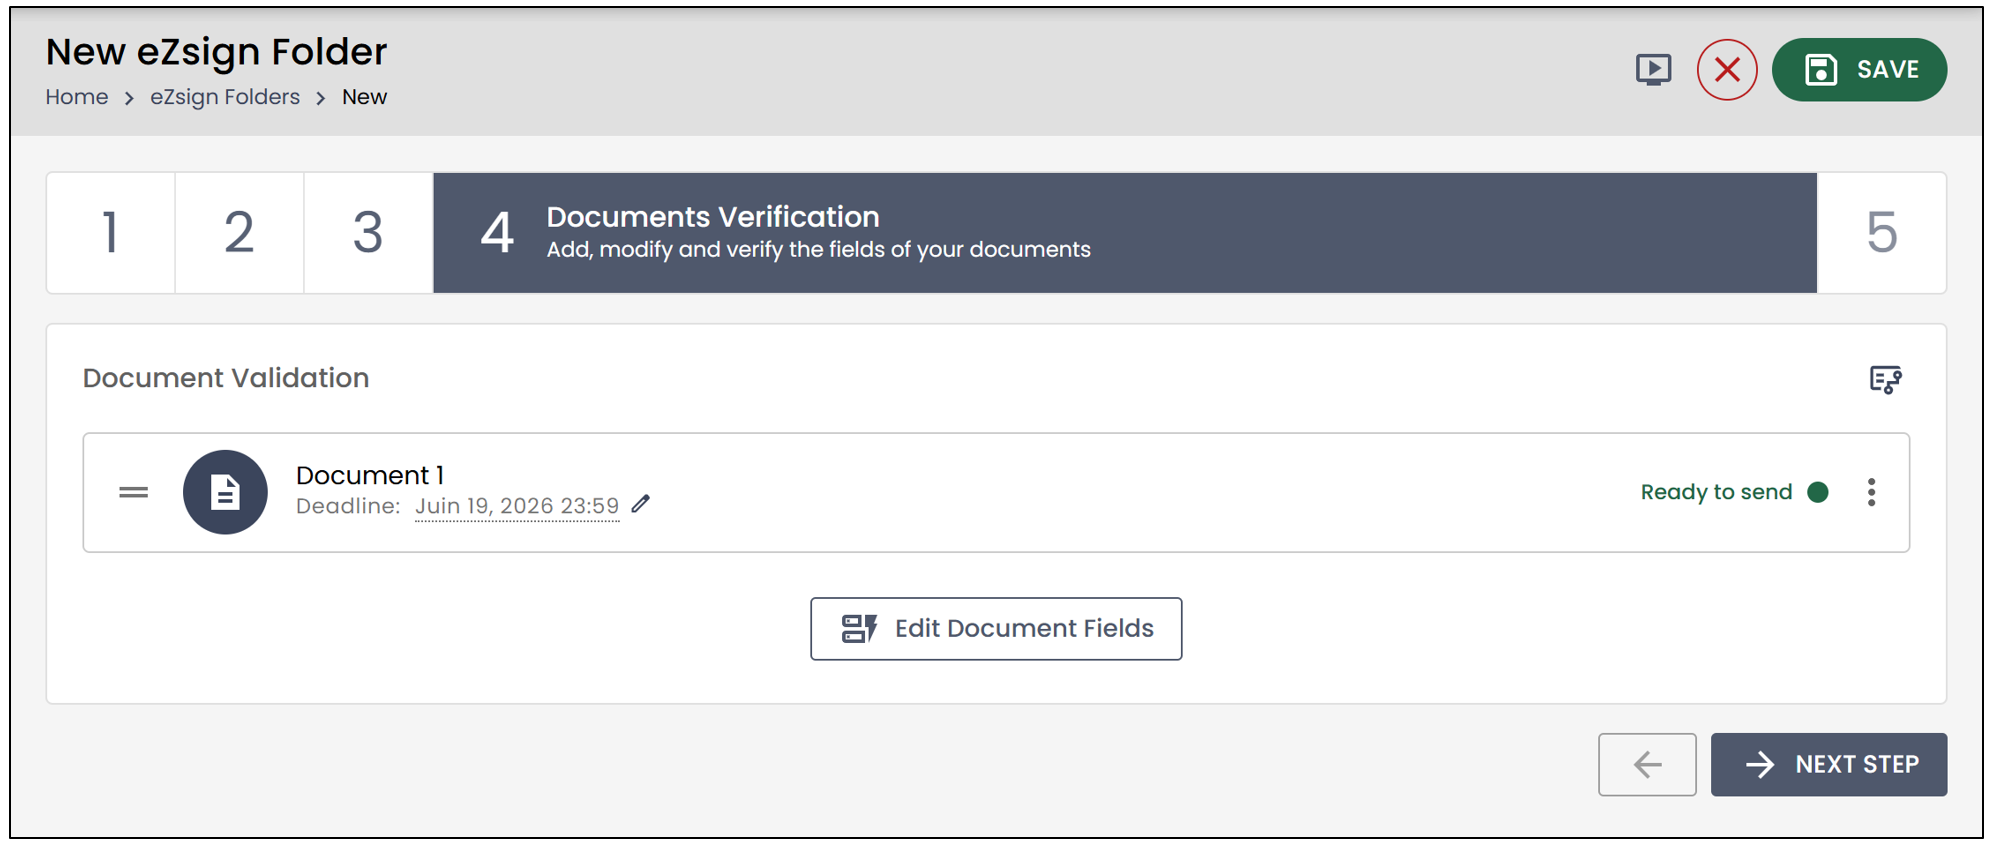
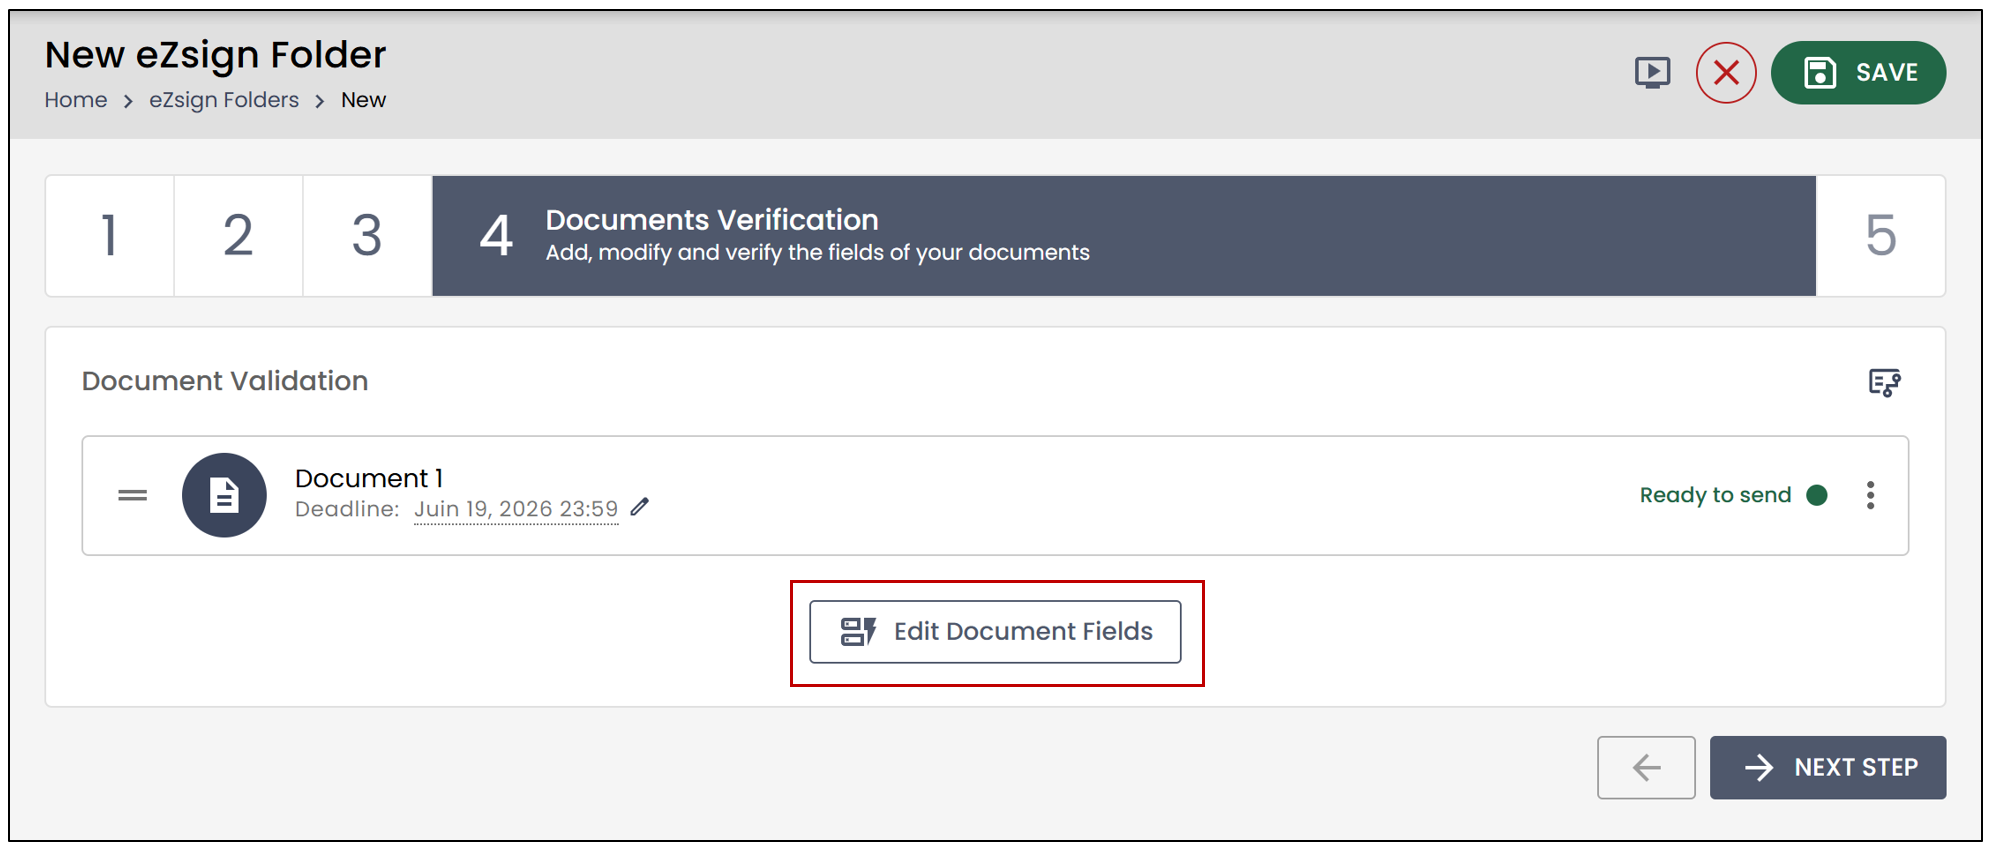
If, during document creation, you selected a template or assigned a template to a document, the document will be directly Ready to Send , as the fields will already have been added.
To make changes, click Edit document fields.
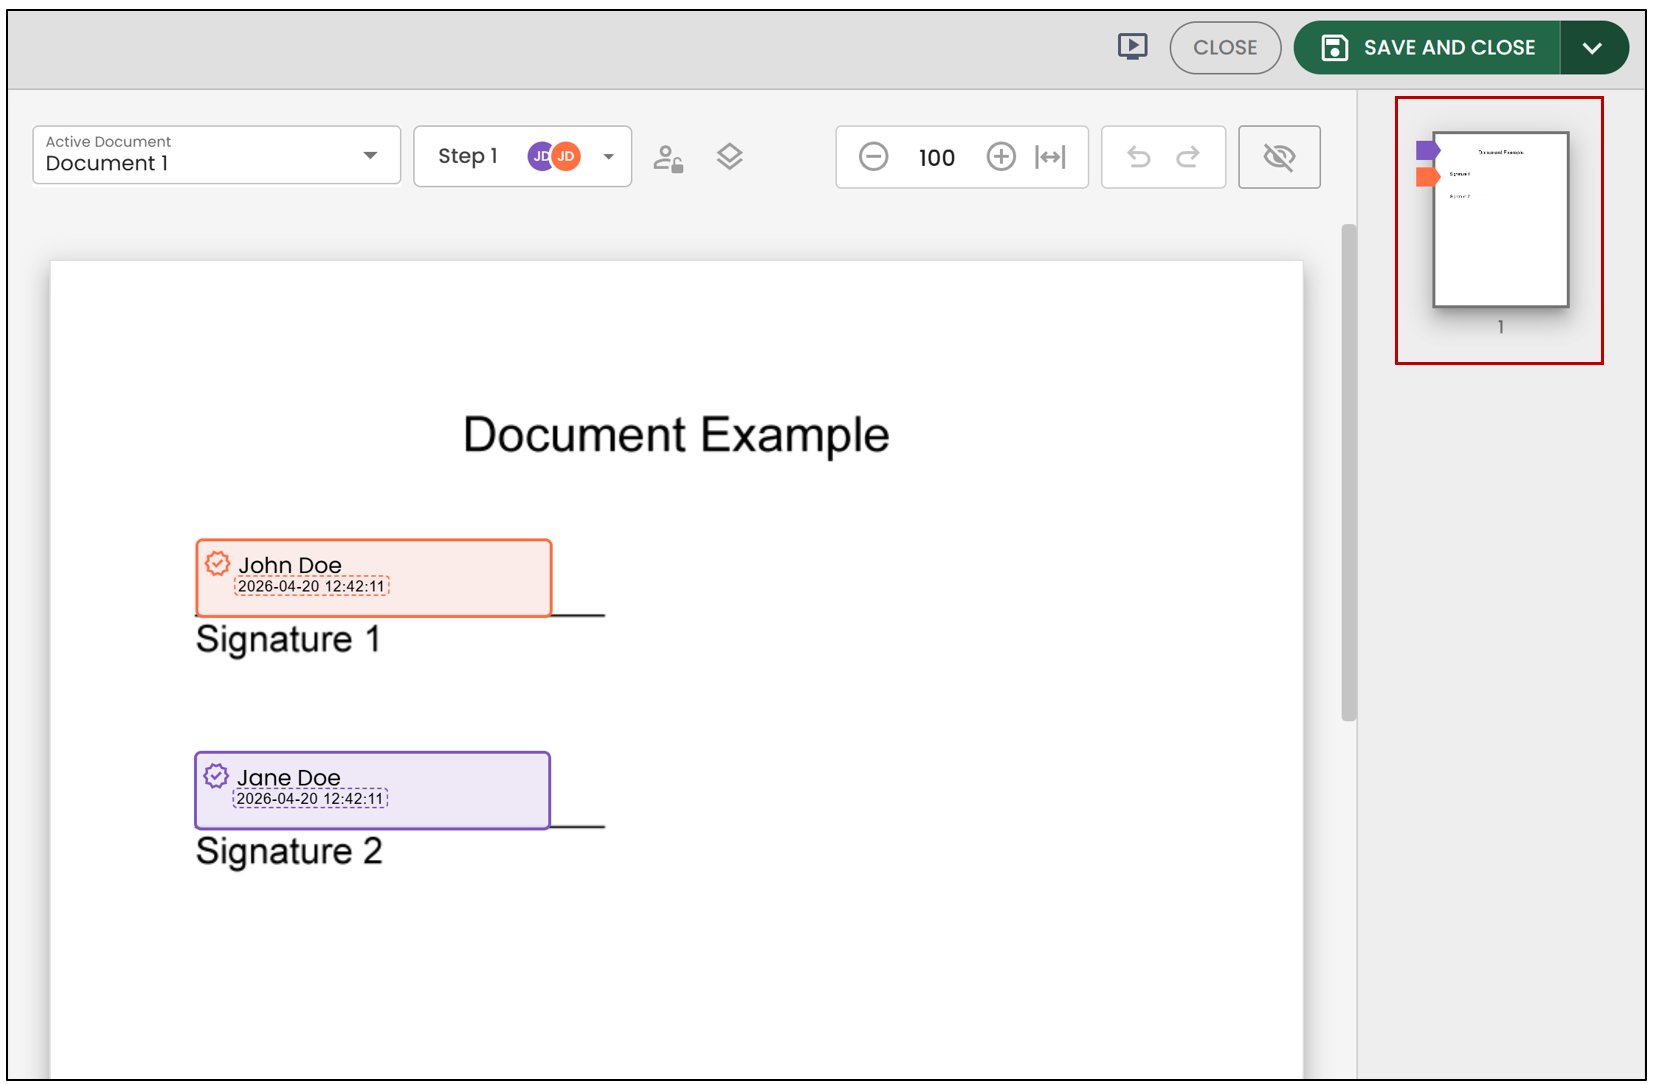
- If your document has more than one page, you will be able to view all pages in the section on the right.
- If you used a template, you will notice that the fields have already been added to the document.
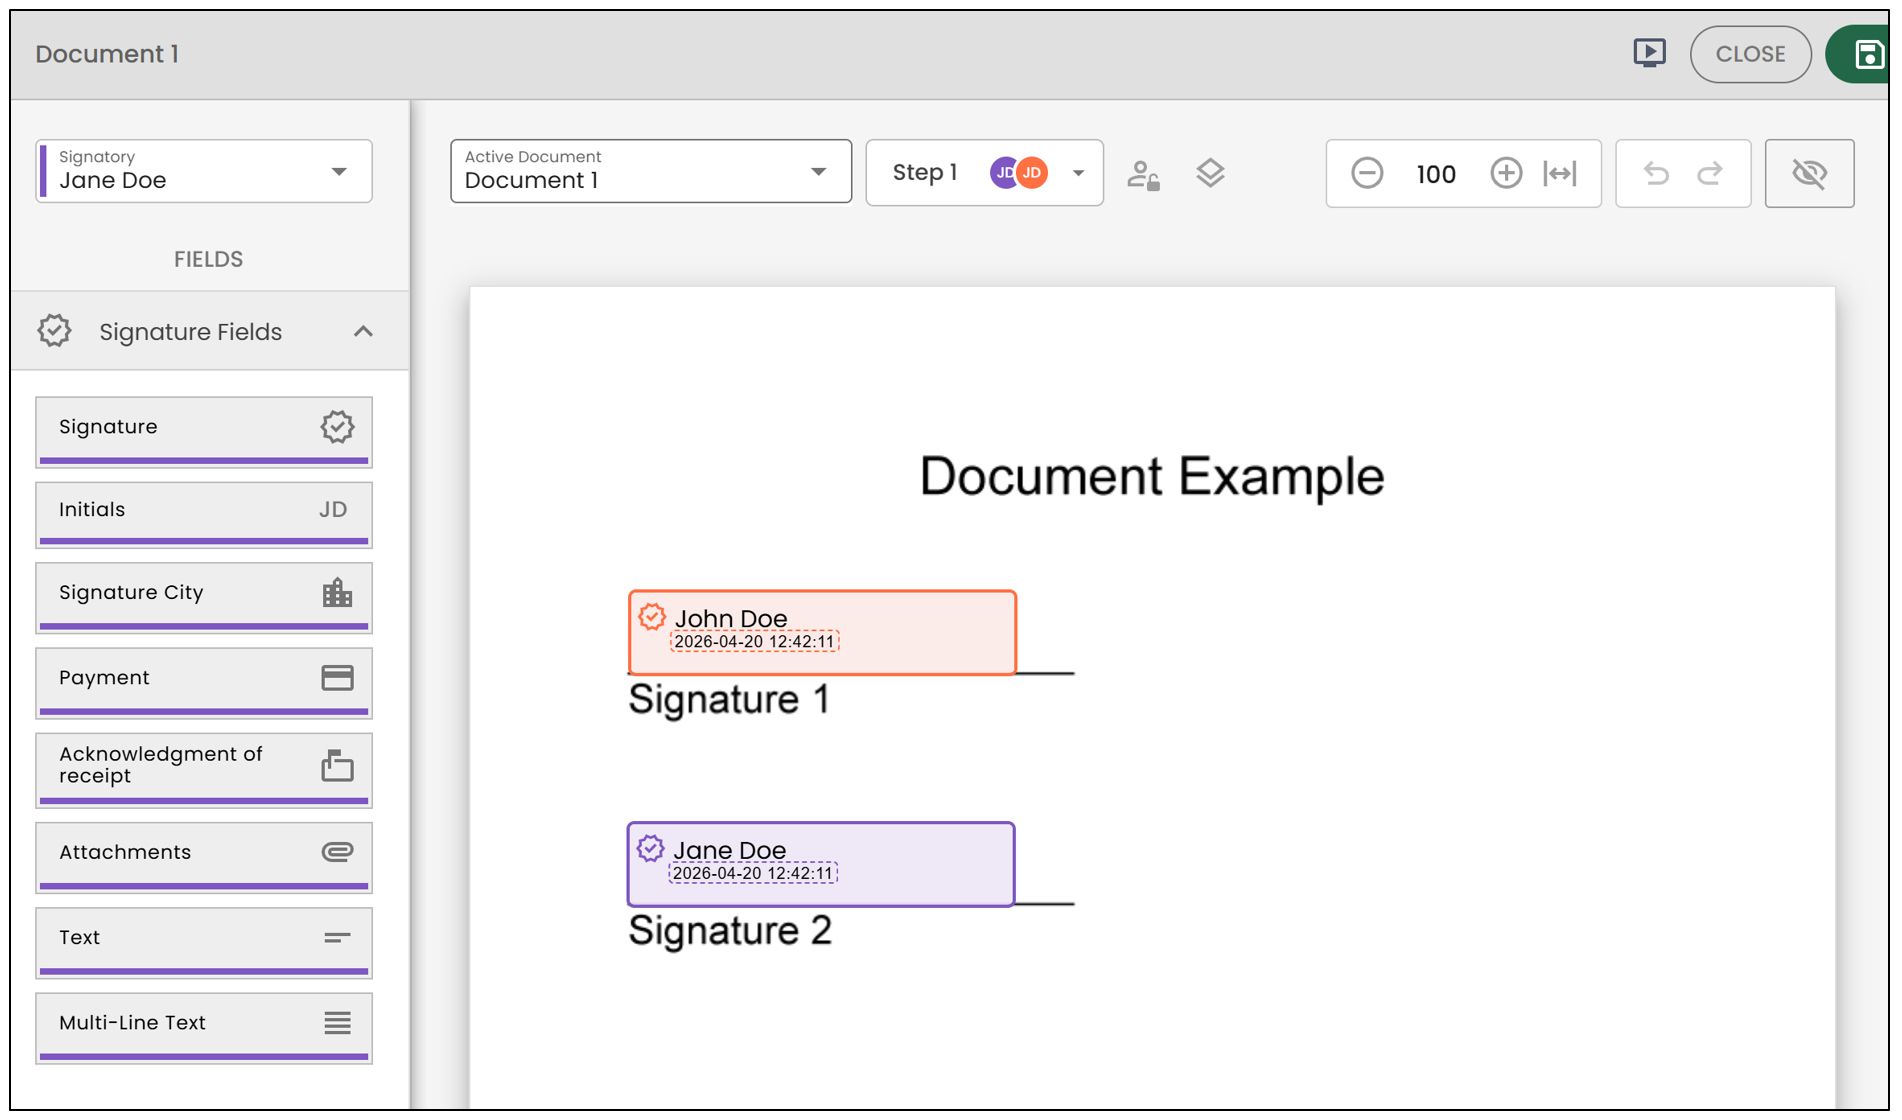
For more information on signature or form field types, please refer to the articles Types of Signature Fields and Types of Form Fields.
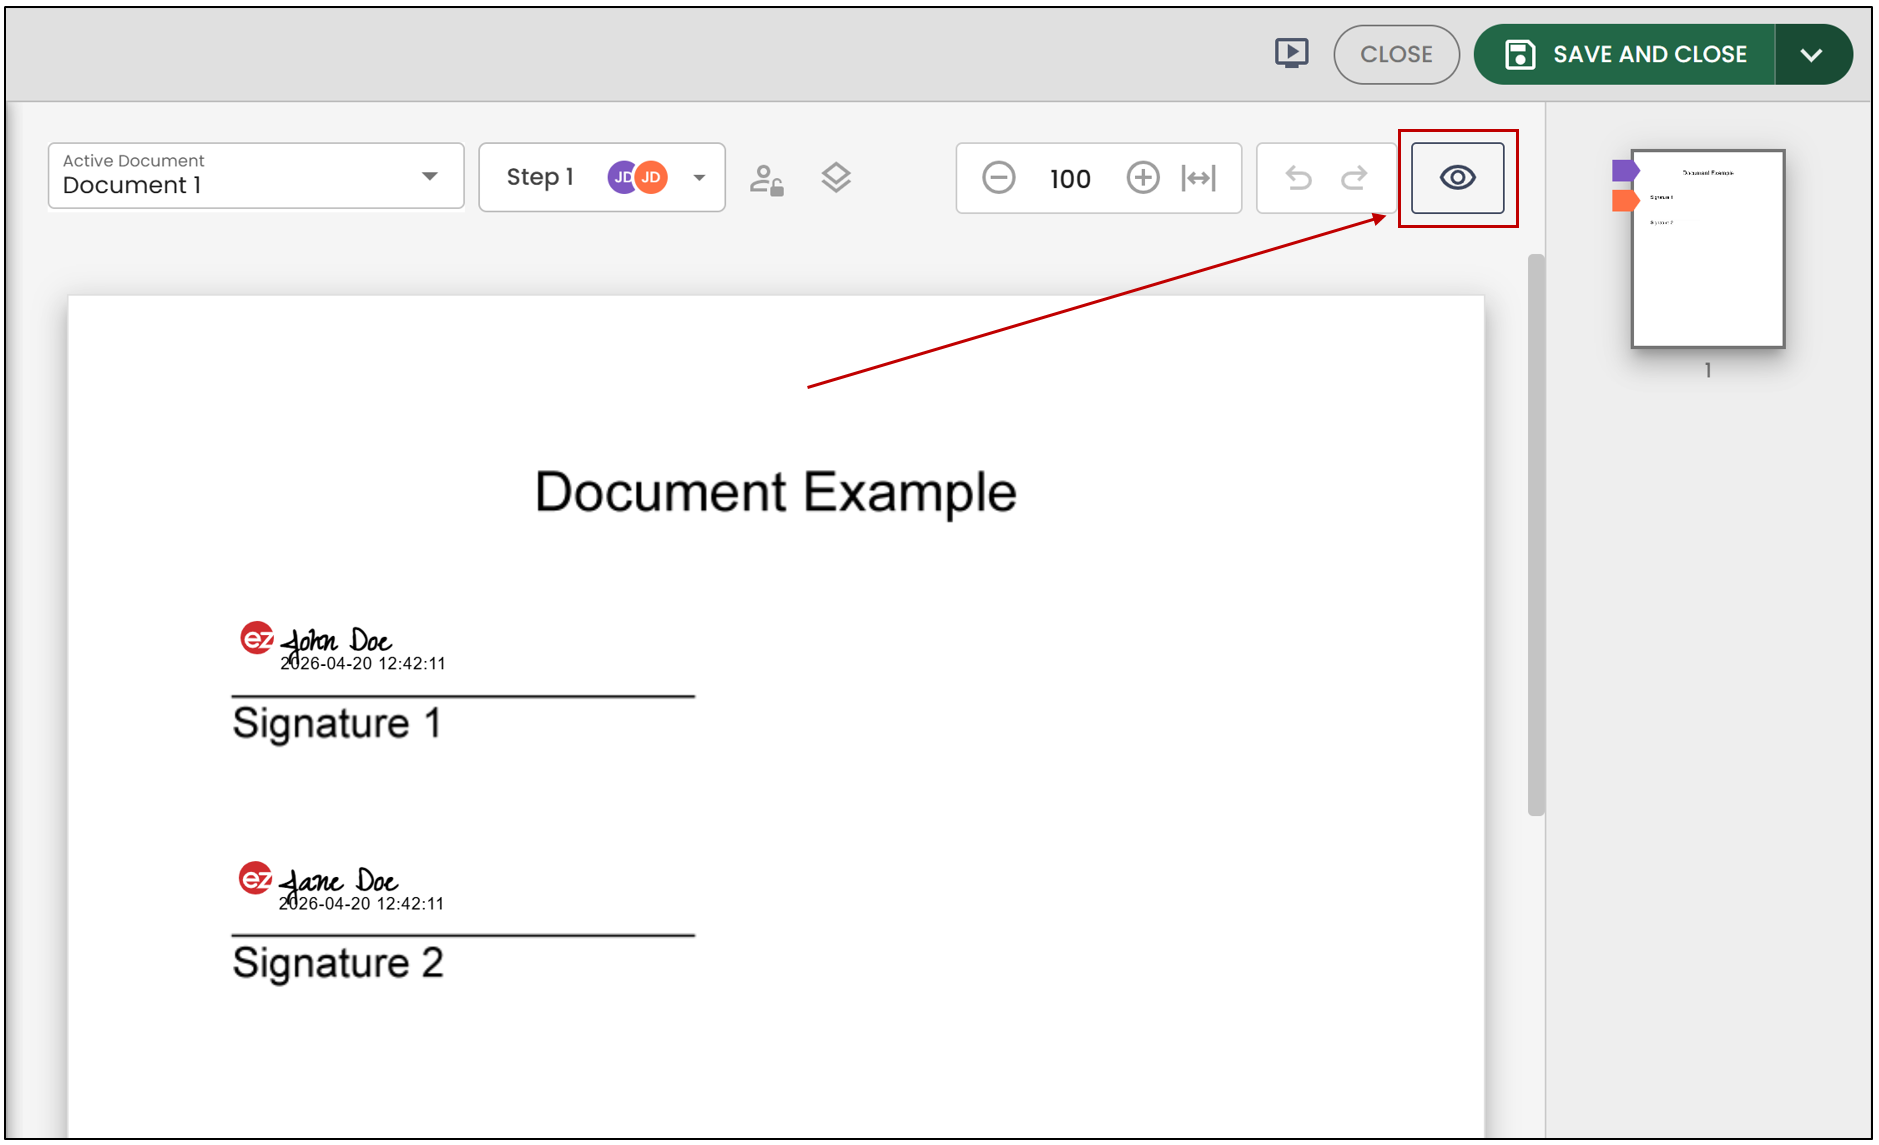
- By clicking the

icon, you will be able to preview the completed/signed document. You will still have the option to modify the document fields.
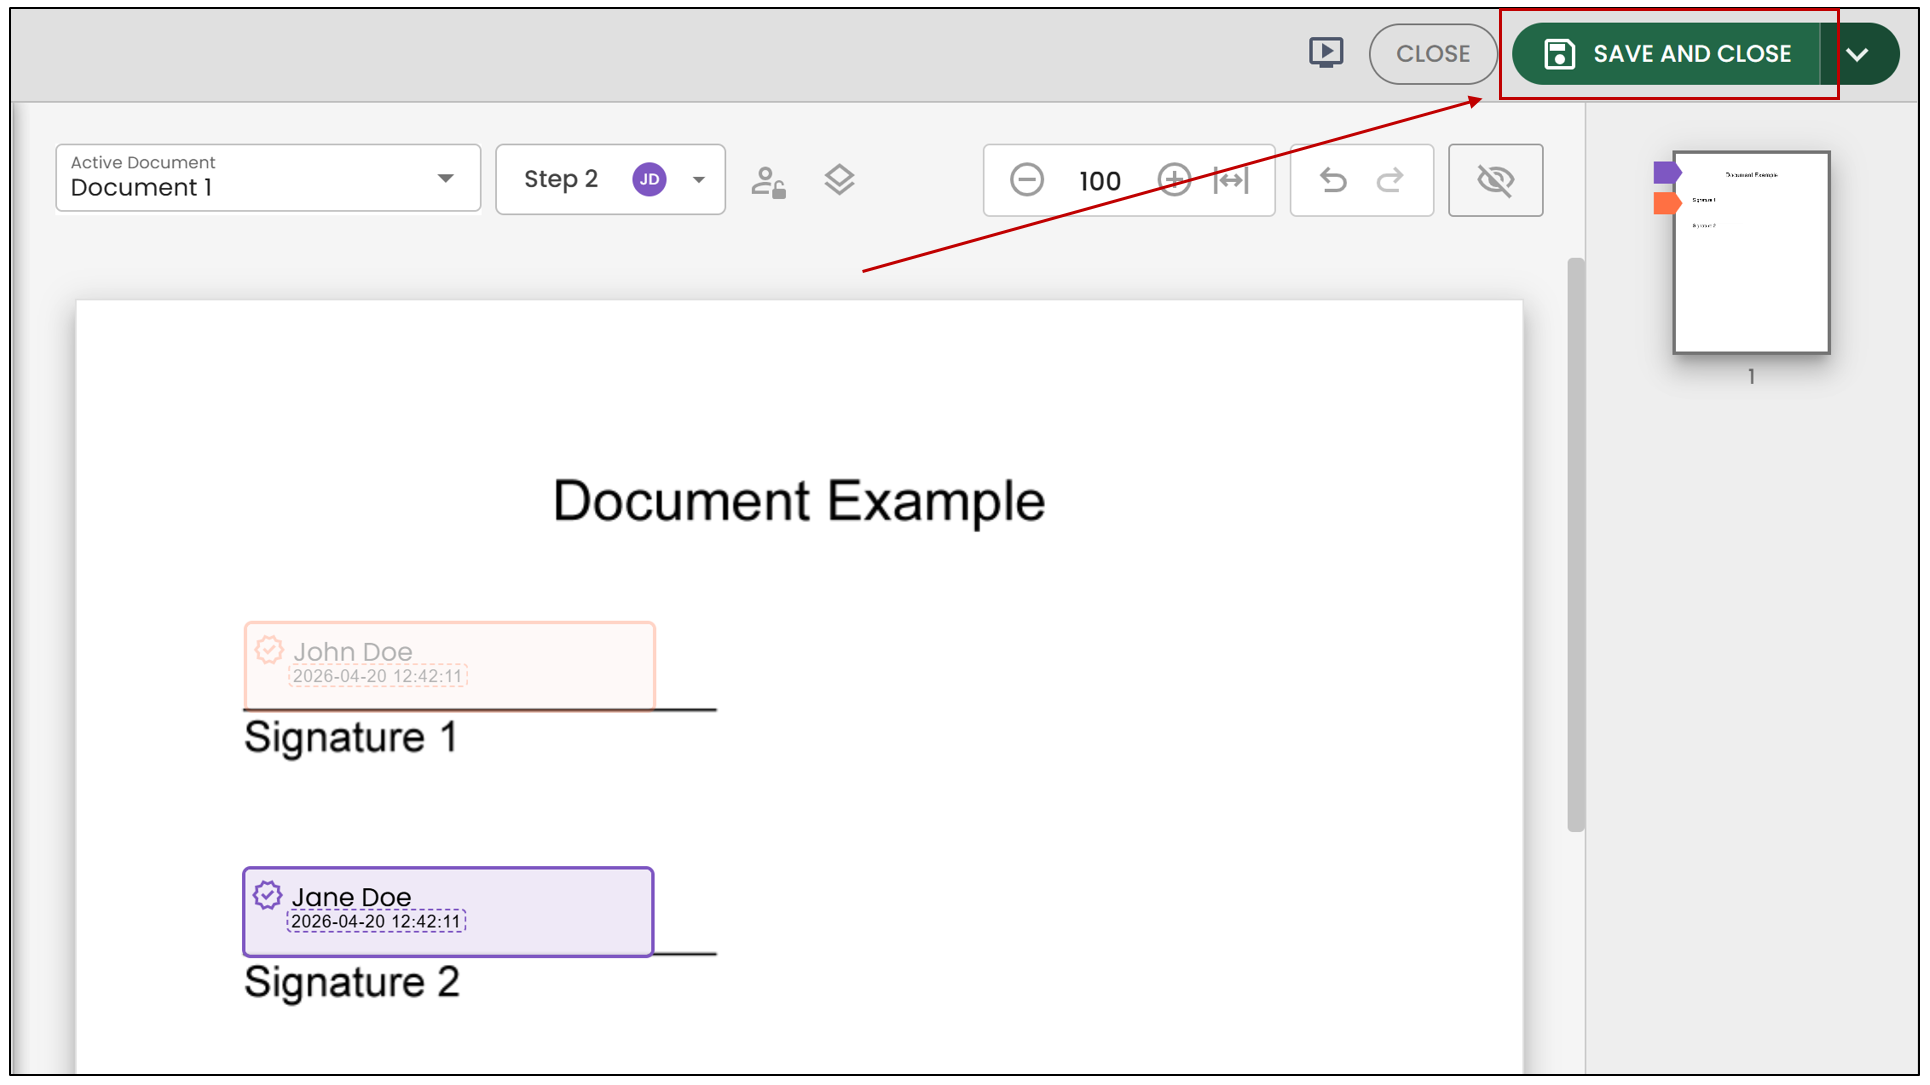
- Once all your fields have been added, click Save and close at the top right of the document.
- Then click Next Step.
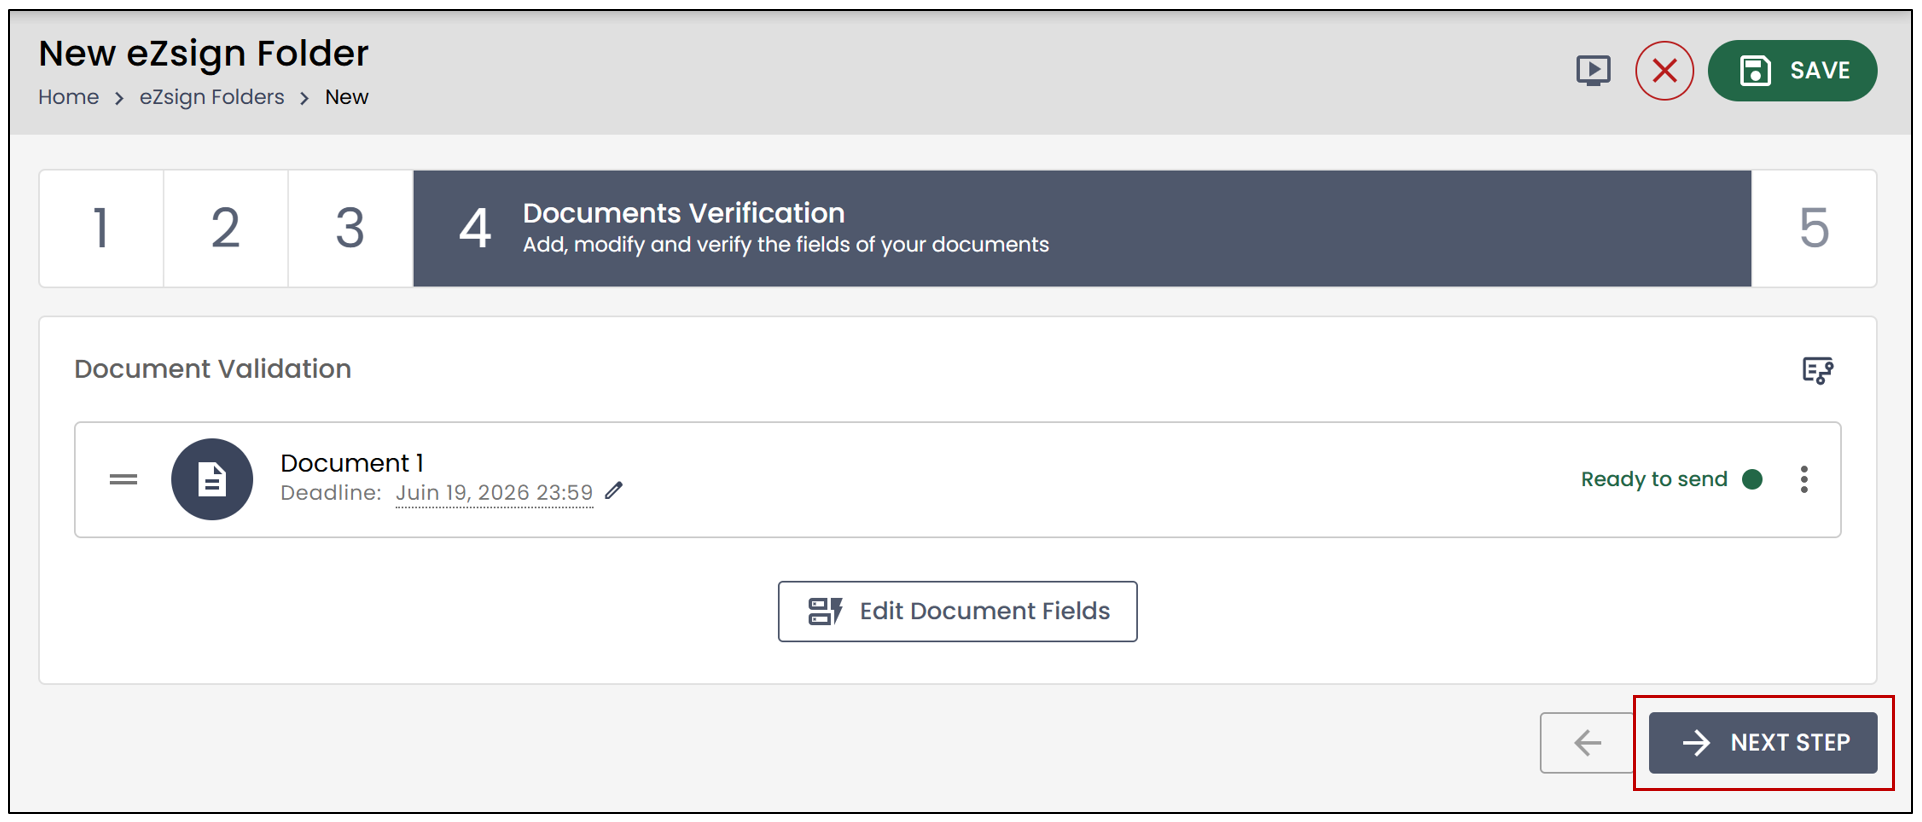
NOTE: You will only be able to proceed to the next step once all documents are marked as Ready to Send.
Send Folder
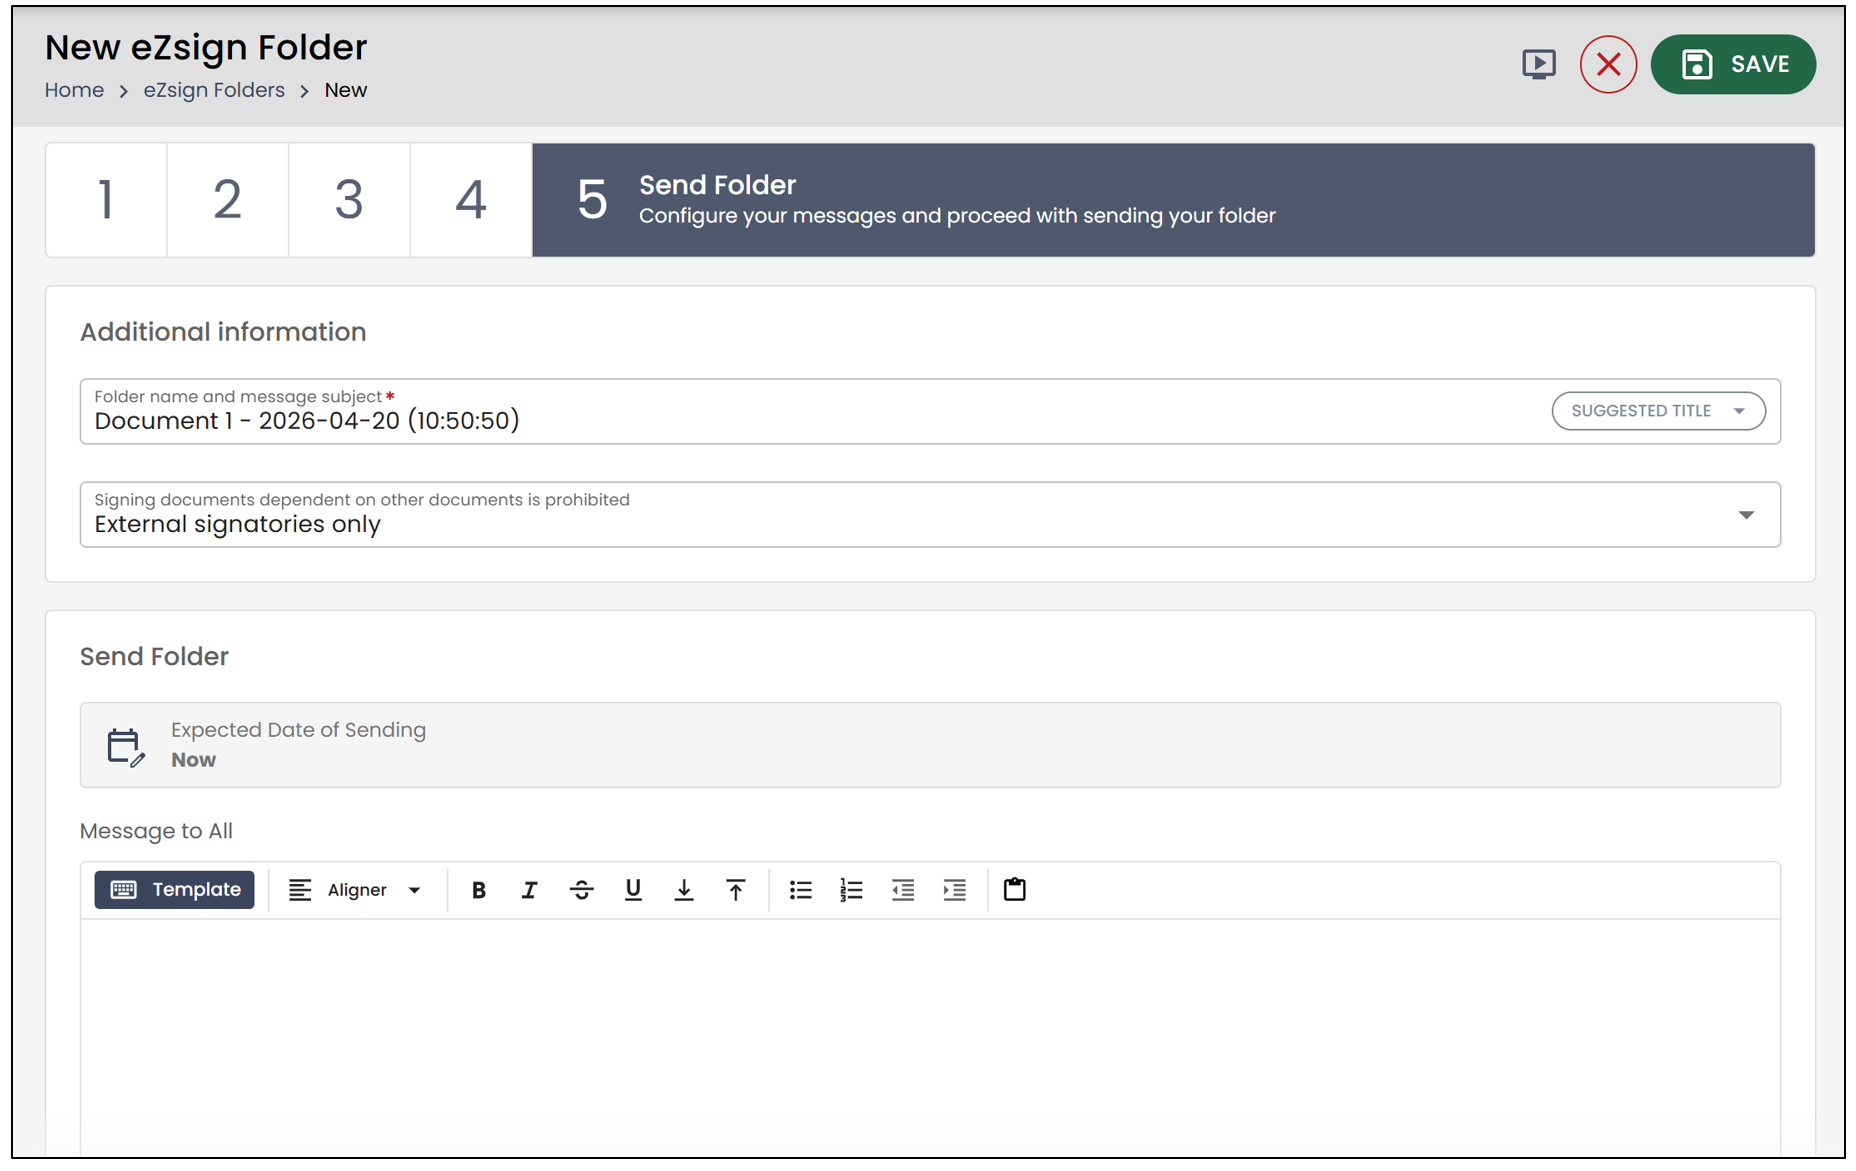
The final step is to send the folder.
- It is important to modify the folder name, as it is also used as the subject line for the message sent to your client. By default, the system uses the document name and the folder creation date.
NOTE: On Pro and Enterprise accounts, you can add a predefined title associated with a template. To configure this option, please refer to the article Adding/Loading/Editing/Duplicating/Deleting a Template.
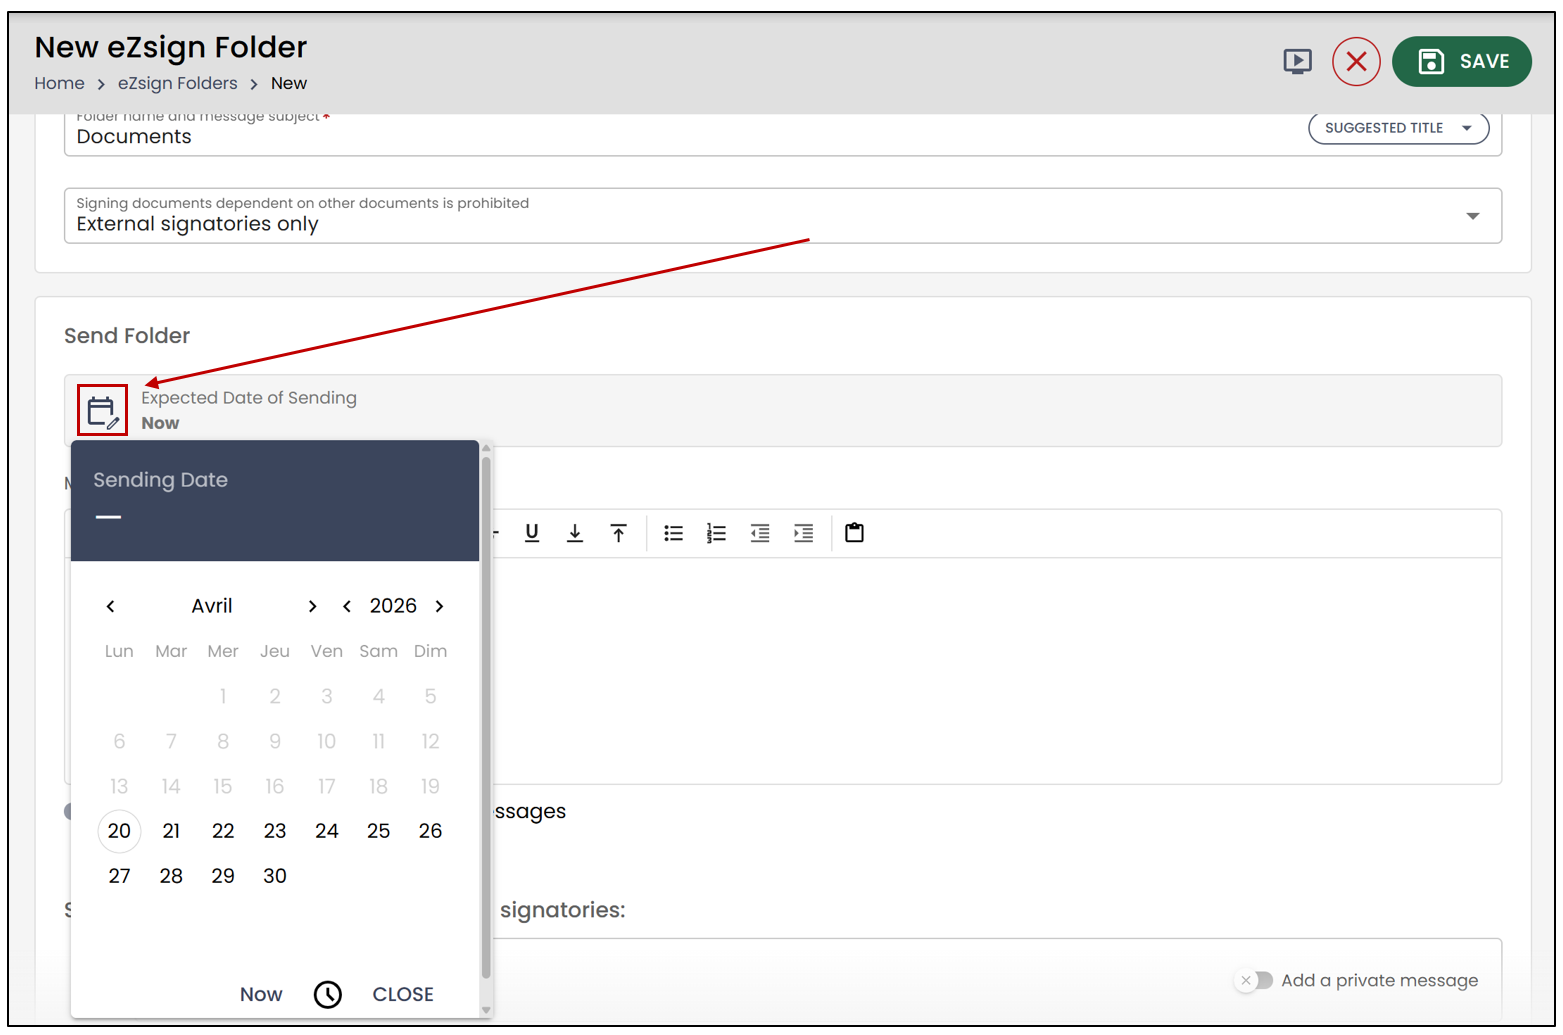
- If you have a Pro or Enterprise account, you also have the option to schedule a delayed send by clicking the
icon. A calendar will appear, allowing you to select the date on which the document will be sent.
- In the Message to all section, you can enter a message that will appear in the email sent.
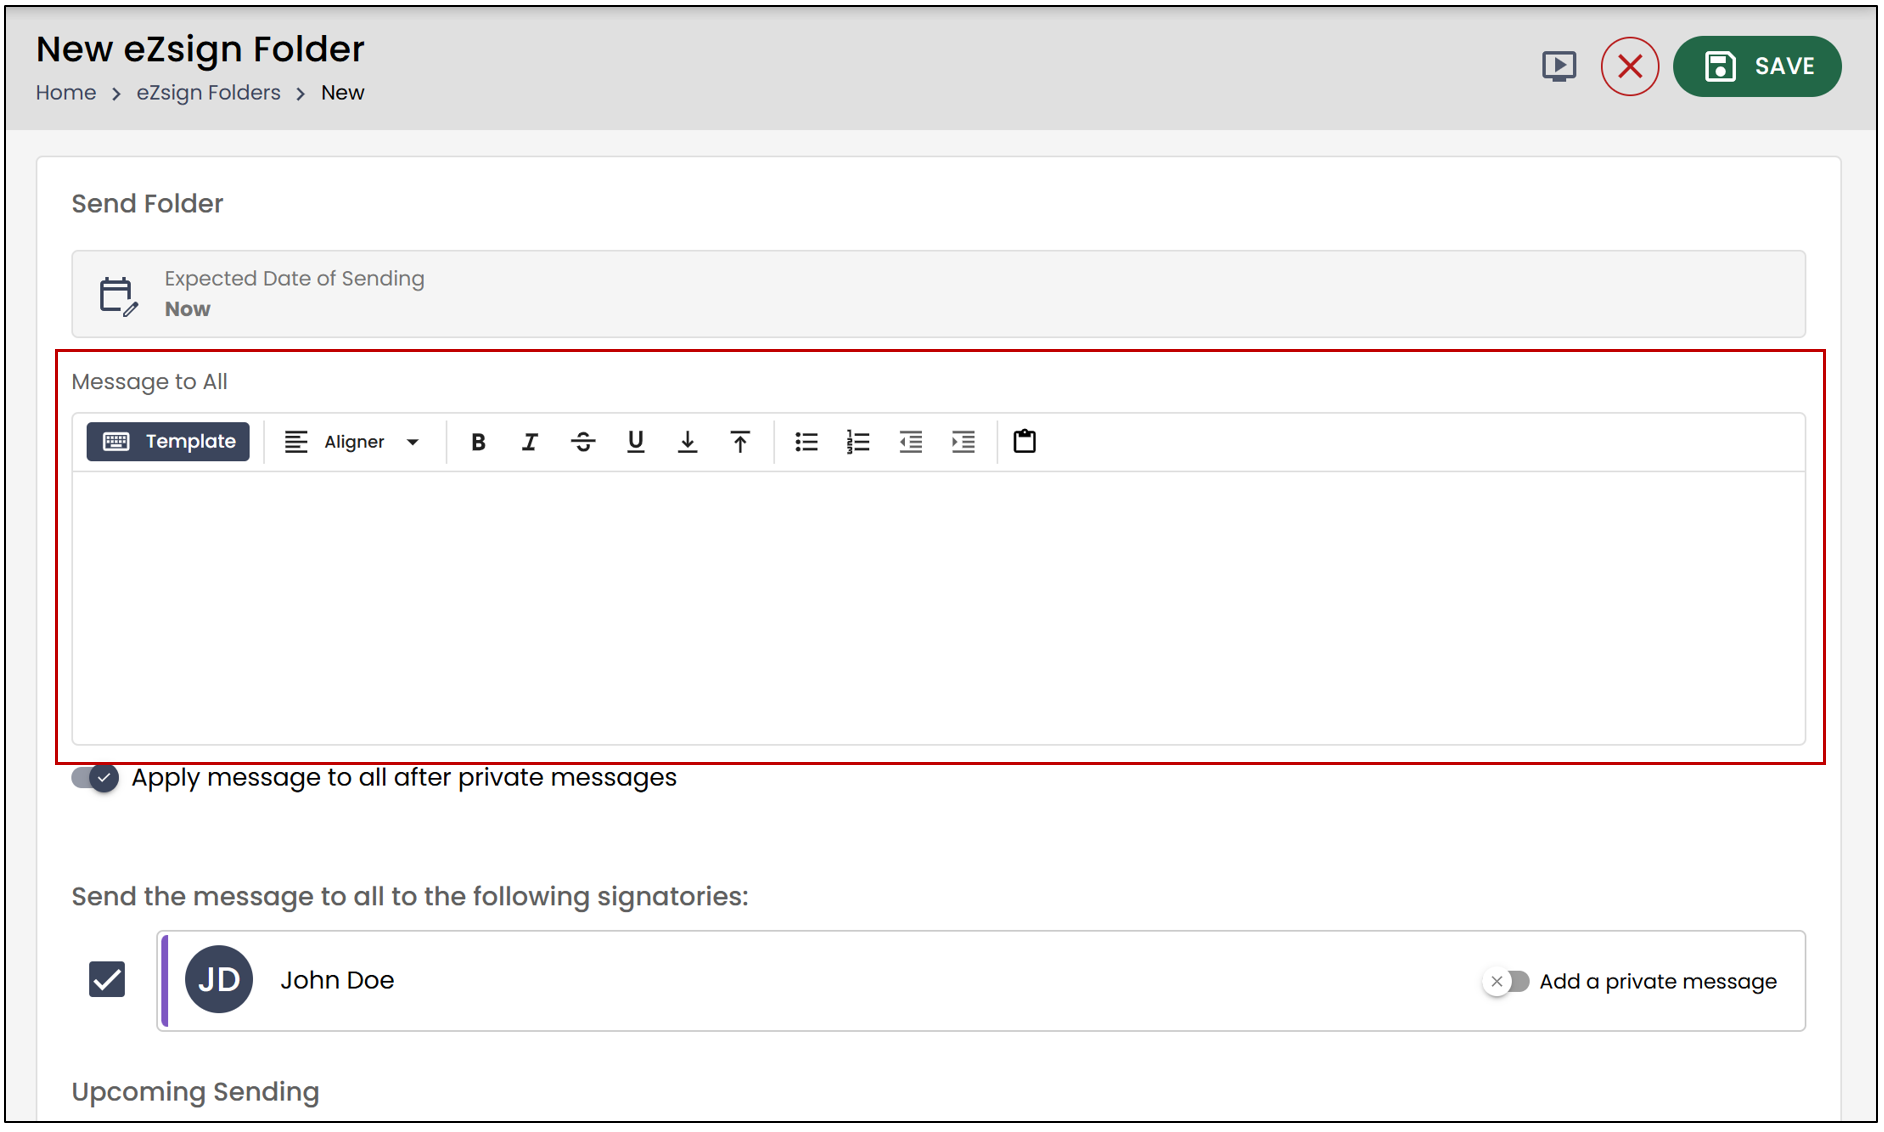
- To send a private message to a signatory, enable this option to the right of the desired signatory and enter the message.
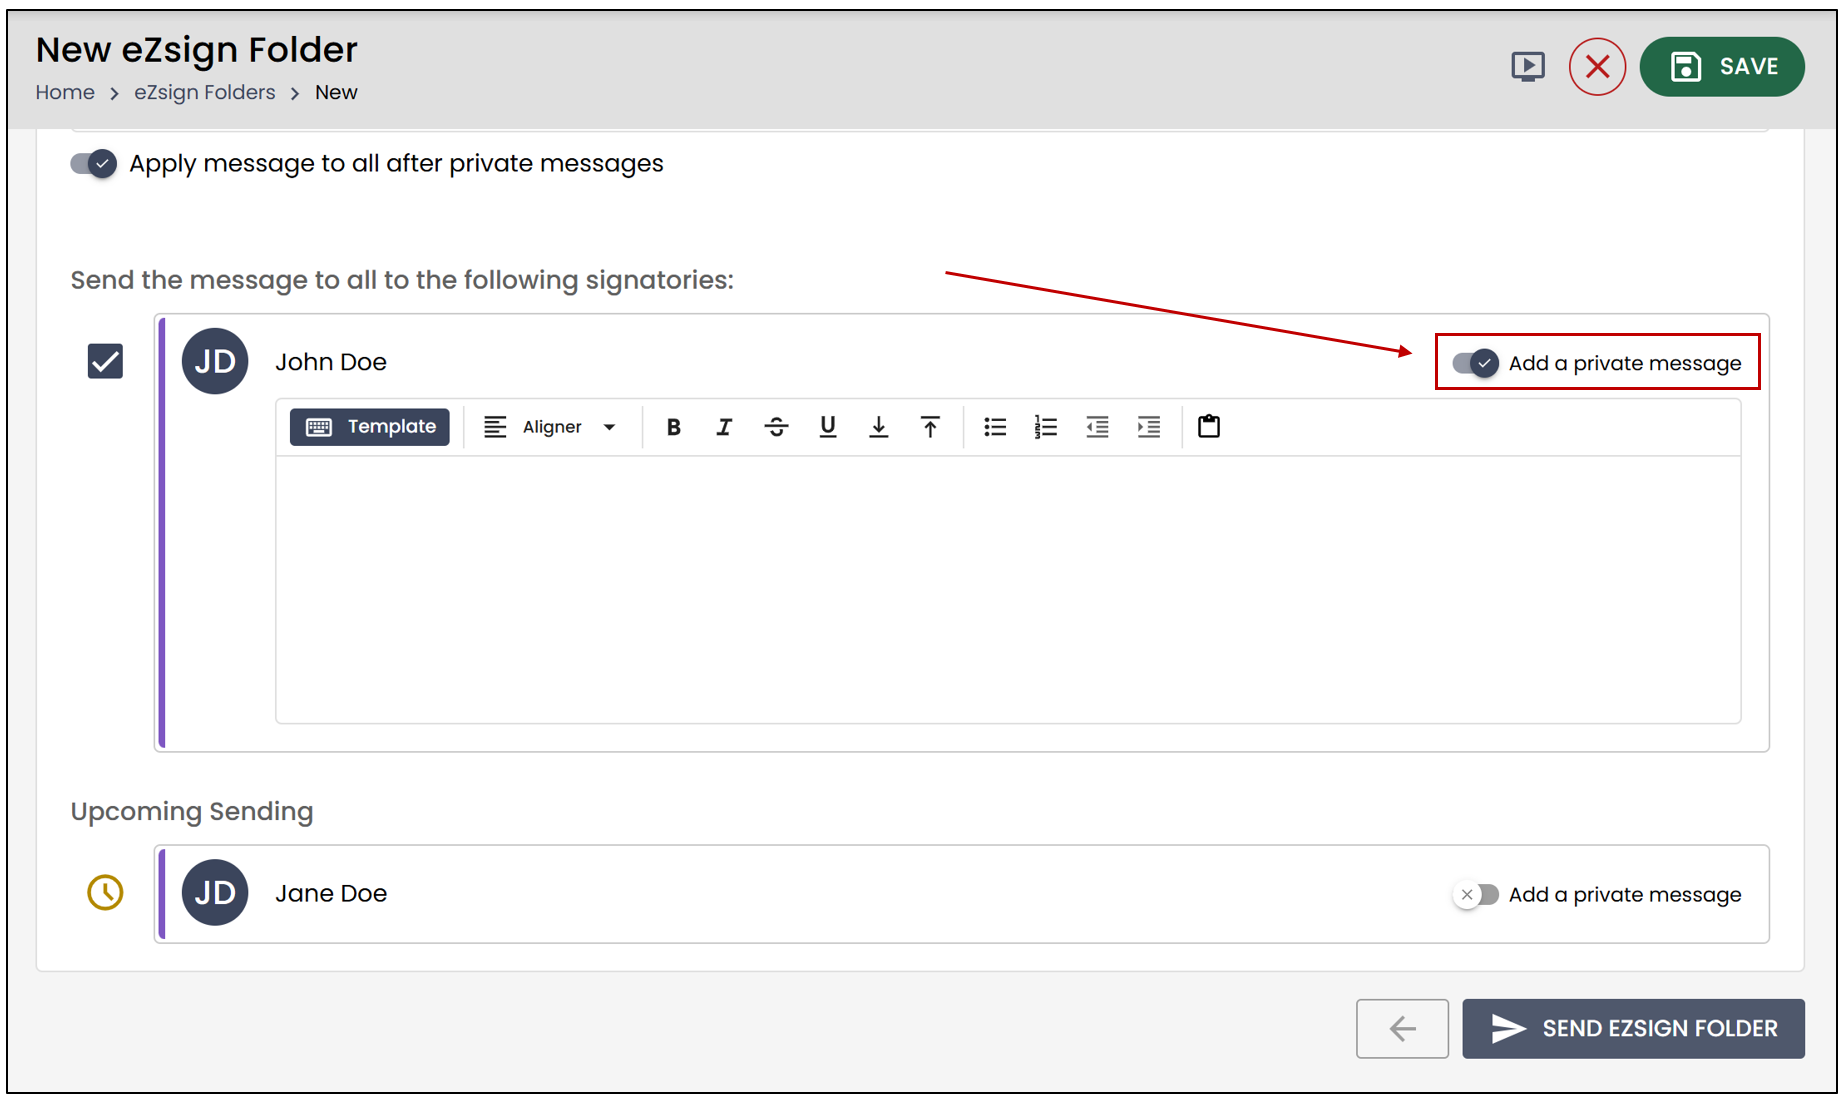
NOTE: If you select the option Apply message to all after private messages , the private messages will be displayed before the message to all.
Content Templates
NOTE: This option is only available to Pro account holders.
You can pre-save content templates to use when sending a message to all or a private message.
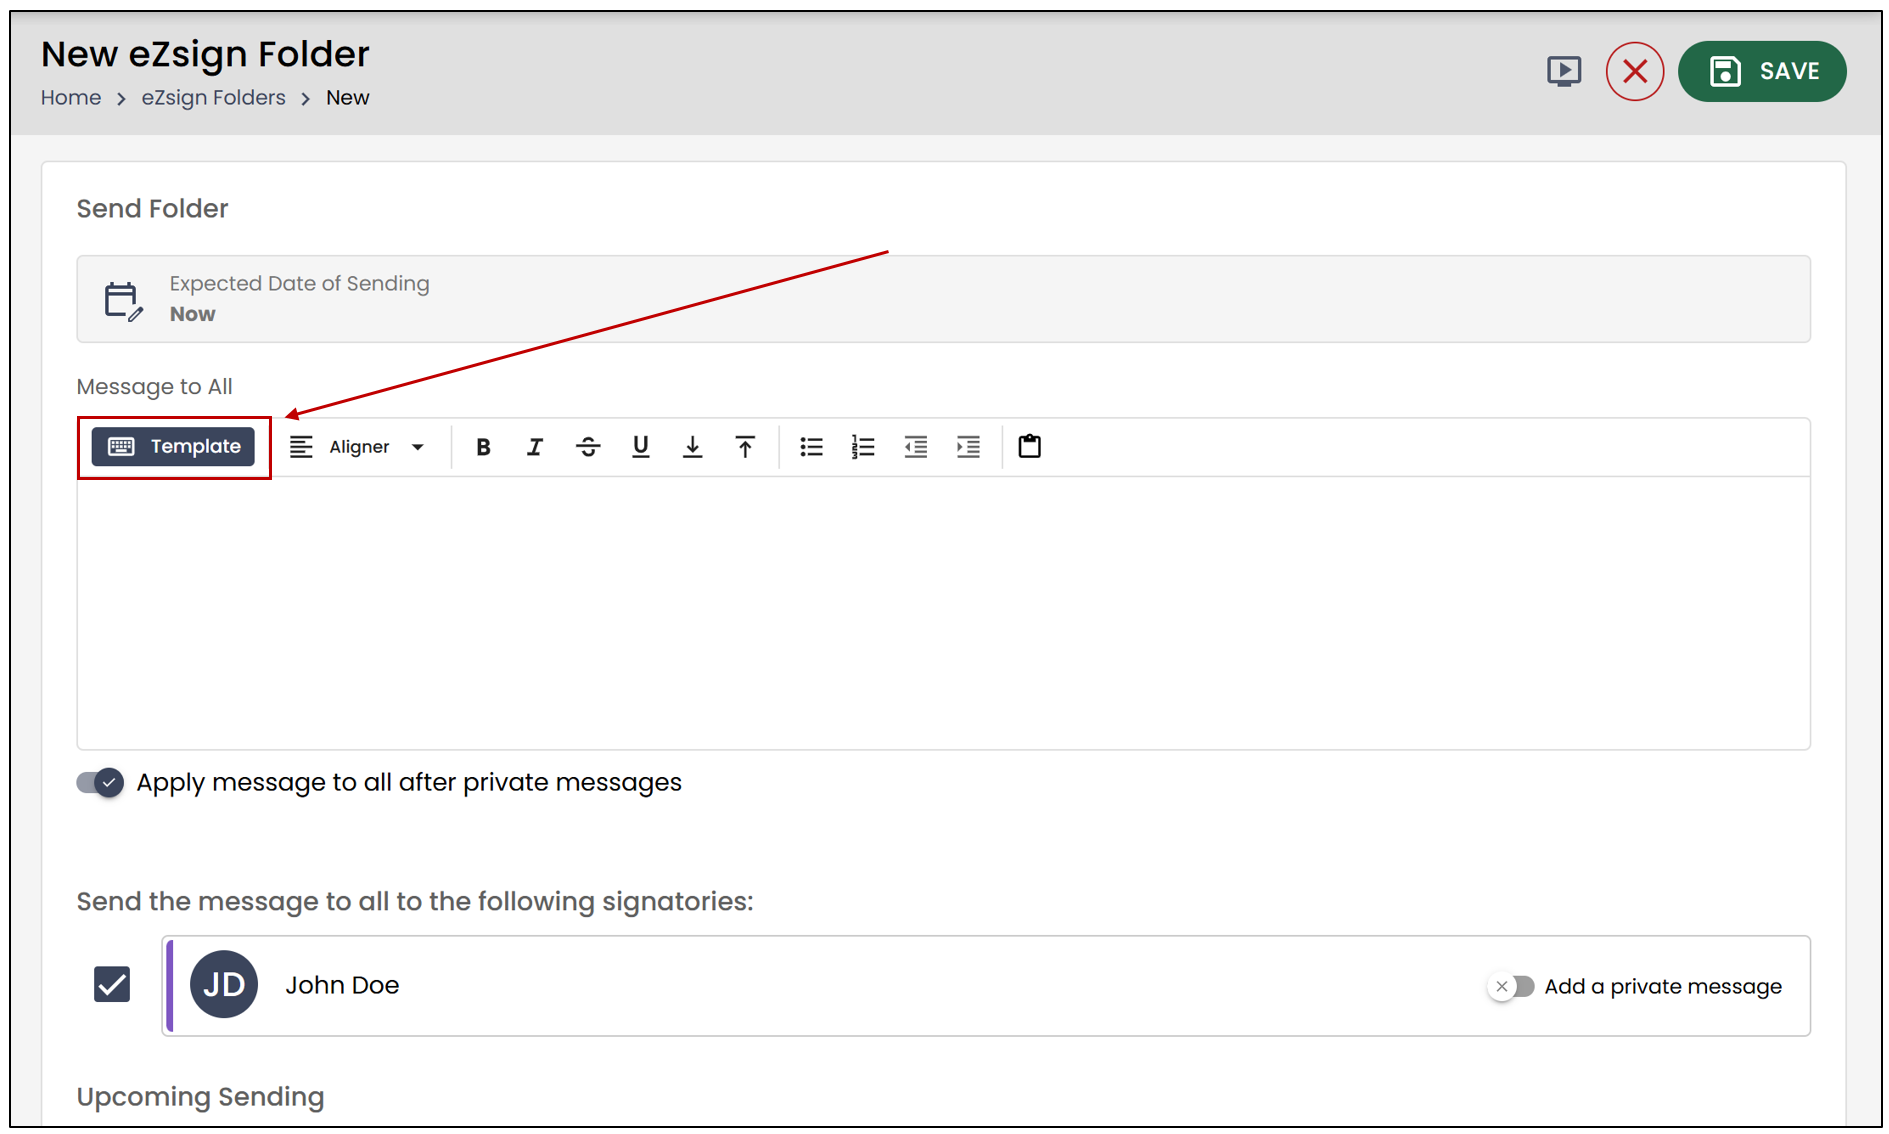
- Click Template to add a content template.
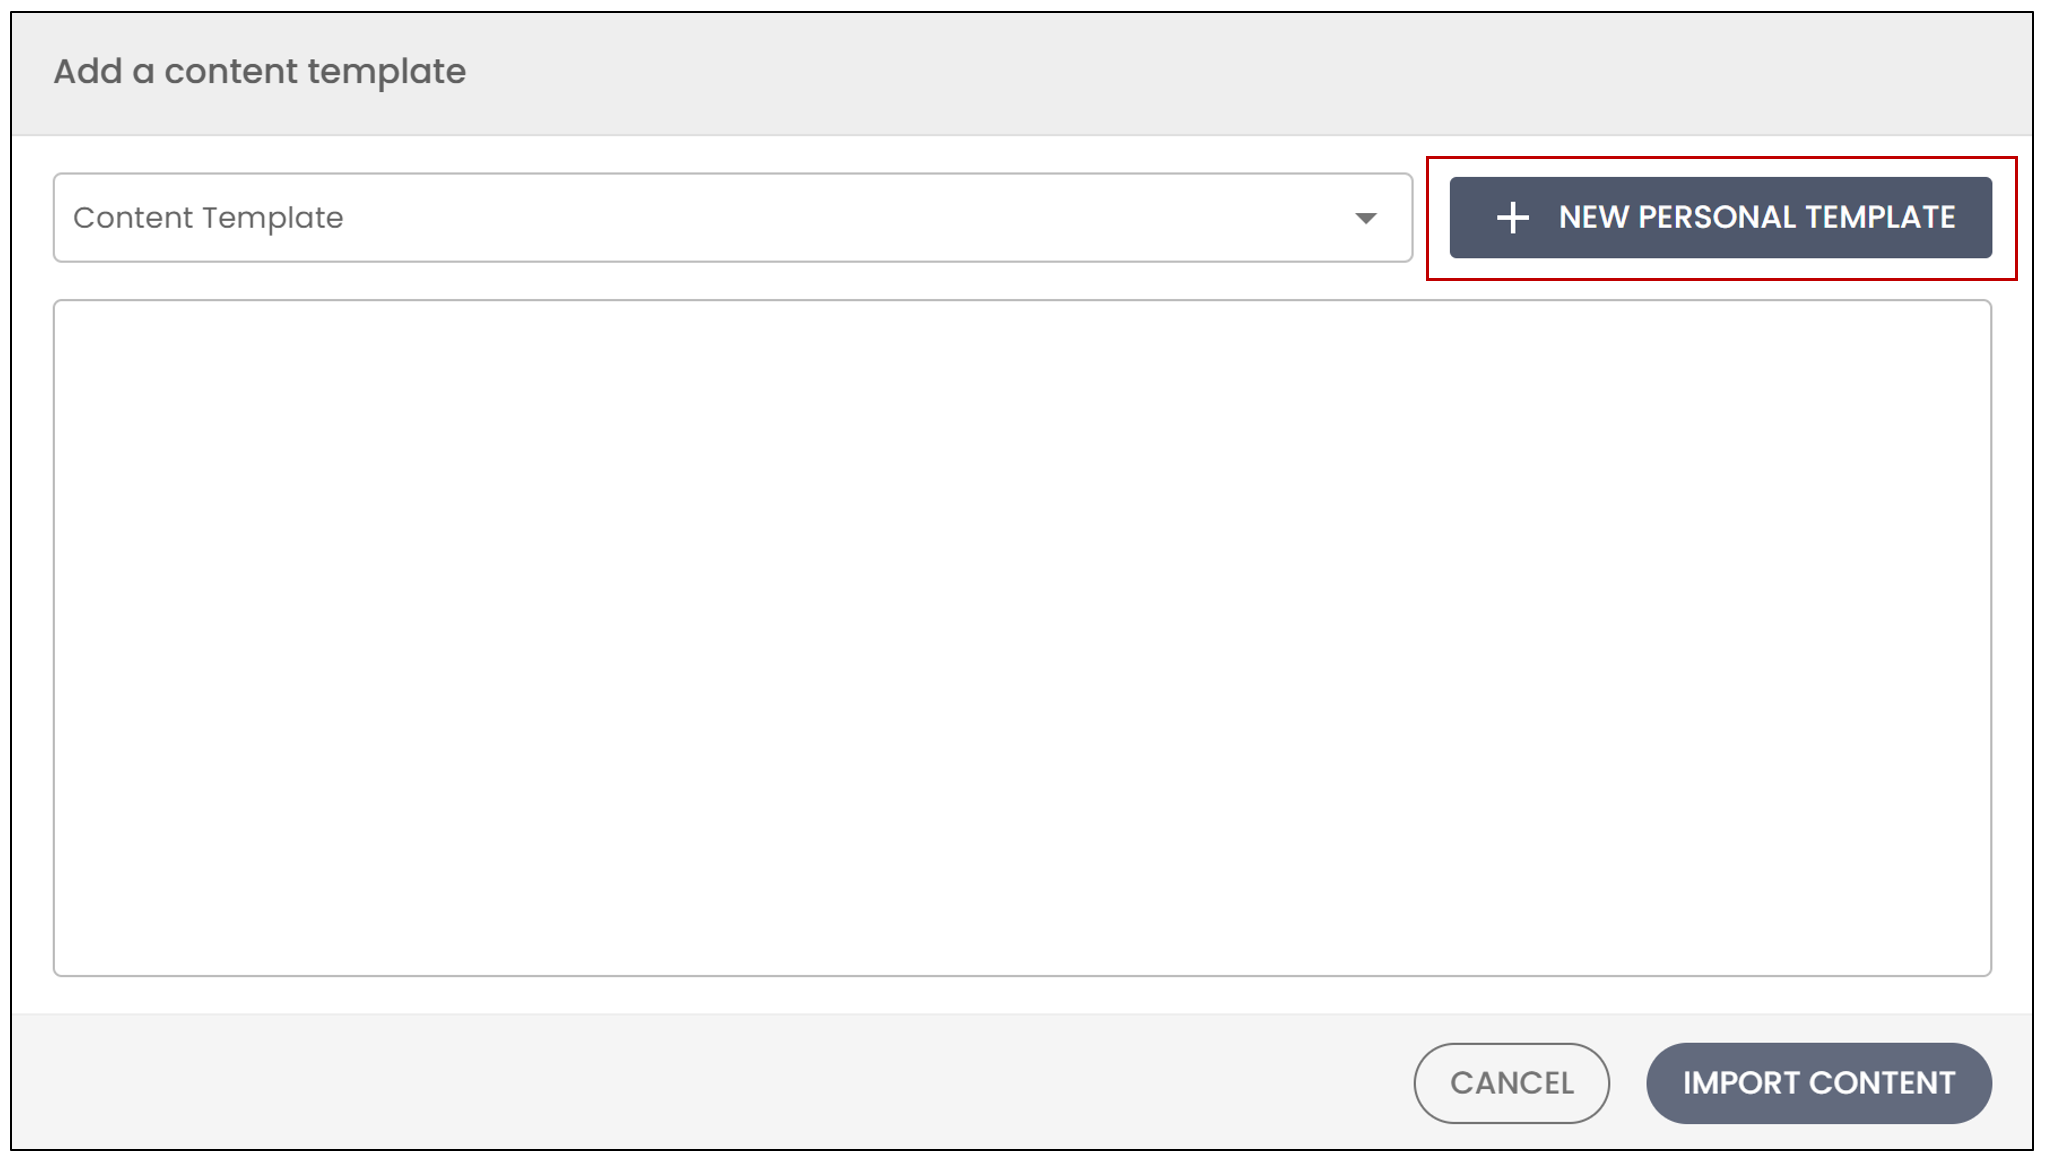
- You will be able to select a content template from the dropdown list.
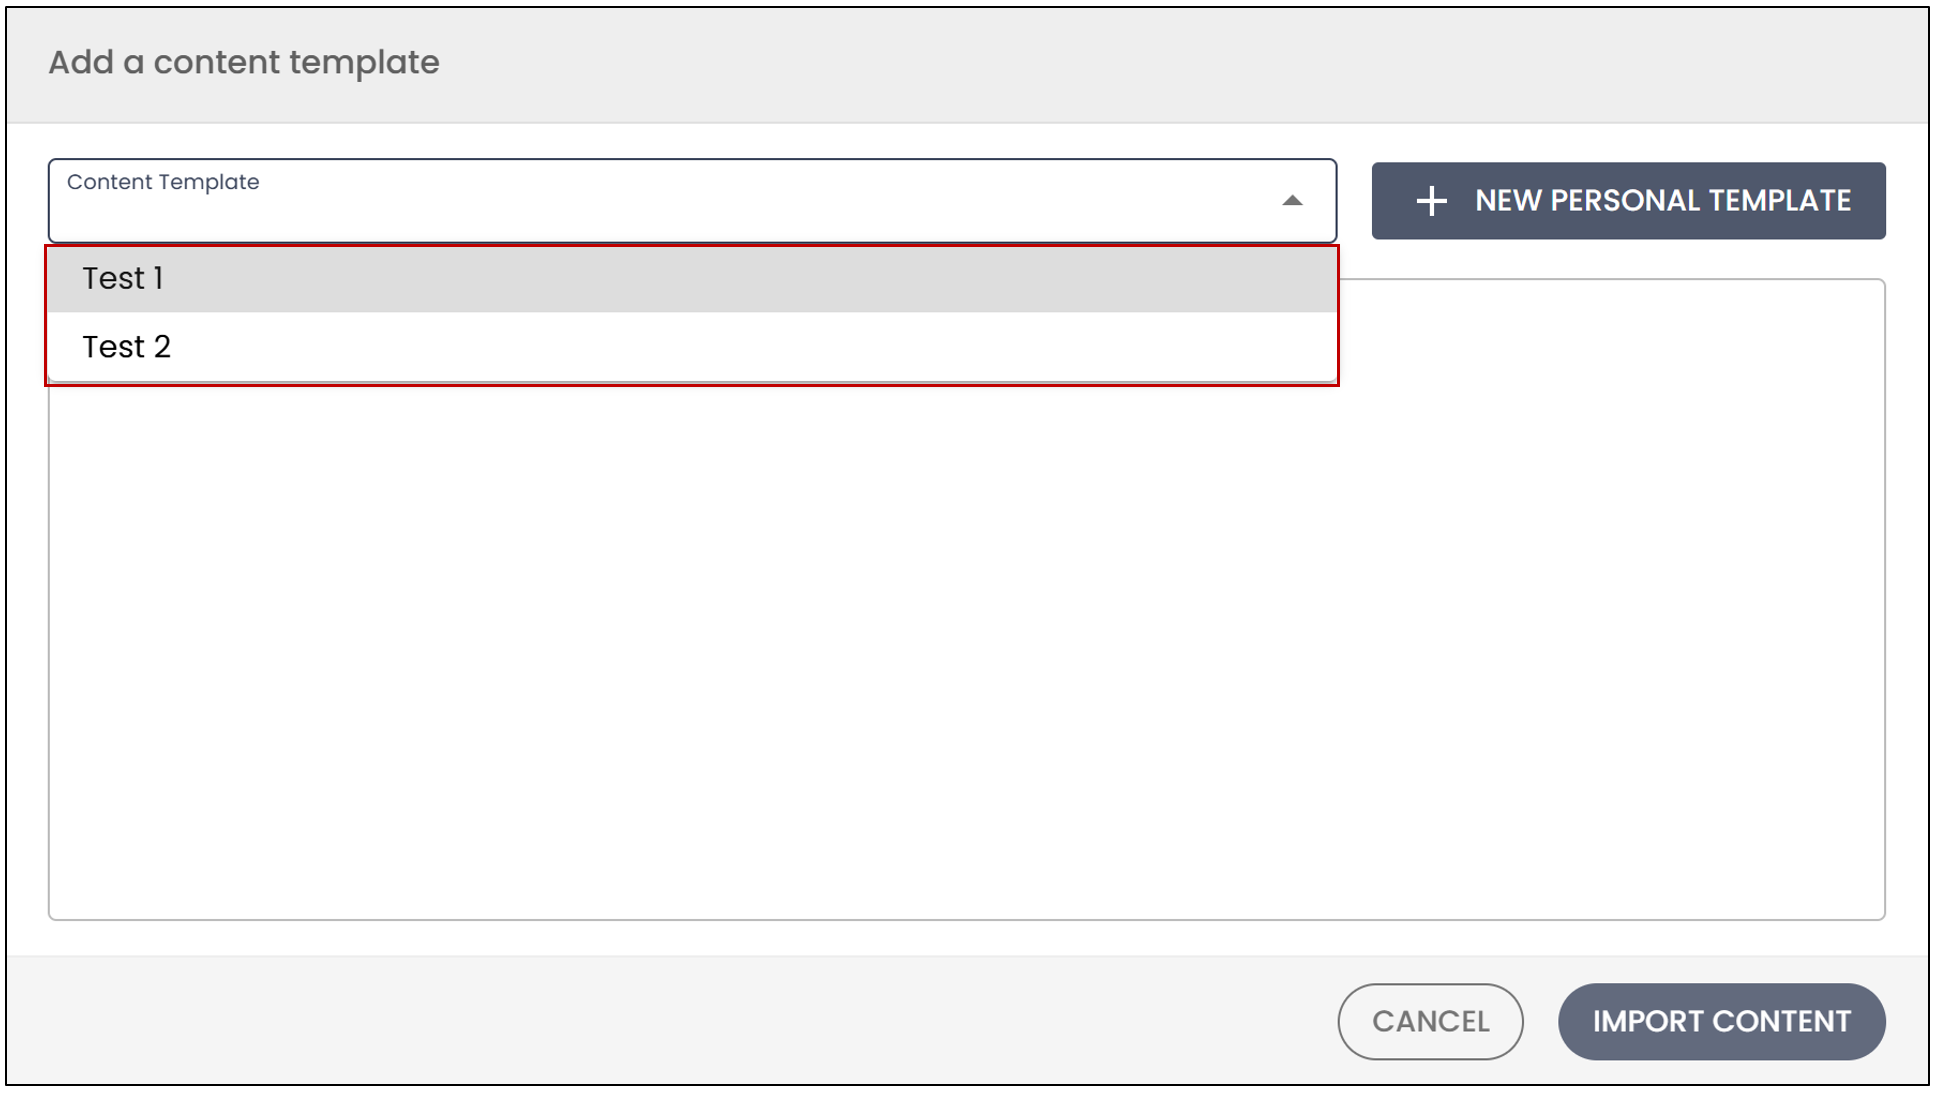
- To create a new one, click New personal template.
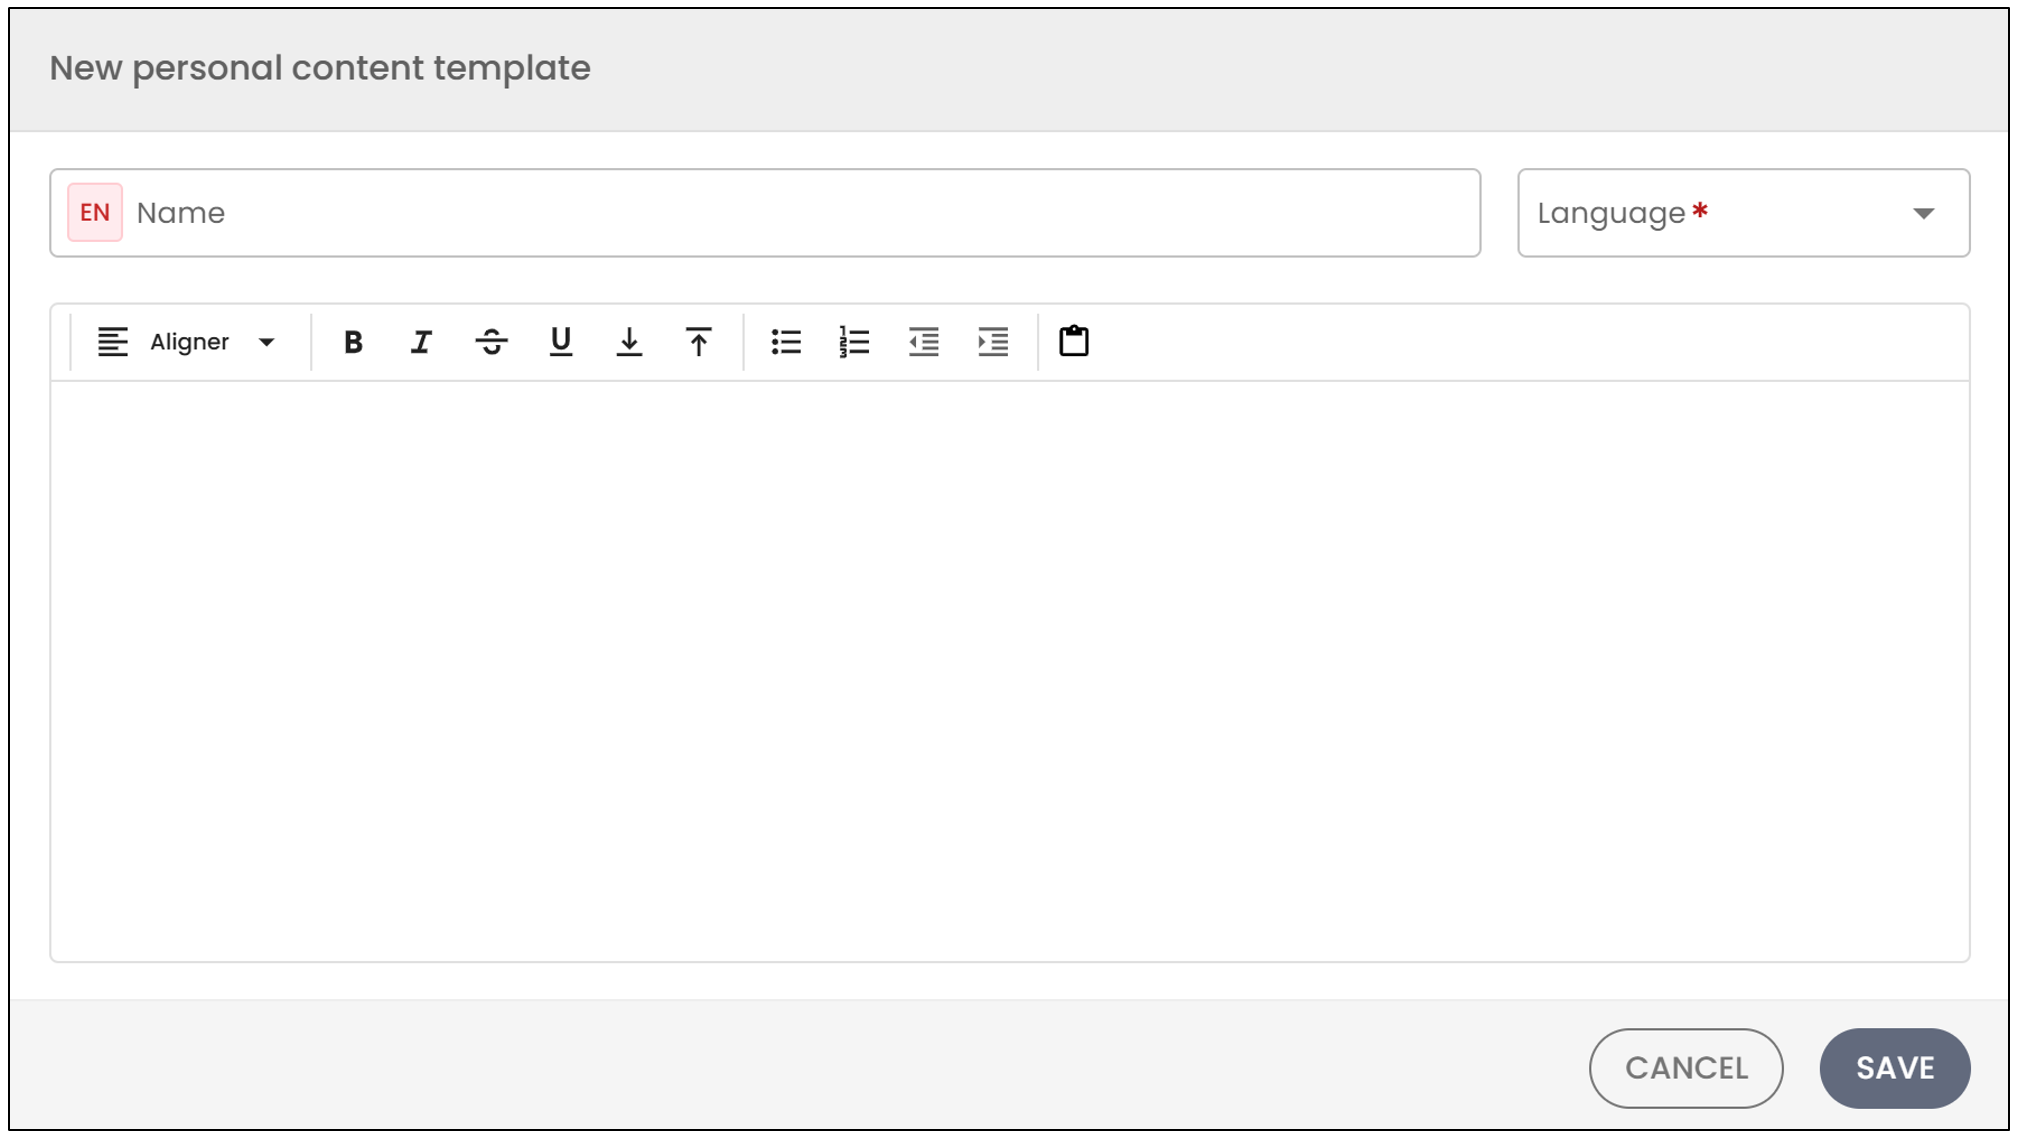
Enter the **Name **of the content template as well as the language.
You can then enter the message content and click Save.
If you click Save at the top right, the folder will not be sent, but it will be saved in your eZsign folders.
If you wish to send the folder, click Send eZsign folder at the bottom right.
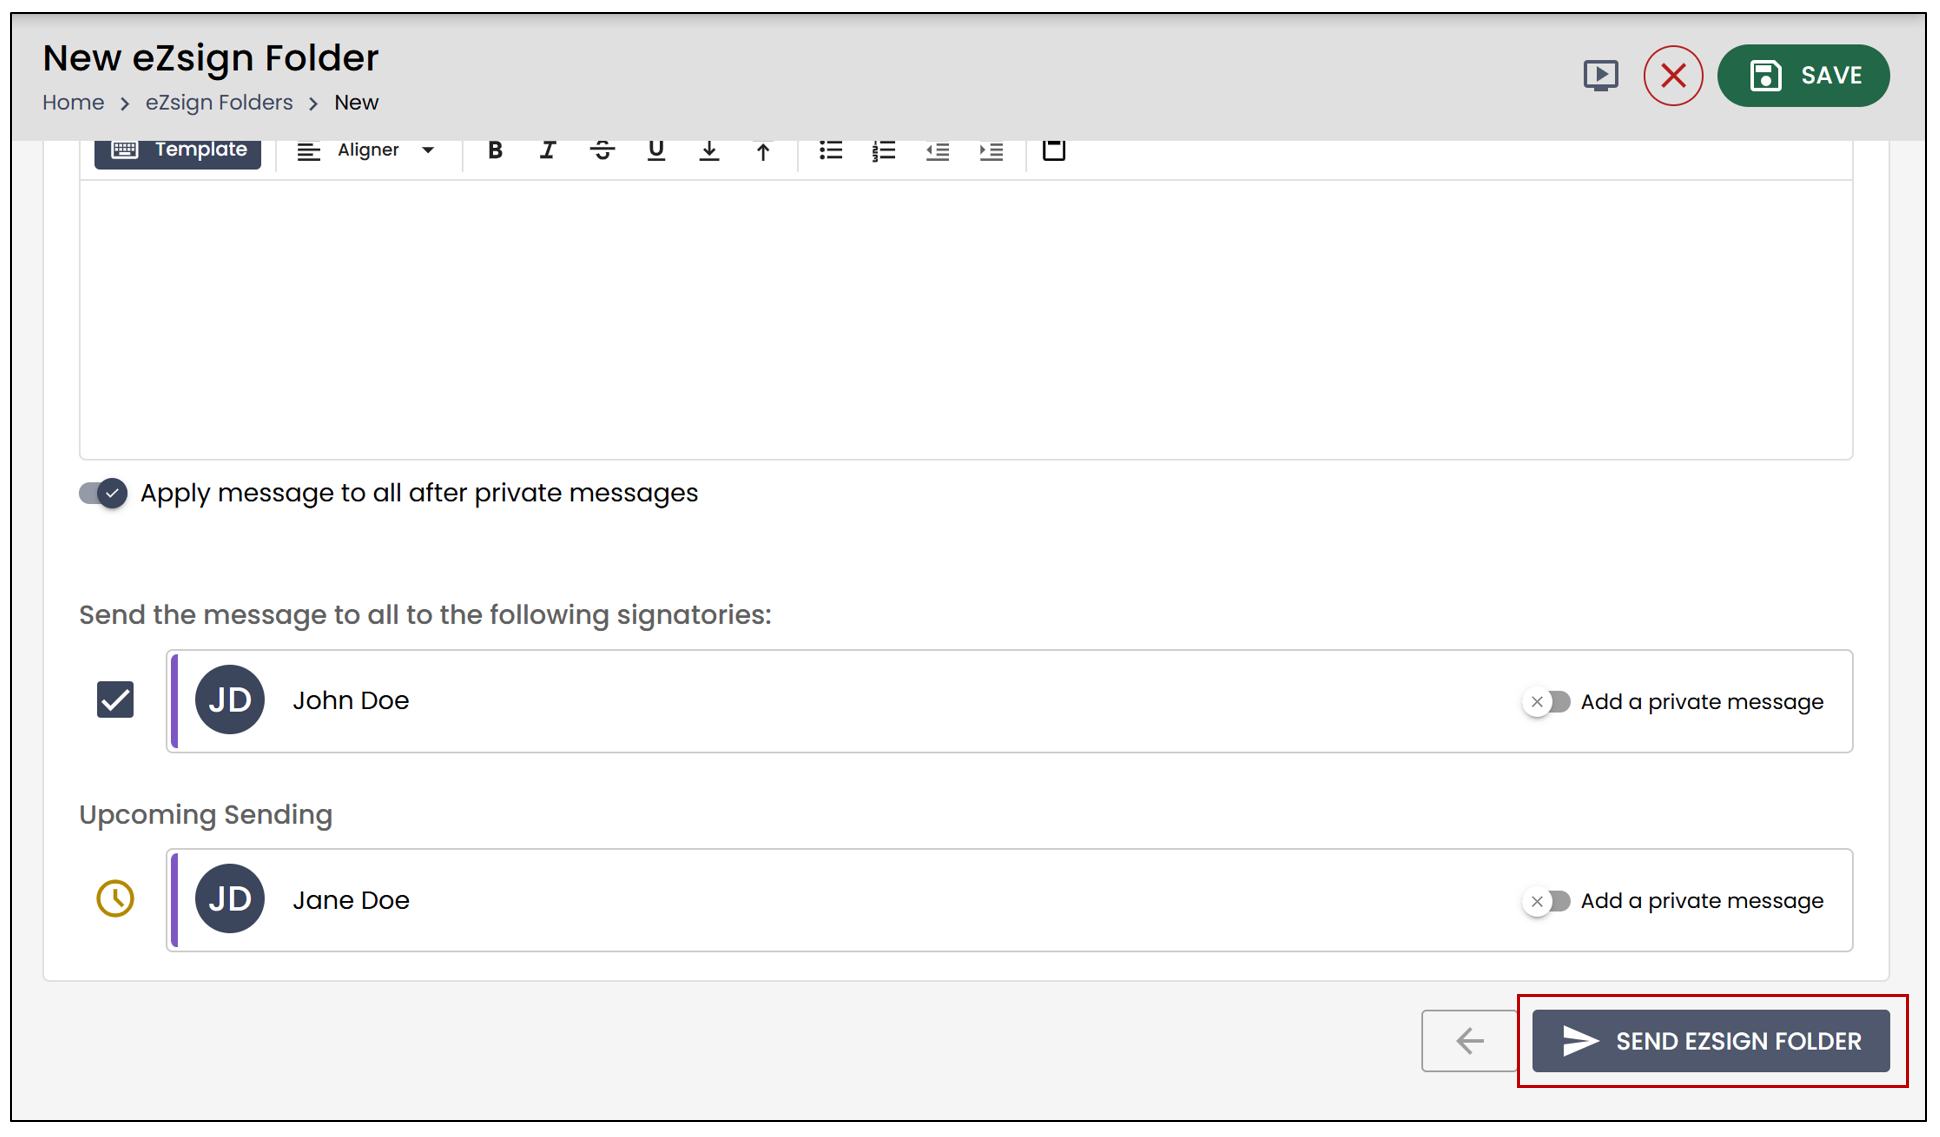
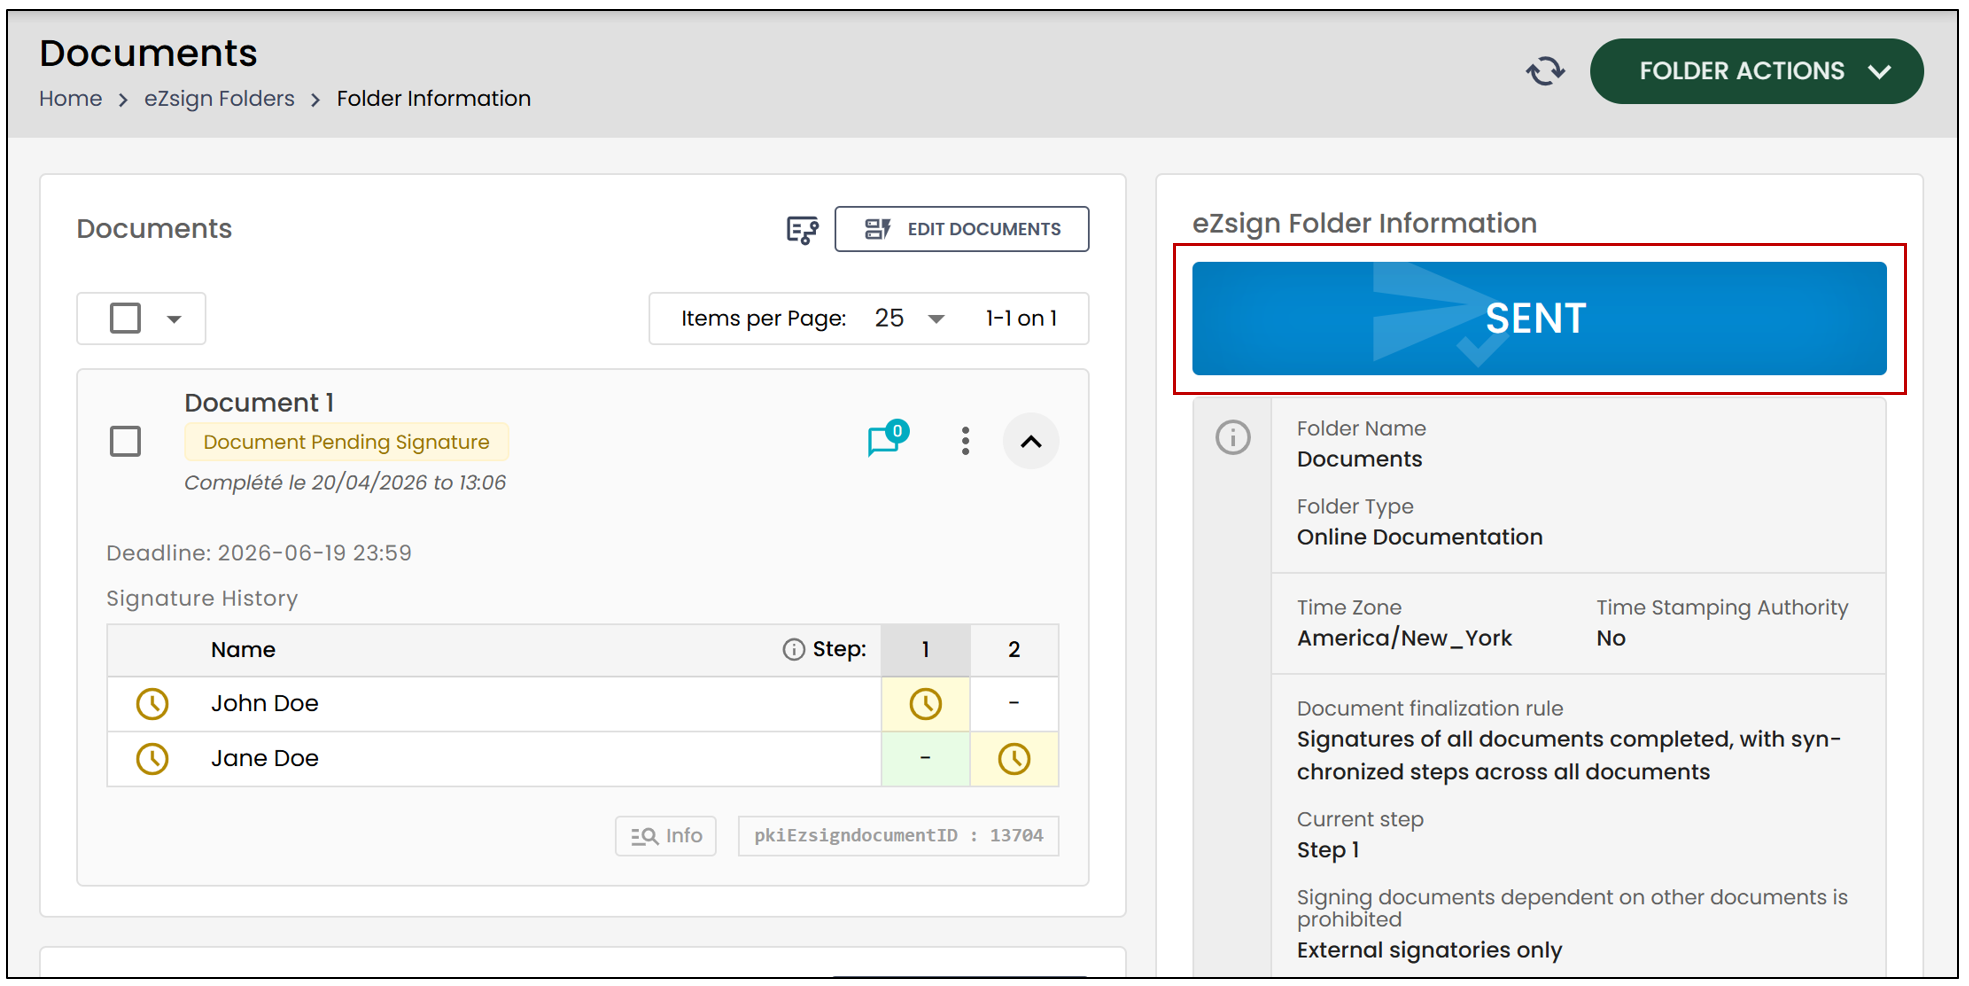
- You will be redirected to your folder, where you can then view the folder status.